11.18.2013

Coconut flour Herb Flatbread

herbbyy

The recipe pile

Do you ever feel like even if you try and try and try…the pile of  “things to do” will never get smaller. That my friends, is the definition of blogging. Don’t get me wrong. I love writing and sharing my knowledge and recipes, but once in a while I get overwhelmed.

Take my recipe pile for example. It actually used to be a real pile of coconut-oil stained post-it notes. Last month I roughly typed up the hard to read recipes and counted over 20 recipes! It was quite fulfilling seeing the recipes I spent so much time concocting last year in clean writing. I even has most of the pictures already taken too.

The hard part is juggling everything together (blogging, researching, recipe making, emails and social media…). I will tell you a little secret. I have about 186 unread comments that need to be read and responded to. I have about 300 emails that need to be read (you know the ones that actually are important and can’t just be deleted).

I can’t get caught up thinking “I will never be on top of things”…because honestly I don’t think I will. I have learned to accept that and just do what I can, when I can. I hope you understand.

Grain free & dairy free 

A few days ago I asked several of you on Facebook if you were dairy free. I got an overwhelming response that YES most of you are dairy free and prefer using coconut milk in cooked recipes. I made this recipe with both raw milk and coconut milk. I think my family preferred the recipe with coconut milk because it was lighter. You can certainly choose what you want to use, but I think the homemade coconut milk or this one (no additives) or this one (BPA-free) would taste great even if you are not dairy free.

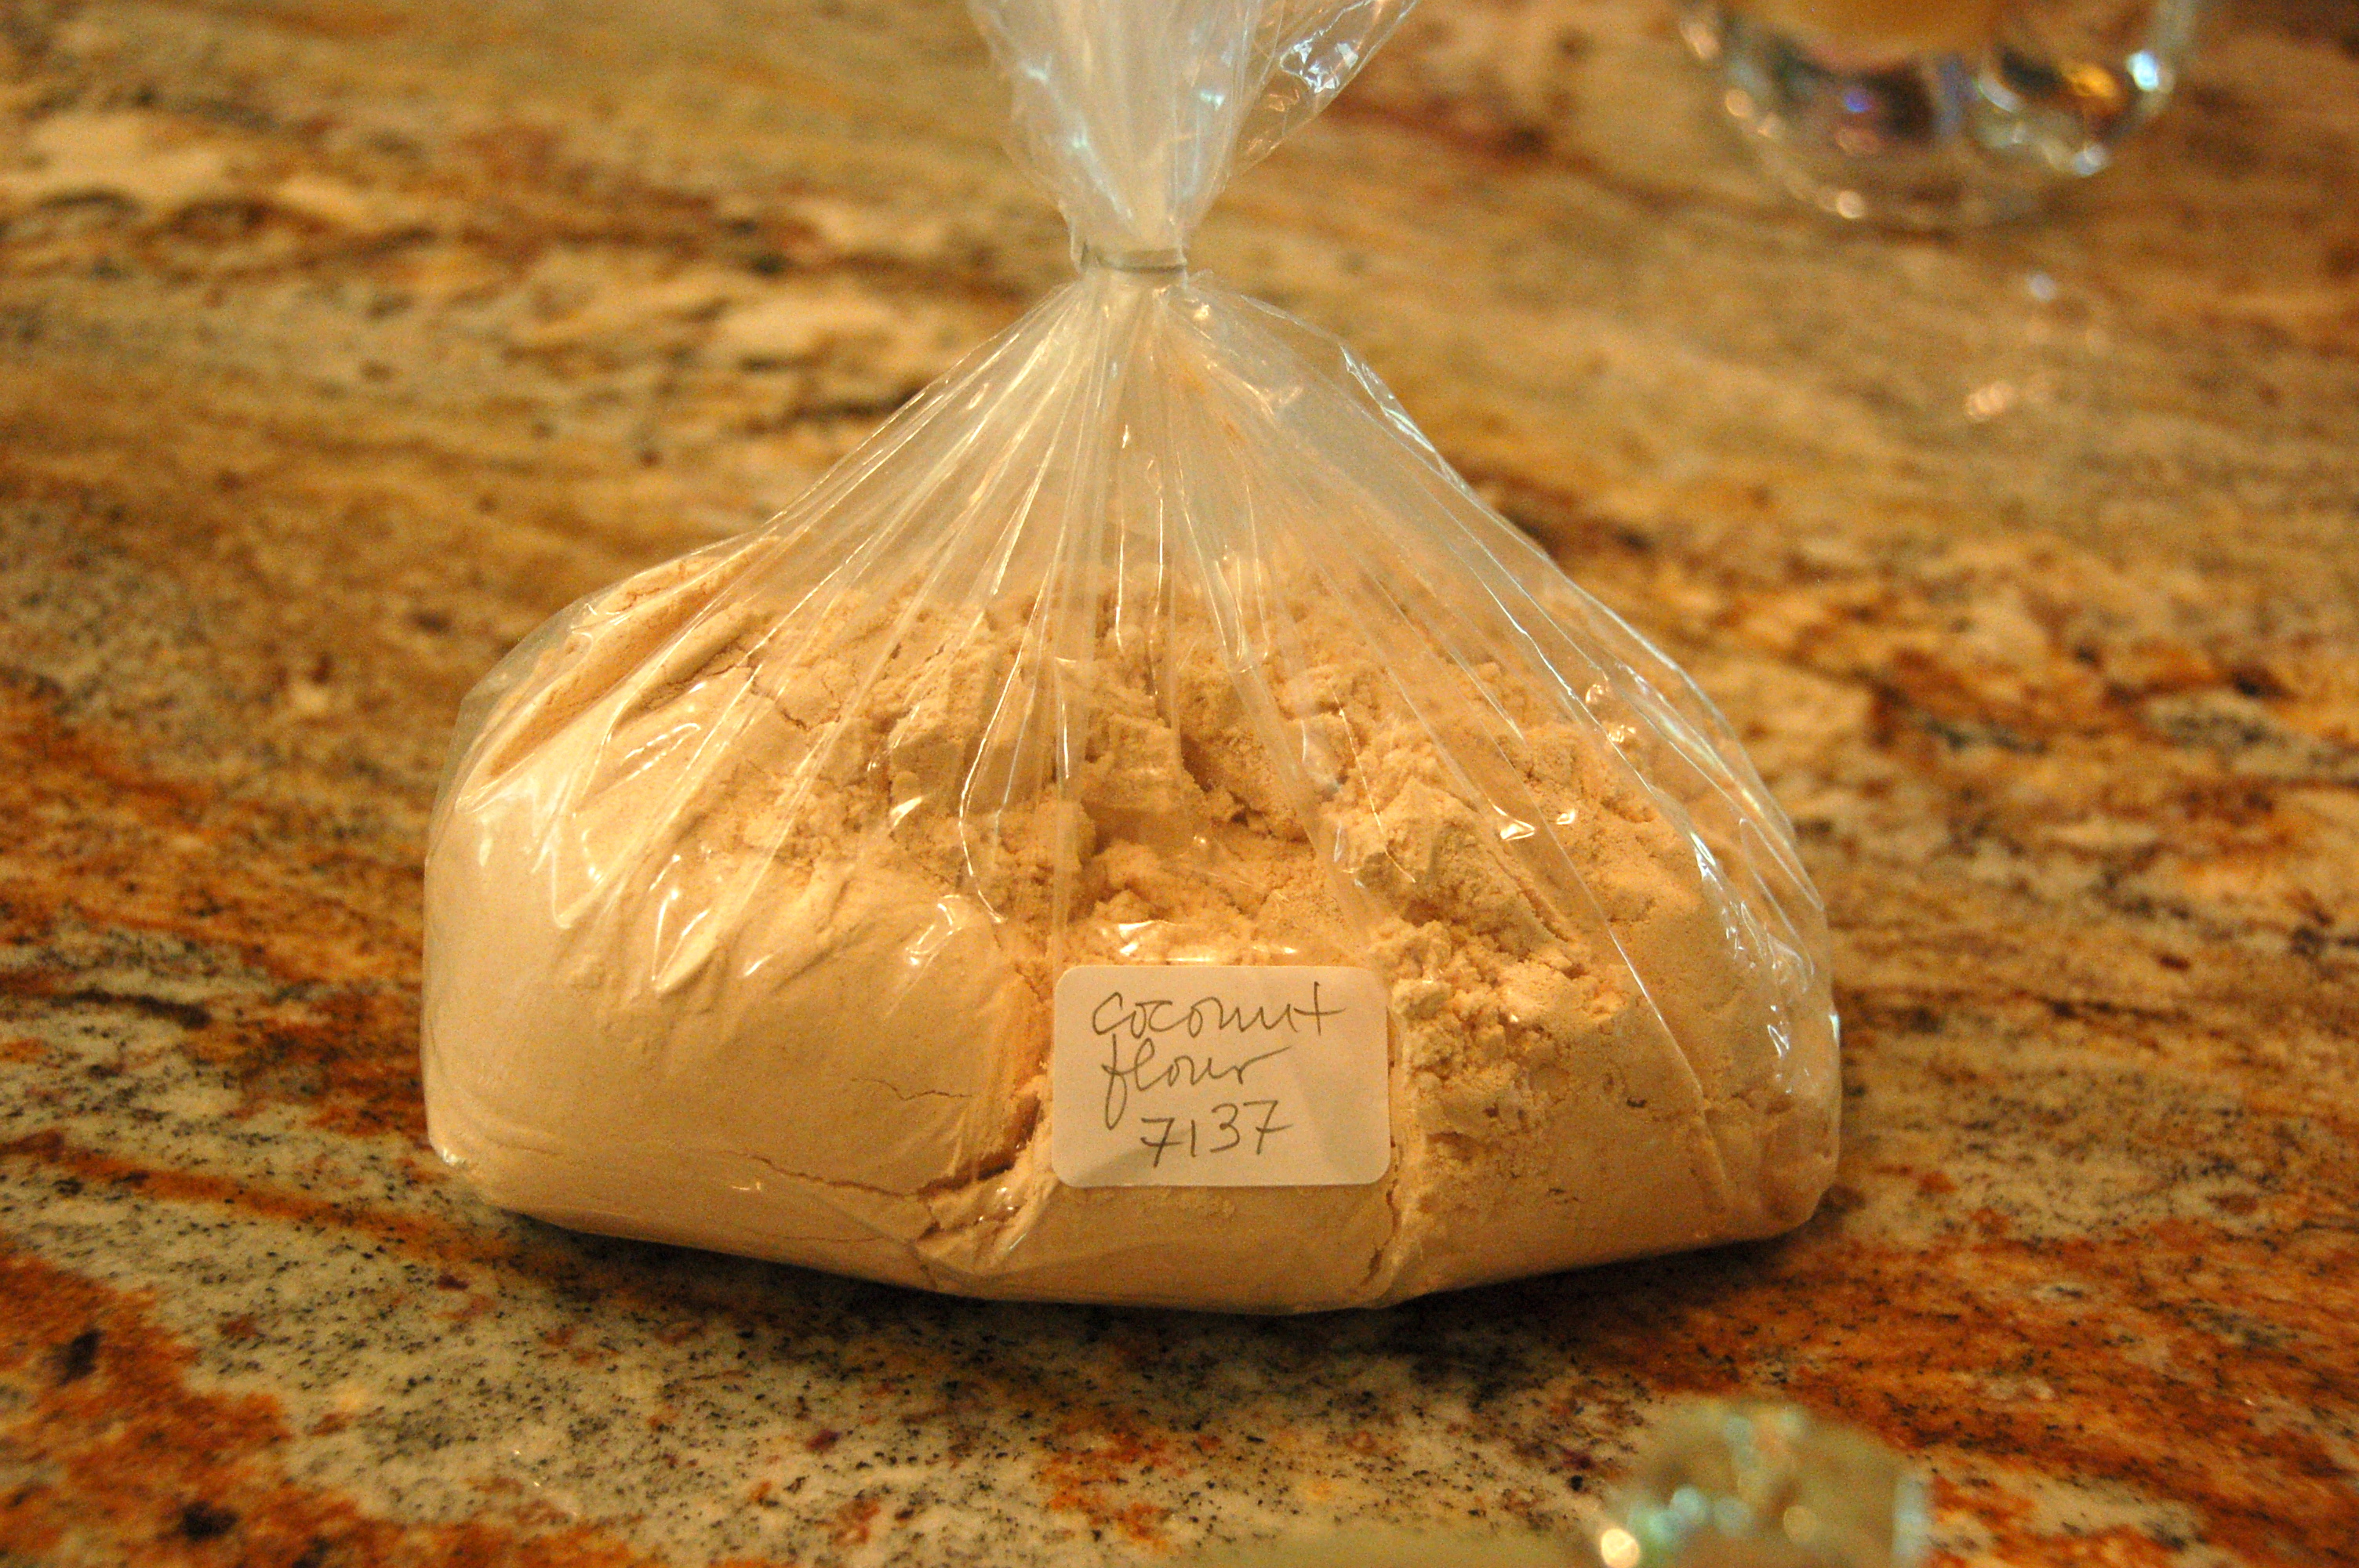
A note on the coconut flour. I have found that my favorite brand is this one. Why? Because it is very fluffy and almost powdery (like real flour) instead of heavy like coconut flour is known to be. Also make sure to let the batter sit so the coconut flour can absorb all the liquid first. If you use a denser coconut flour like this one, be sure to sift the flour (you can use a sifter or a fine mesh sieve) so the recipe turns out the same.

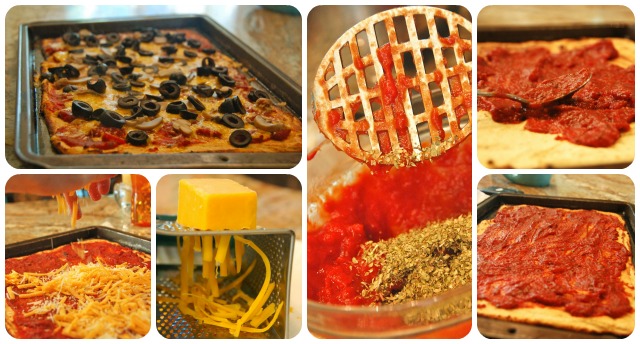
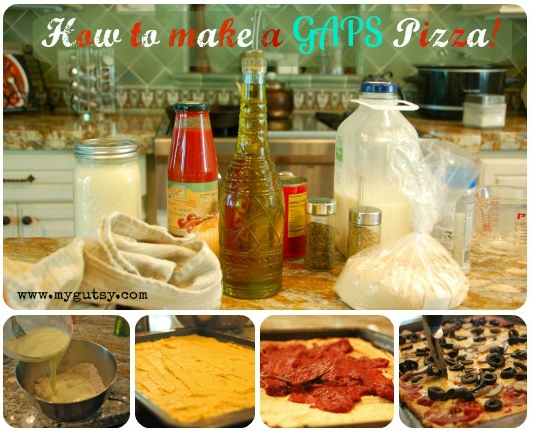
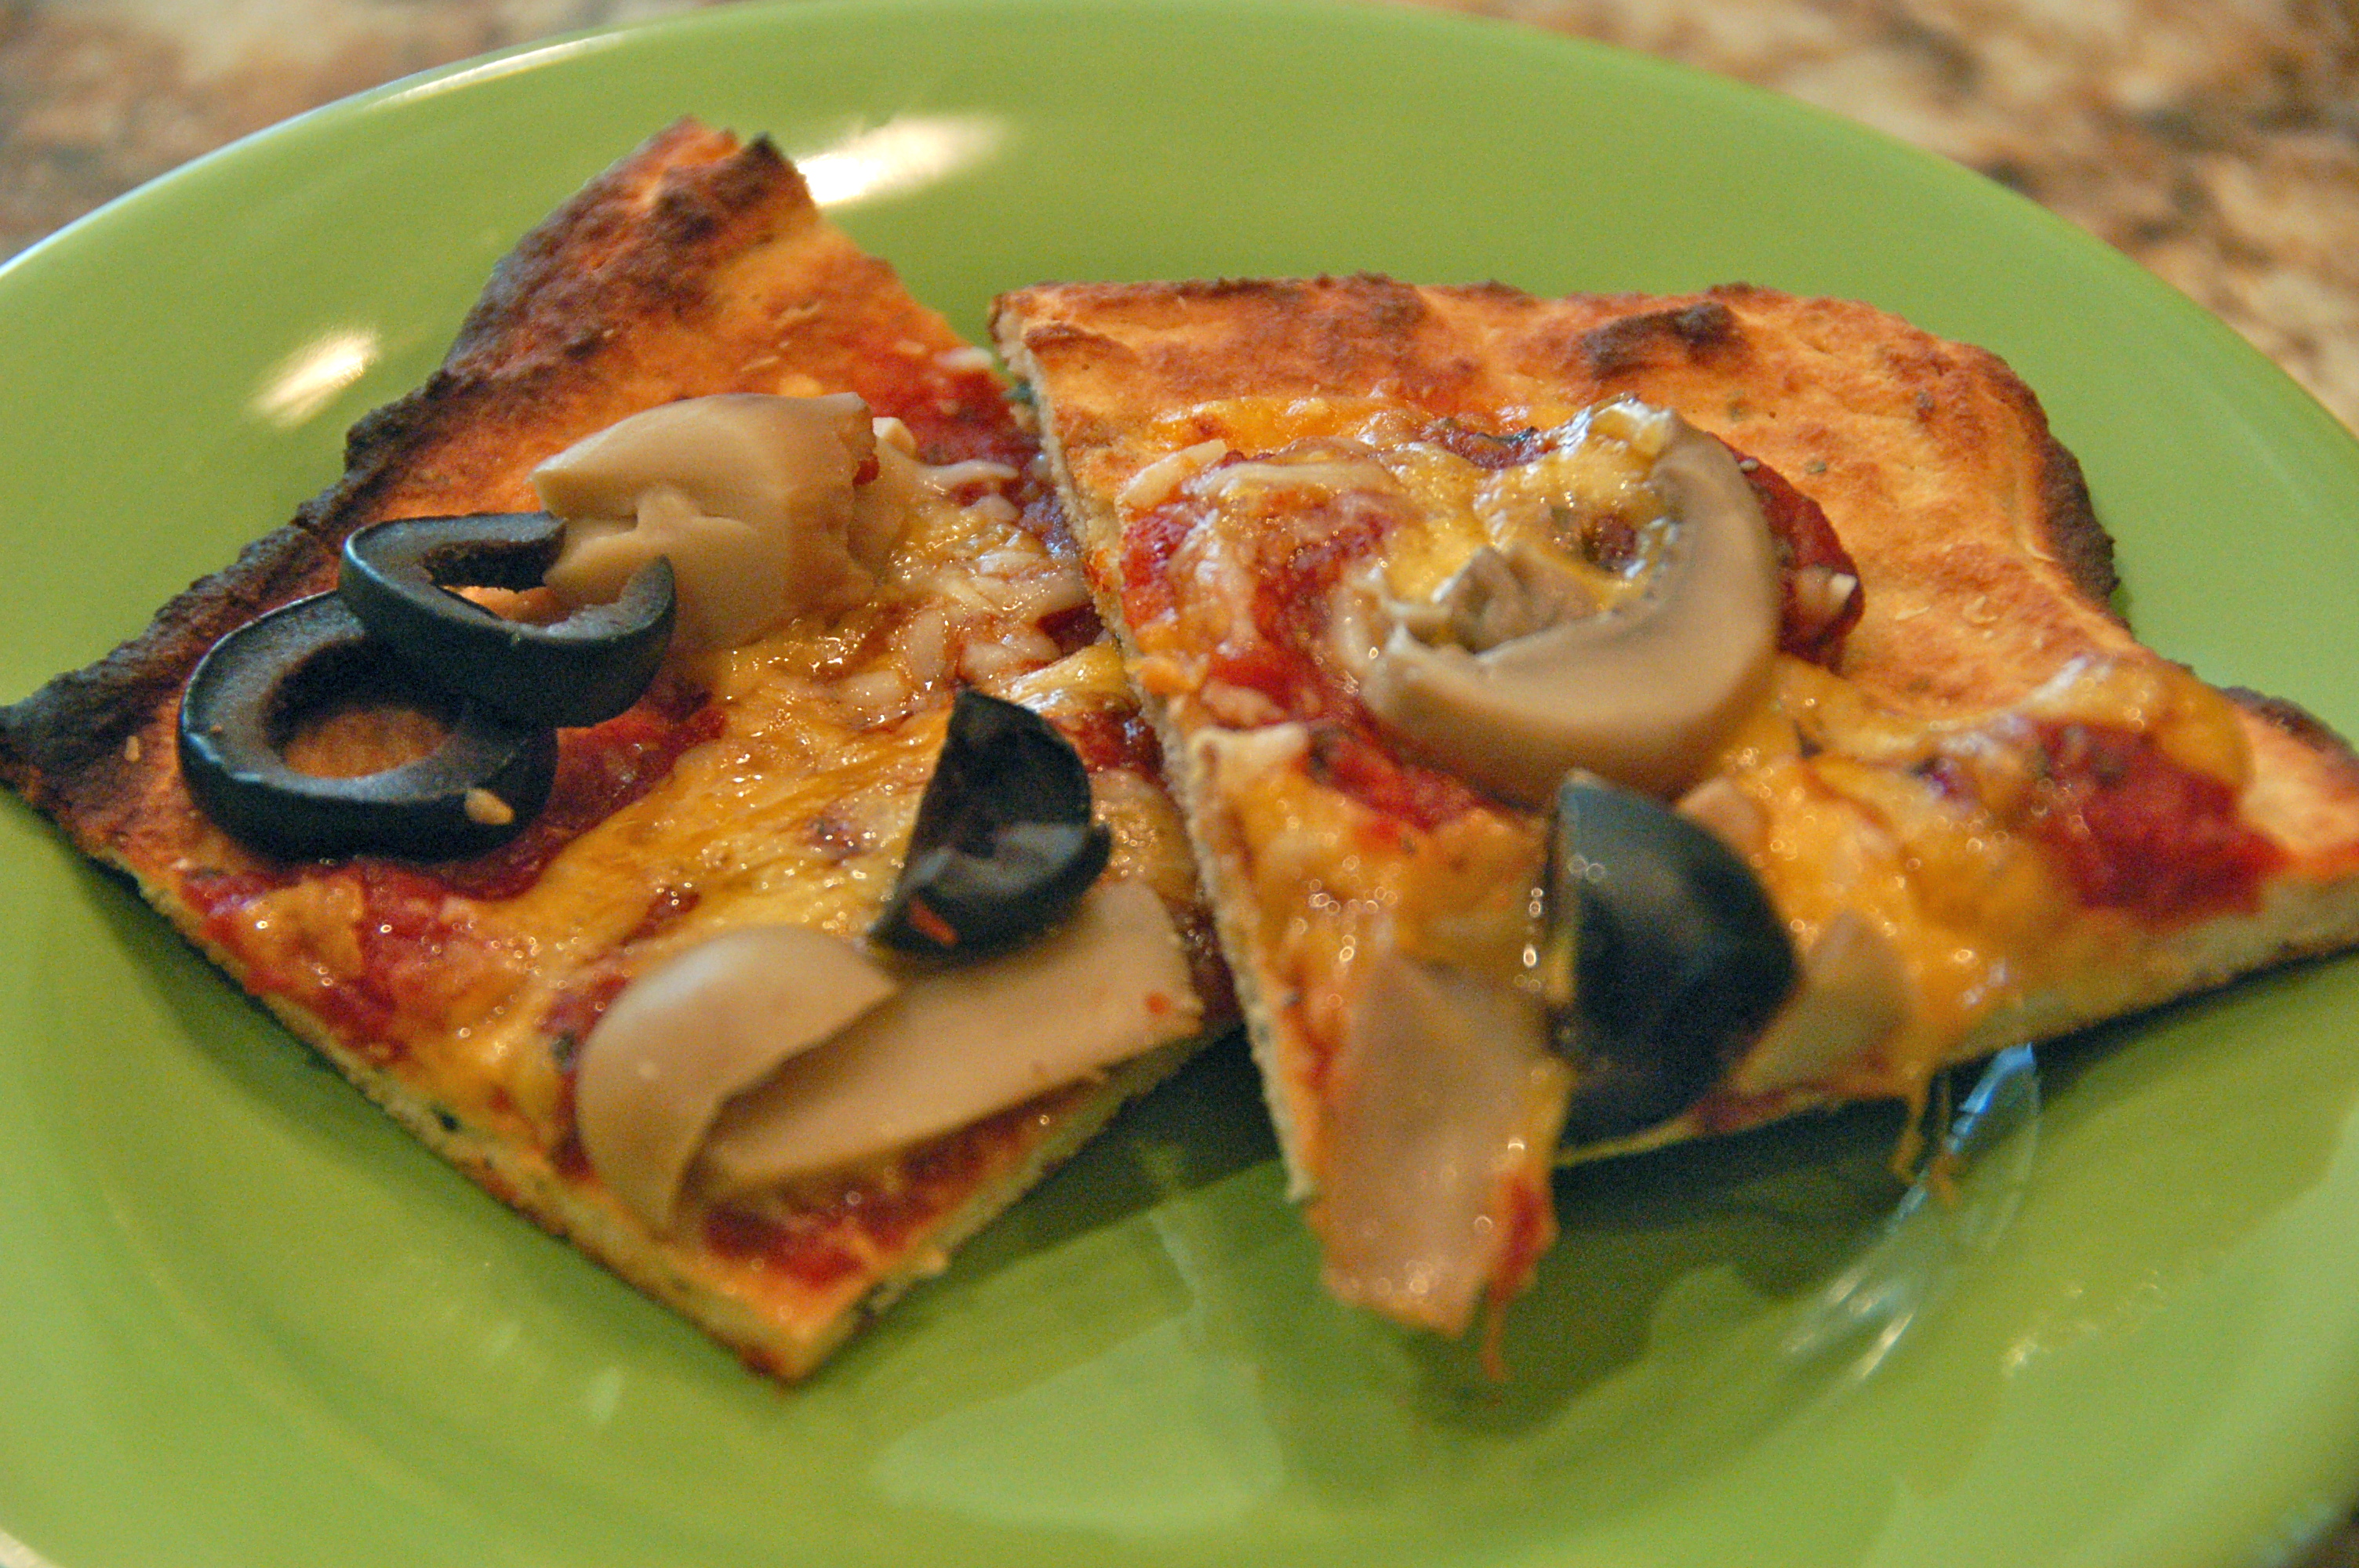
This recipe is pretty simple and was inspired by my coconut flour pizza crust. You may think its exactly the same, but actually it is quite different with the herbs and olive oil added. I think it deserves its own recipe.

Flatbread

I know many of you can’t have cheese or nightshades so I did not want to specify that this “flatbread” was a pizza crust. I don’t like to limit your creativity with a recipe like this by putting the words “pizza crust” into the title. Half the time we make this, no pizza ingredients are in sight. Actually, this flatbread was first created because my sister could not eat nightshades on her elimination/GAPS diet. This herb flatbread was sliced up and used to be dipped into olive oil with a bit of sea salt added.  I don’t think we made enough because it was gone in 5 minutes.

Freezing

The second time we made this, I tripled the recipe and froze small flat breads to be warmed up after school or work. I stored them in these gallon sized plastic bags and layered unbleached parchment paper in-between the flatbread (you can fit a few in each bag if you do it this way). All you need to do then, is turn on the oven to 375 and bake until warm and crispy.

Bread substitute 

I think many of you former bread eaters will really like to have this SUPER easy recipe around for a “bread alternative”. Everyone knows that fresh bread tastes the best, right? I would consider this recipe easy and can me made in about 30 min (including cooking time).

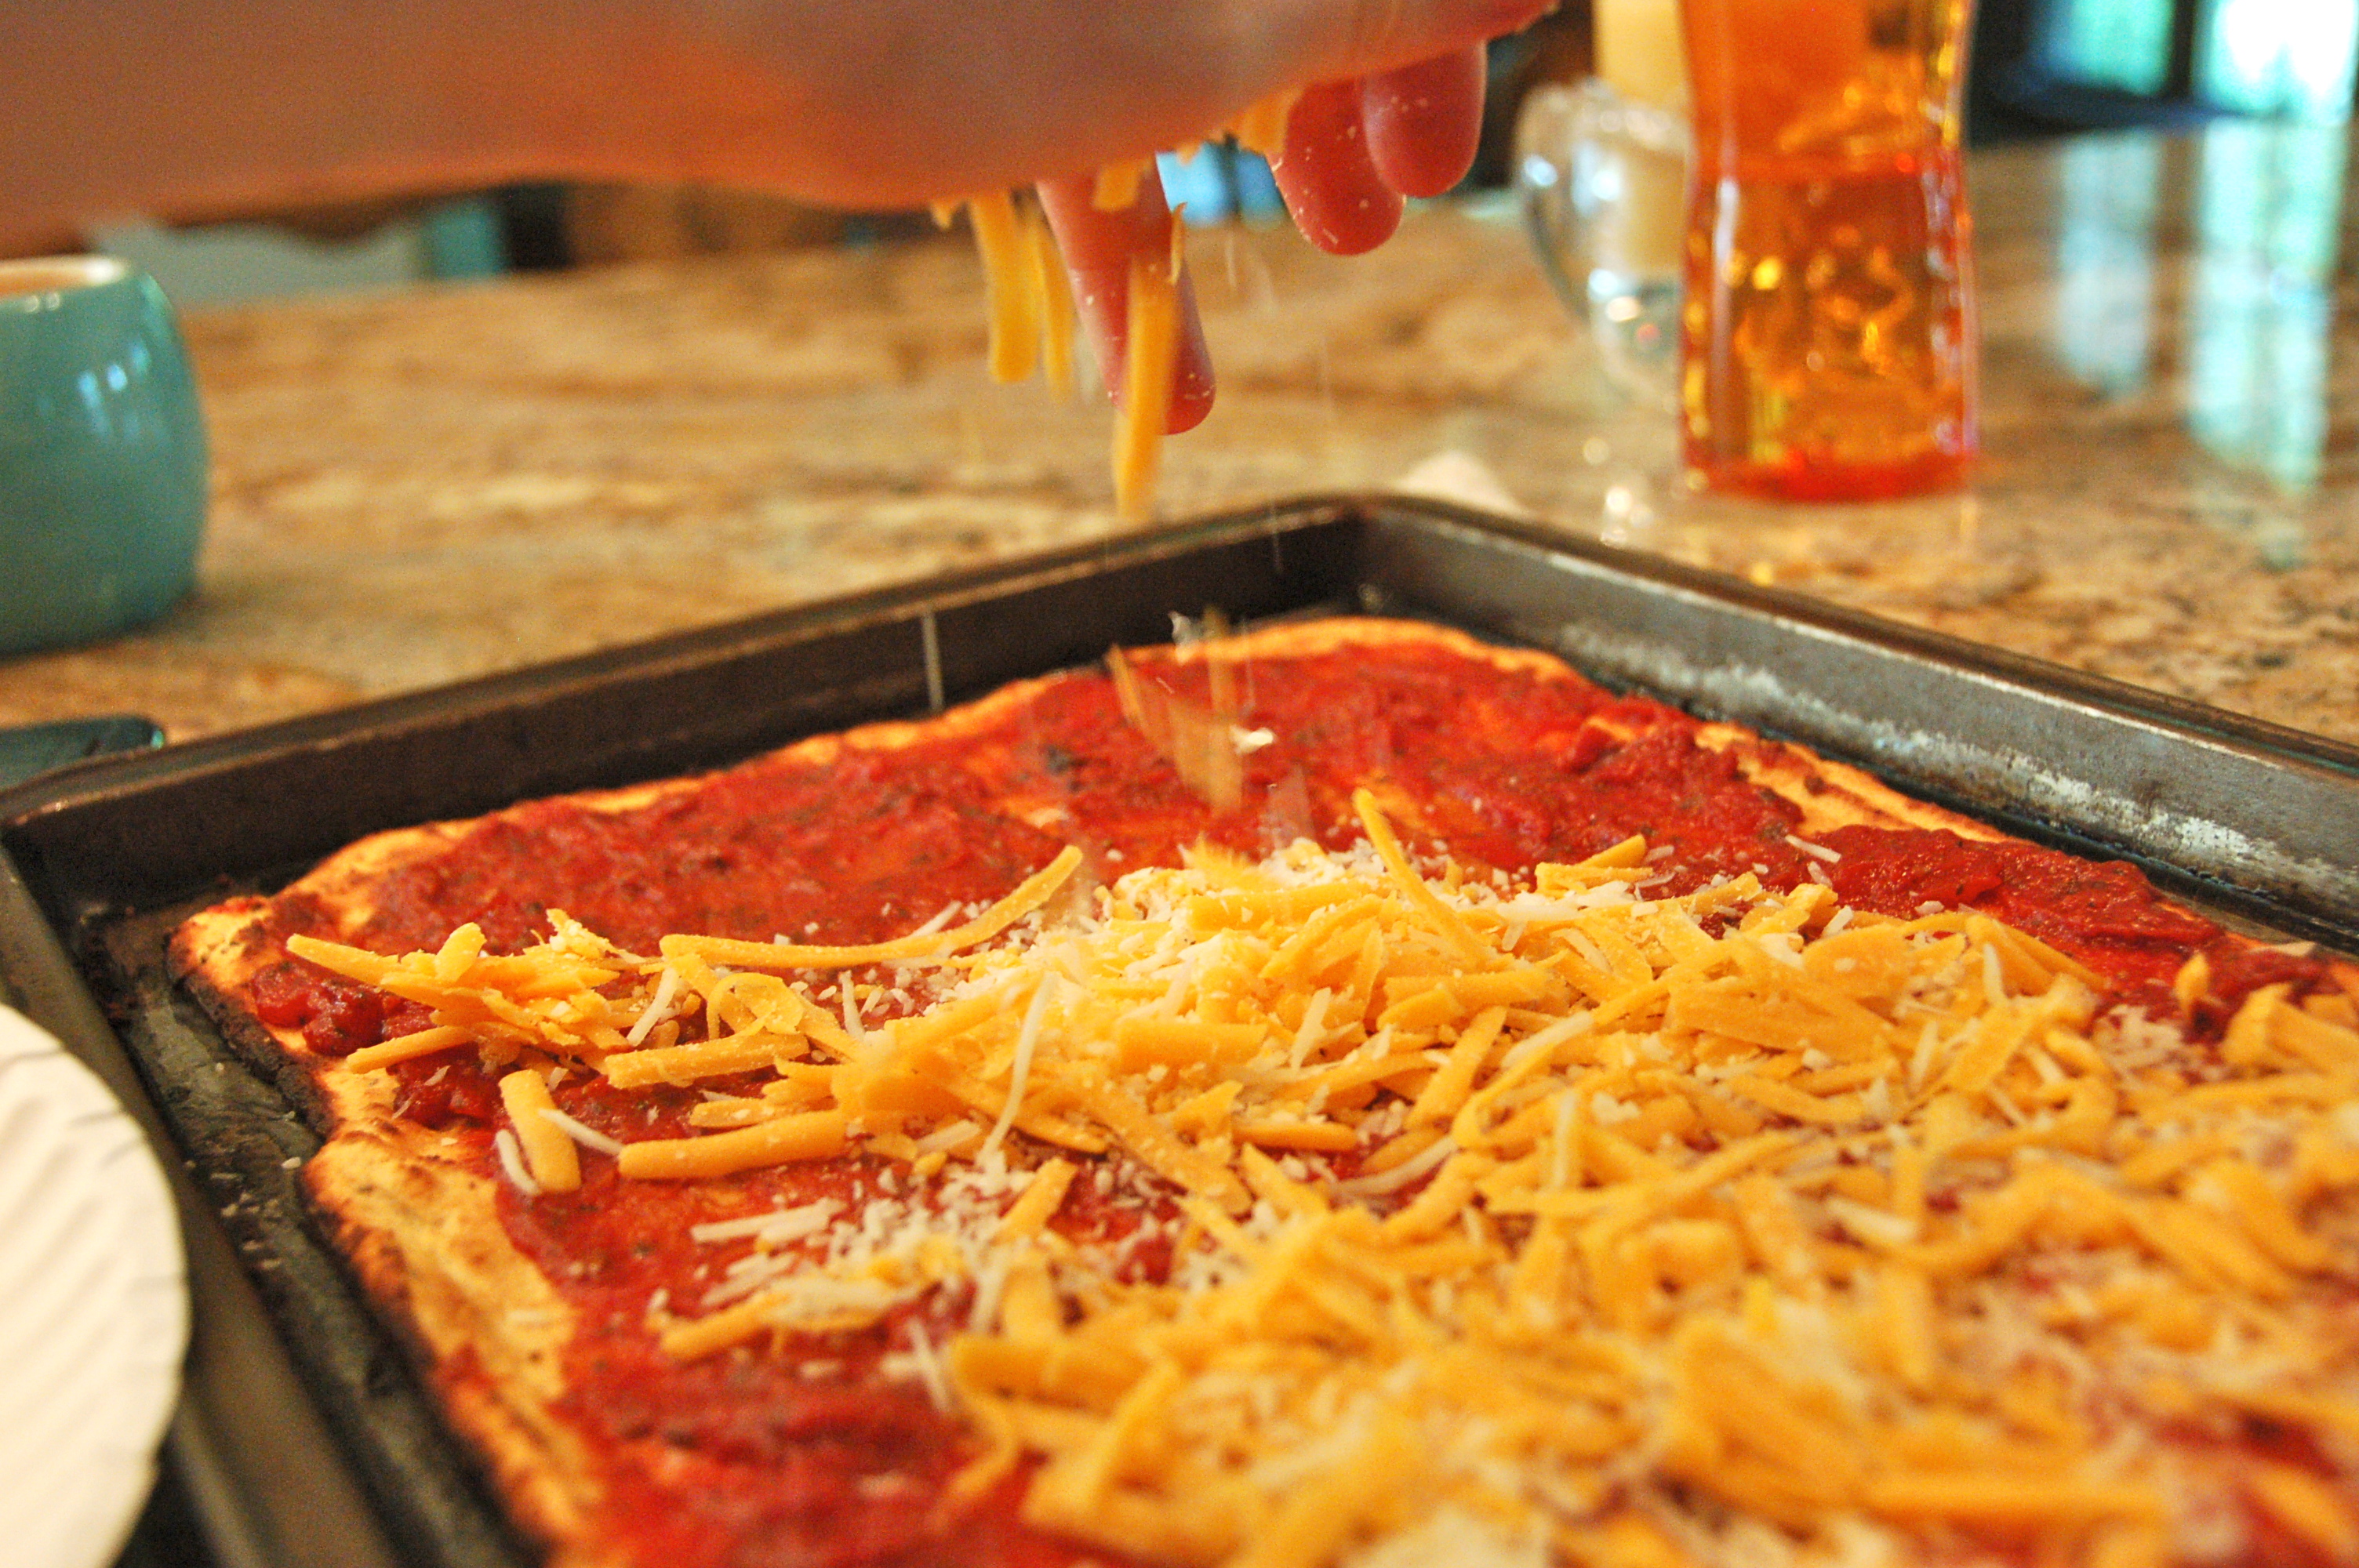
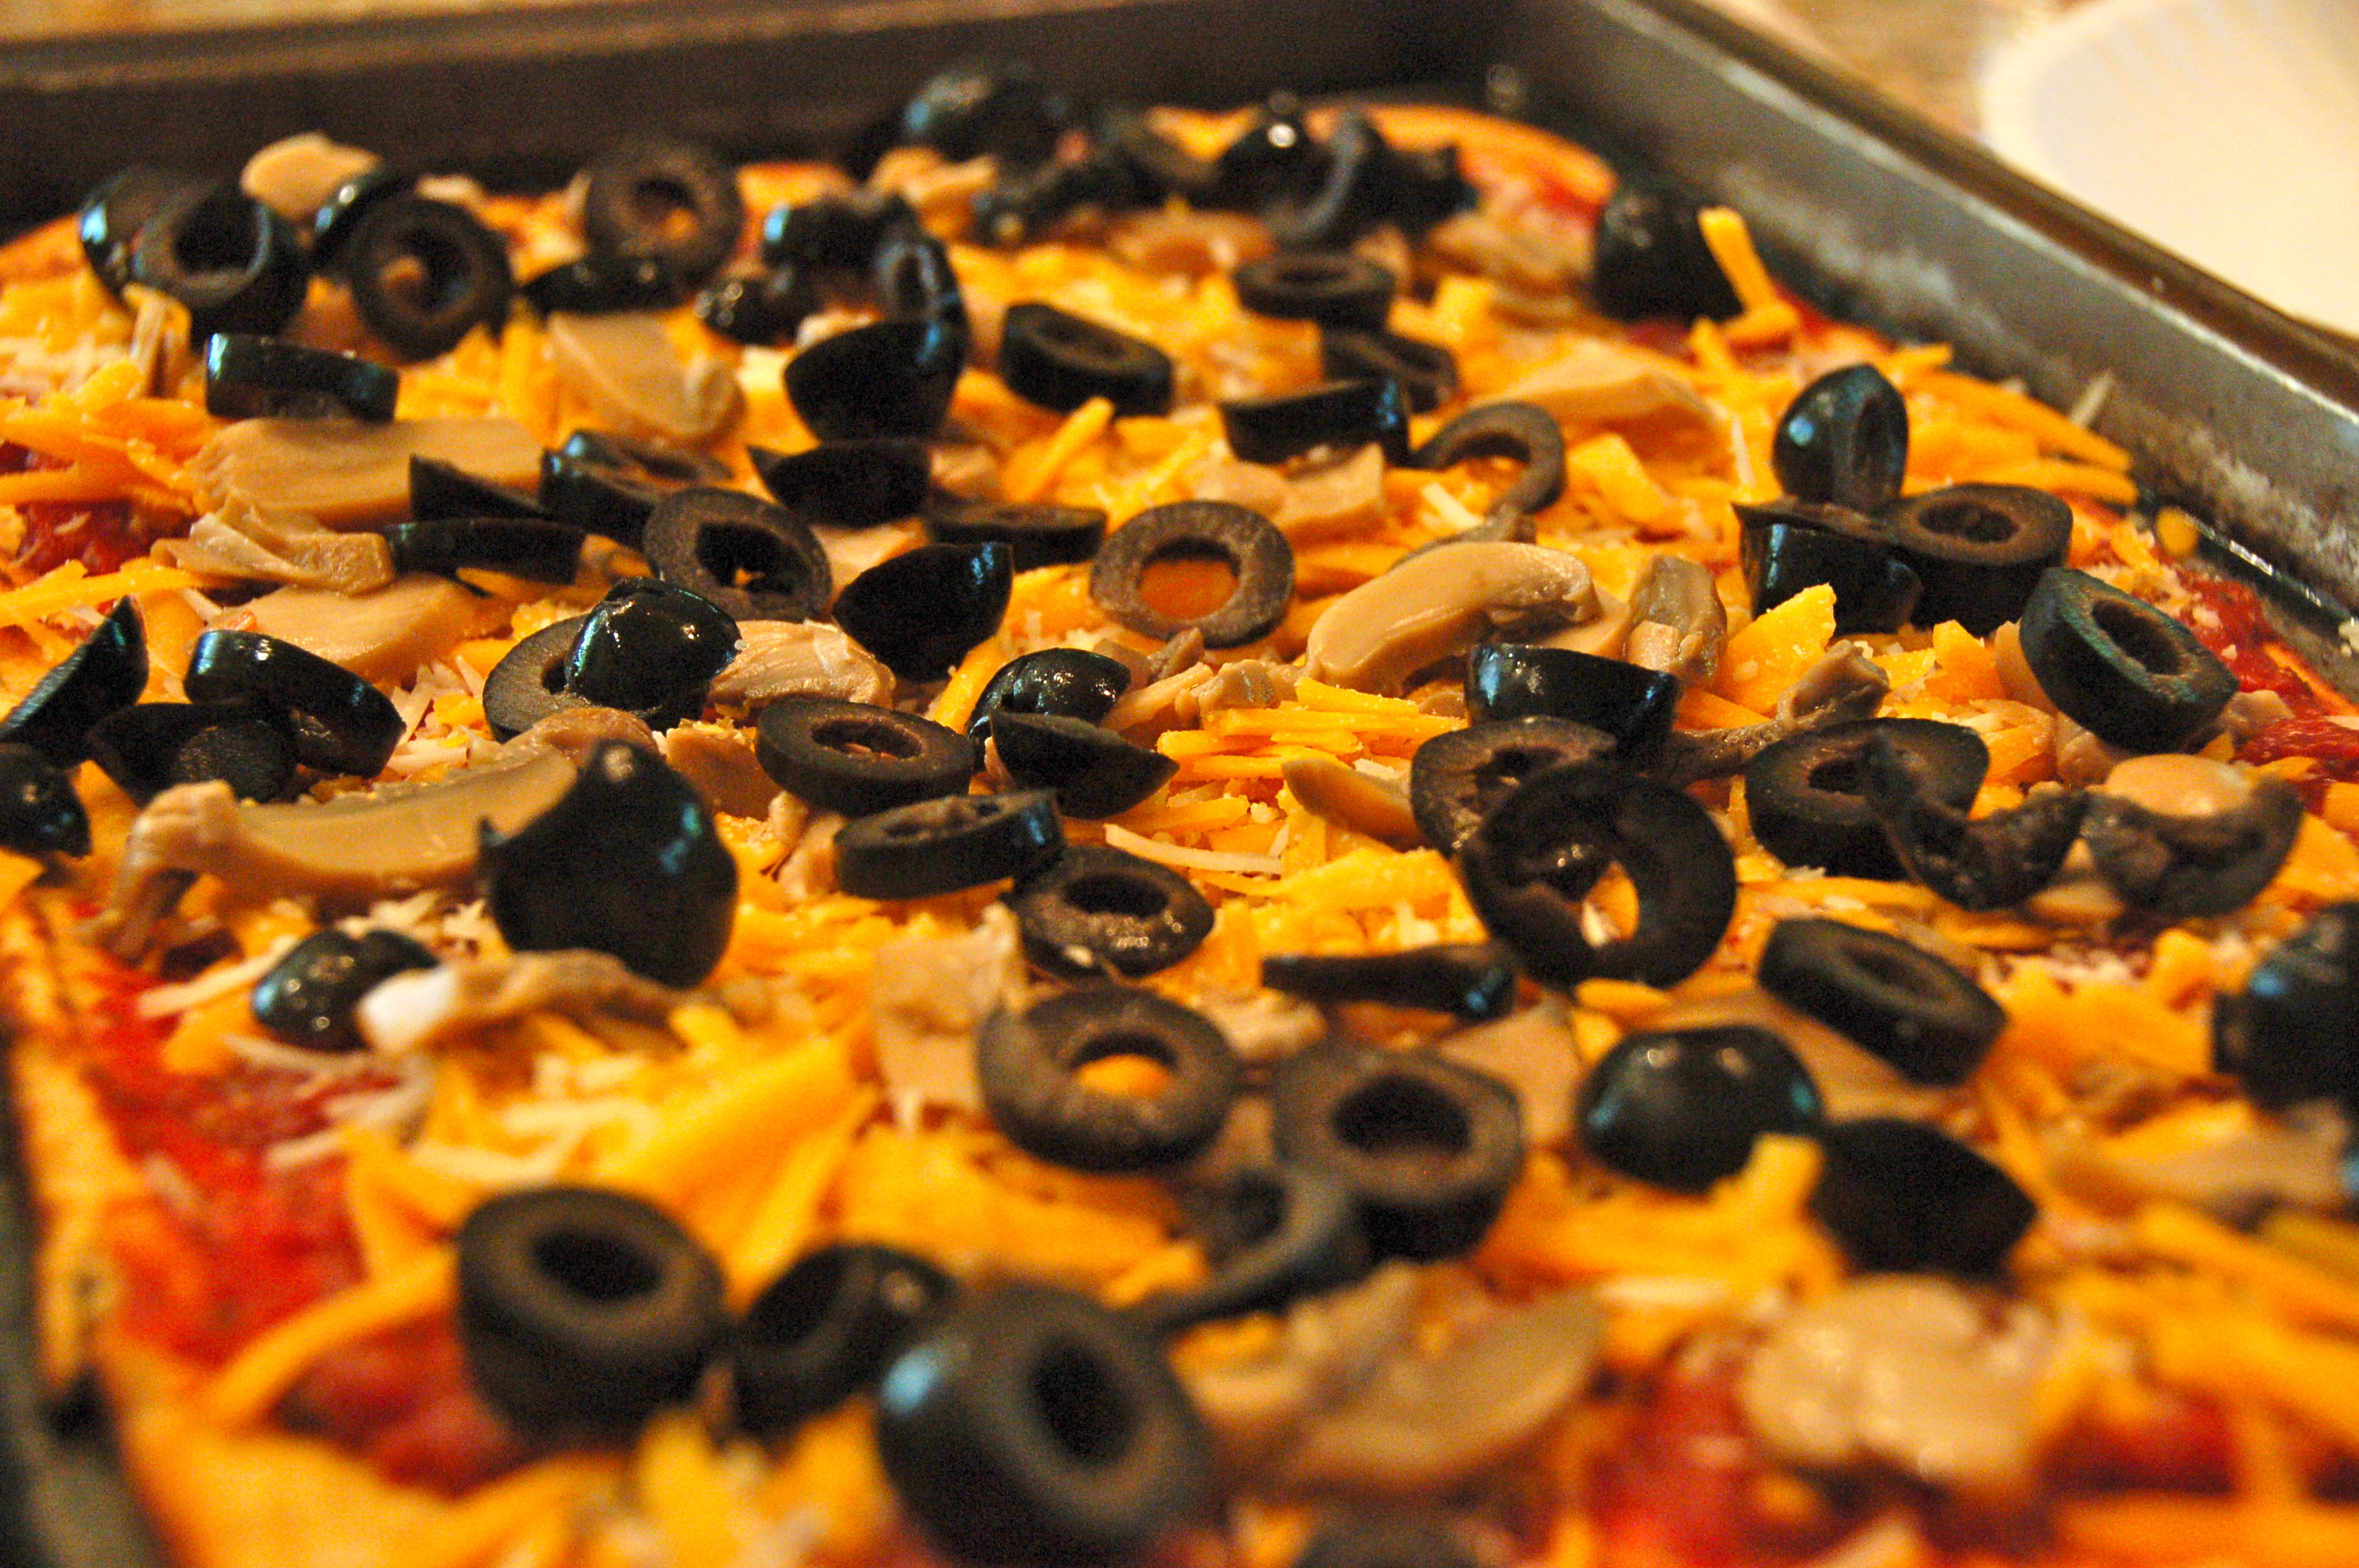
Layer some leftover meat, homemade mayo, fresh veggies and you have yourself a sandwich! Feel free to use this as a crust for pizza (my recipe) if that is what you are craving too. This coconut flour herb flatbread is GAPS friendly too.

Enjoy getting creative.
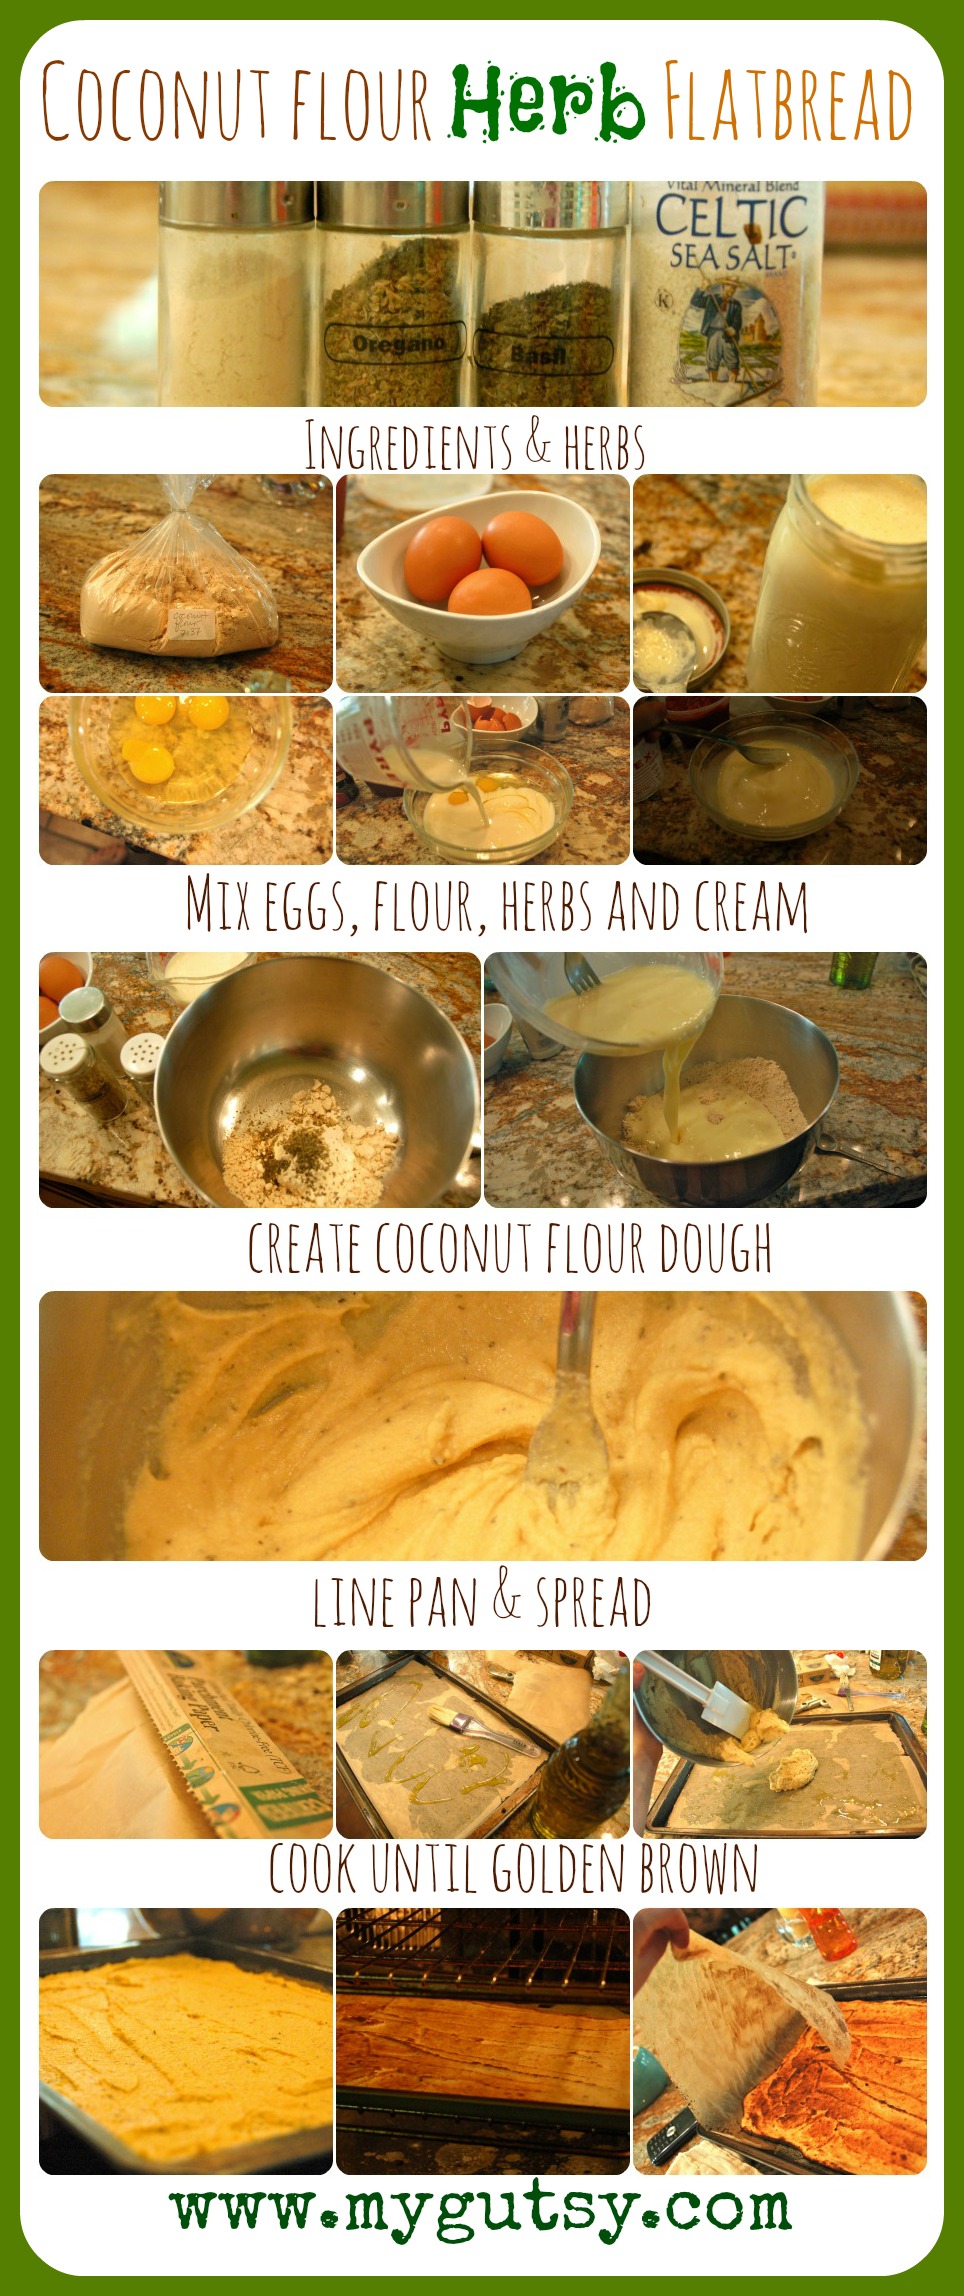
 

INGREDIENTS:

1/2 cup Coconut Flour

3 eggs

1 cup coconut milk (homemade or buy here) or organic whole milk
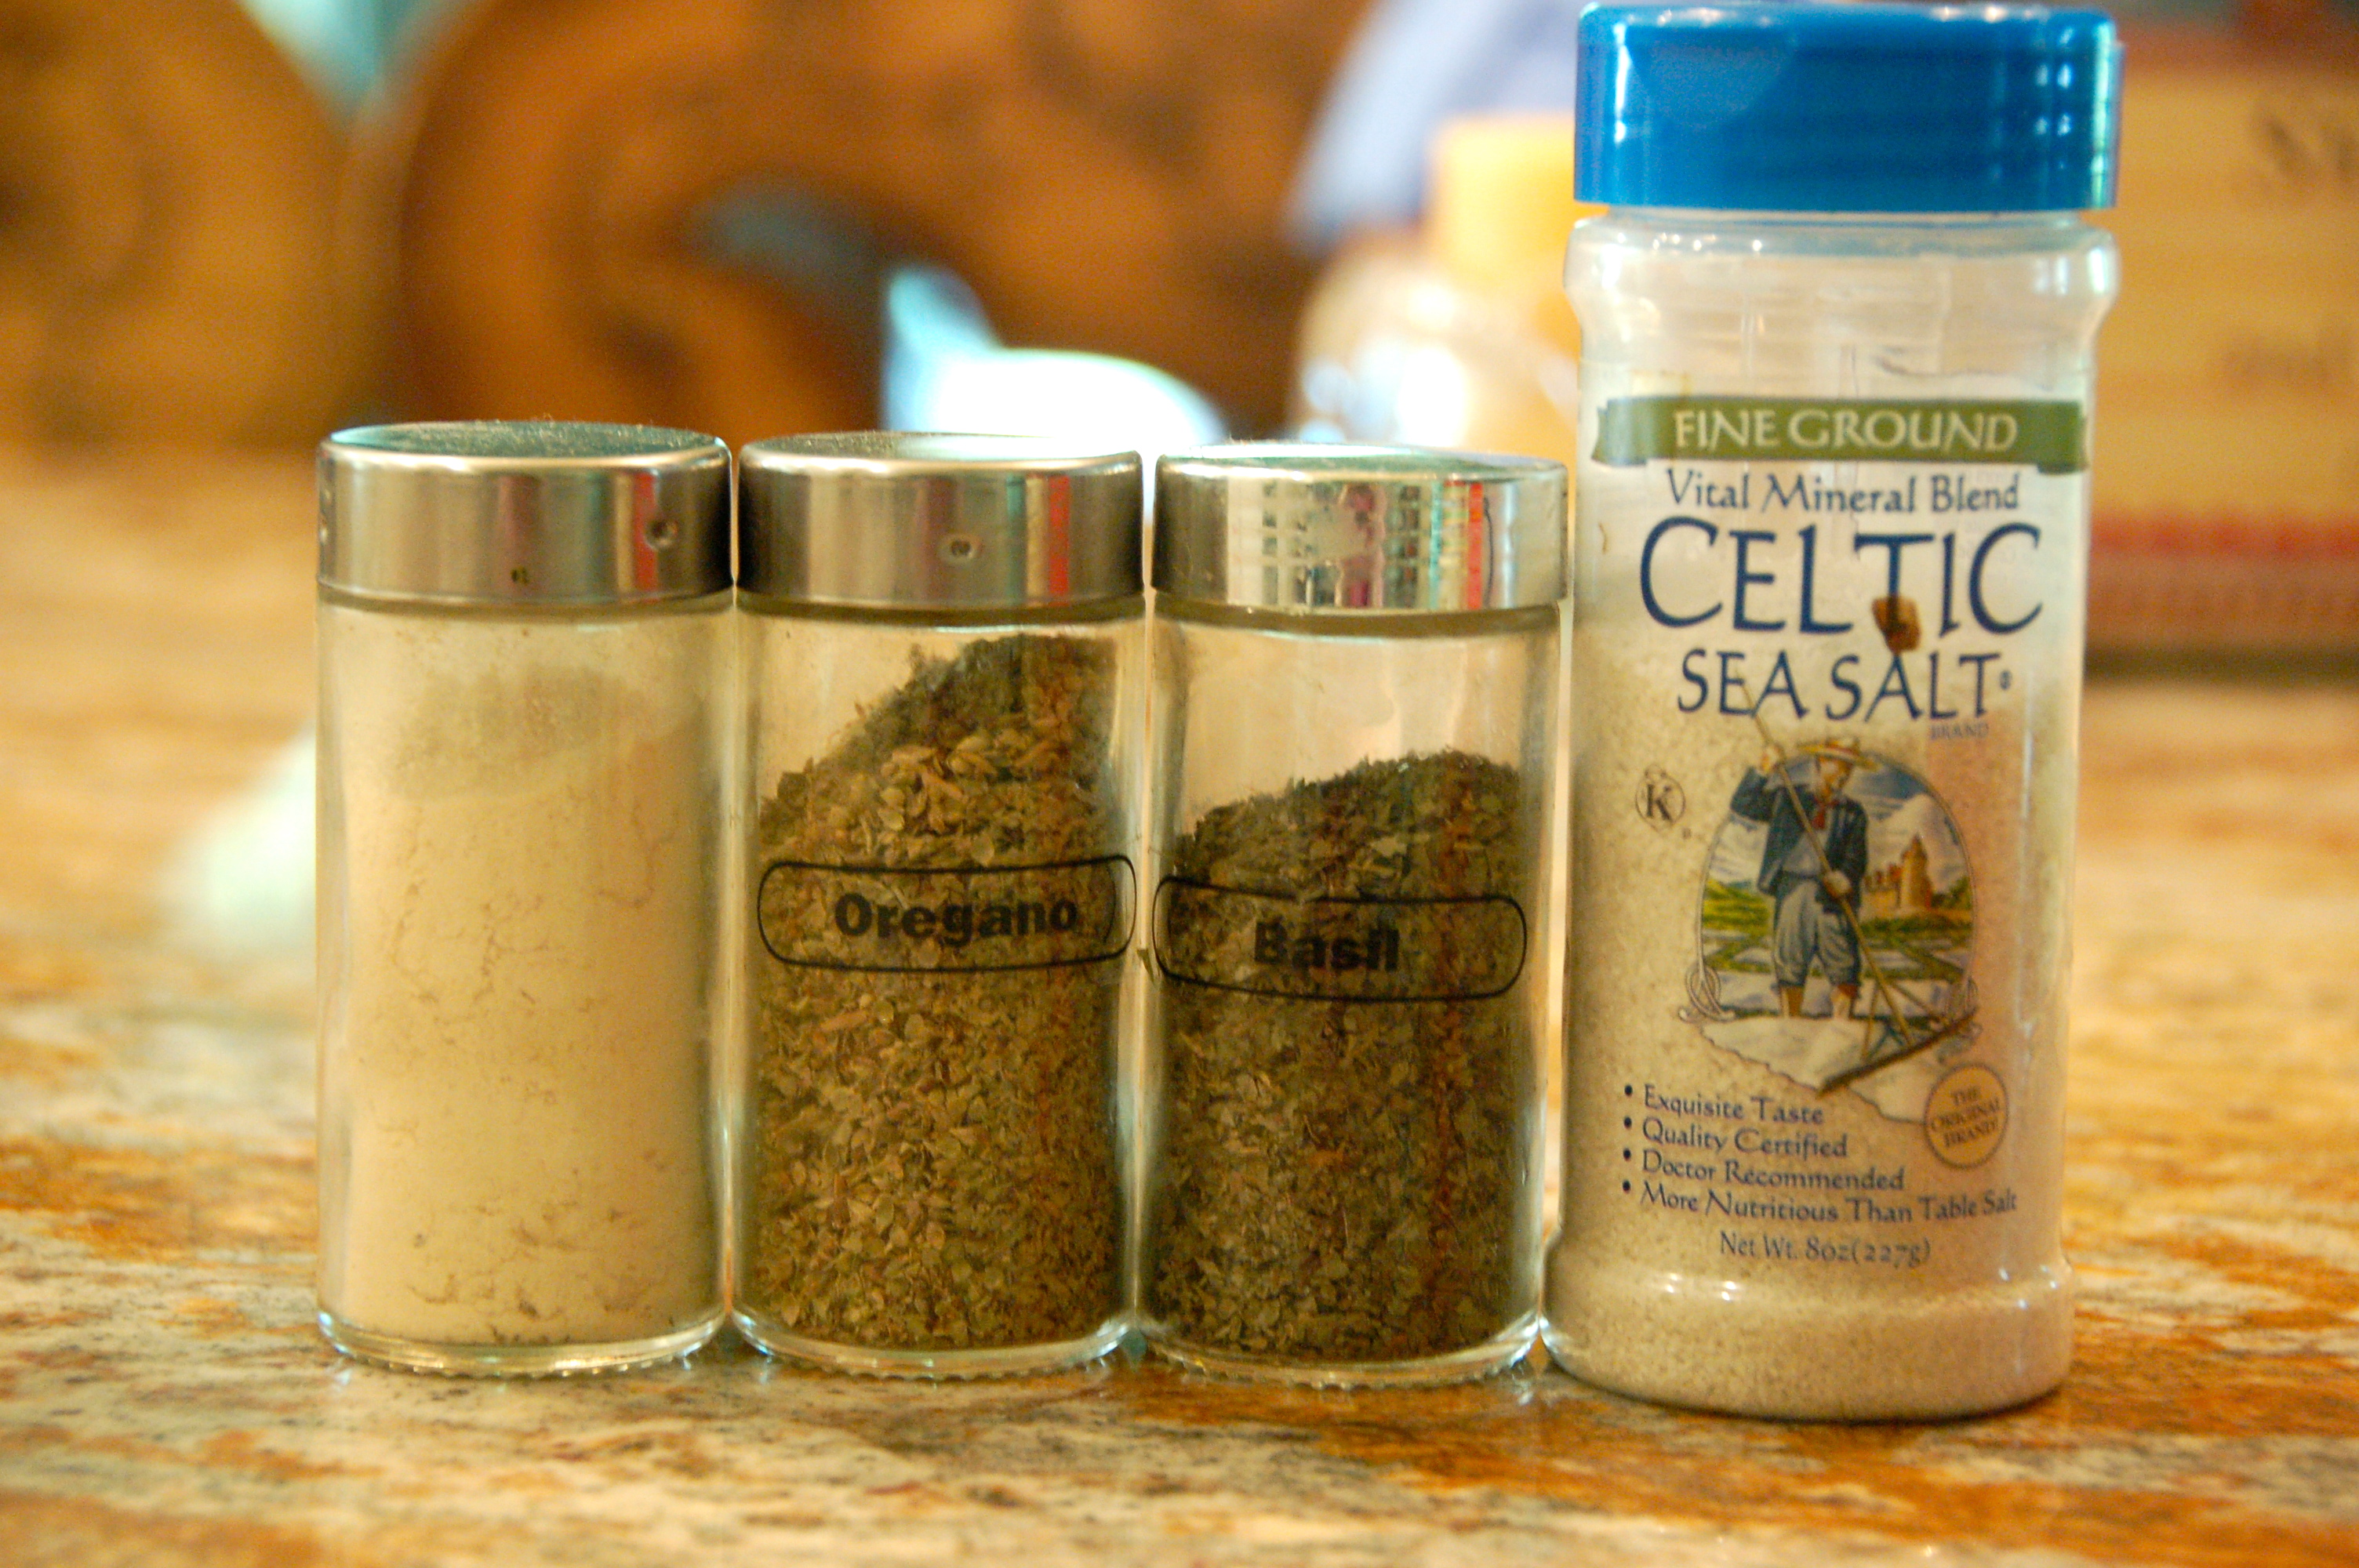
1/2 tsp sea salt

1/2 tsp dried oregano

1/2 tsp dried basil

1/2 tsp garlic powder

drizzle of organic extra virgin olive oil

DIRECTIONS:

1. Preheat oven to 375 degrees.

DSC_0257

DSC_0251

DSC_0263

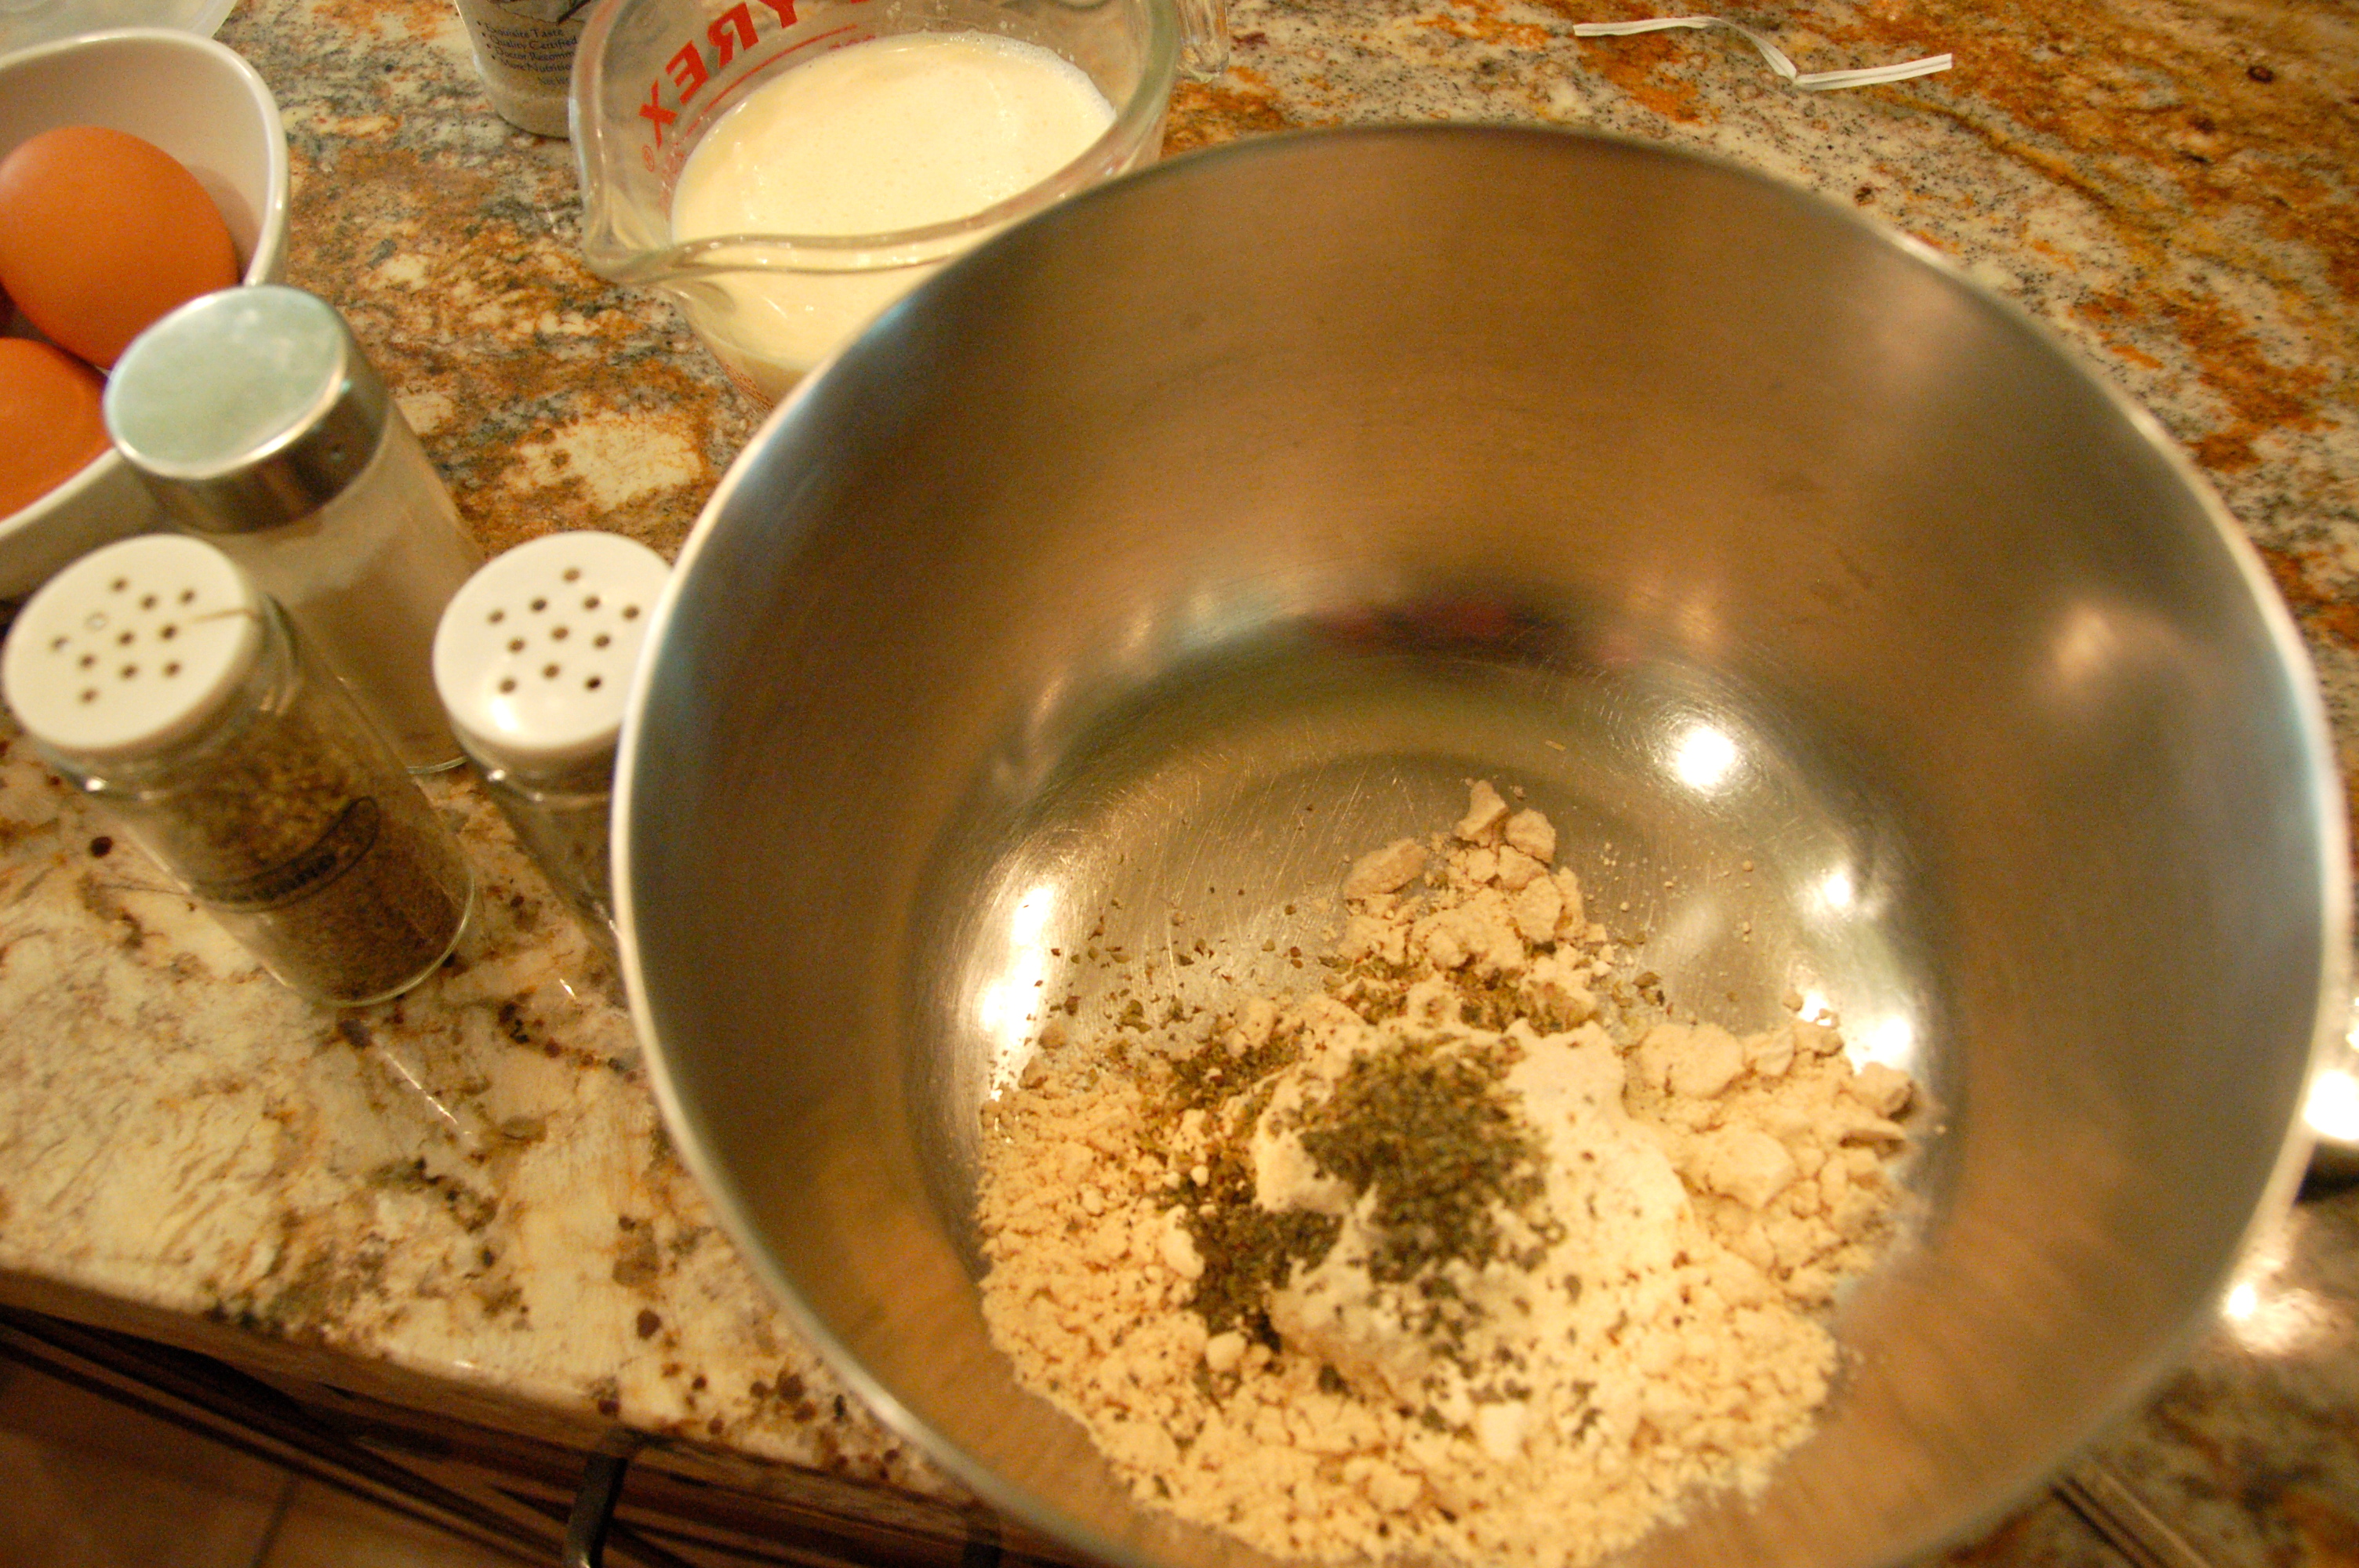
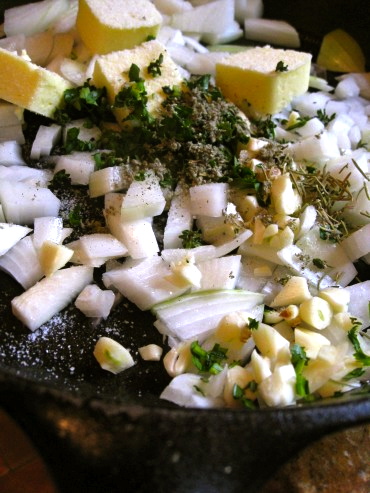
2. Mix together the coconut flour, sea salt, herbs, & garlic powder in a bowl.

DSC_0262

DSC_0264

DSC_0250

DSC_0266

DSC_0267

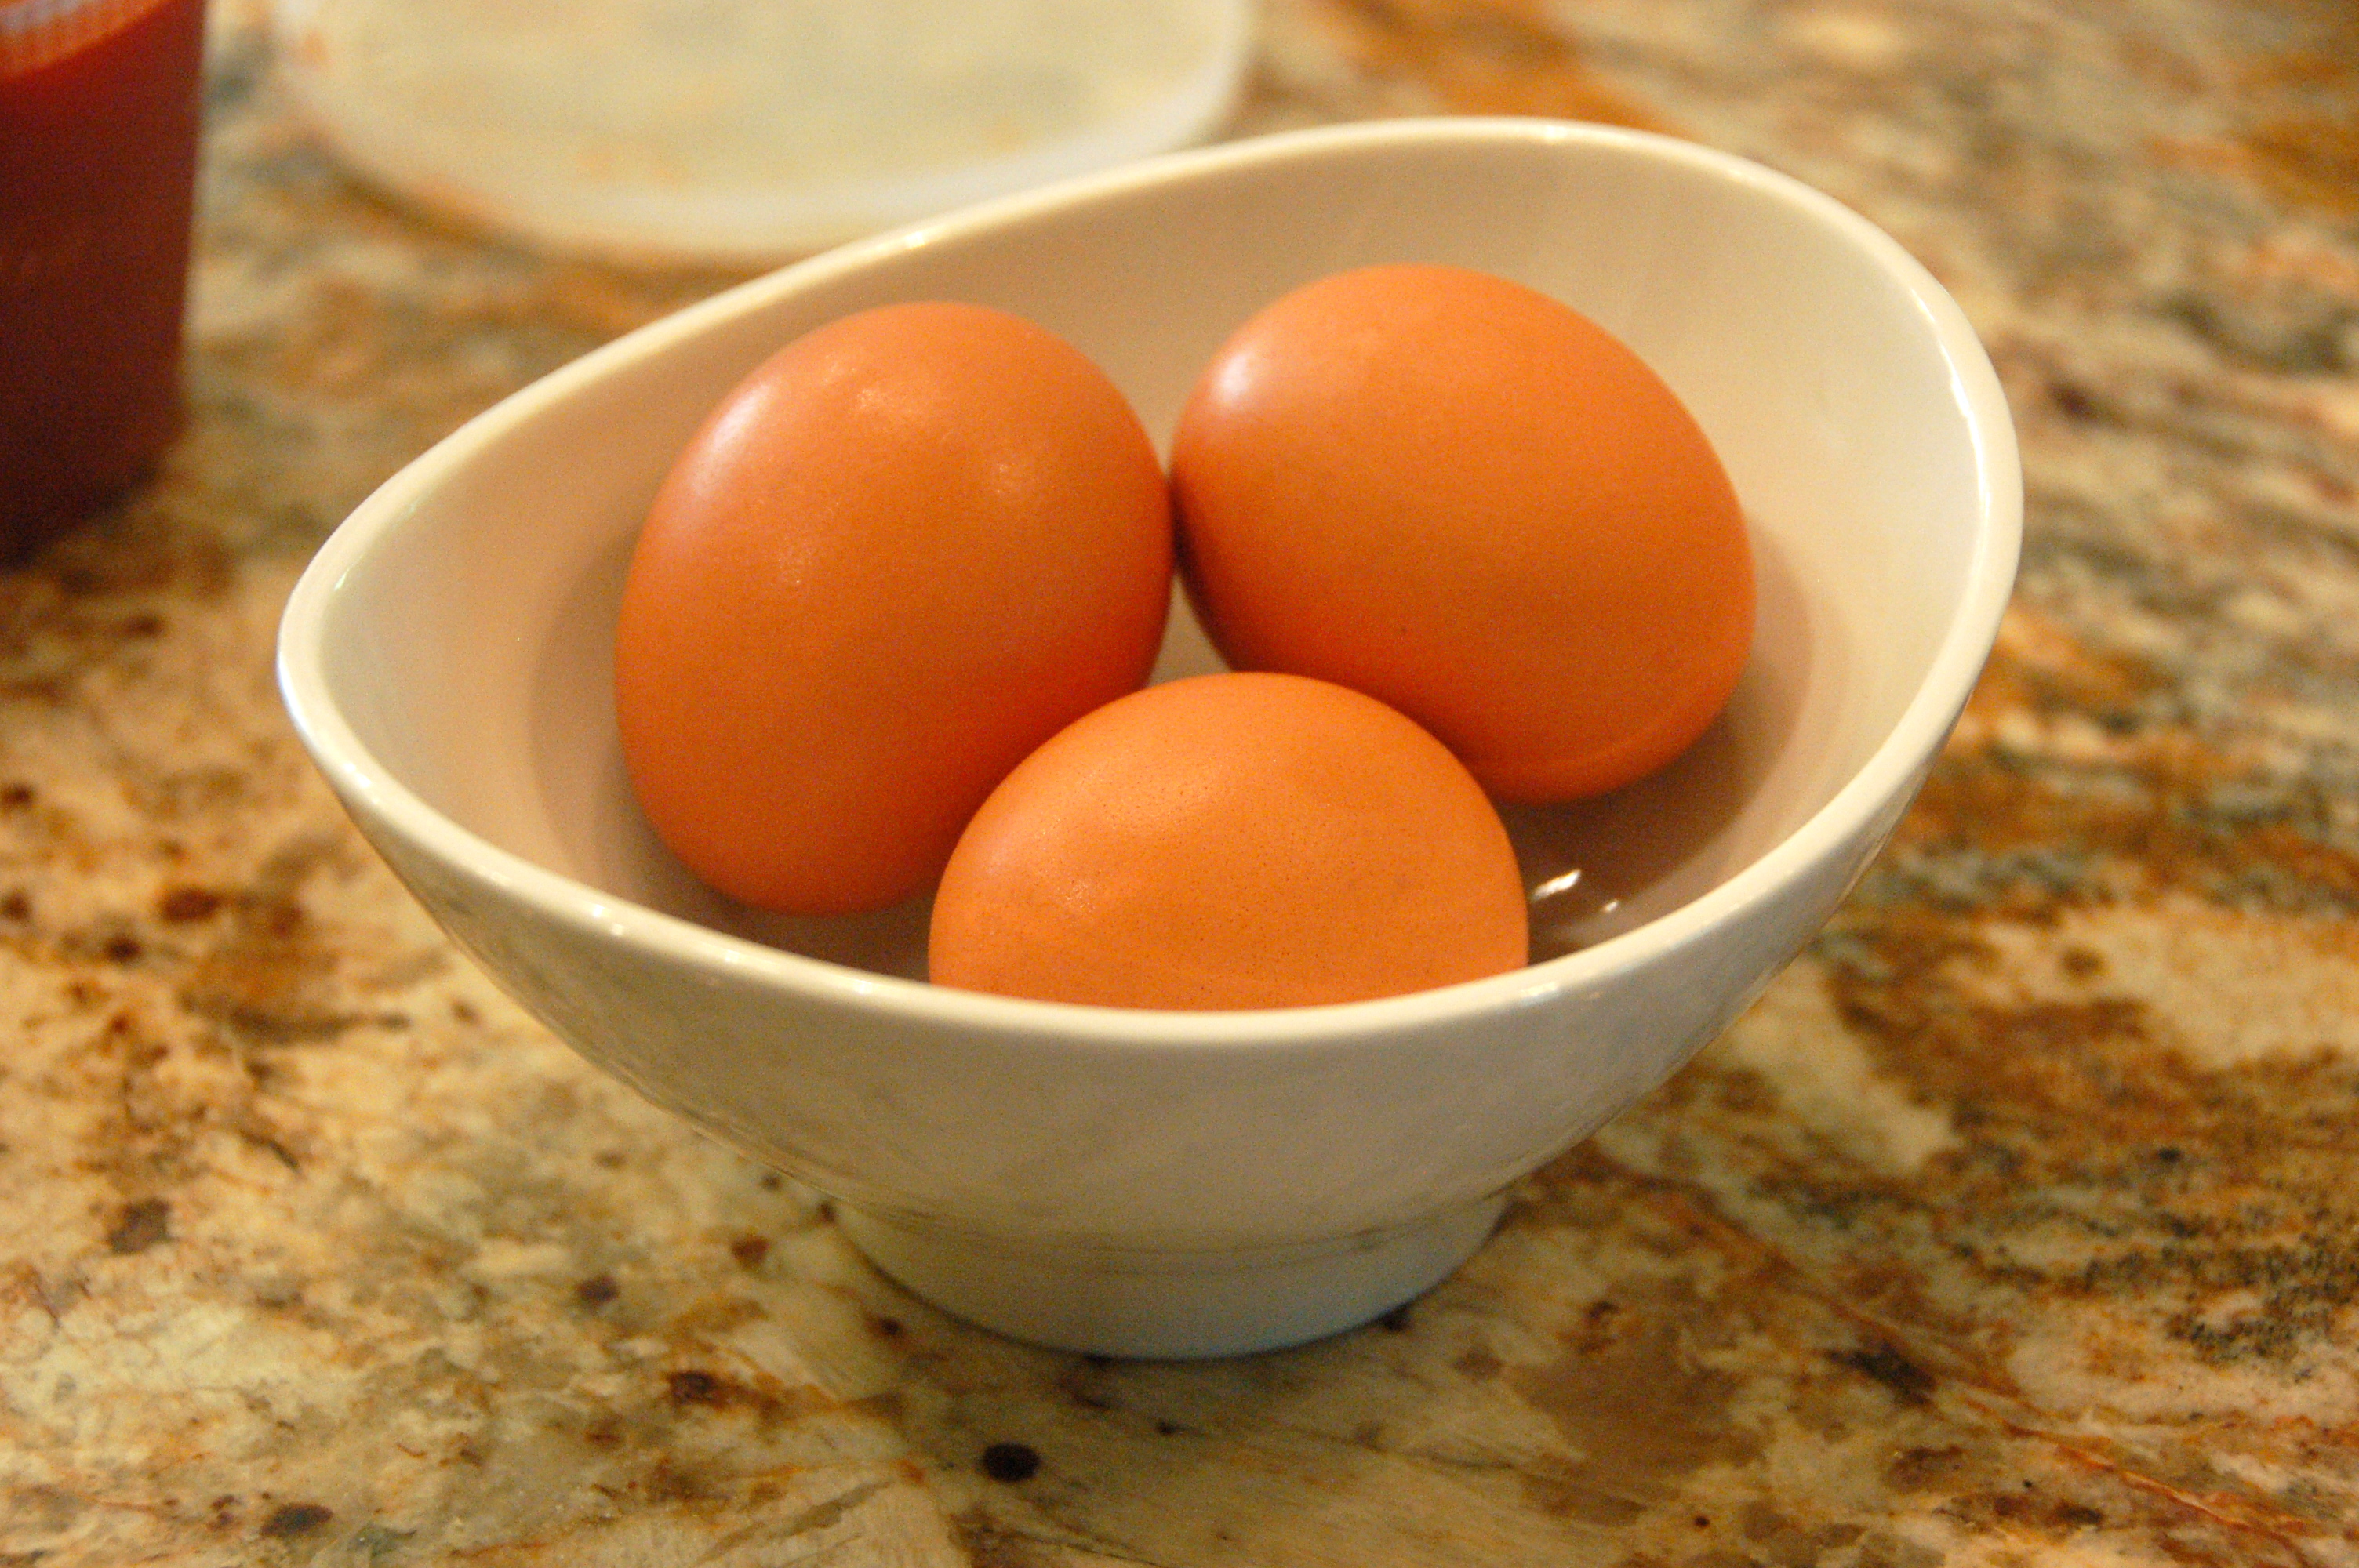
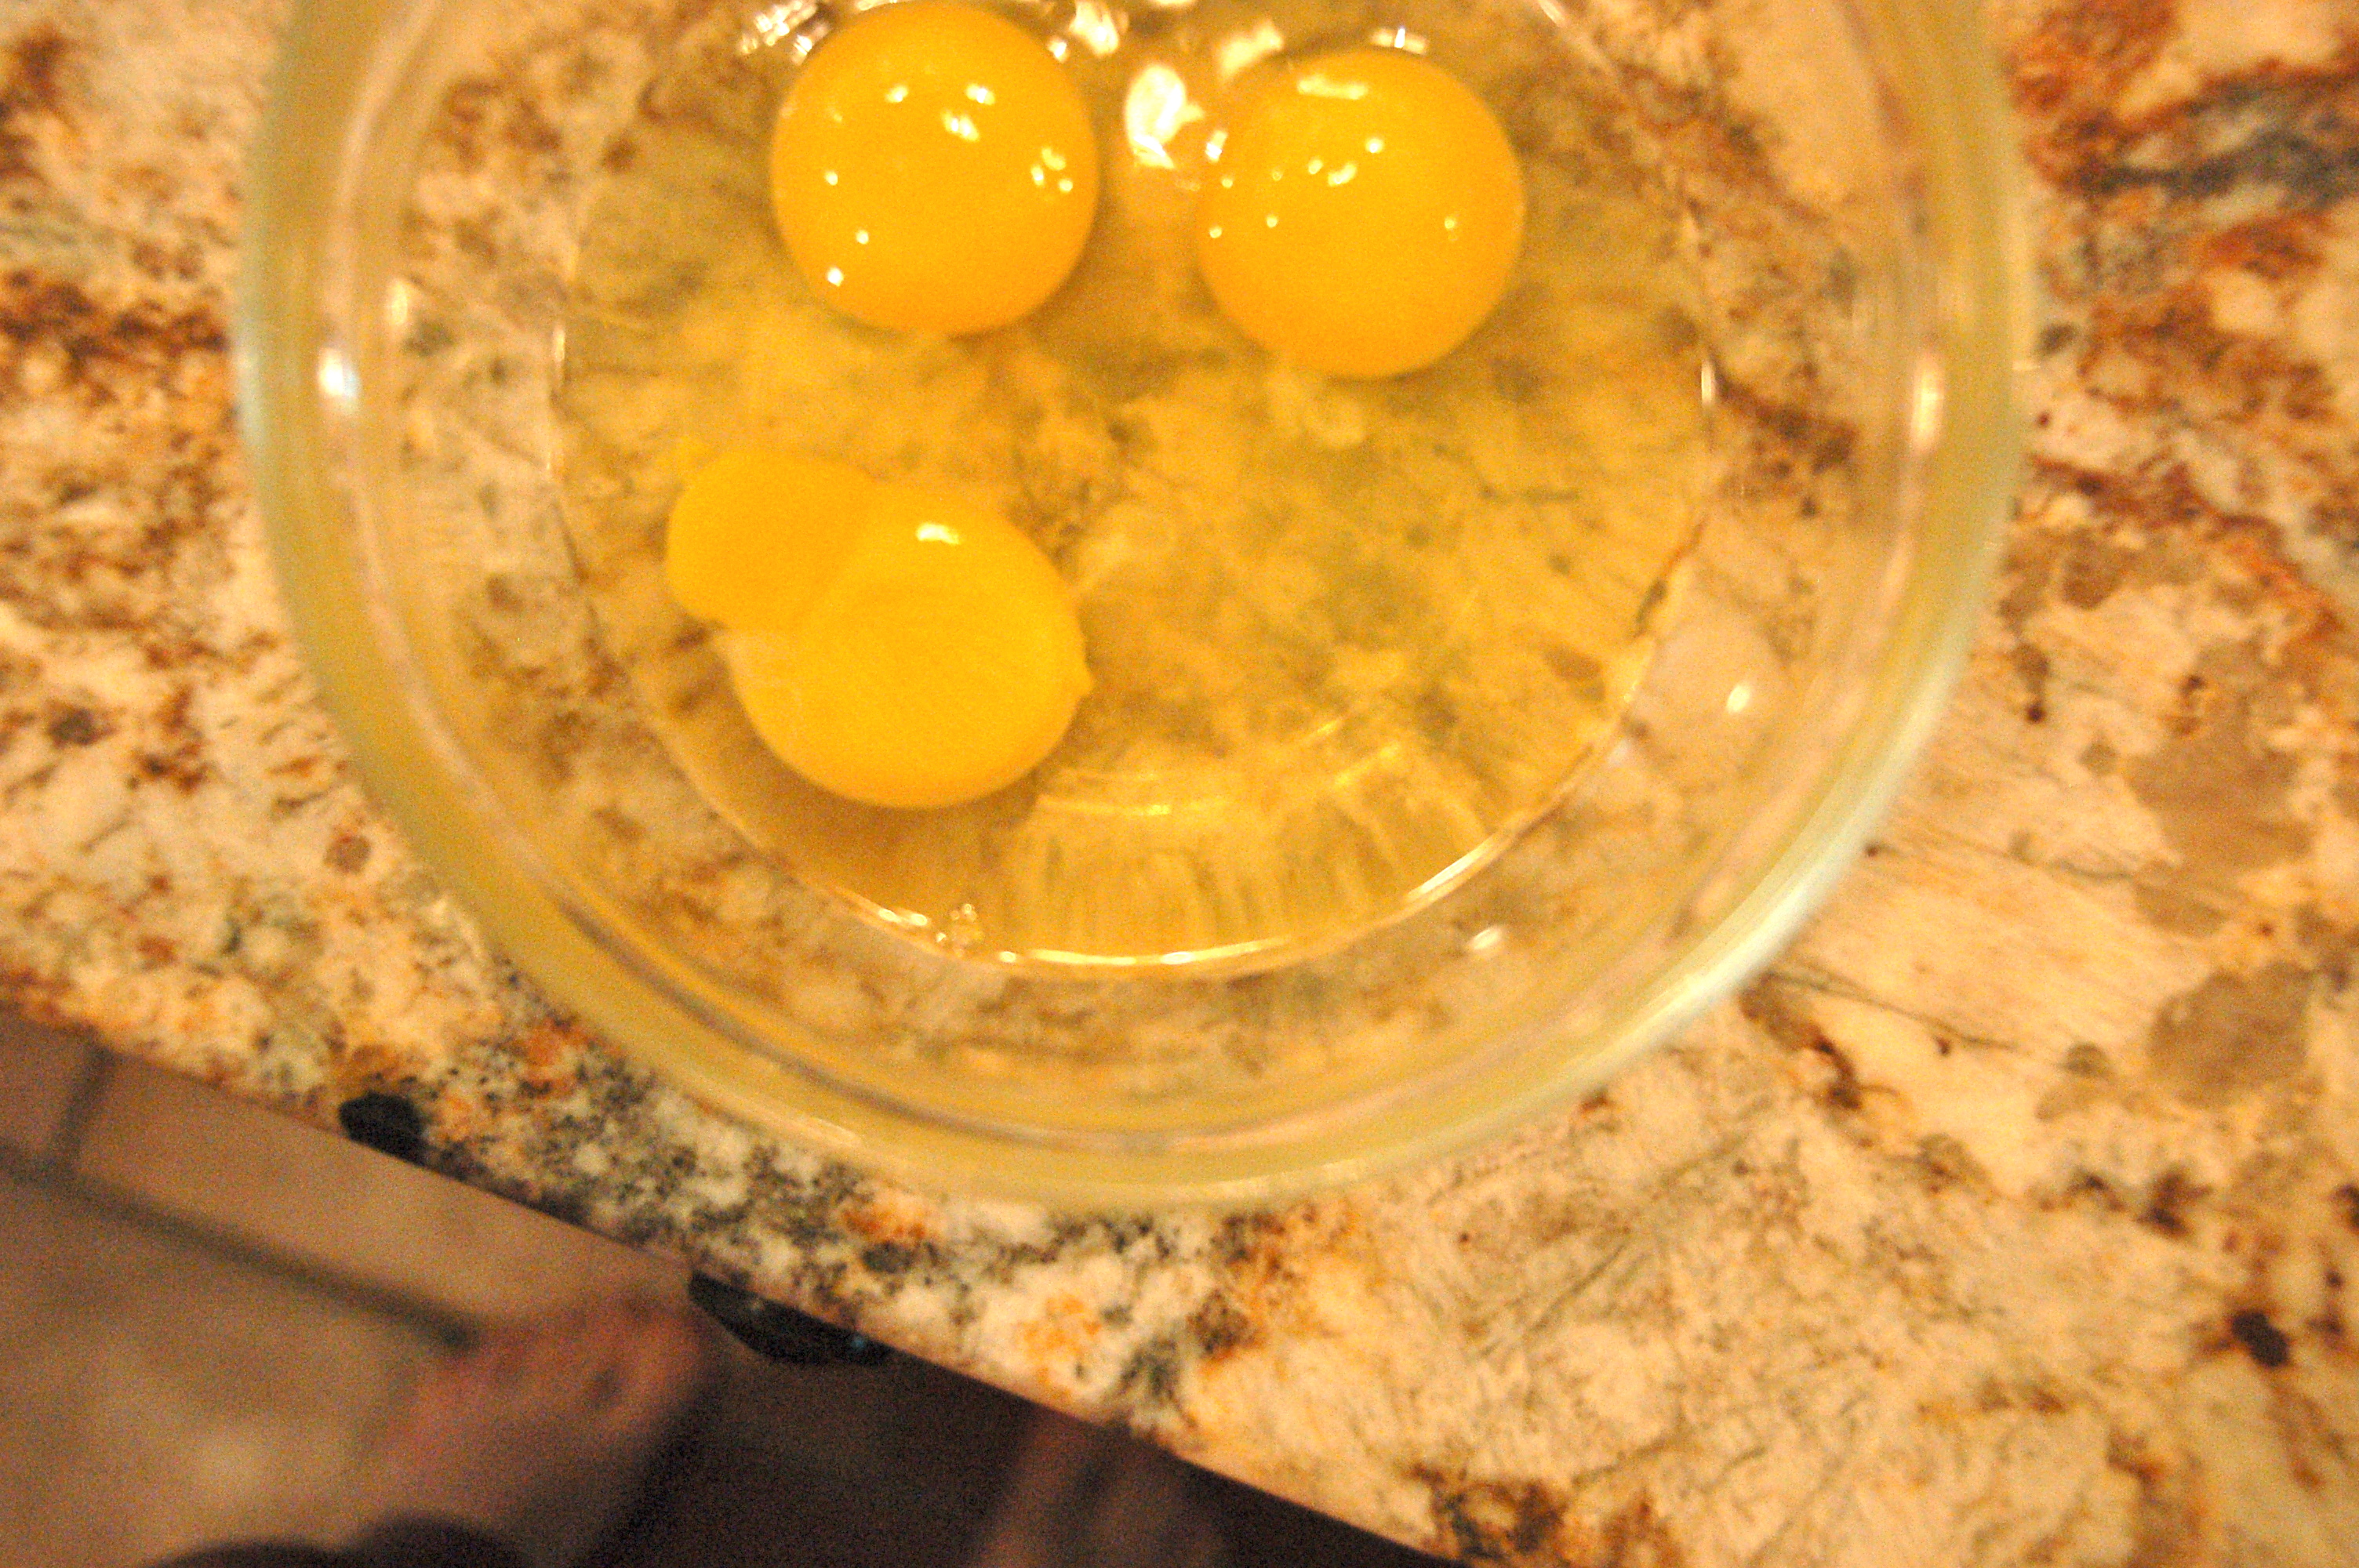
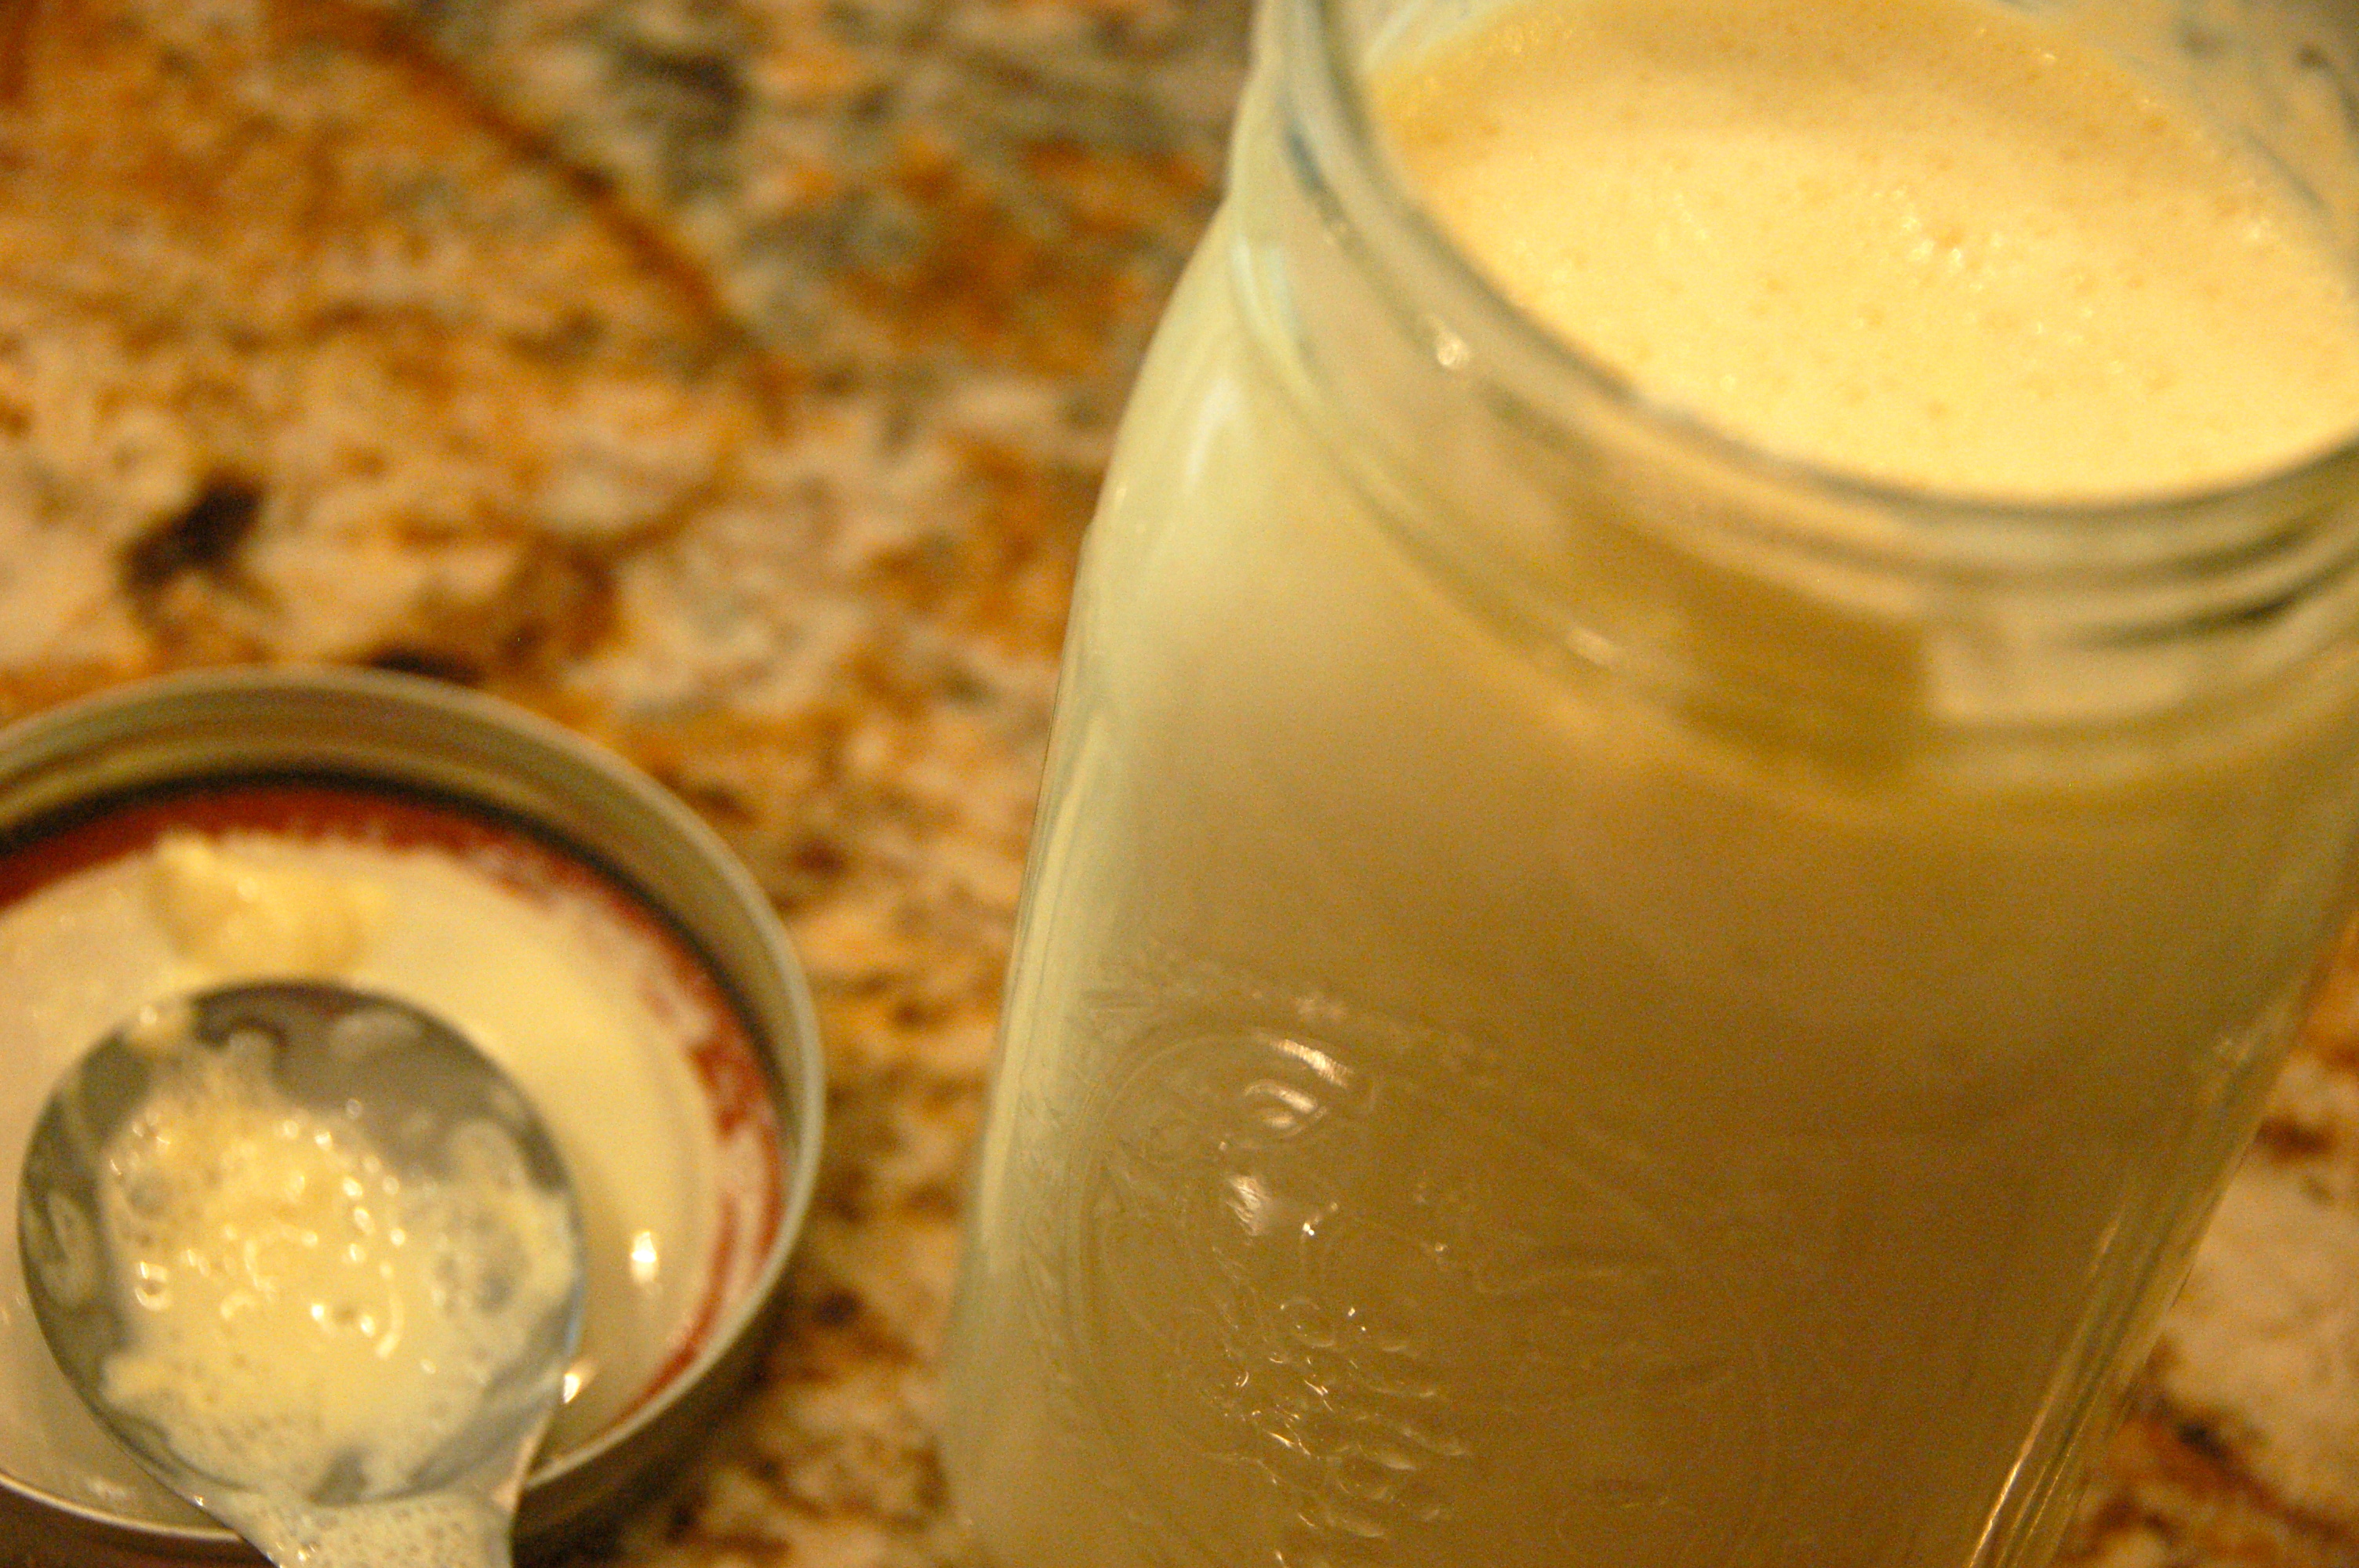
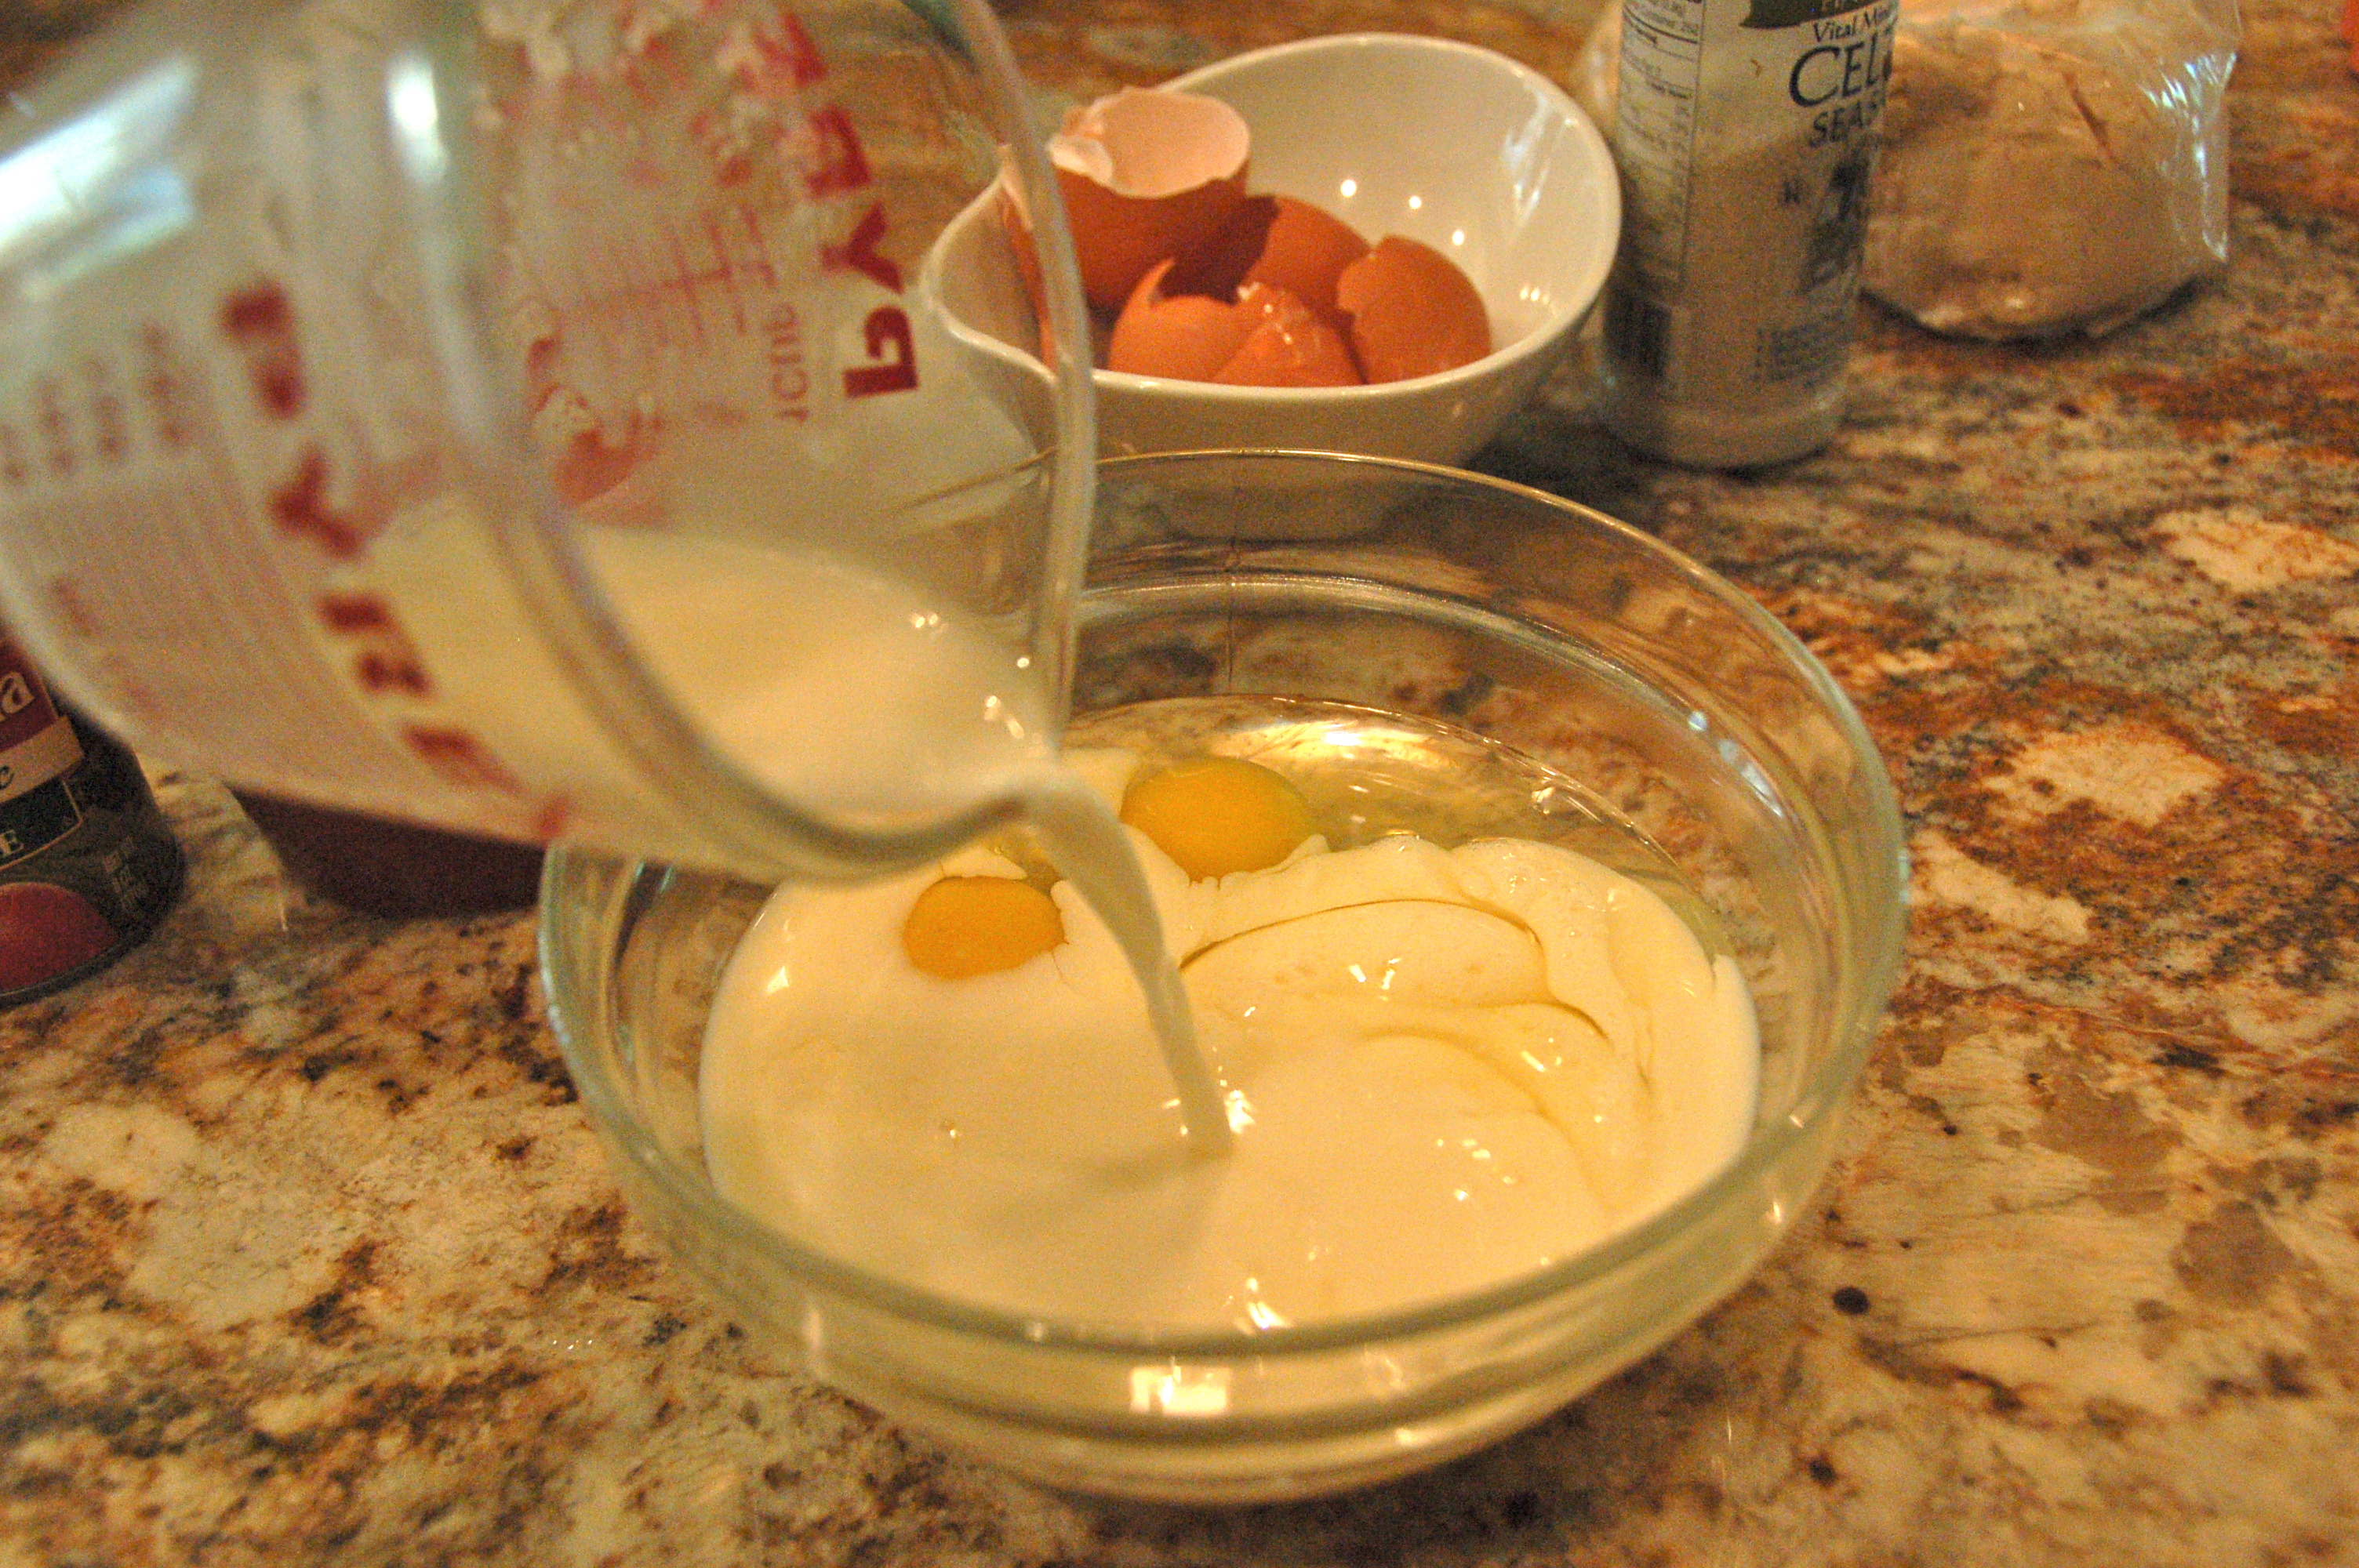
3. Whisk the eggs and coconut milk in a separate bowl.

DSC_0269

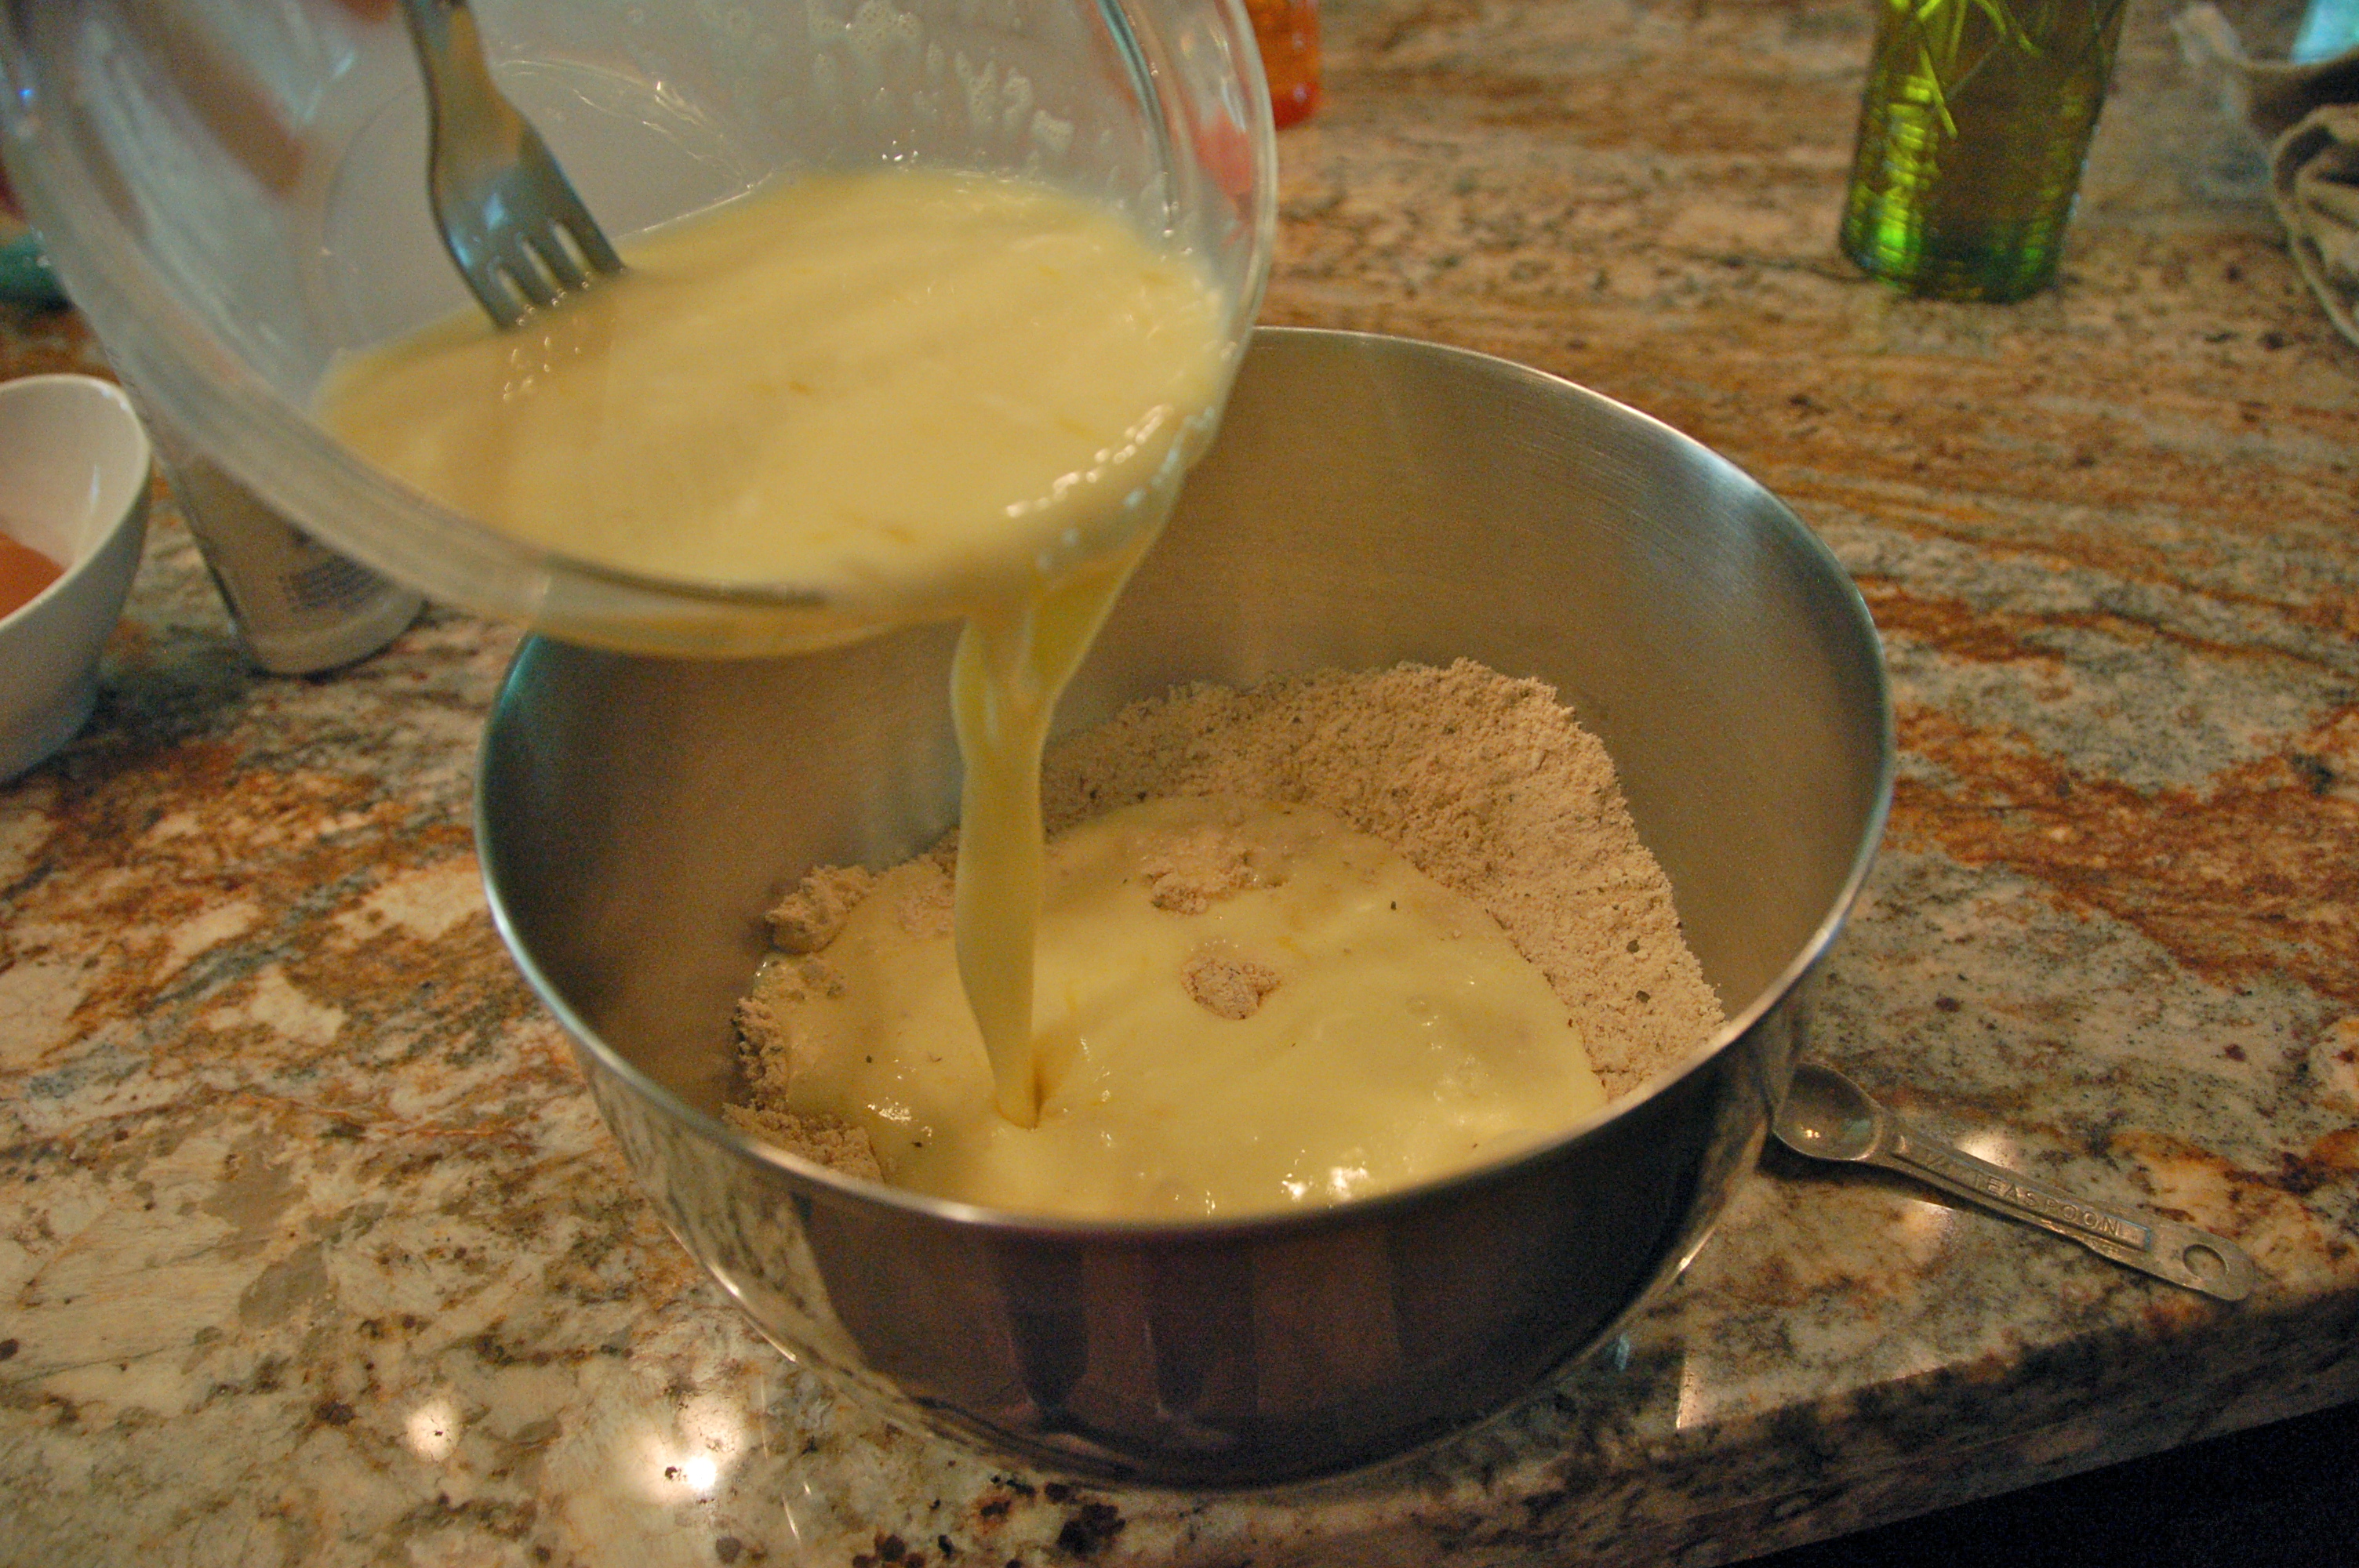
4. Pour the wet ingredients into the coconut flour mixture.

DSC_0270

DSC_0271

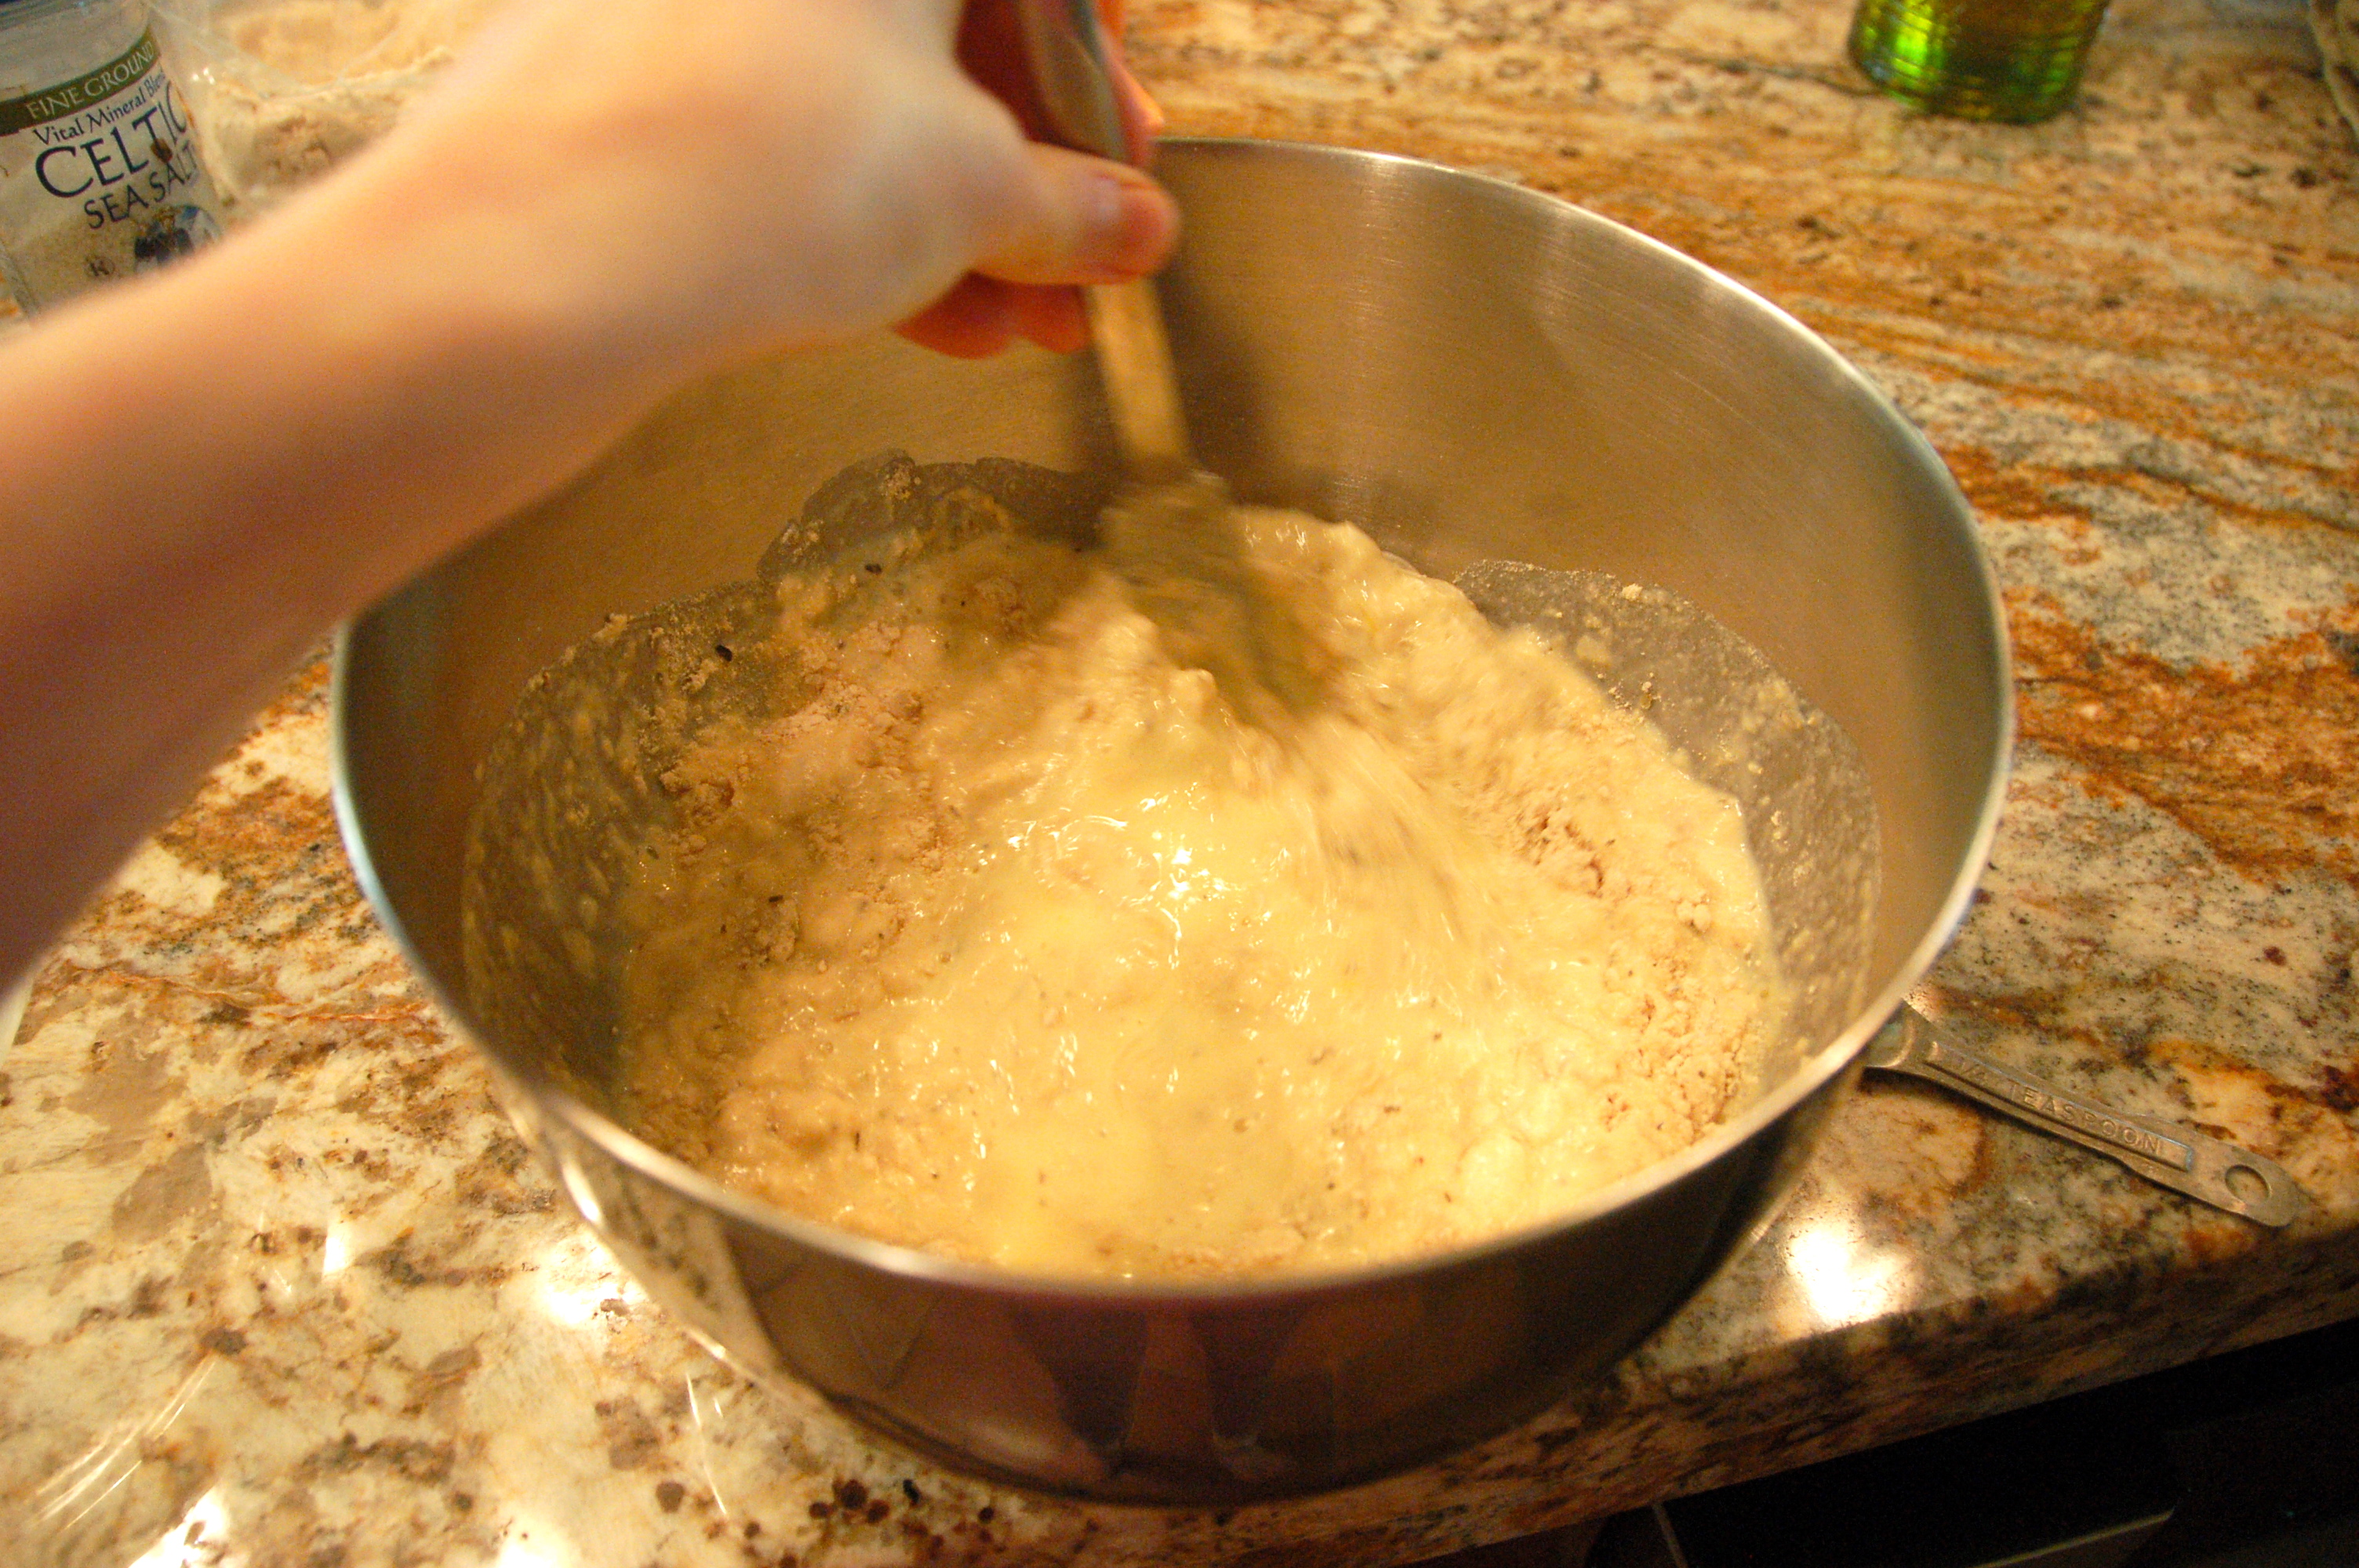
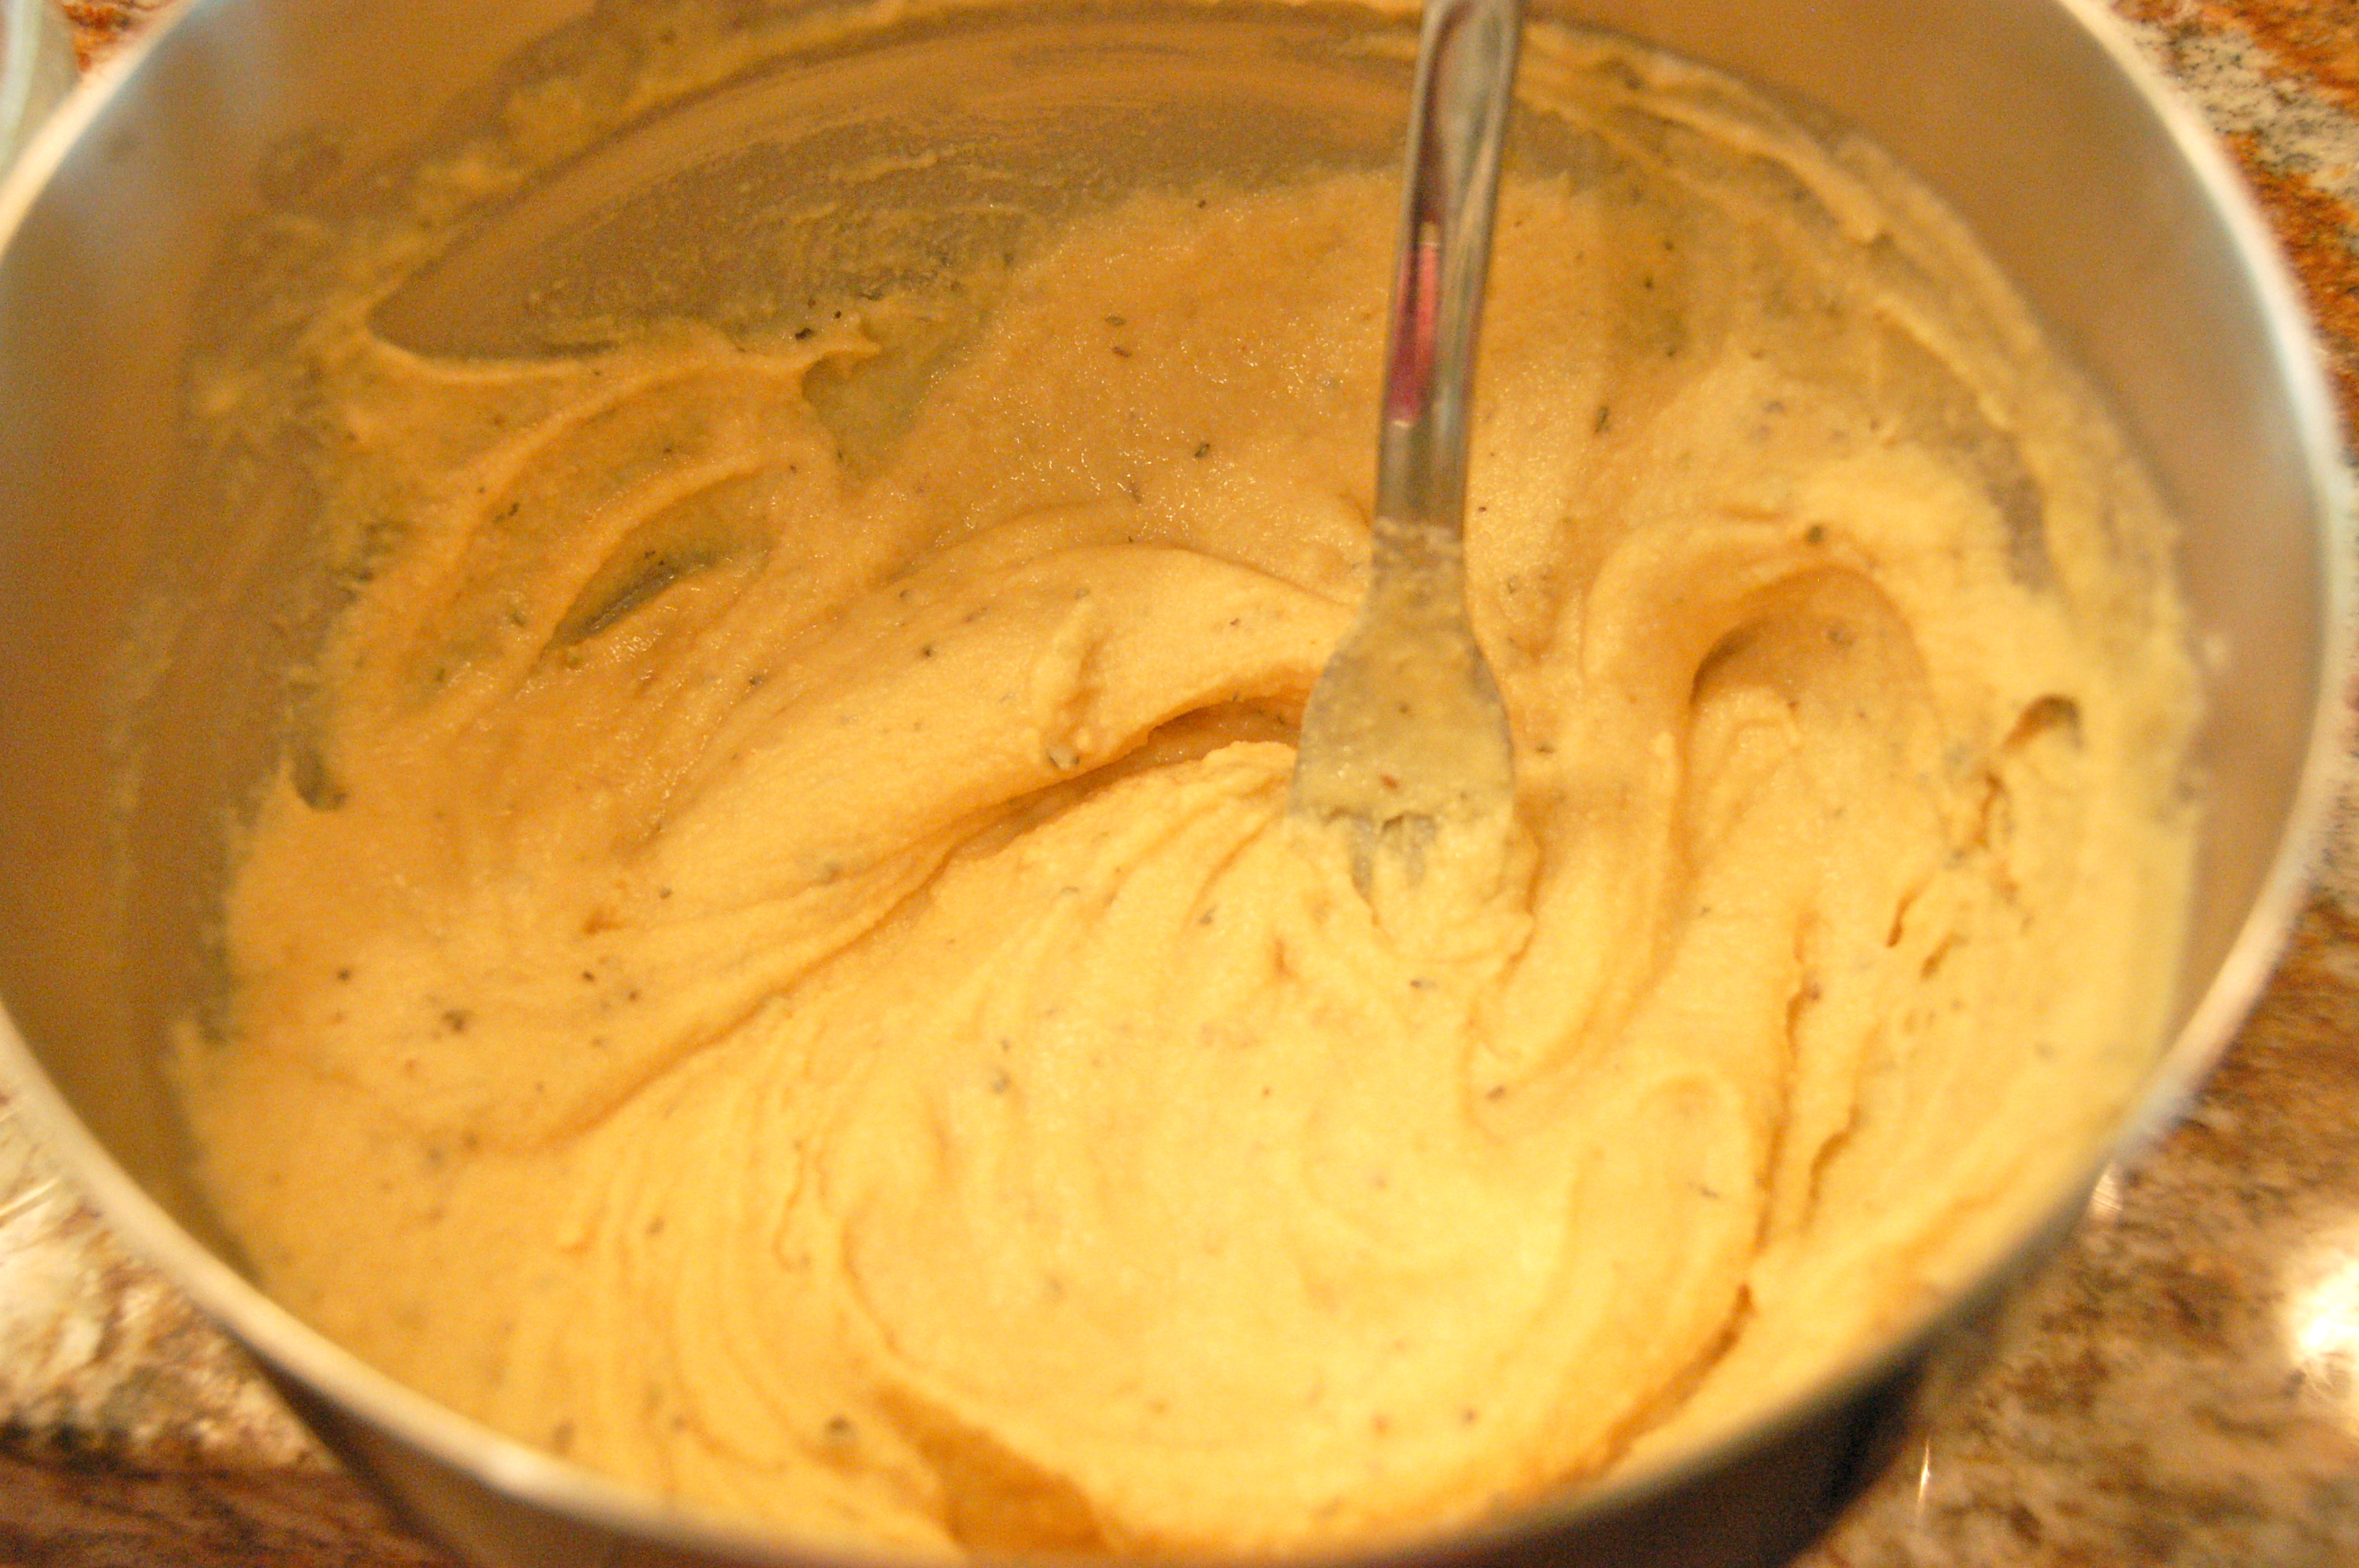
5. Stir until no clumps are left. Let the batter sit for at least 5 minutes (so the coconut flour absorbs all the liquid). It should resemble a thick paste like the picture above.

DSC_0273

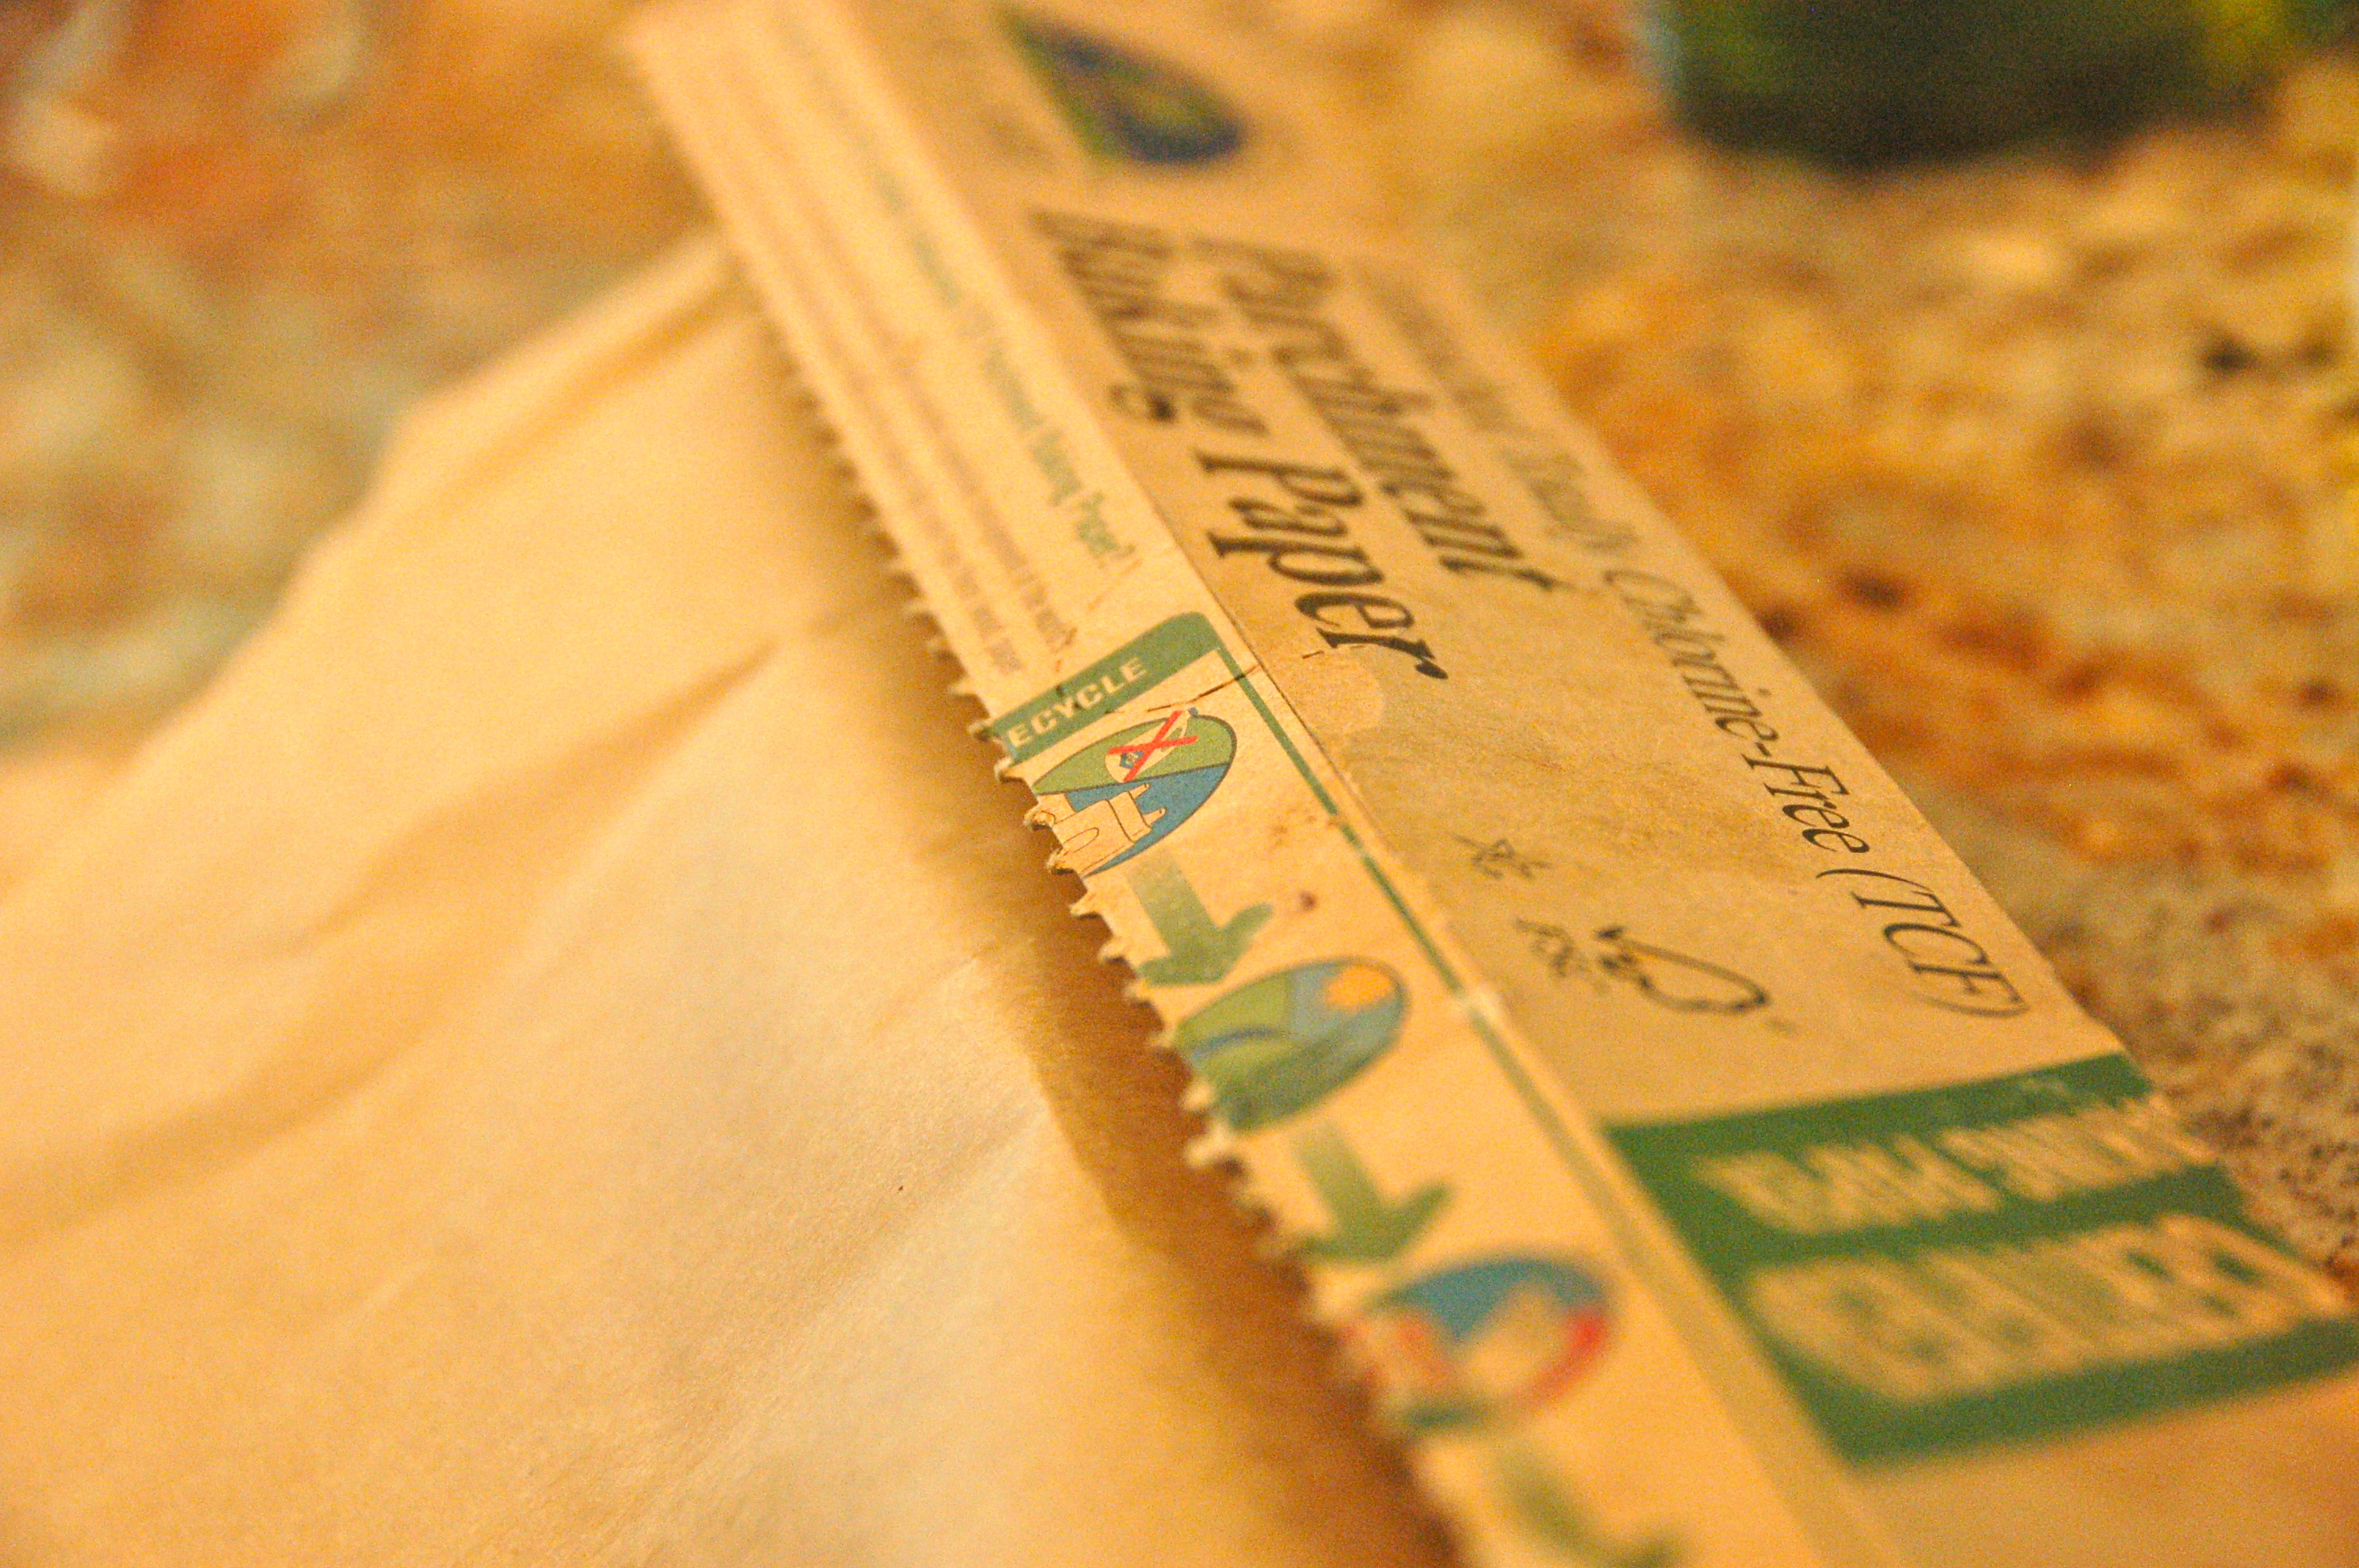
Here is the unbleached parchment paper that I used (click here)

DSC_0280

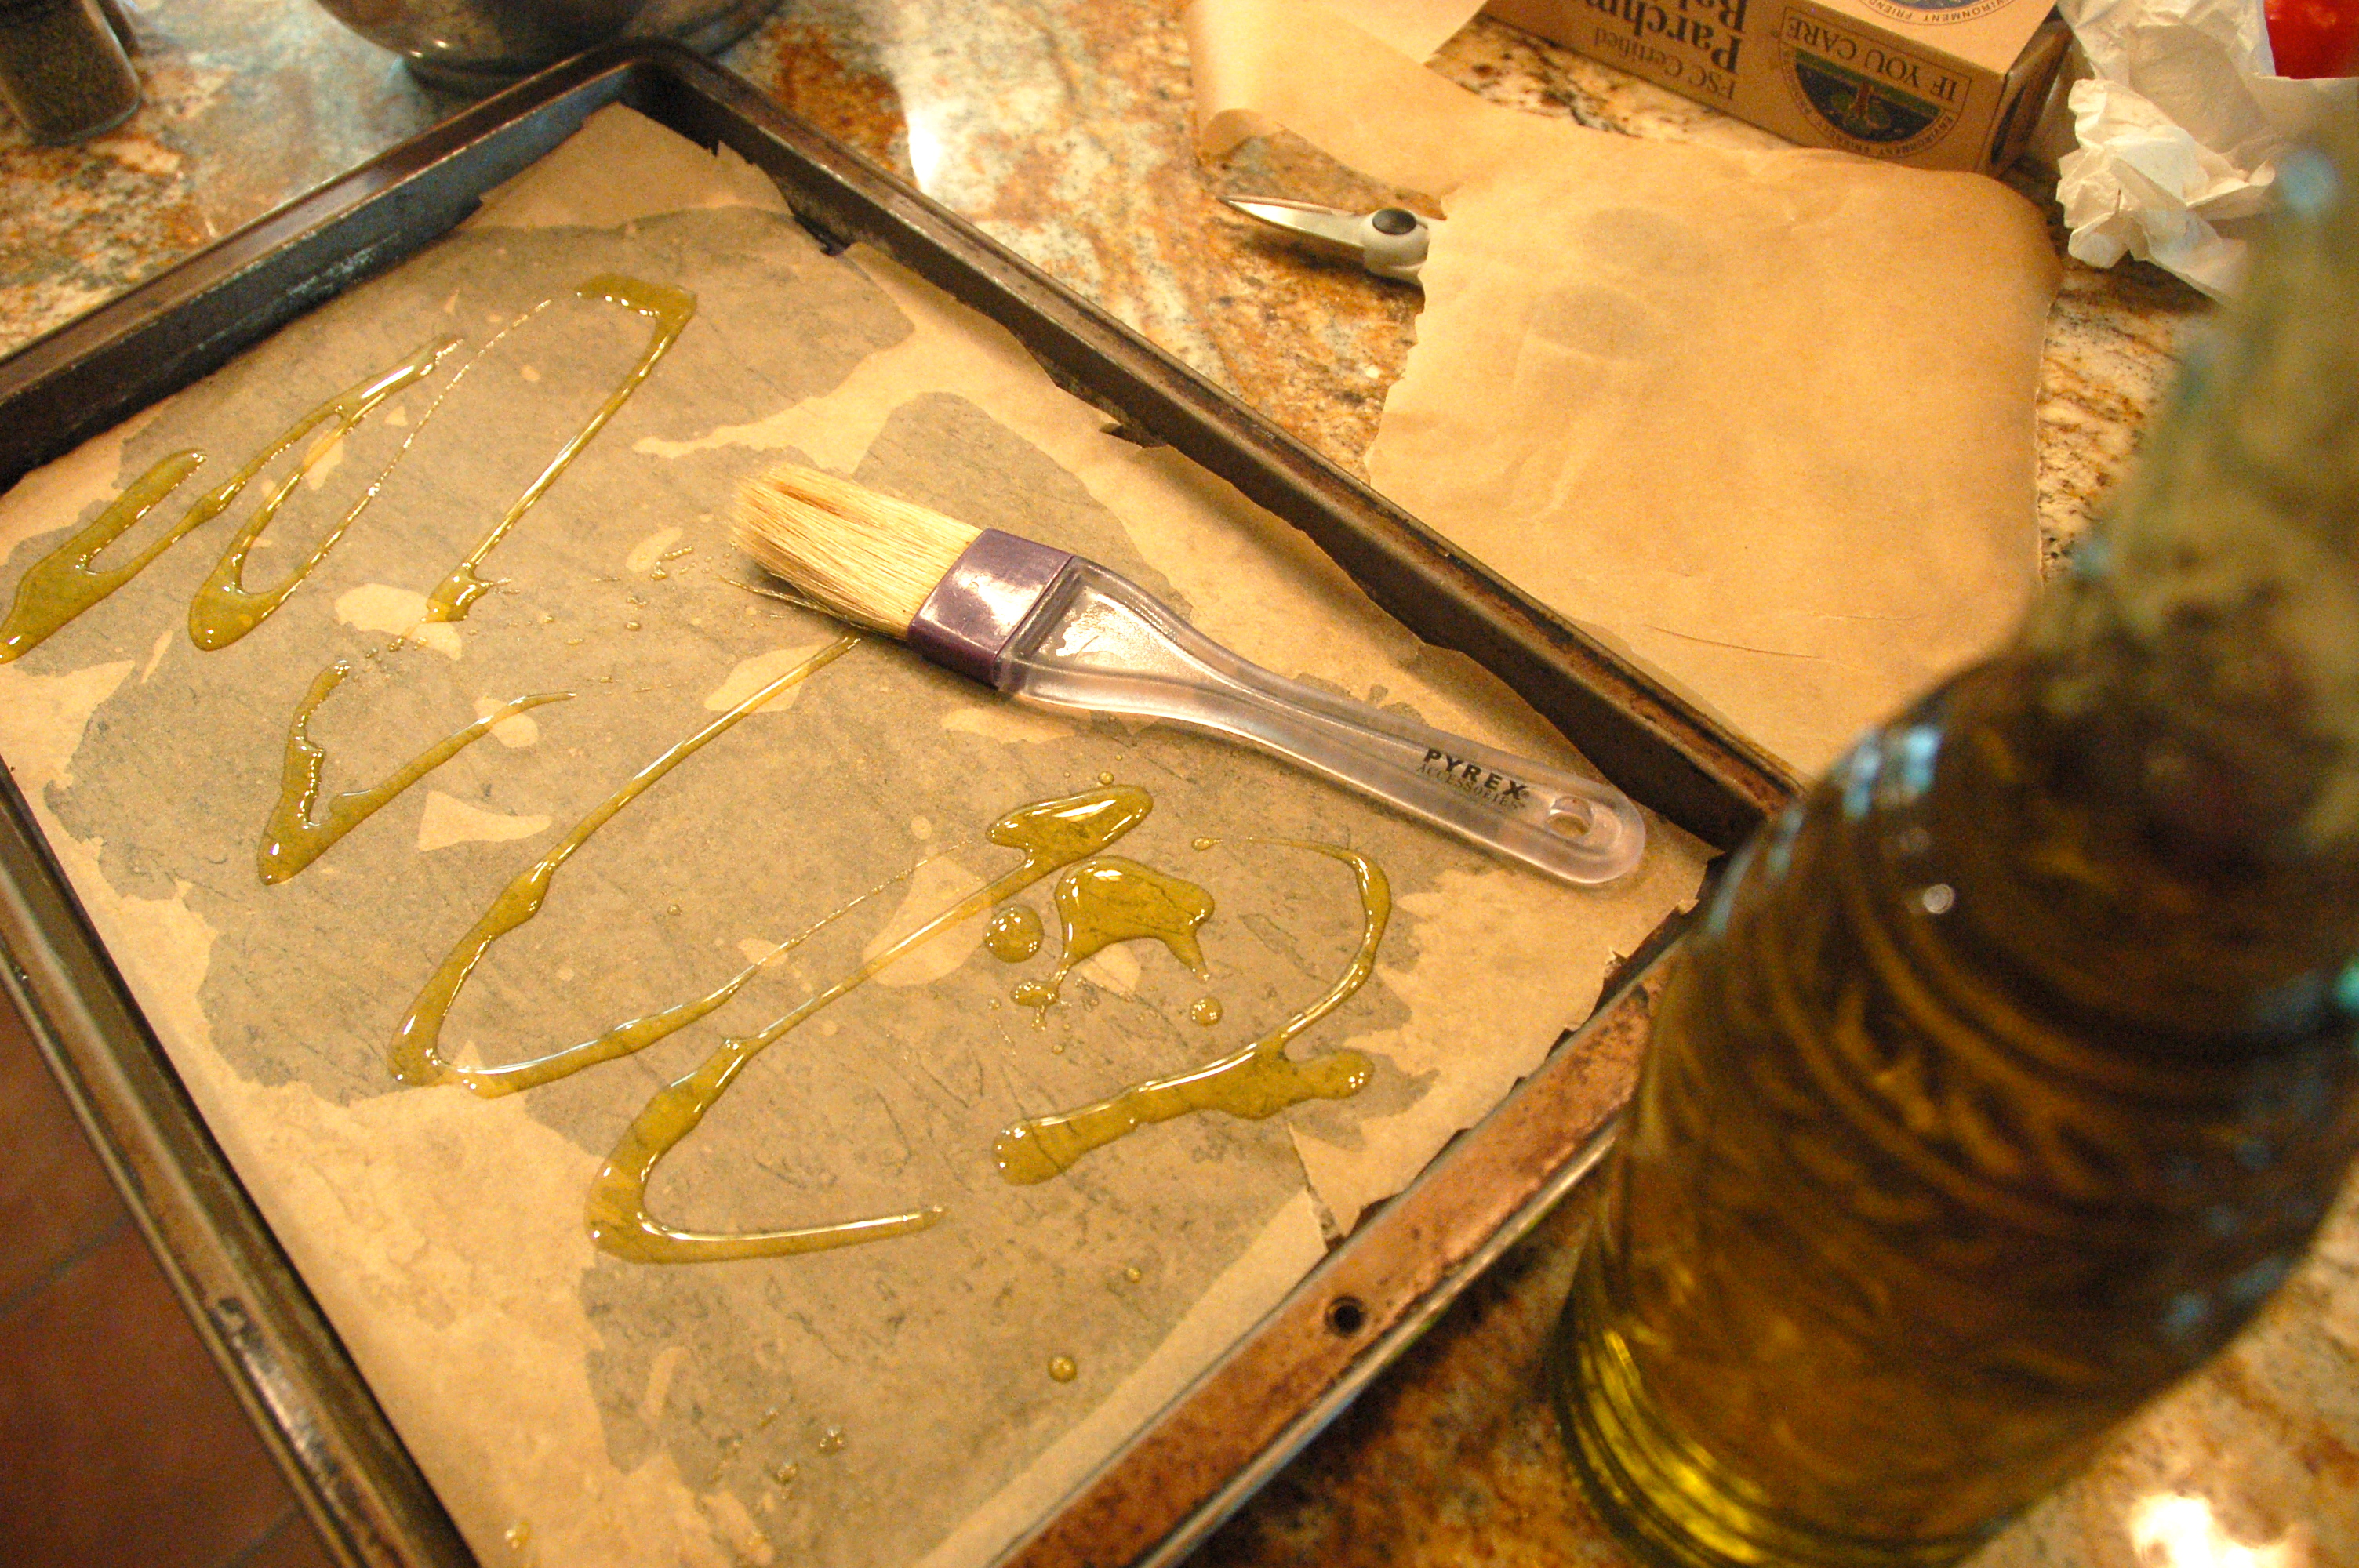
6. Prepare your pan. I drizzle some olive oil on the bottom of pan (10 x 15 ” rimmed pan) and then place the parchment paper (oil first helps the corners stick). I also drizzled some olive oil on top of the paper and spread it out with a pastry brush. The olive oil is optional but it gives a nice flavor to the flatbread.

DSC_0281

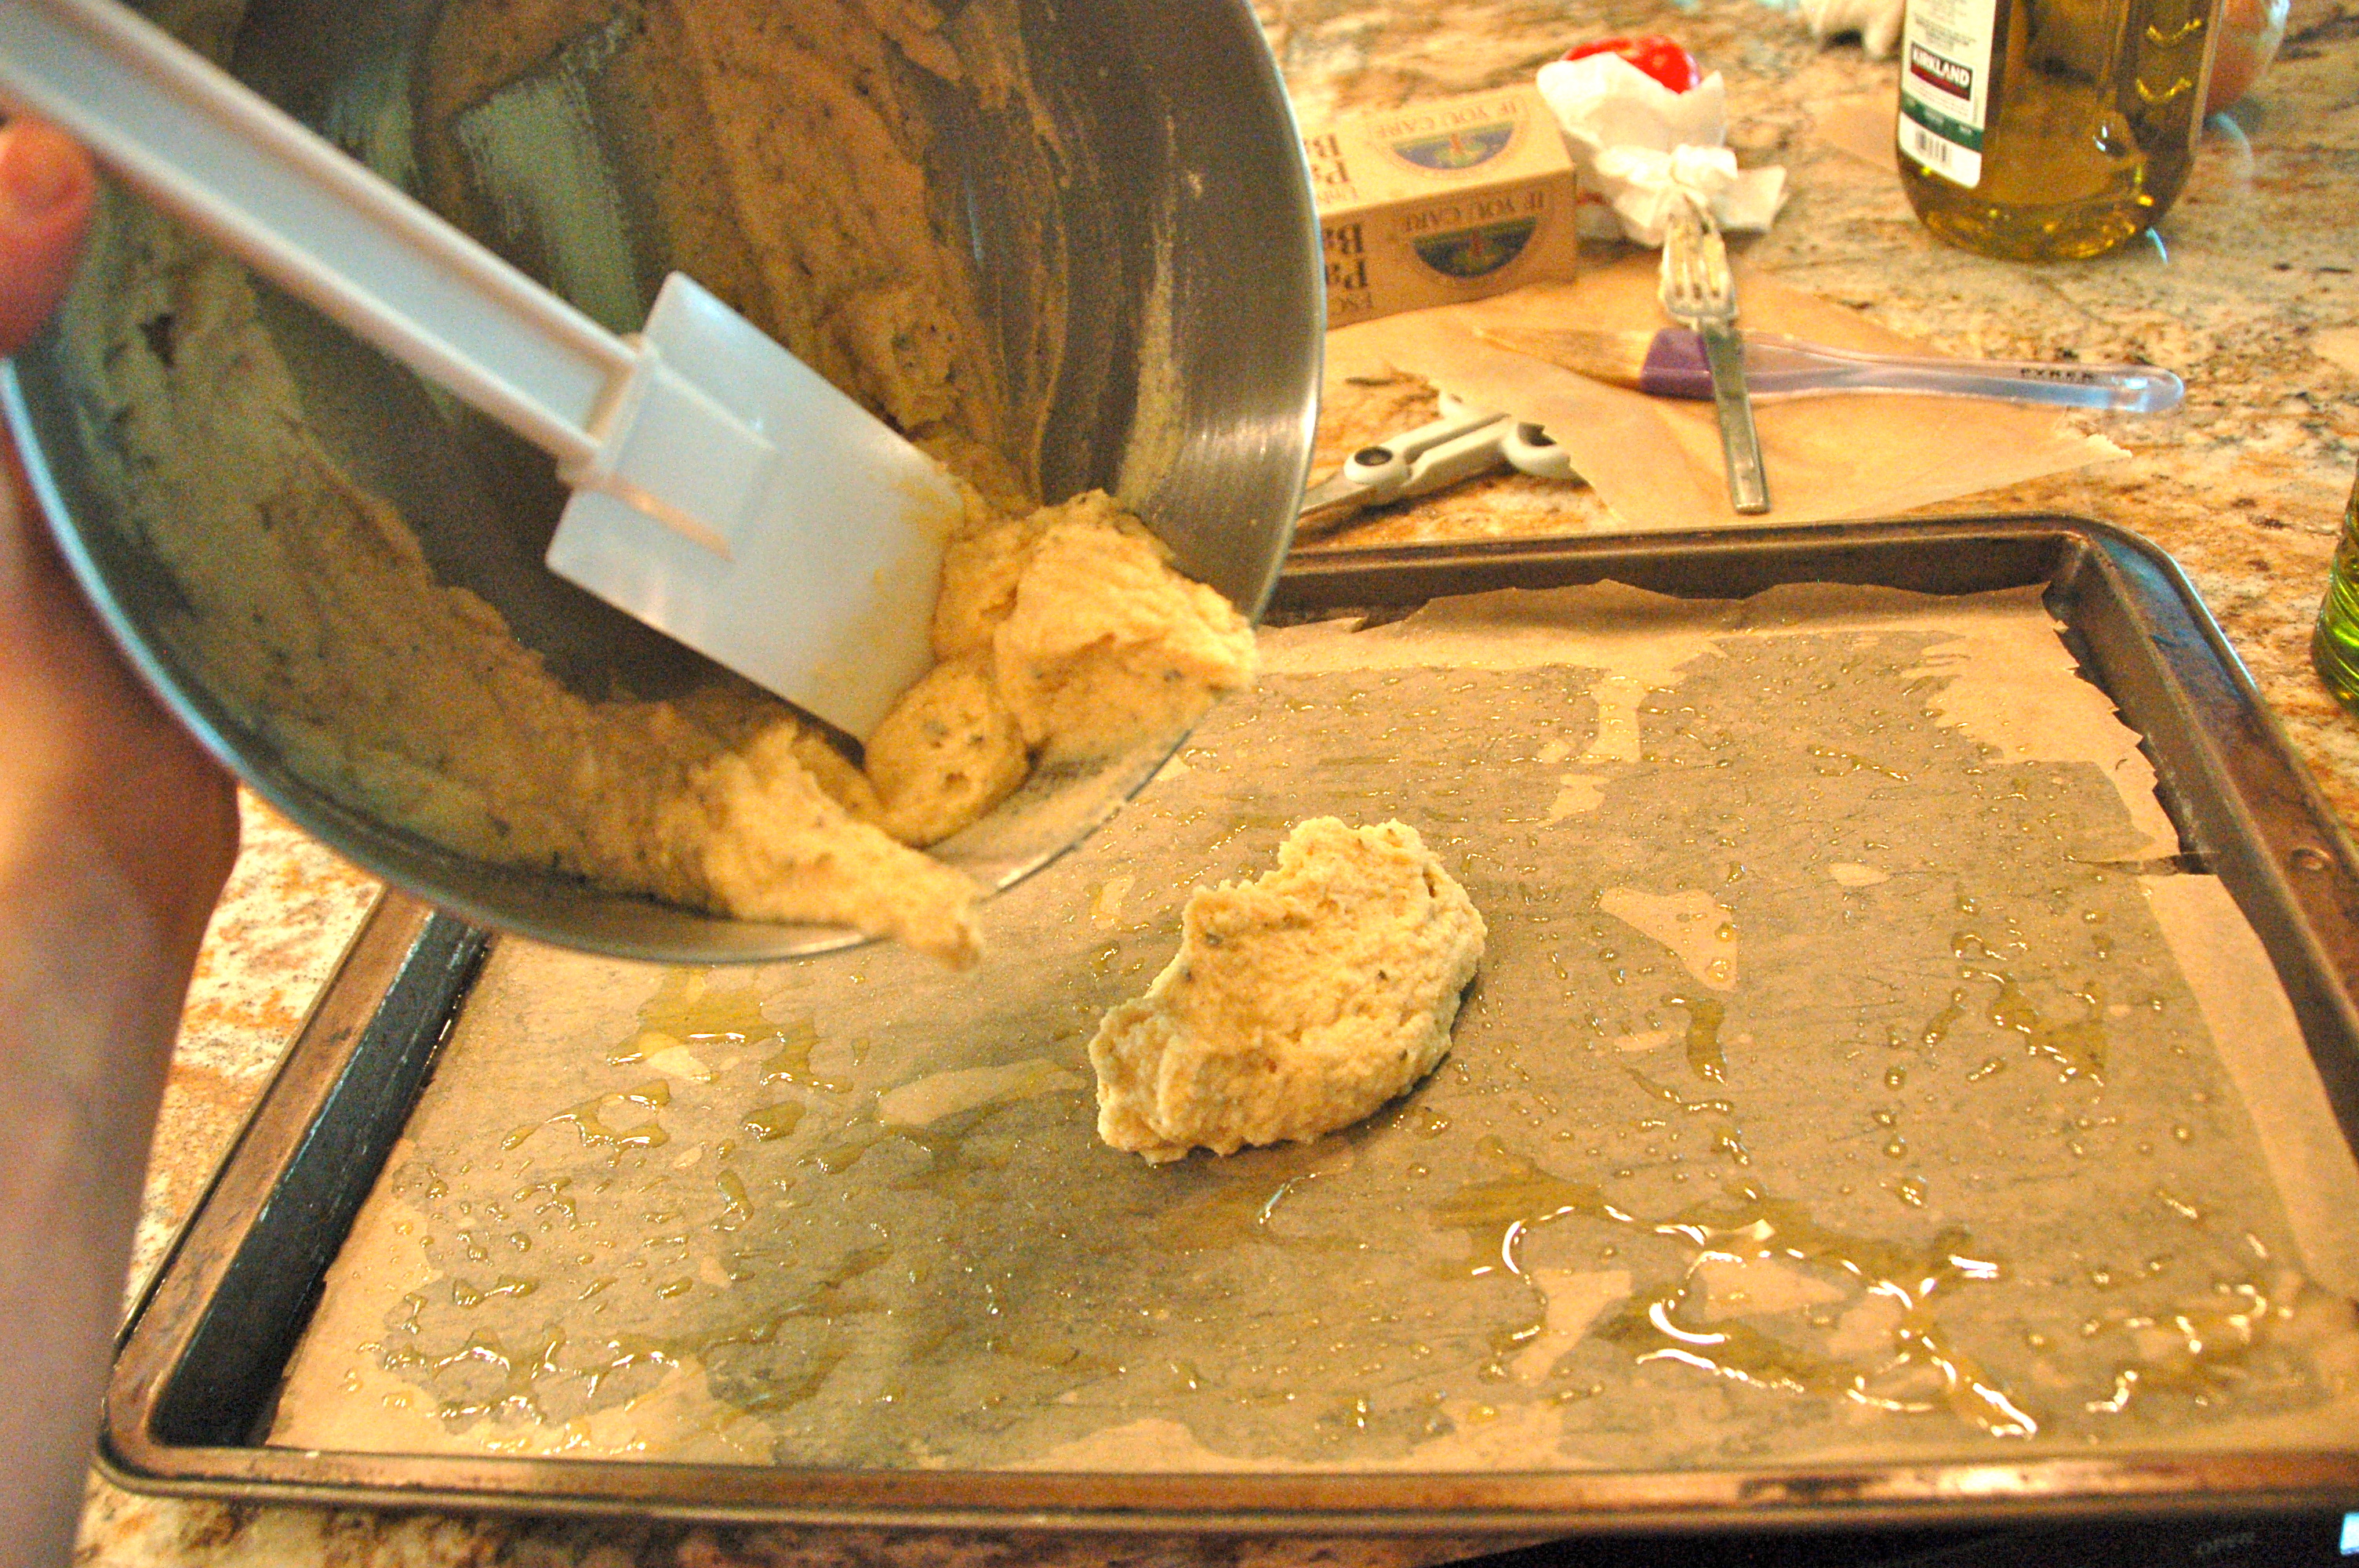
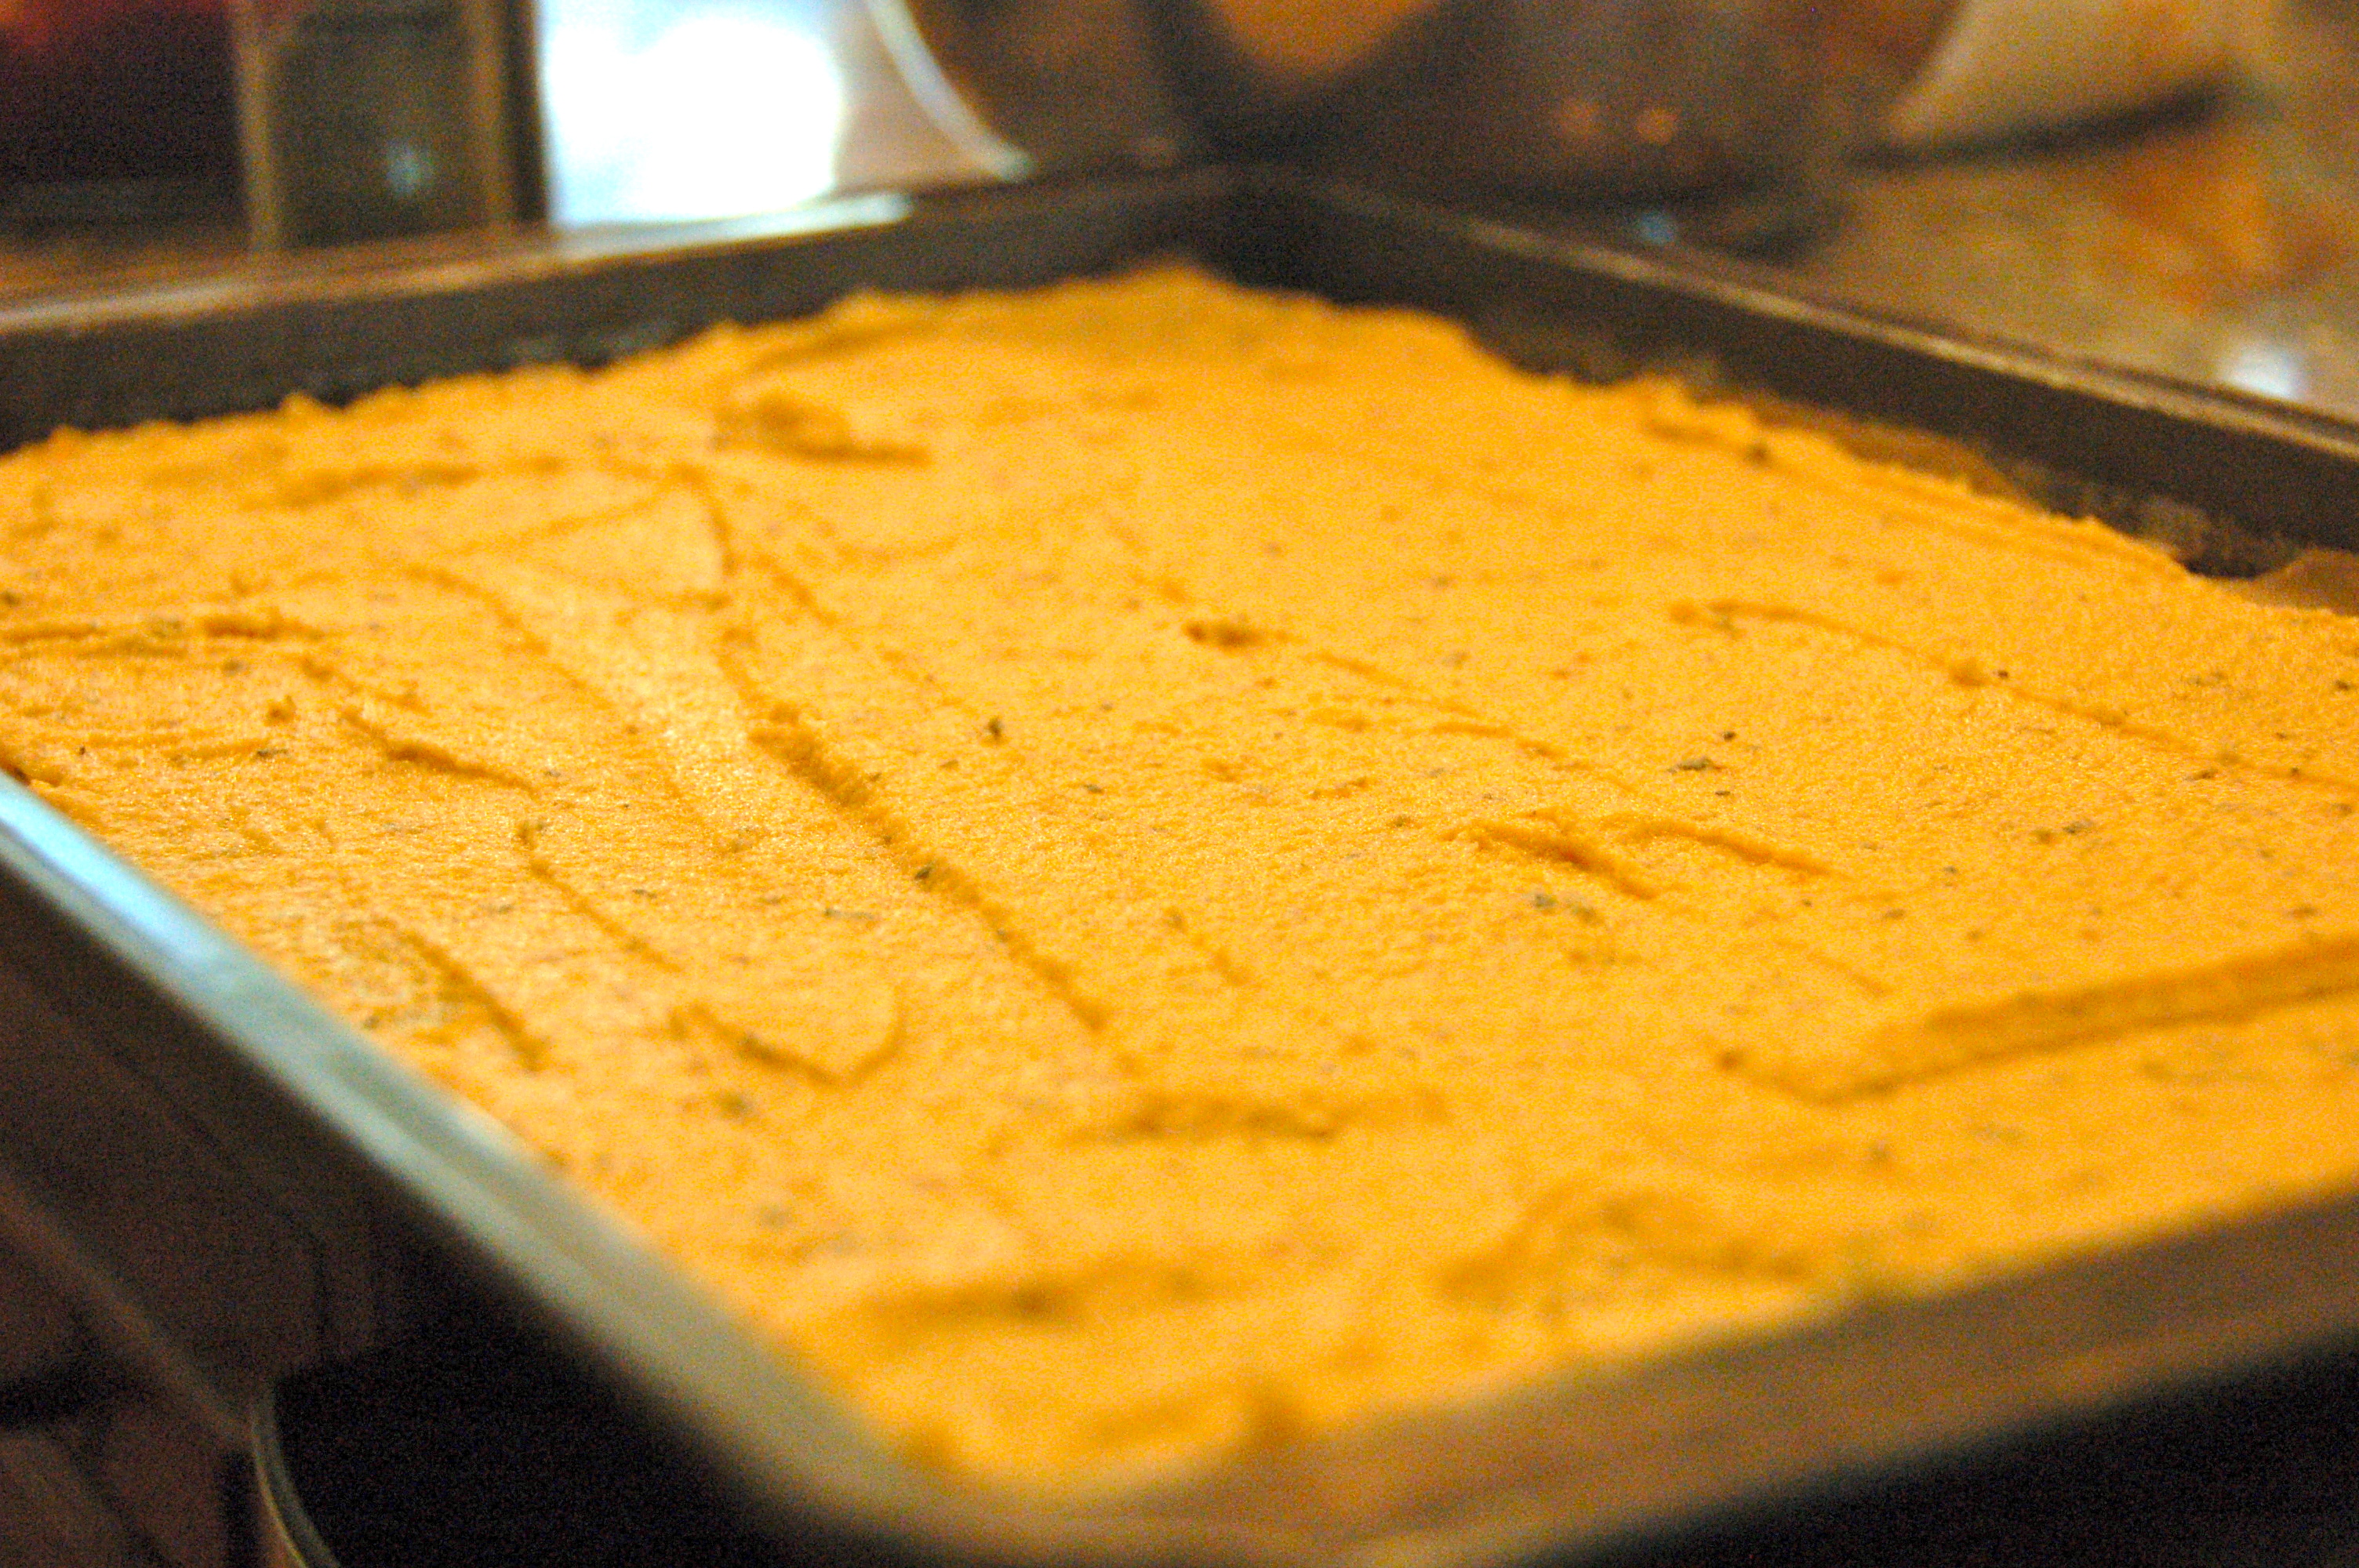
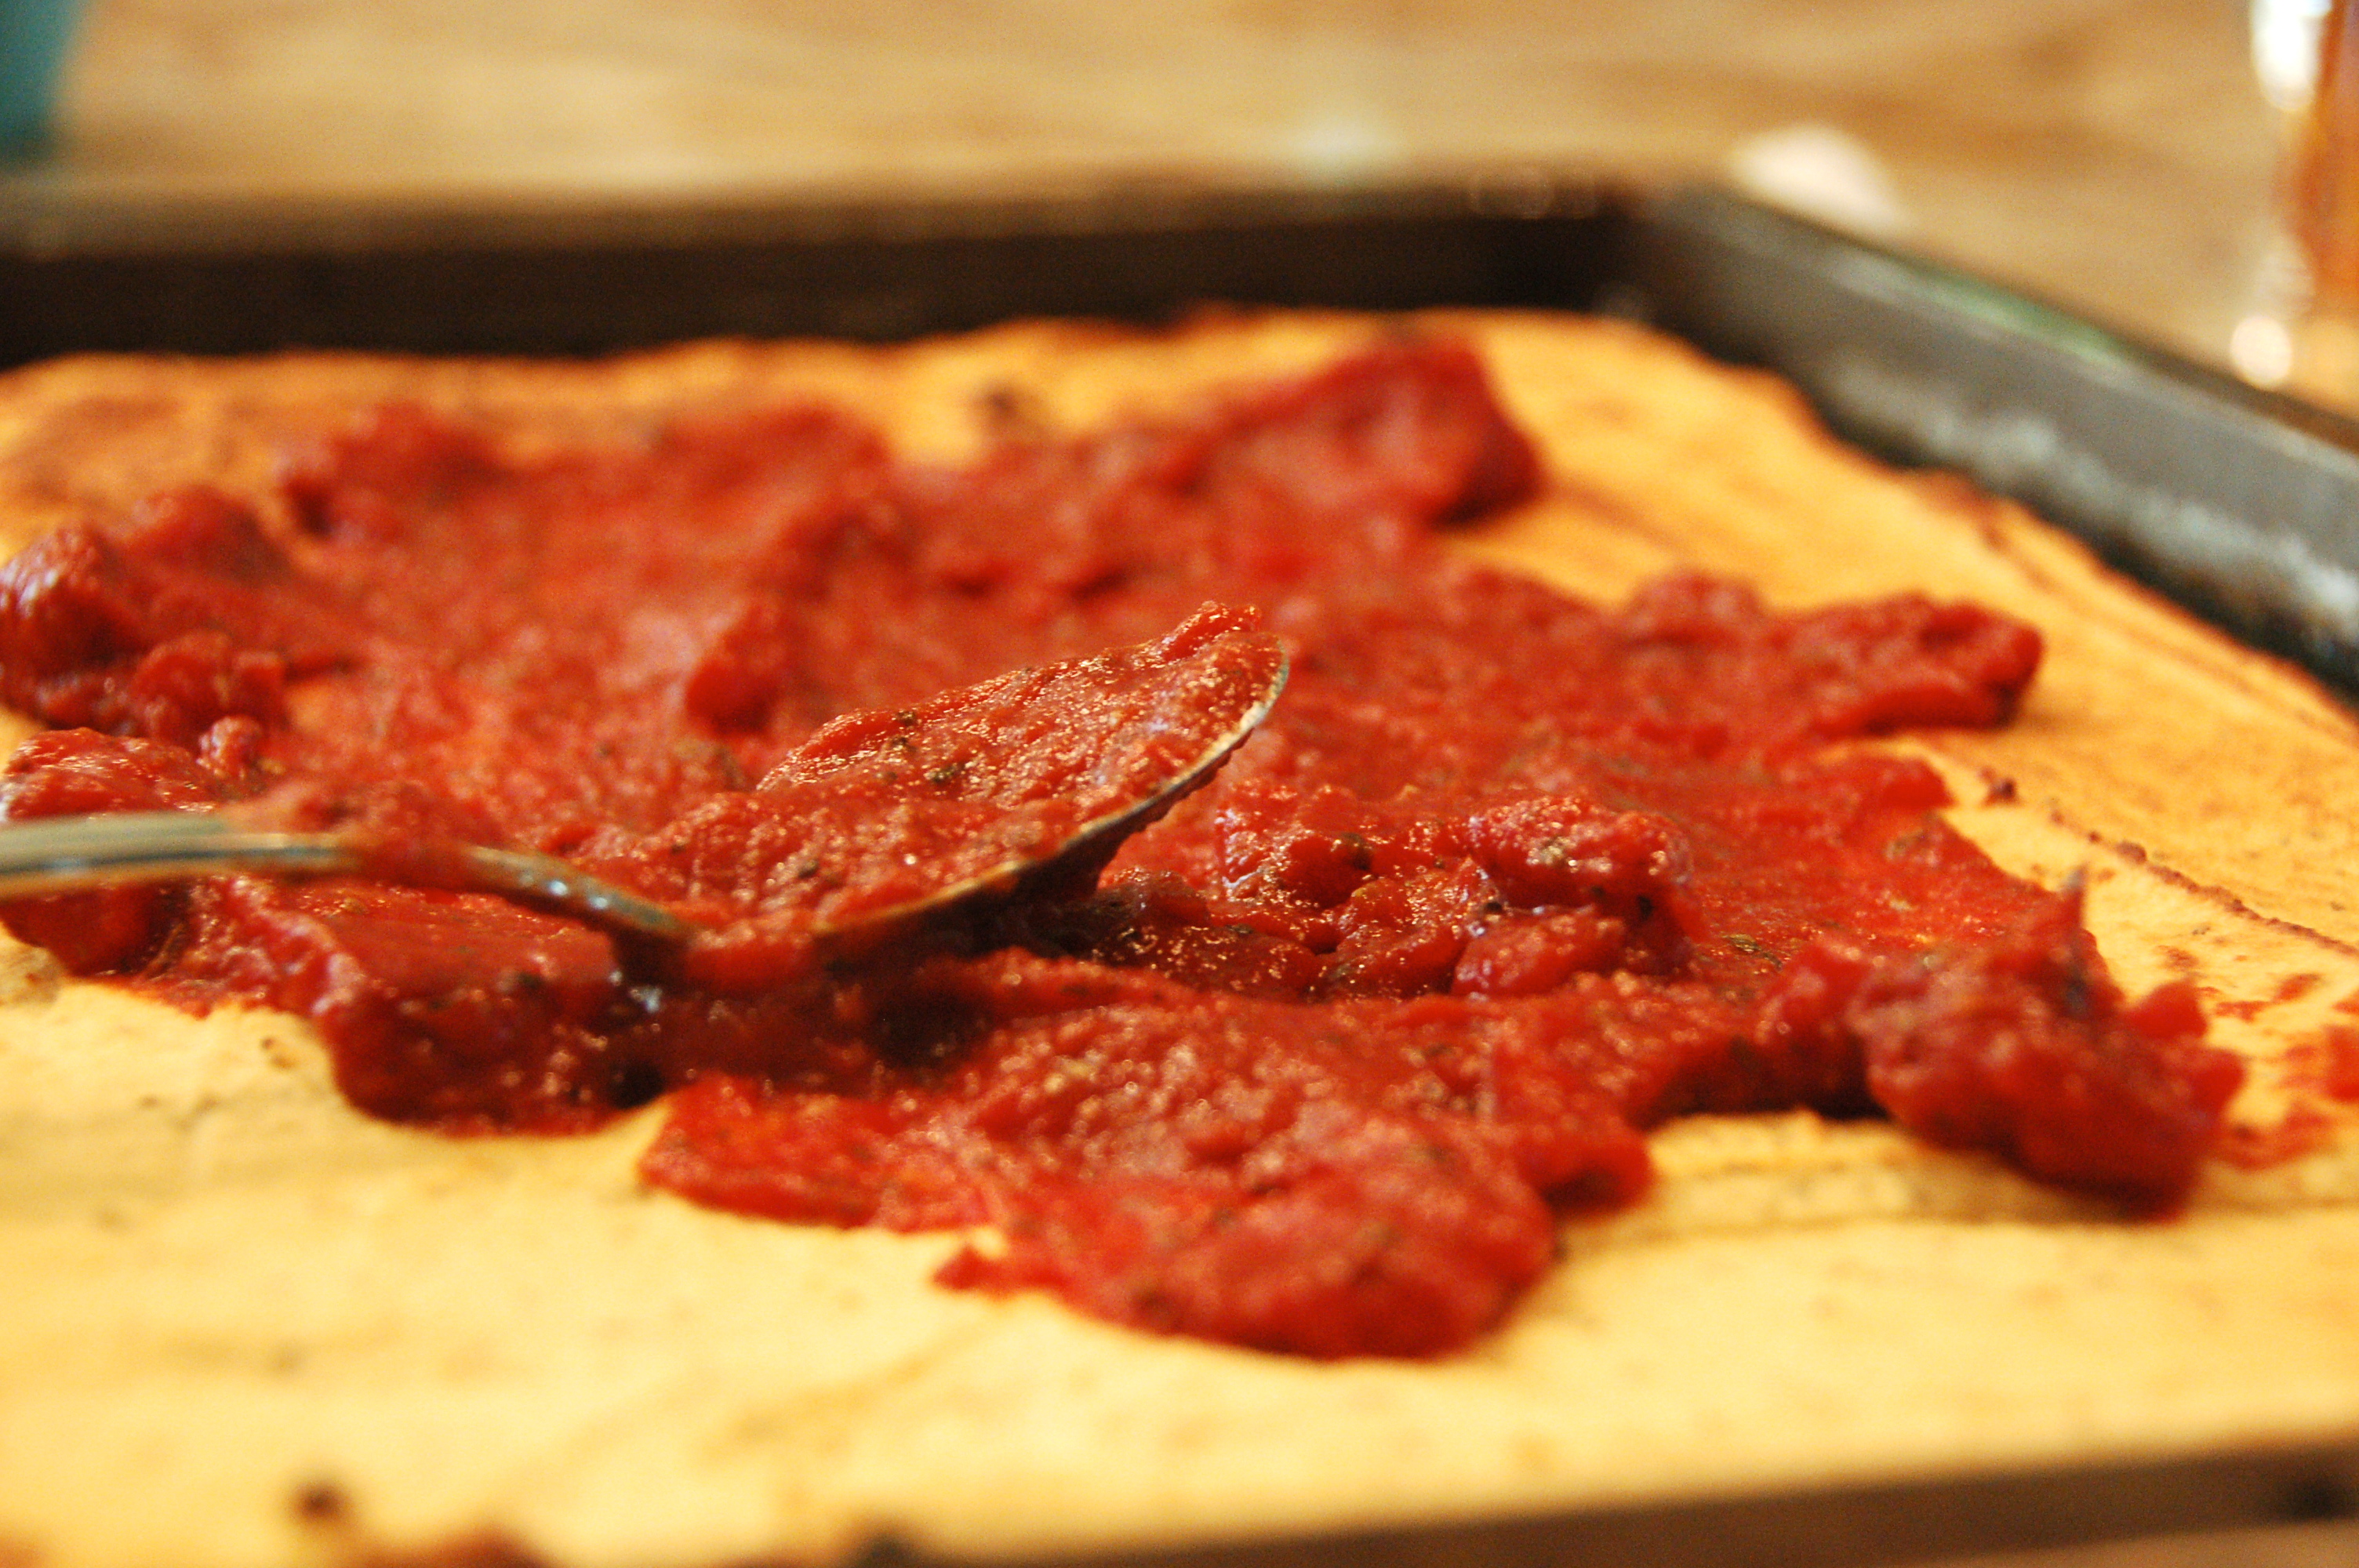
7. Scrape all the batter out of the bowl onto the prepared pan. Spread it evenly across the whole cookie sheet with a spatula. You don’t want the batter too thick or else it may not cook all the way though.

*Another idea would be to create mini flatbreads but they would require less cooking time of course.

DSC_0282

DSC_0293

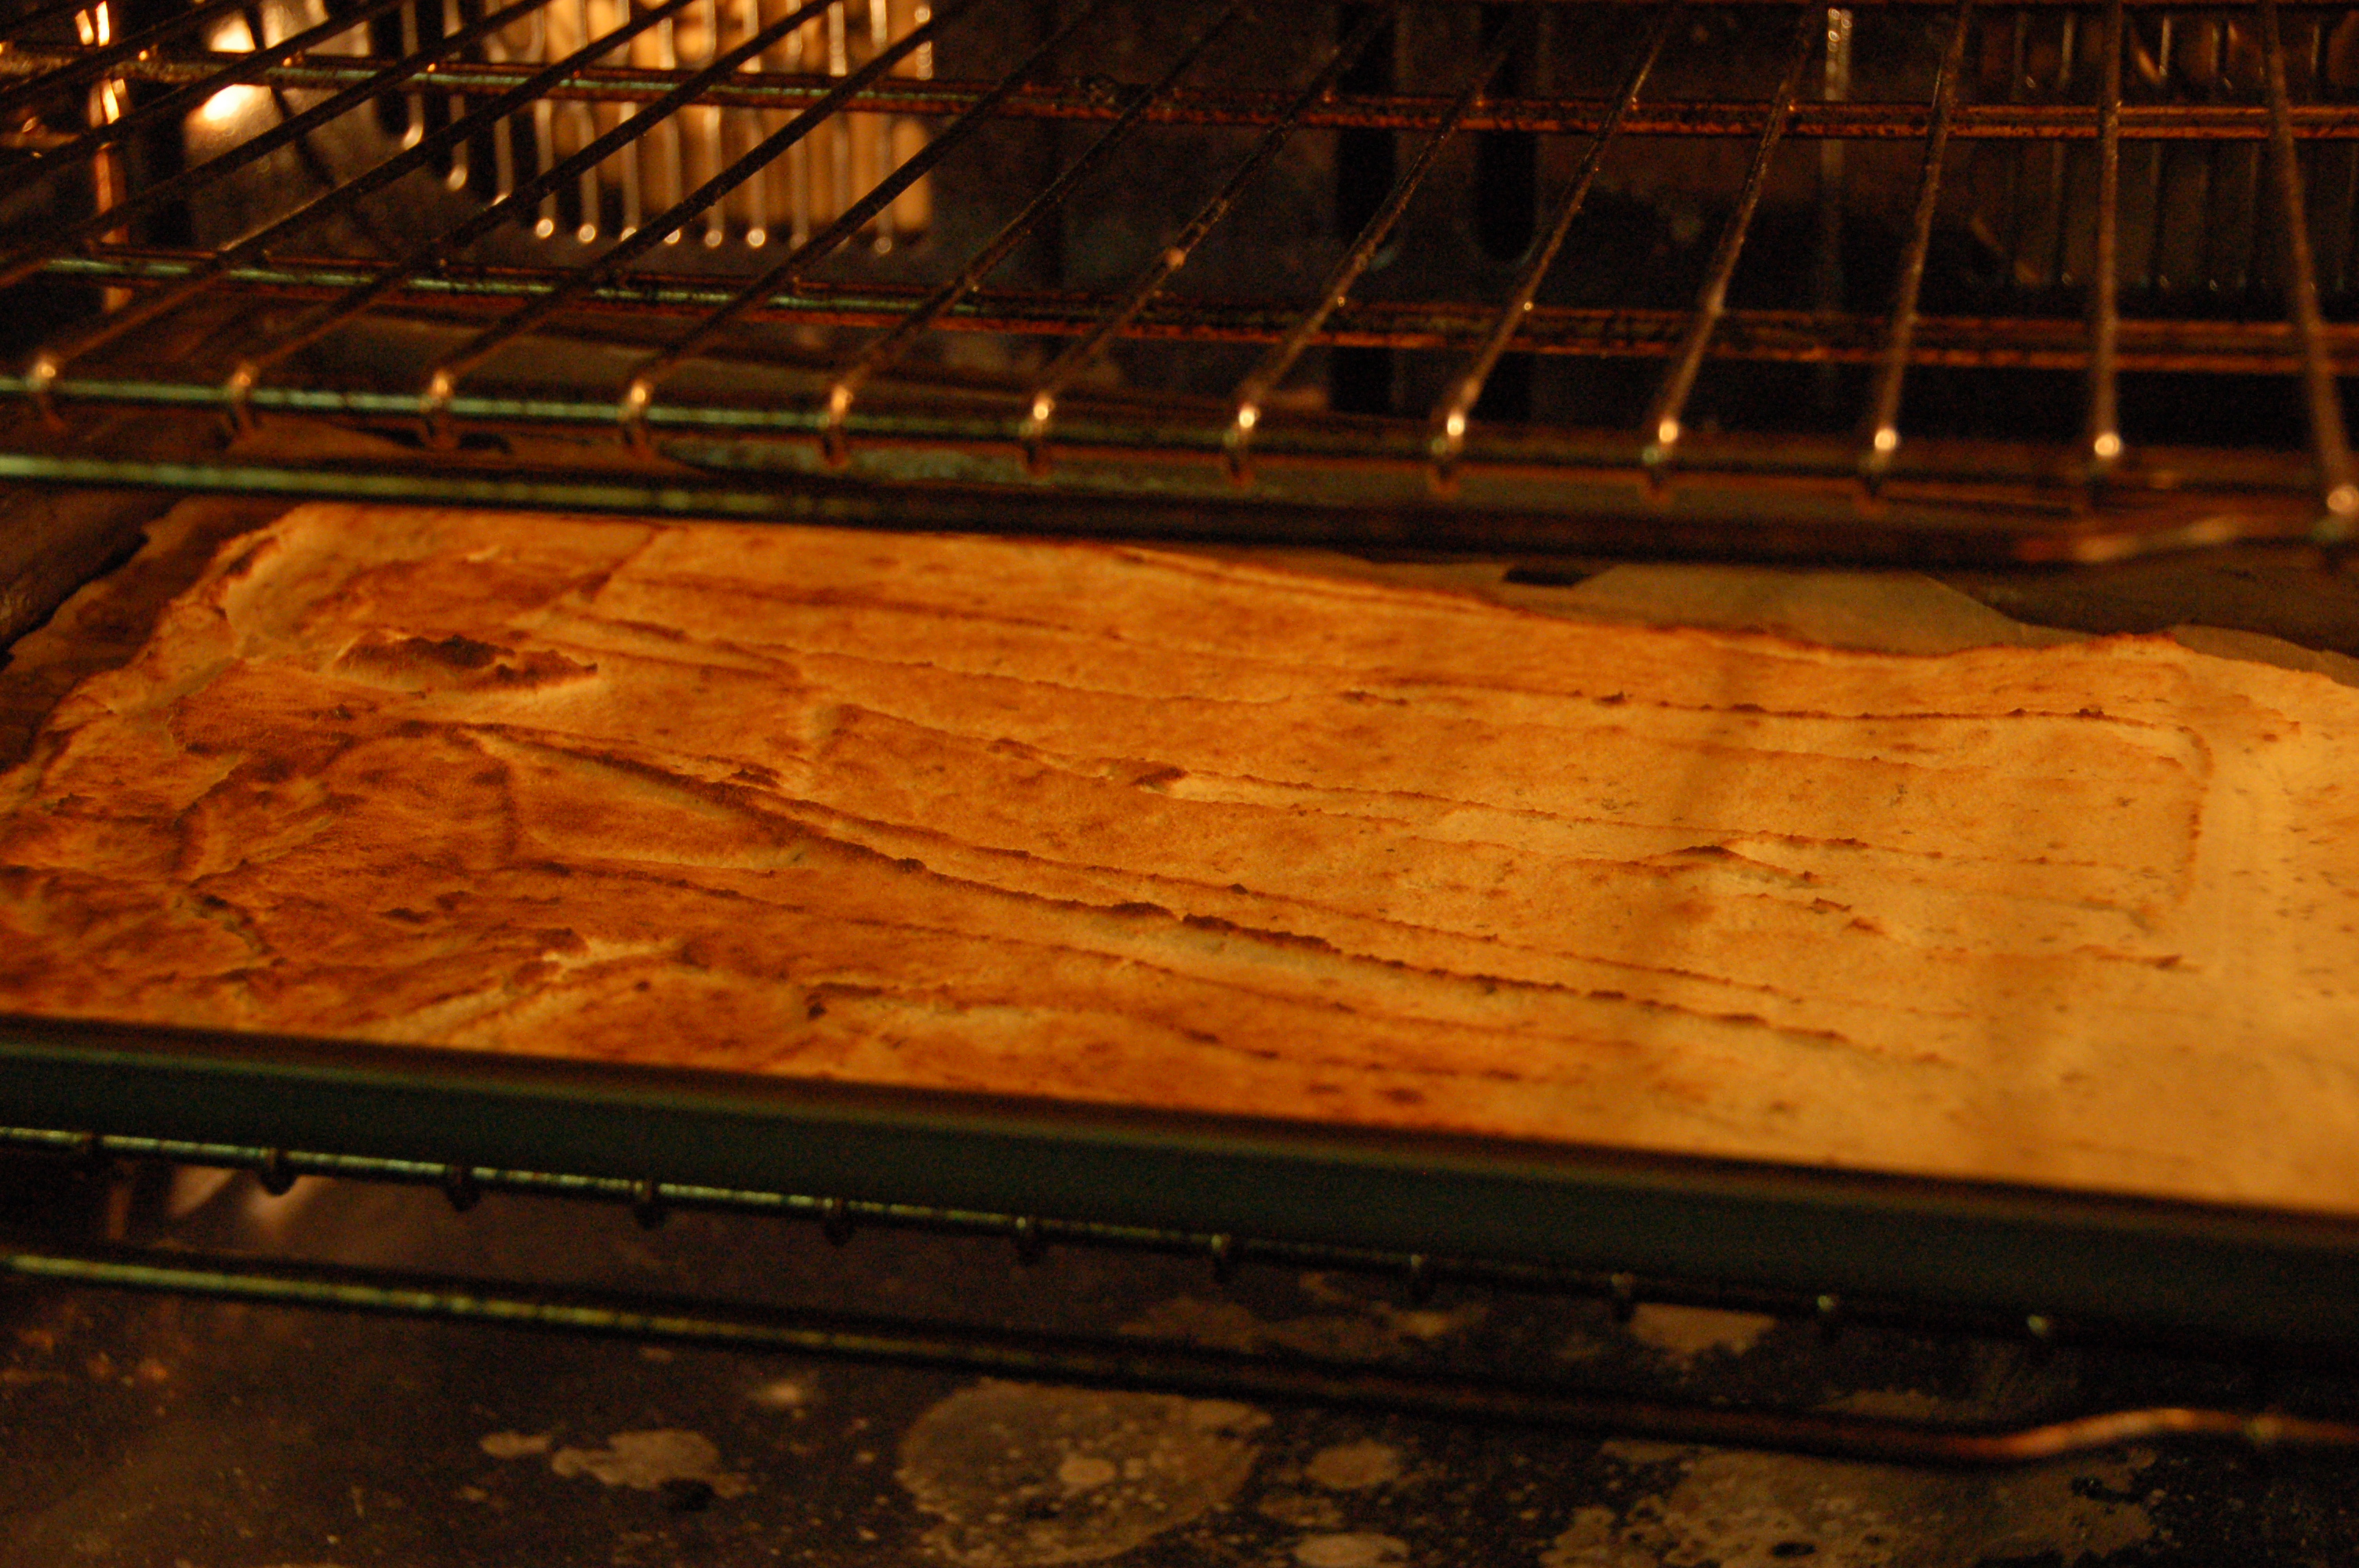
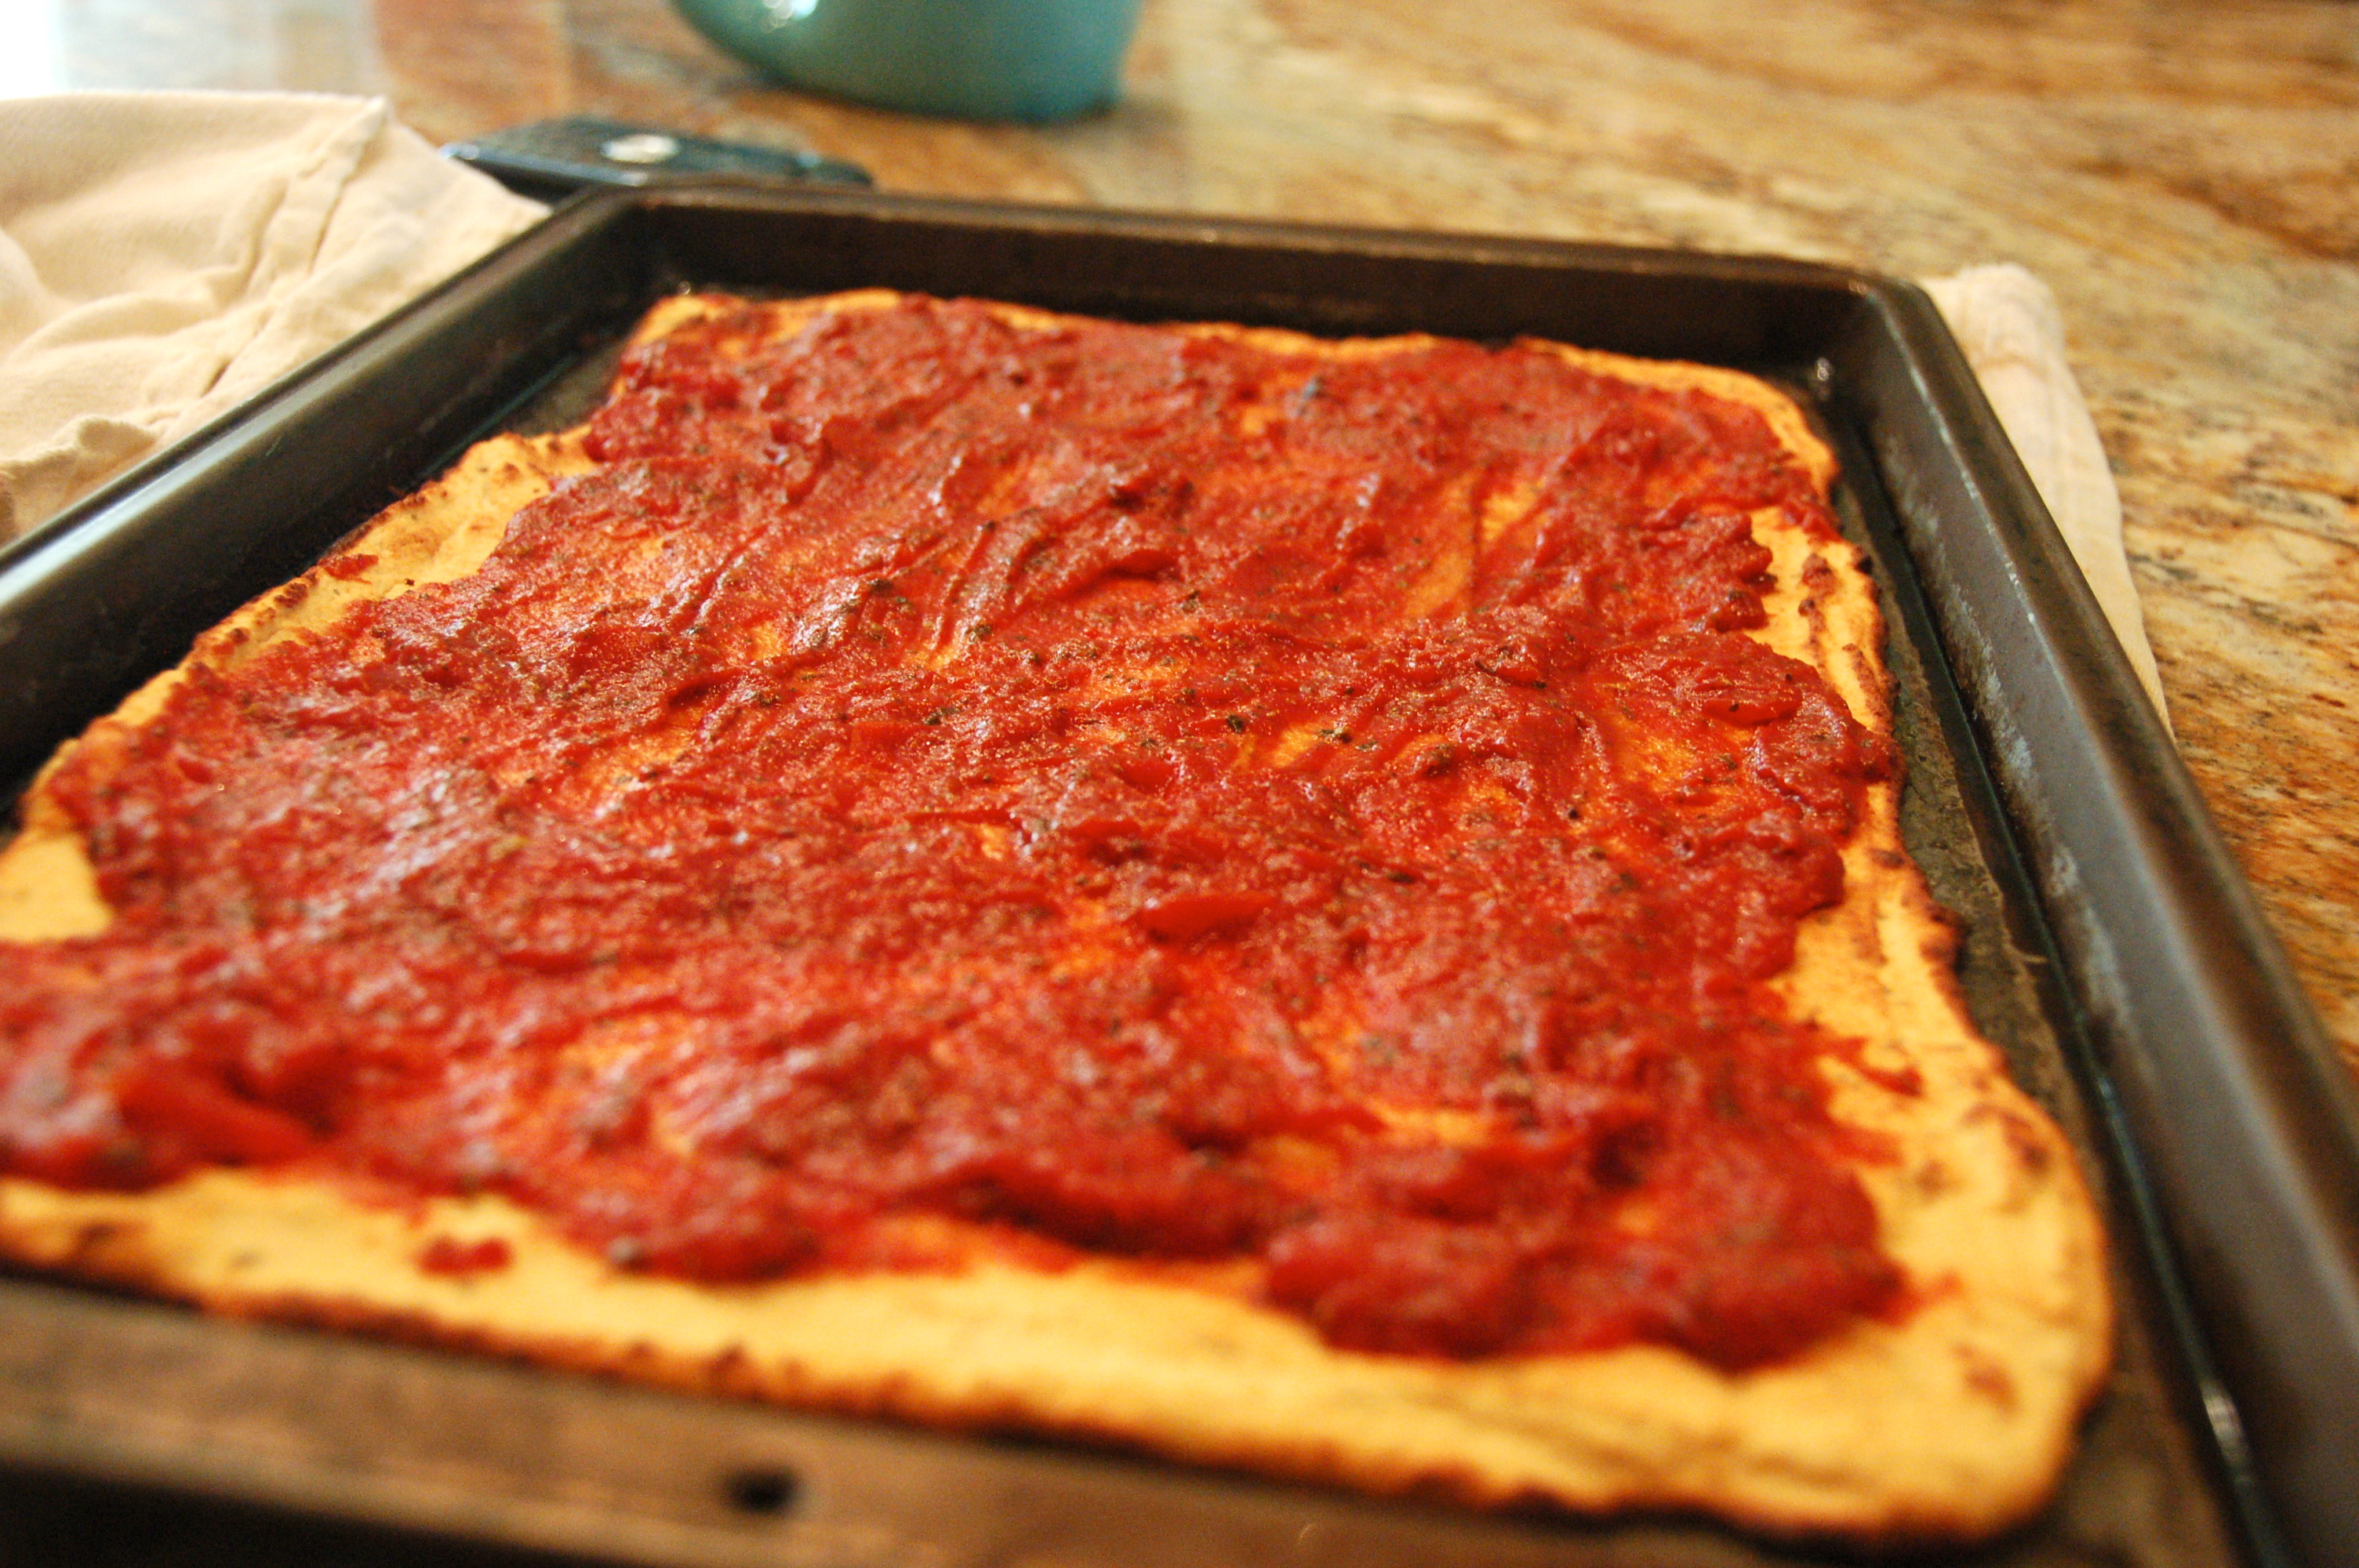
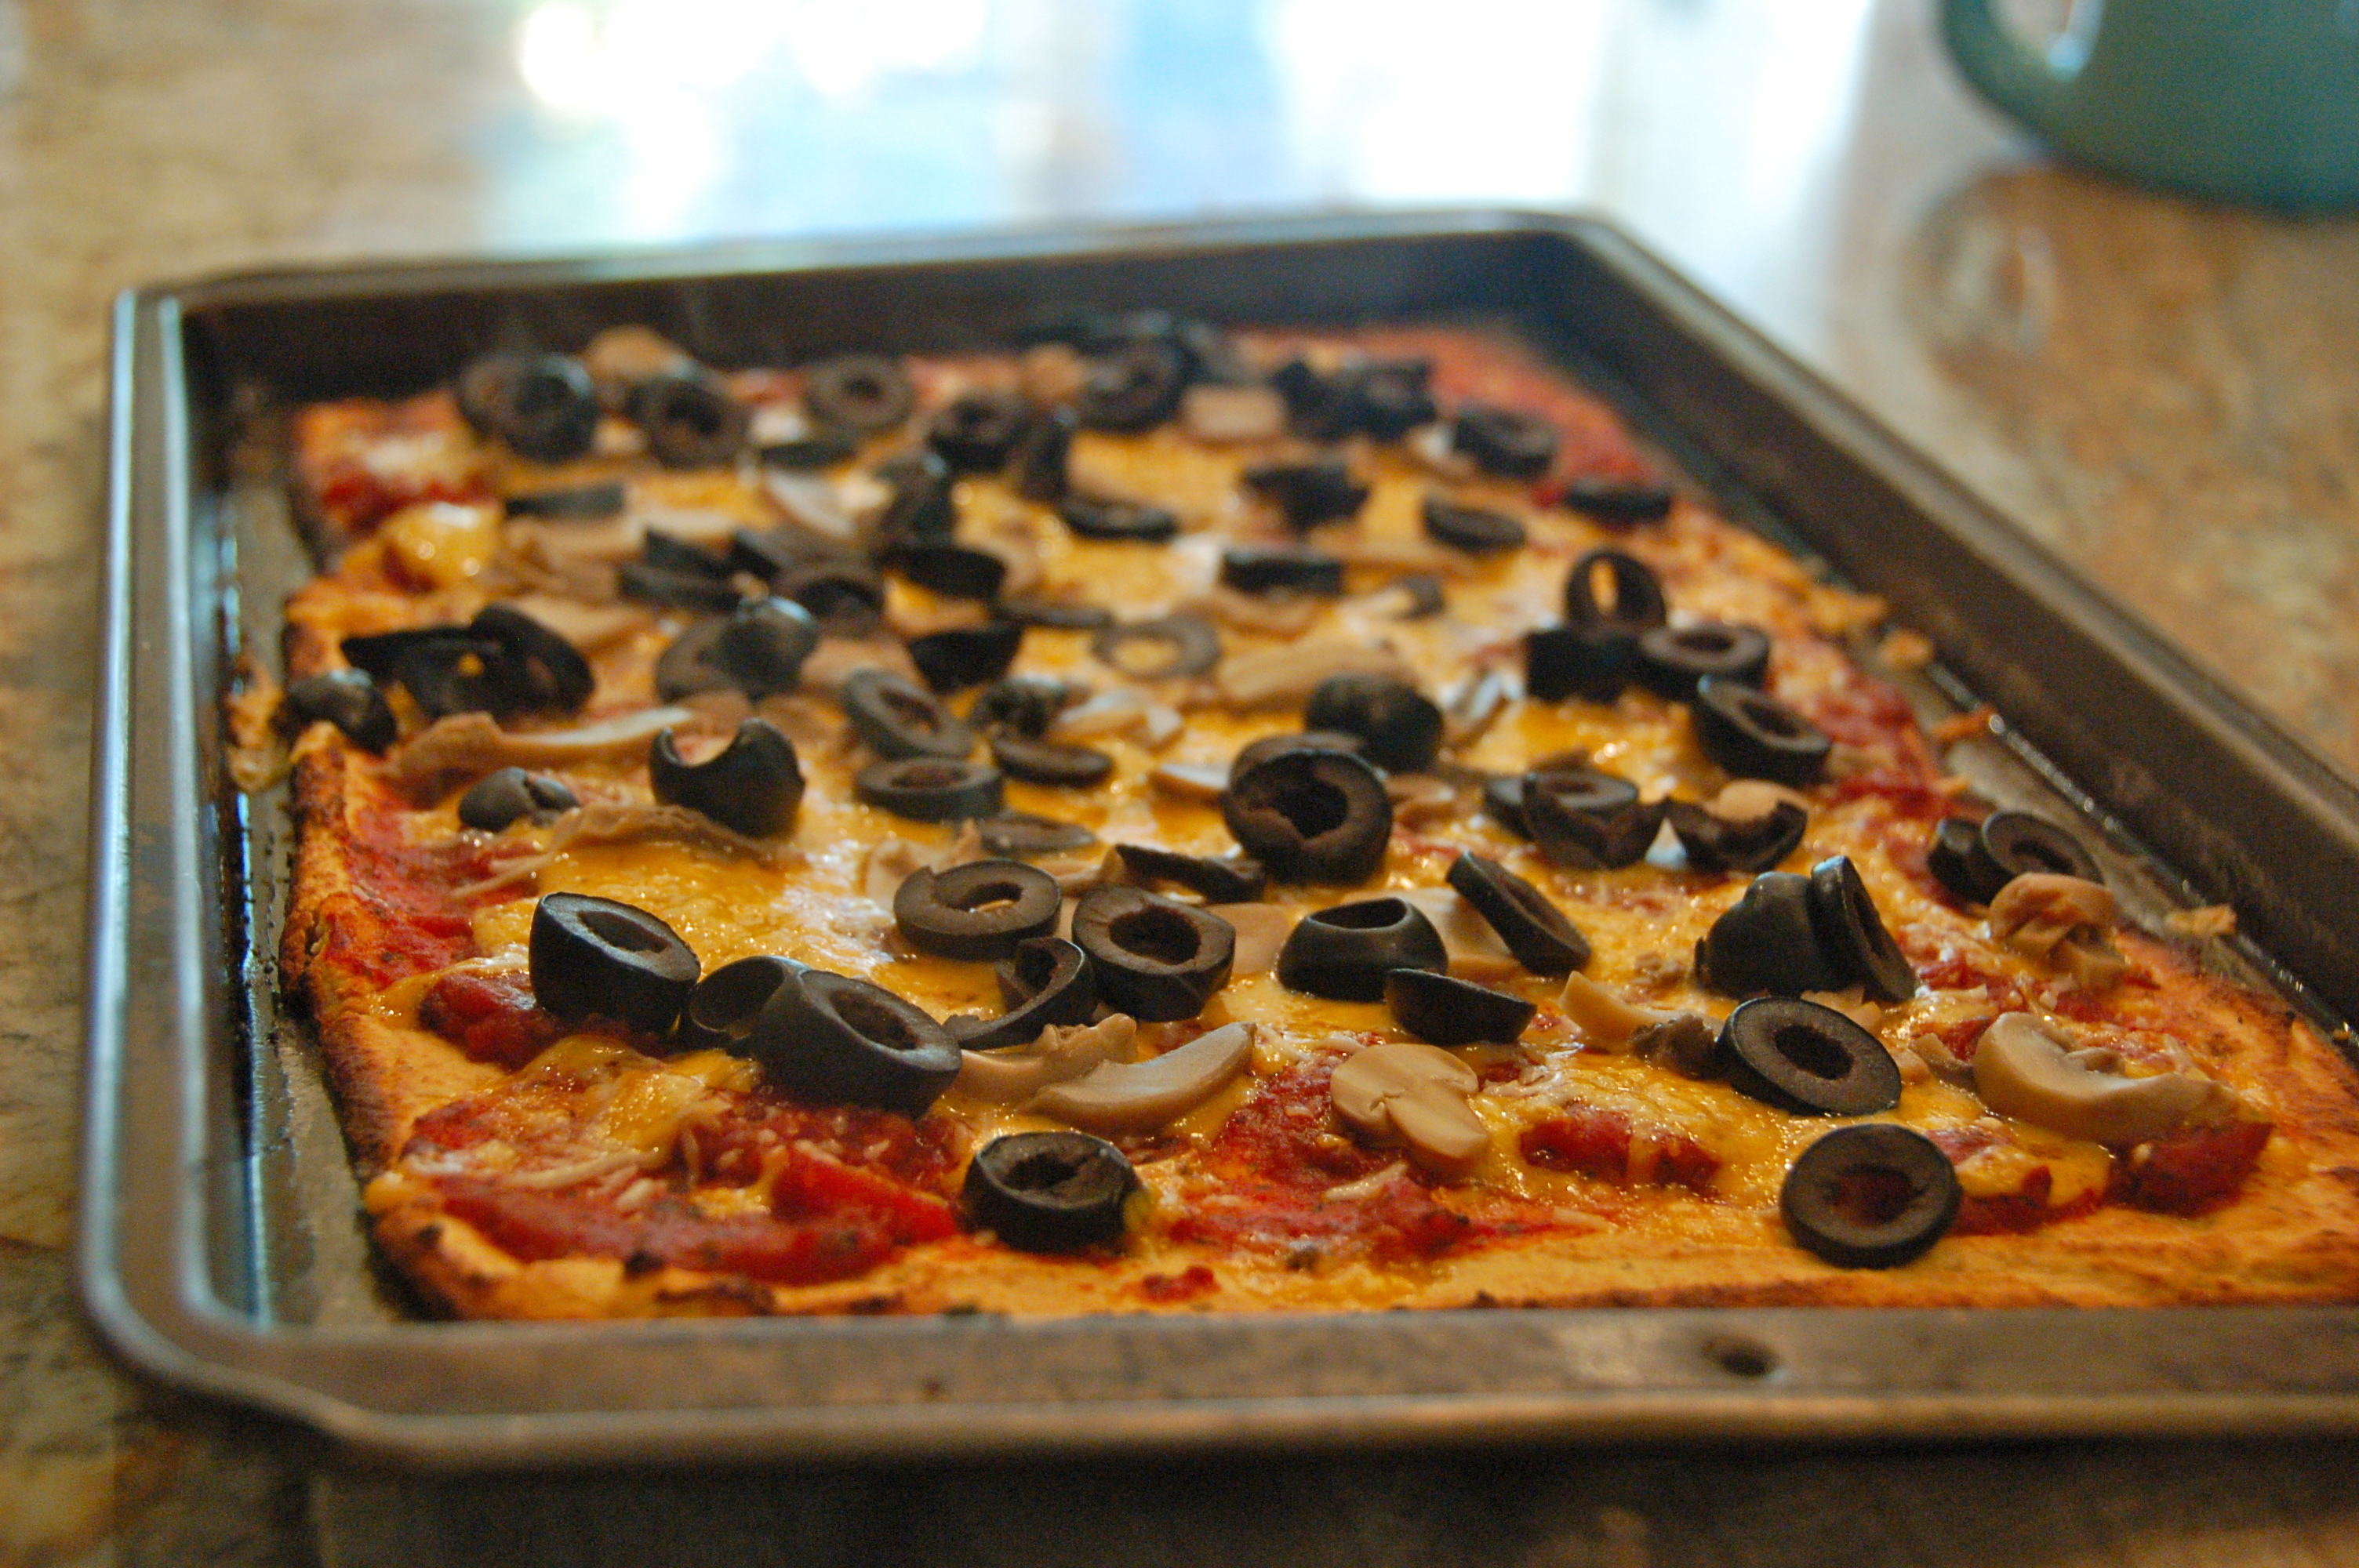
8. Place cookie sheet in the oven for about 25-30 min, depending on how crunchy you like the edges. Mine was golden brown on top and was just the right texture.

*This coconut flour flatbread gets softer with time, so if you like it a bit crispy, eat it soon after it comes out of the oven.

DSC_0294

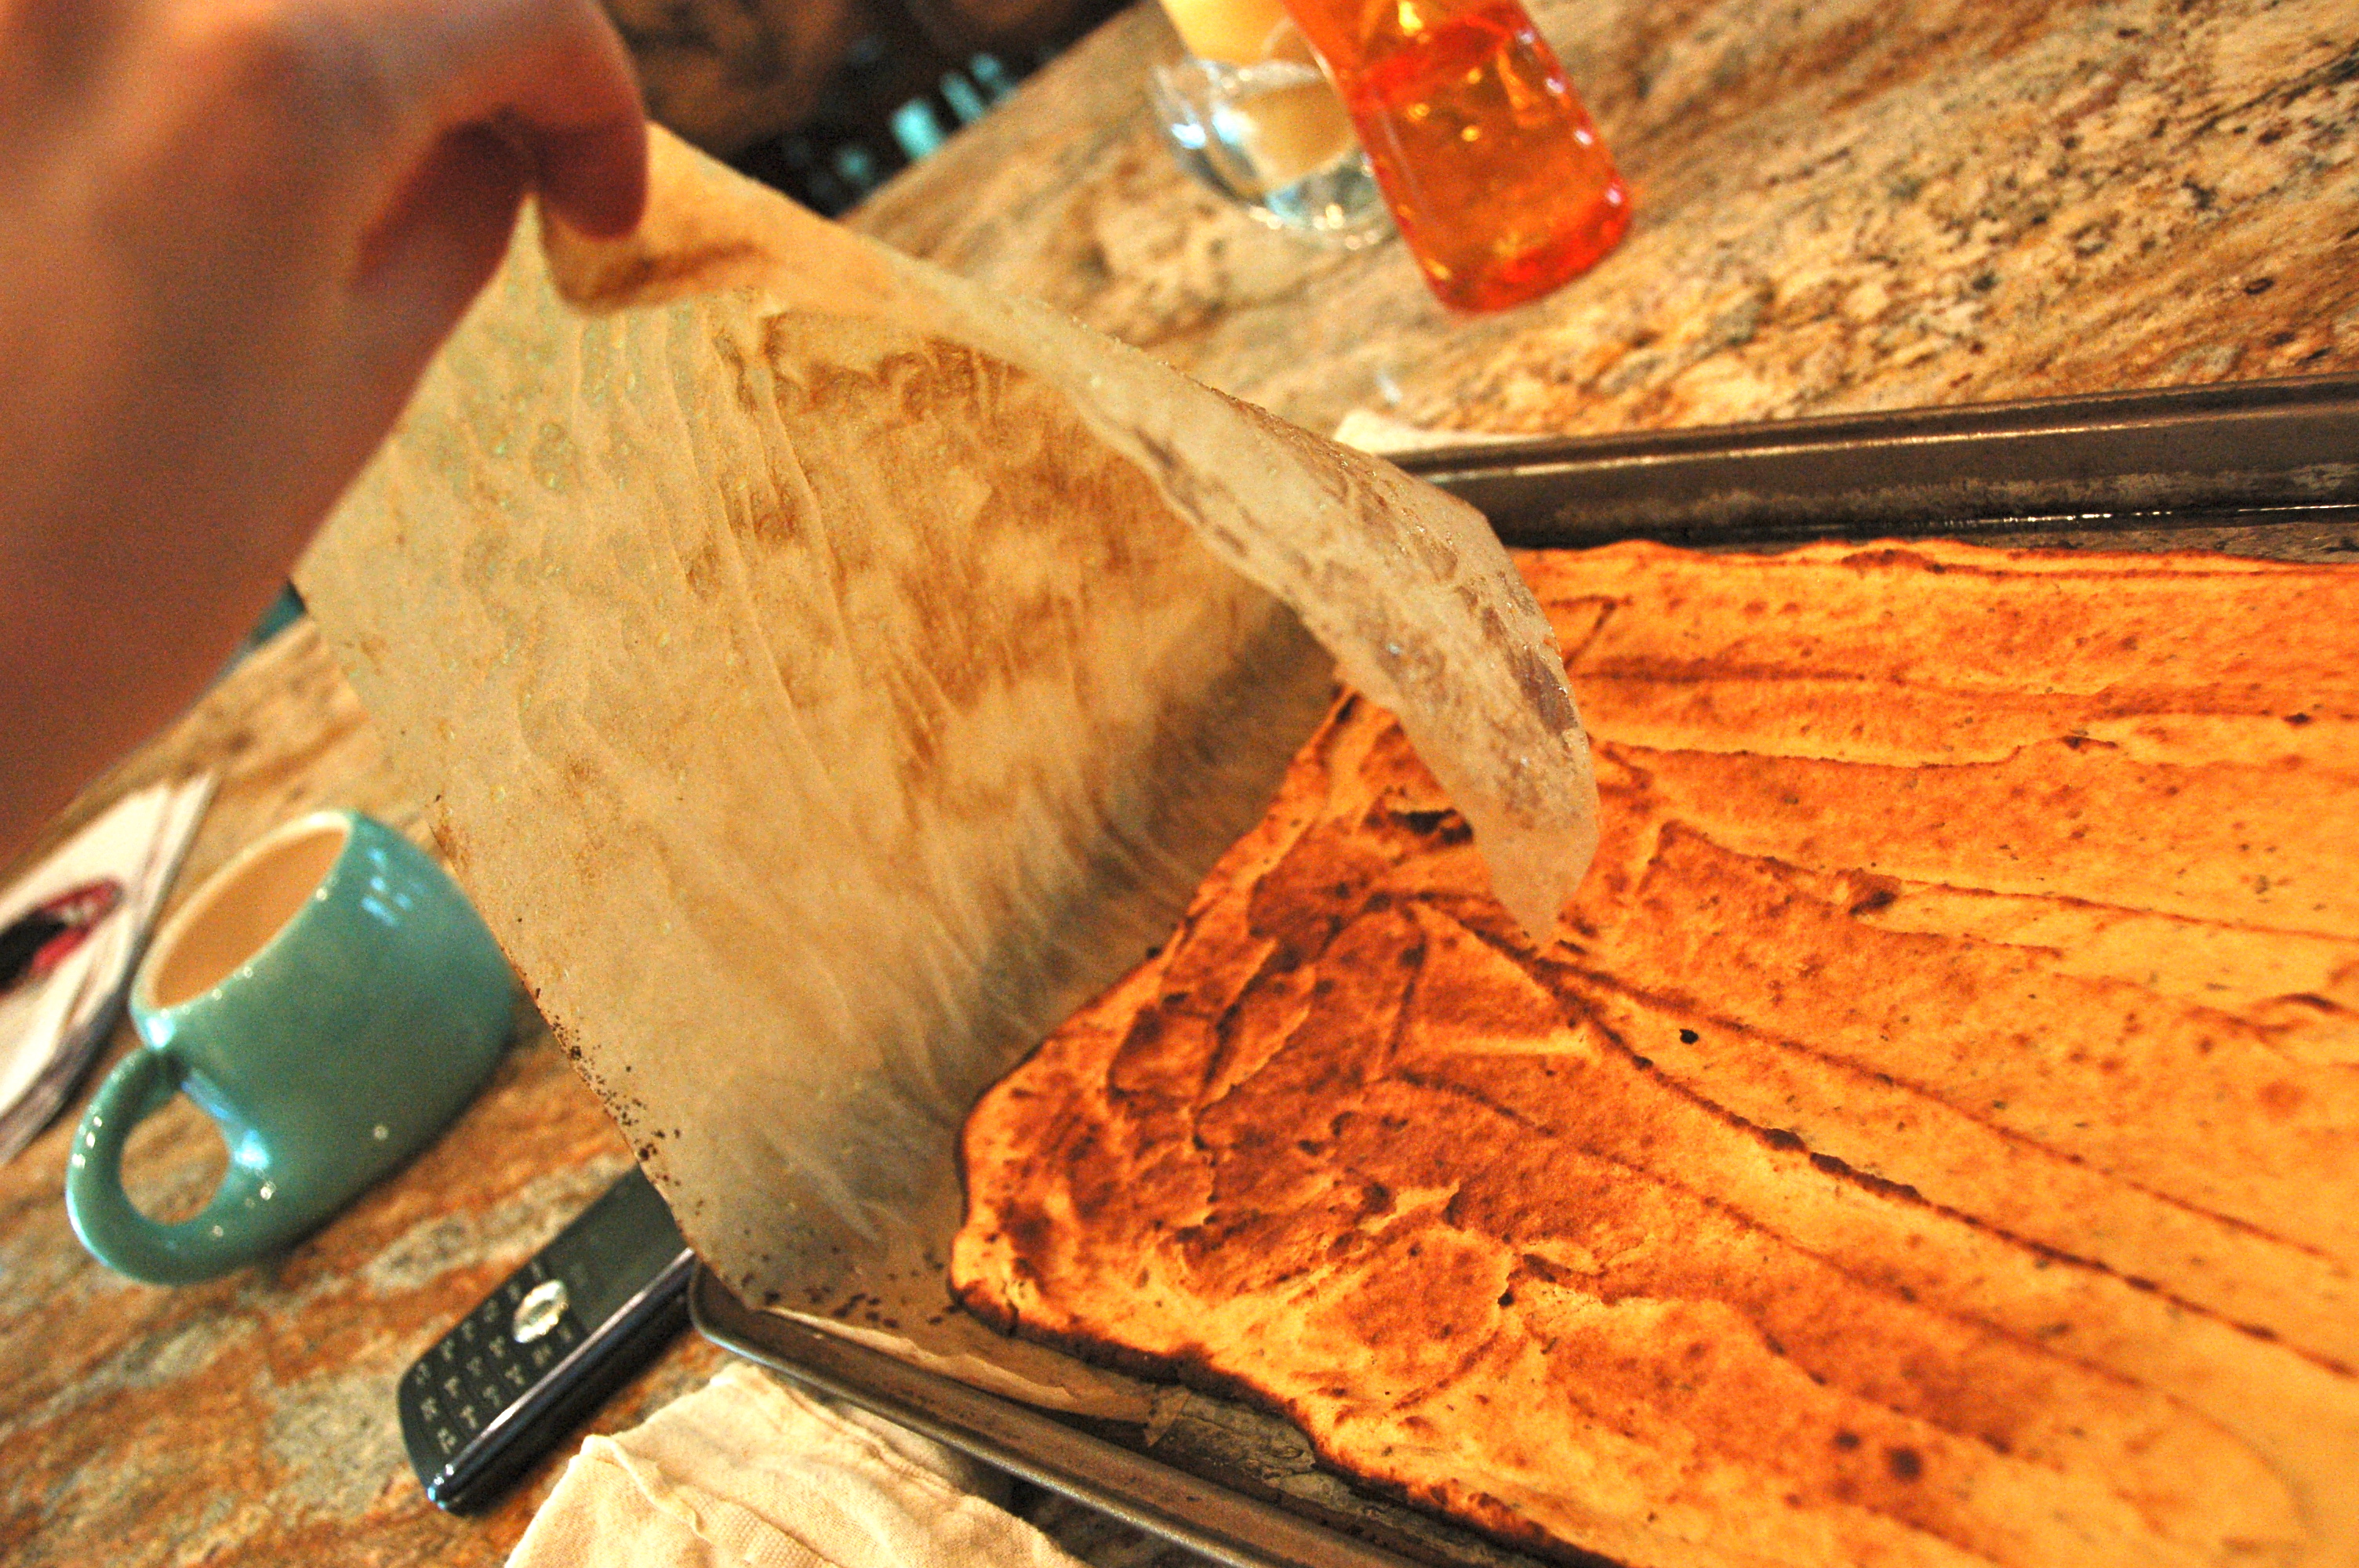
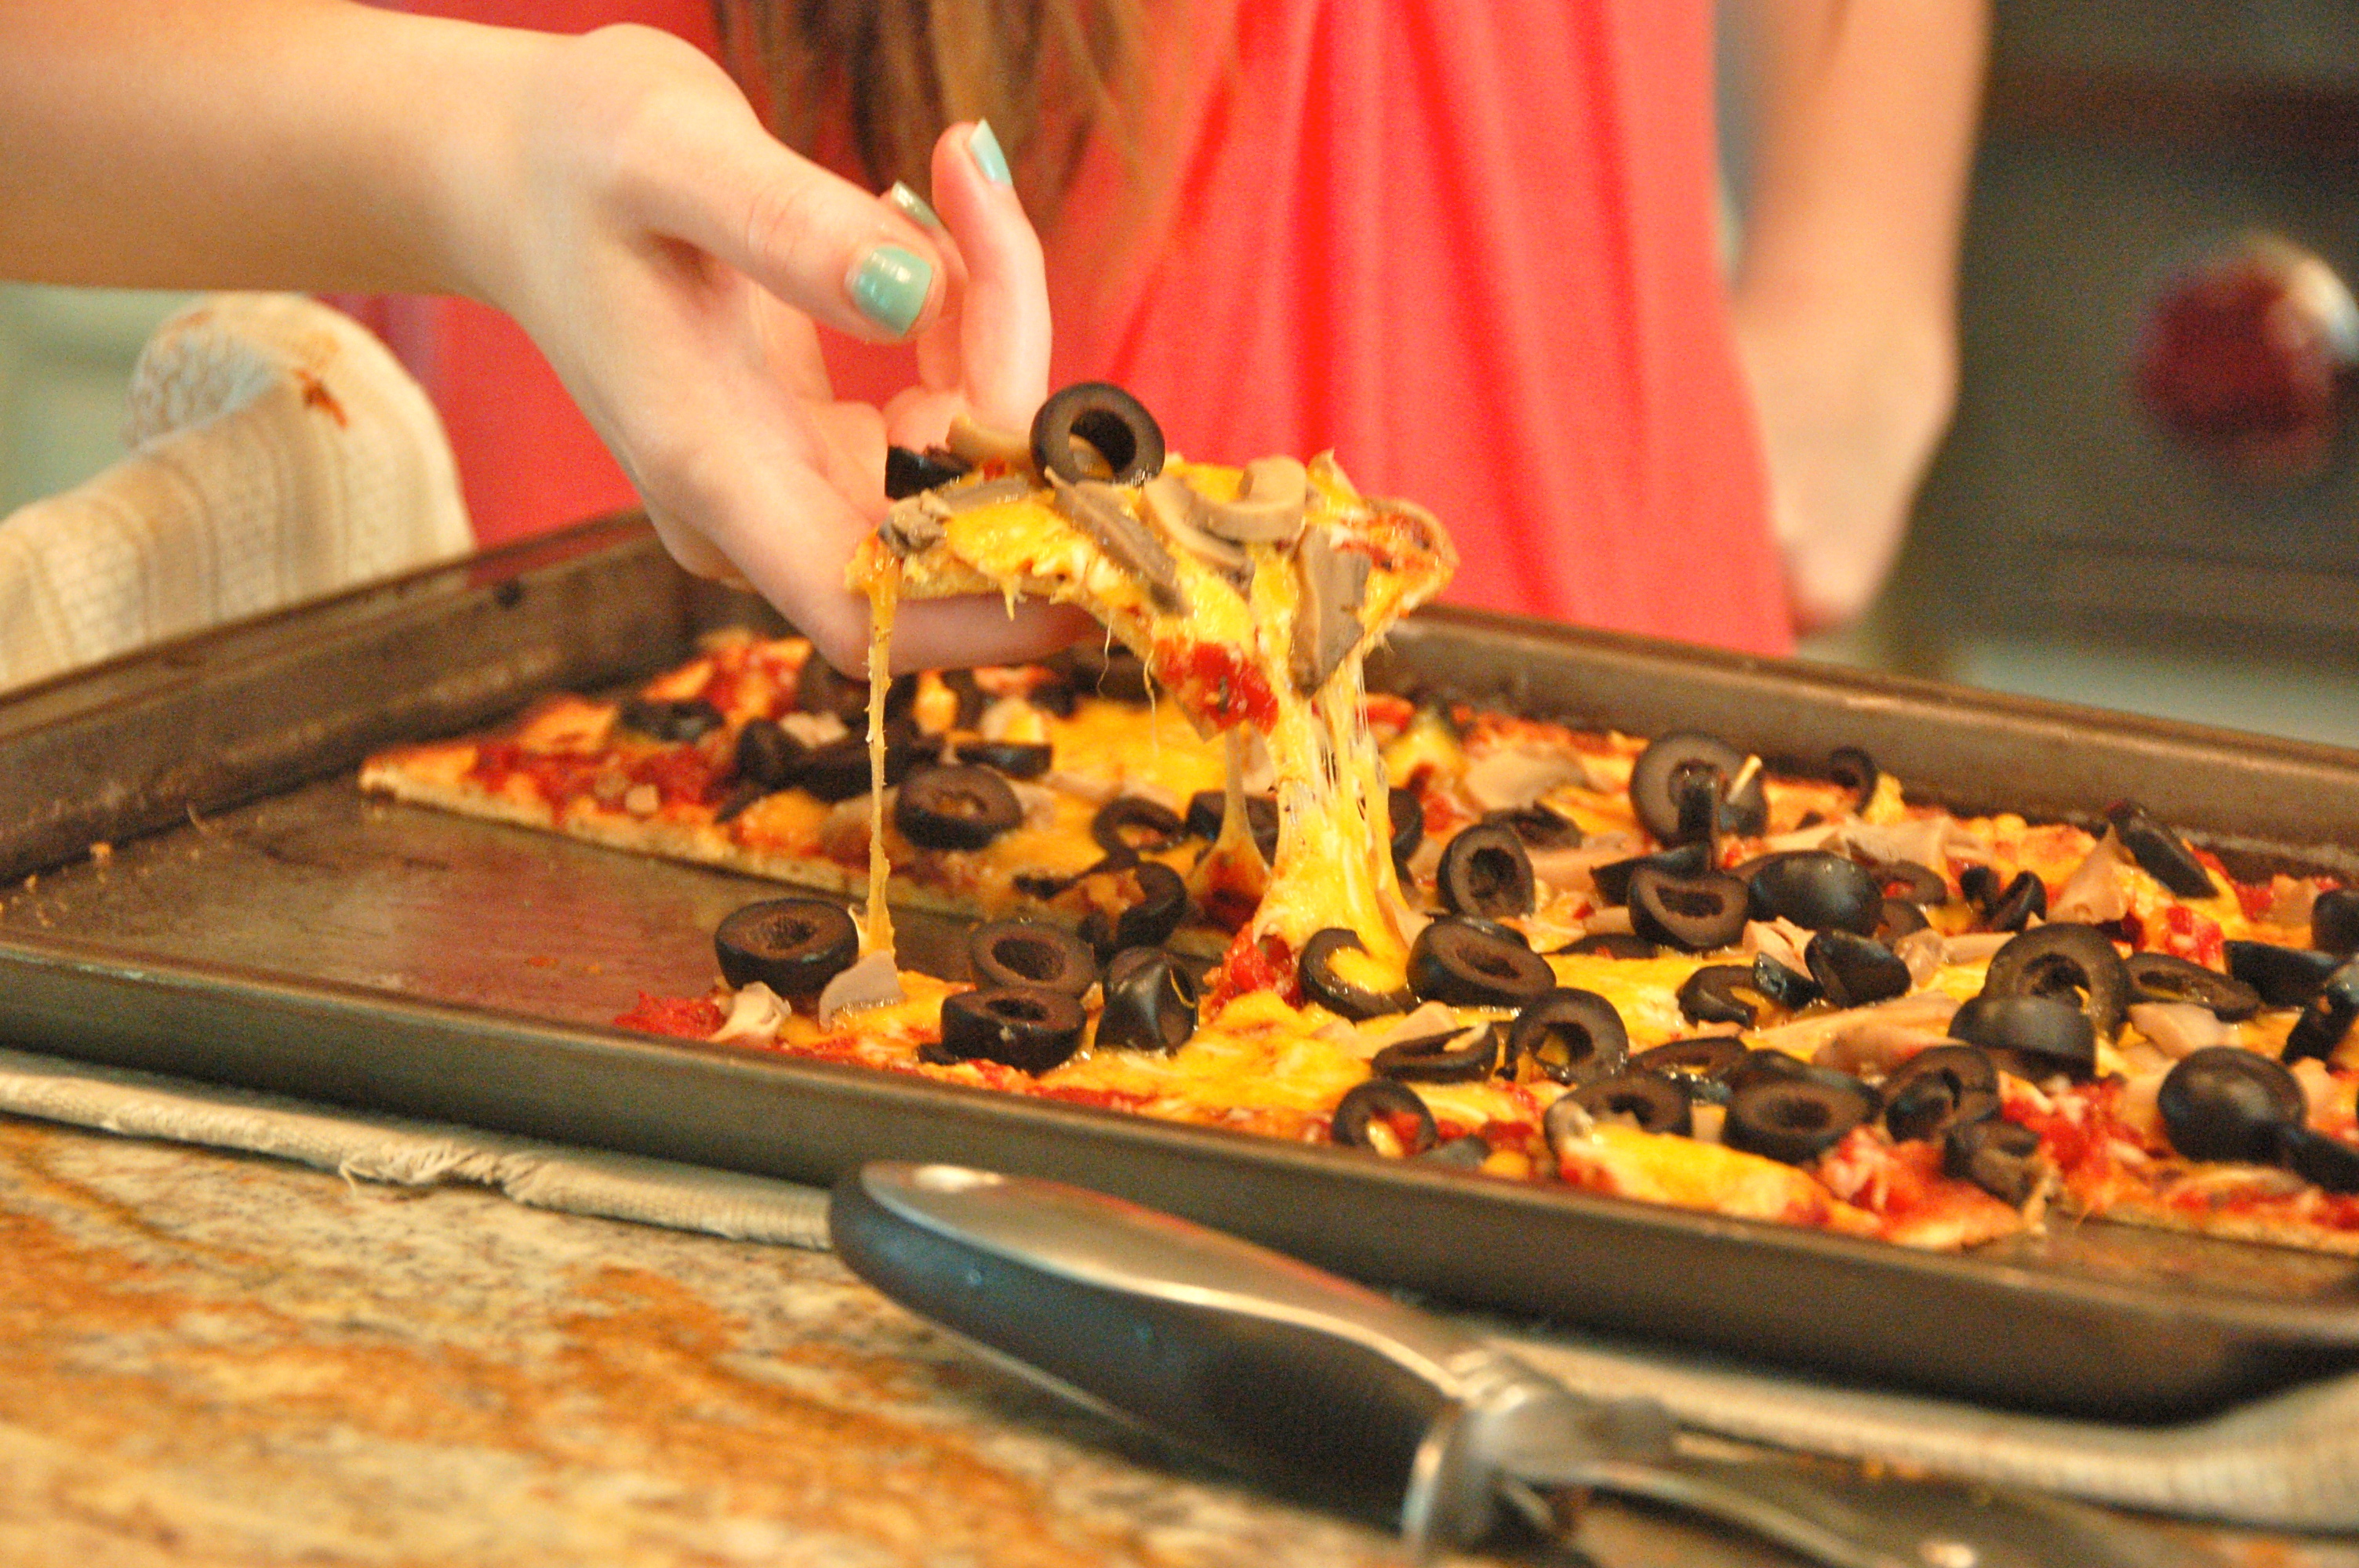
9. To remove the parchment paper, just pinch the corner and pull it right out. Cut into slices or any size that you choose.

*Tip: let the crusts cool all the way to room temperate before freezing

ppeeppe4

~Stay Gutsy, Caroline

disclosure 3
09.12.2012

Frog Legs

Did I scare you all with the recipe name? Will you let me explain myself before you leave me!? Pretty please


Lets get gutsy already!

You know what I realized? Most of my recipes are not gutsy at all! I mean snickerdoodlesfruit leathers, and banana bread are great and all, but I think I have to step up the notch here with the “gutsyness”, don’t you agree? Or at least once in a while?!

Oh please!

Don’t judge or over exaggerate over my new gutsy recipes, promise? Ok! Here is my first really tasty treat for you to try! (My family thinks it tastes like chicken. You have probably over-heard this one, but it is true!) Try to stay calm as I introduce the frog legs to you.

Nutrition power house!

If this picture or the thought of frog legs tasting like chicken doesn’t do the trick then I know what might! Did you now that most people are deficient in vitamin A (read about it here!). That’s because people think they can get it in the form of veggies like carrots and kale..wrong! Your body is only efficient at absorbing vitamin A through animal products. Liver is extremely high in vitamin A, but I know some of you cannot choke down the taste.

It’s not that frog legs are easier to look at than beef liver, but they are tastier! Frog legs are super rich in protein, vitamin C, omega-3’s, potassium and vitamin A (in the form your body can use!) Hooray!

Frog Legs


Ingredients:


sauce:

  • 4 cloves of garlic
  • 2 TBS butter


Directions:

  1. Pre-heat oven to 350.
  2. Rinse frog legs under cold water.
  3. Salt and pepper legs each side
  4. Heat 1 T oil and 1 T butter in a cast iron skillet.
  5. Add frog legs in hot oil and fry for 3 minutes on each side (golden brown)
  6. (While legs are cooking) make sauce. Add lemon juice, parsley, butter, garlic to small pan and let simmer for 6 minutes to reduce.
  7. Add sauce on top of frog legs.
  8. Transfer cast iron skillet in oven for 15 minutes (this ensures the legs are cooked through).
  9. Remove from oven.
  10. Serve on top of a bed of spinach and squeeze fresh lemons. Yum!
.
.

~Stay Gutsy, Caroline


disclosure 3
06.27.2012

GAPS pizza

pizza2

GAPS pizza crust:

Ok, so I showed you how to make the GAPS pizza crust …so now it’s time to bring it all together to make the WHOLE pizza. I will include our pictures from the crust as well, because we did it on a different sized pan.

pizza 1

How we did it:

I prepped my ingredients before hand to make it easy to just toss them on. We kept our pretty simple but the combinations are endless. When I made this just for my mom I put on caramalised onions in butter, spinach, greek olives, and I put the raw milk cheese on at the last second and let it melt after I took it out of the oven (so you don’t kill all the good enzymes of course!). Mmmm..she loved it! So get creative. here are some ideas for pizza combos.

iii

Toppings:

1. cheese and black olives

2. organic pepperoni (nitrate free)

3. crumbled sausage, roasted green paper & mushrooms

3. greek olives, spinach, caramalised onions & feta cheese

4. sun dried tomatobasil, raw goat milk cheese (classy and simple!)

5. pesto sauce, fresh tomatoes, and raw milk cheese

6. pizza sauce and cashew cheese (dairy free version)–> recipe here

Screen Shot 2013-11-16 at 3.11.25 AM

DIRECTIONS:

DSC_0280

DSC_0281

DSC_0282

1. Make the crust – make two 9″ circles or one 15 x 10″ cookie sheet (lined with un bleached parchment paper of course). Freeze some pre baked crusts if you want, it makes an easy dinner. Oh, if you see in the pictures me using olive oil on the bottom of the crust, you can do that too.

DSC_0277

DSC_0287

DSC_0285

DSC_0292

2. Prep all you toppings, sauté the onions, cut up the olives, cook the sausage, crumble or shred the cheese, make you sauce, etc.

Sauce recipe: I use a simple recipe of garlic, “boxed” diced tomatoes, tomato paste, basil, oregano, and sea salt. Mix ingredients in sauce pan (its better to use a pyrex or ceramic when cooking acidic foods), smash everything with a potato masher, bring to boil and let simmer for a few hours to infuse the flavors. It should be thick so it doesn’t make the pizza soggy. Here is a jarred pre-made sauce with NO sugar added.

DSC_0296

DSC_0297

DSC_0298

DSC_0303

3. Spread sauce on pizza crust, put cheese and topping on.

DSC_0306

DSC_0307

4. Bake for another 10 min and can broil for a few min to get a nice golden brown look to your gooey cheese and toppings. It was helpful to broil when I had on a lot of topping and I wanted it to cook the faster only on the top.

DSC_0316

DSC_0313

5. Slice and pull apart gooey cheese and eat 🙂


pizza final22

~Stay Gutsy, Caroline

disclosure 3
05.17.2012

Creamy Carrot Chicken Soup

soup

Hello! Ready to cook?

The story of the soup…

My older sister just came home from college and she got the shock of being back at home and eating healthy food again. College food is so different from traditional food and it can totally mess up your body! Next year she is living in an apartment so I am going to teach her how to cook for herself, using all whole foods. She is a little nervous, but it is better she learns now 🙂

The GAPS diet for a college student!

Not only that but my mom and I are putting her on the GAPS diet. Right now we are slowly transitioning her. The past few days she has had no wheat, very little sugar, switched to raw milk, drinking bone broth, probiotic, fish oil, magnesium oil, a few bits of ferments (though she craves kimchi!!), and increasing veggies. soup step 1 revised

Teach and learn

Last night I taught her how to make soup, but by the time we finished she was feeling pretty anxious…I guess she is getting die off. She is doing her own blog about her personal journey http://mysummerdetox.wordpress.com/  My mom and I are playing dr. and she is the patient. She suffers from acne and cramps, so hopefully GAPS will clear some of it up, if not all of it. So here is the recipe we made together..


soup step 2

INGREDIENTS:

1/2 big head or 1 small head of cauliflower

7 carrots

2 onions

1 garlic clove

1/2 cup butter/ghee

8 cups of chicken broth

2 cups chicken shreds

1 tsp sea salt

(optional) grated raw cheese

(optional) few TBS raw milk or coconut milk or water

STEPS:

1. Roughly chop onions and garlic (remember you are blending it)

2. Sauté onions and garlic with salt and butter in big pot until translucent.

3. Wash and chop cauliflower and carrots (rough chop).

4. Add veggies and broth to pot and let it come to a boil

5. Once it boils for a few minutes, turn down to simmer until the veggies are soft. Not too hard but not over cooked (about 20 min)

6. Add the chicken shreds and let the soup cool down a little so you don’t burn yourself when scooping it in the blender. I use this one.

7. Scoop the soup into the blender, we had to do it in a few batches.

8. Blend until smooth (this is the time to add the raw milk and shredded cheese to give it extra creaminess).

9. Pour into bowls hot and top with extra a cheese if you want

10. Eat..yumm…and store the rest in ball jars in you fridge for later.

~Stay Gutsy, Caroline

disclosure 3
05.14.2012

GAPS Liver Pate

Long time no see…

Hello, again. I know have been gone for a long time. I thought it would be a good idea to try out a ton of recipes first and then be more prepared to share them with you all.

Today I am sharing a staple in my house…LIVER PATE! Liver Pate is a great way to hide that “livery taste”. Soaking the liver in milk or lemon juice for a few hours will reduce the “livery taste” even more. This is an easy recipe and I always make extra and freeze it. If you are on GAPS and cannot have butter yet, ghee would work perfectly too!

pate5w

INGREDIENTS:

1 tsp fresh sage, parsley, rosemary, and thyme (feel free to play around with the herbs you like). Dried is ok too, just use 1/2 tsp.

7 garlic cloves

1 medium onion

1 lb chicken livers

4 T butter/ghee

1 1/4  tsp sea salt

8 Tbs butter/ghee (cold)


DIRECTIONS:

img_4147

1. Chop you herbs, garlic, and onion. (It is getting blended so it doesn’t had to be perfect). I grated my garlic (with this mini grater), but it was a big waste of time 🙂

Screen Shot 2013-11-14 at 5.46.52 AM

2. Cube your 8 TBS of cold butter, and set aside.

img_4137

Screen Shot 2013-11-14 at 5.48.38 AM

3. Saute herbs, onion, garlic, 4 T butter–until soft

Screen Shot 2013-11-14 at 5.49.56 AM

img_4144

4. Add liver and cook–don’t over cook them, leave them a little pink. (It is ok to leave them a little raw if you freeze them for 3 weeks beforehand to kill off any bacteria. The liver retains its vitamins better if it is eaten raw.) I use this cast iron skillet.


img_4183

5. (optional) put in sieve (fine mesh) and stain out liquid for extra thick pate.

img_4184

6. Save the strained liquid in a little jar. Chill in the fridge and the layer of liver flavored butter will come to the top. This is AMAZINGLY flavorful butter! You can use the liquid for a stock or soup.

img_4187

img_4189

img_4190

7. Puree sautéed mix and 8 T of butter cut in cubes (I used my Cuisinart).

img_4193

img_4197

8. Put liver puree in a mold (I line a small baking cup with a plastic bag to make it easy to flip it out).

img_4202

9. Refrigerate until hard, and flip out of mold. Eat with veggies or crackers!


liver live


~Stay gutsy, Caroline


disclosure 3