10.31.2016

Stovetop Cinnamon Apples


img_6849

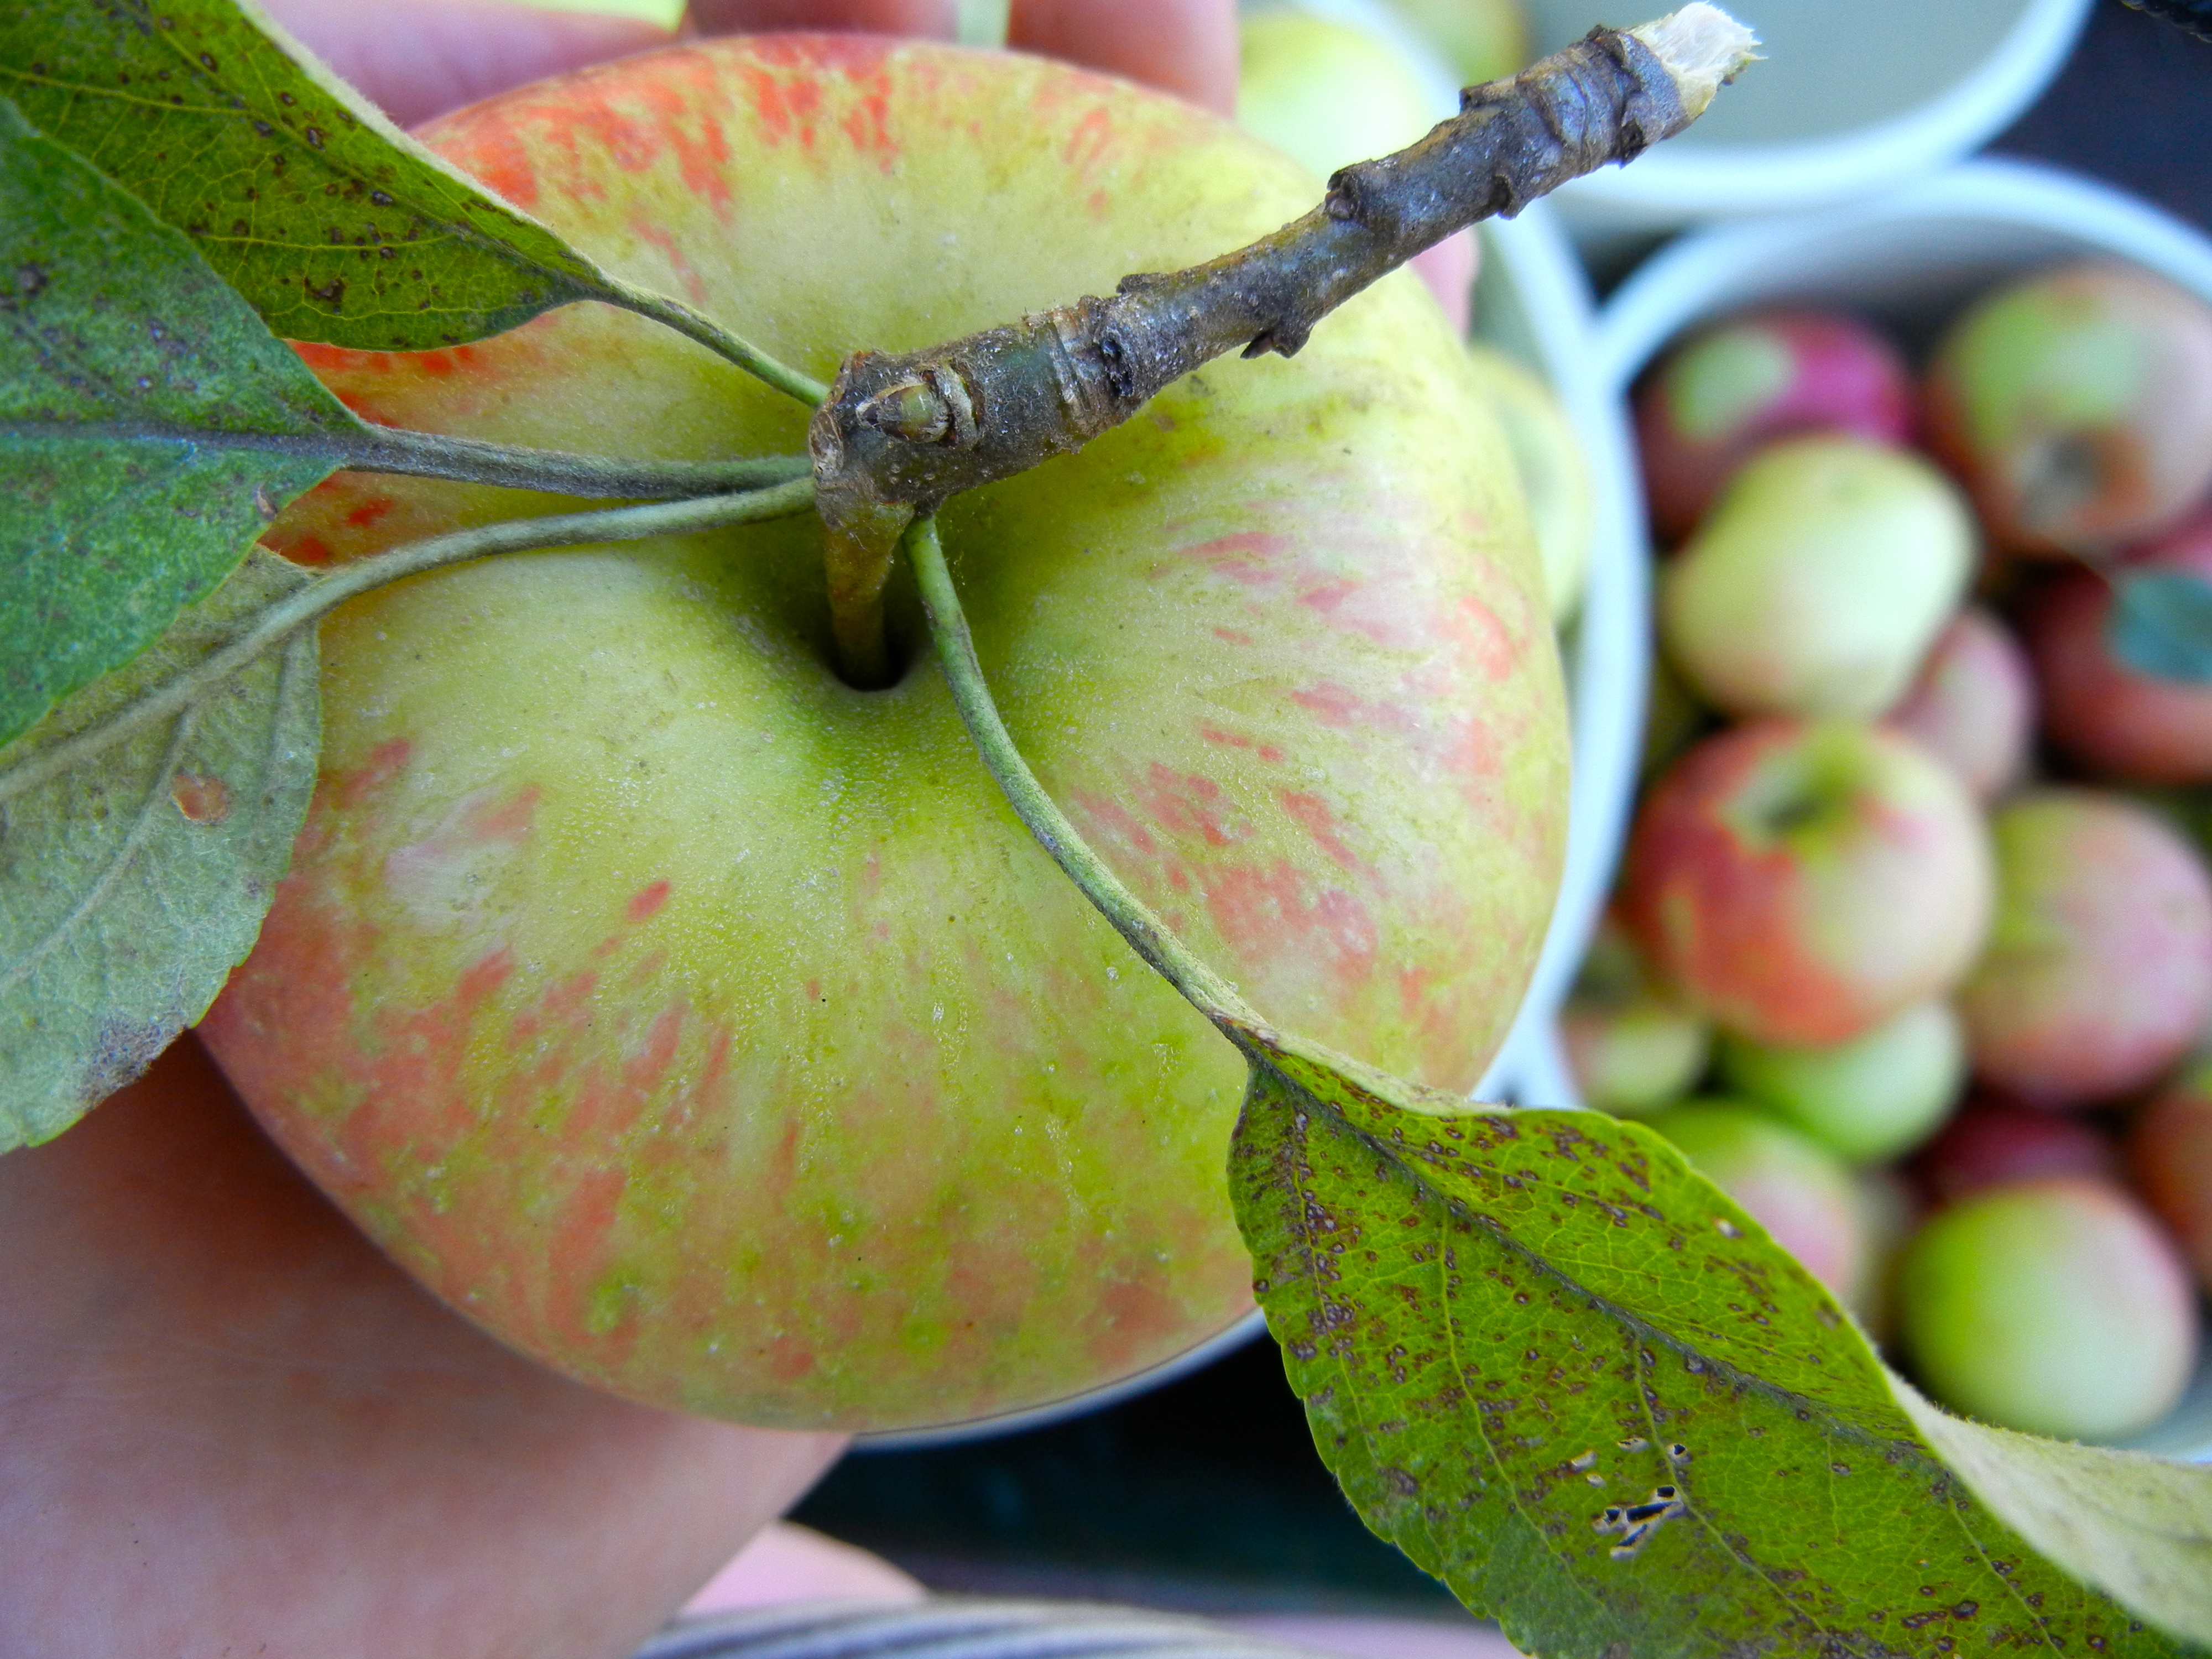
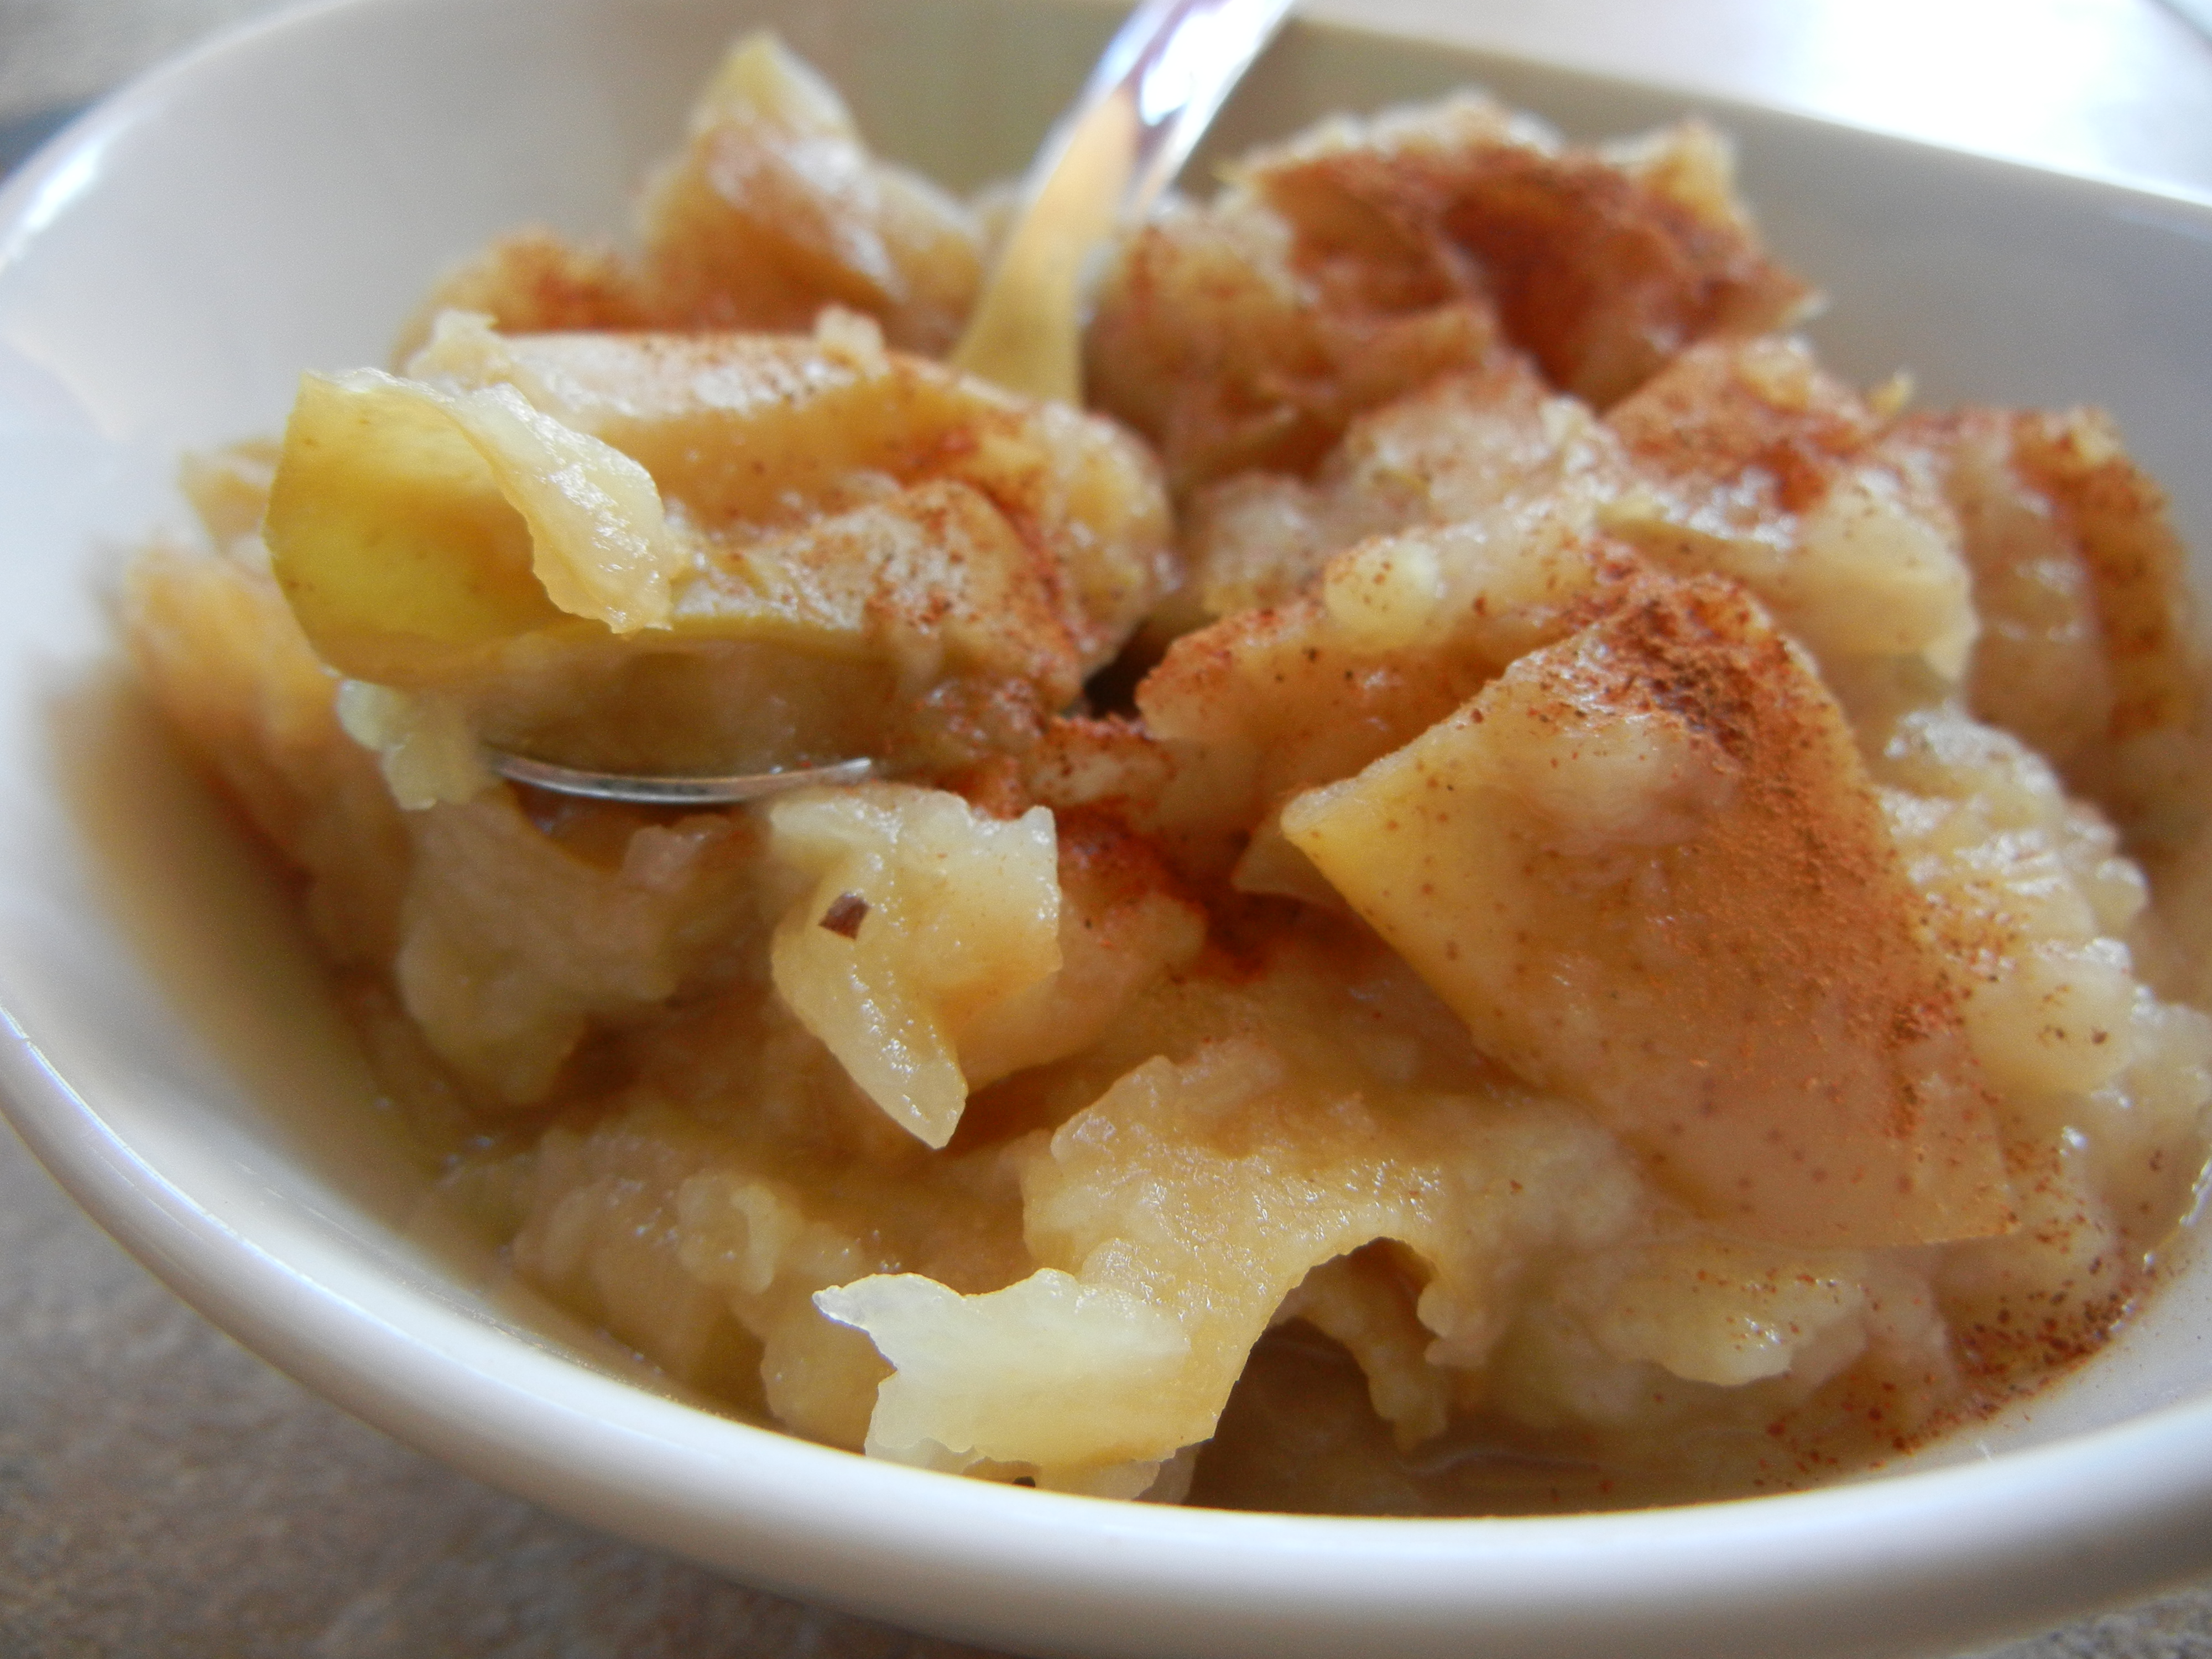
When you have apples overflowing in your fruit bowl and some of them are well…too soft eat (because soft apples are never as good as the crunchy ones in my opinion), it’s time to cook something! Stovetop cinnamon apples turn any kind of regular apple into a sweet and healthy treat.

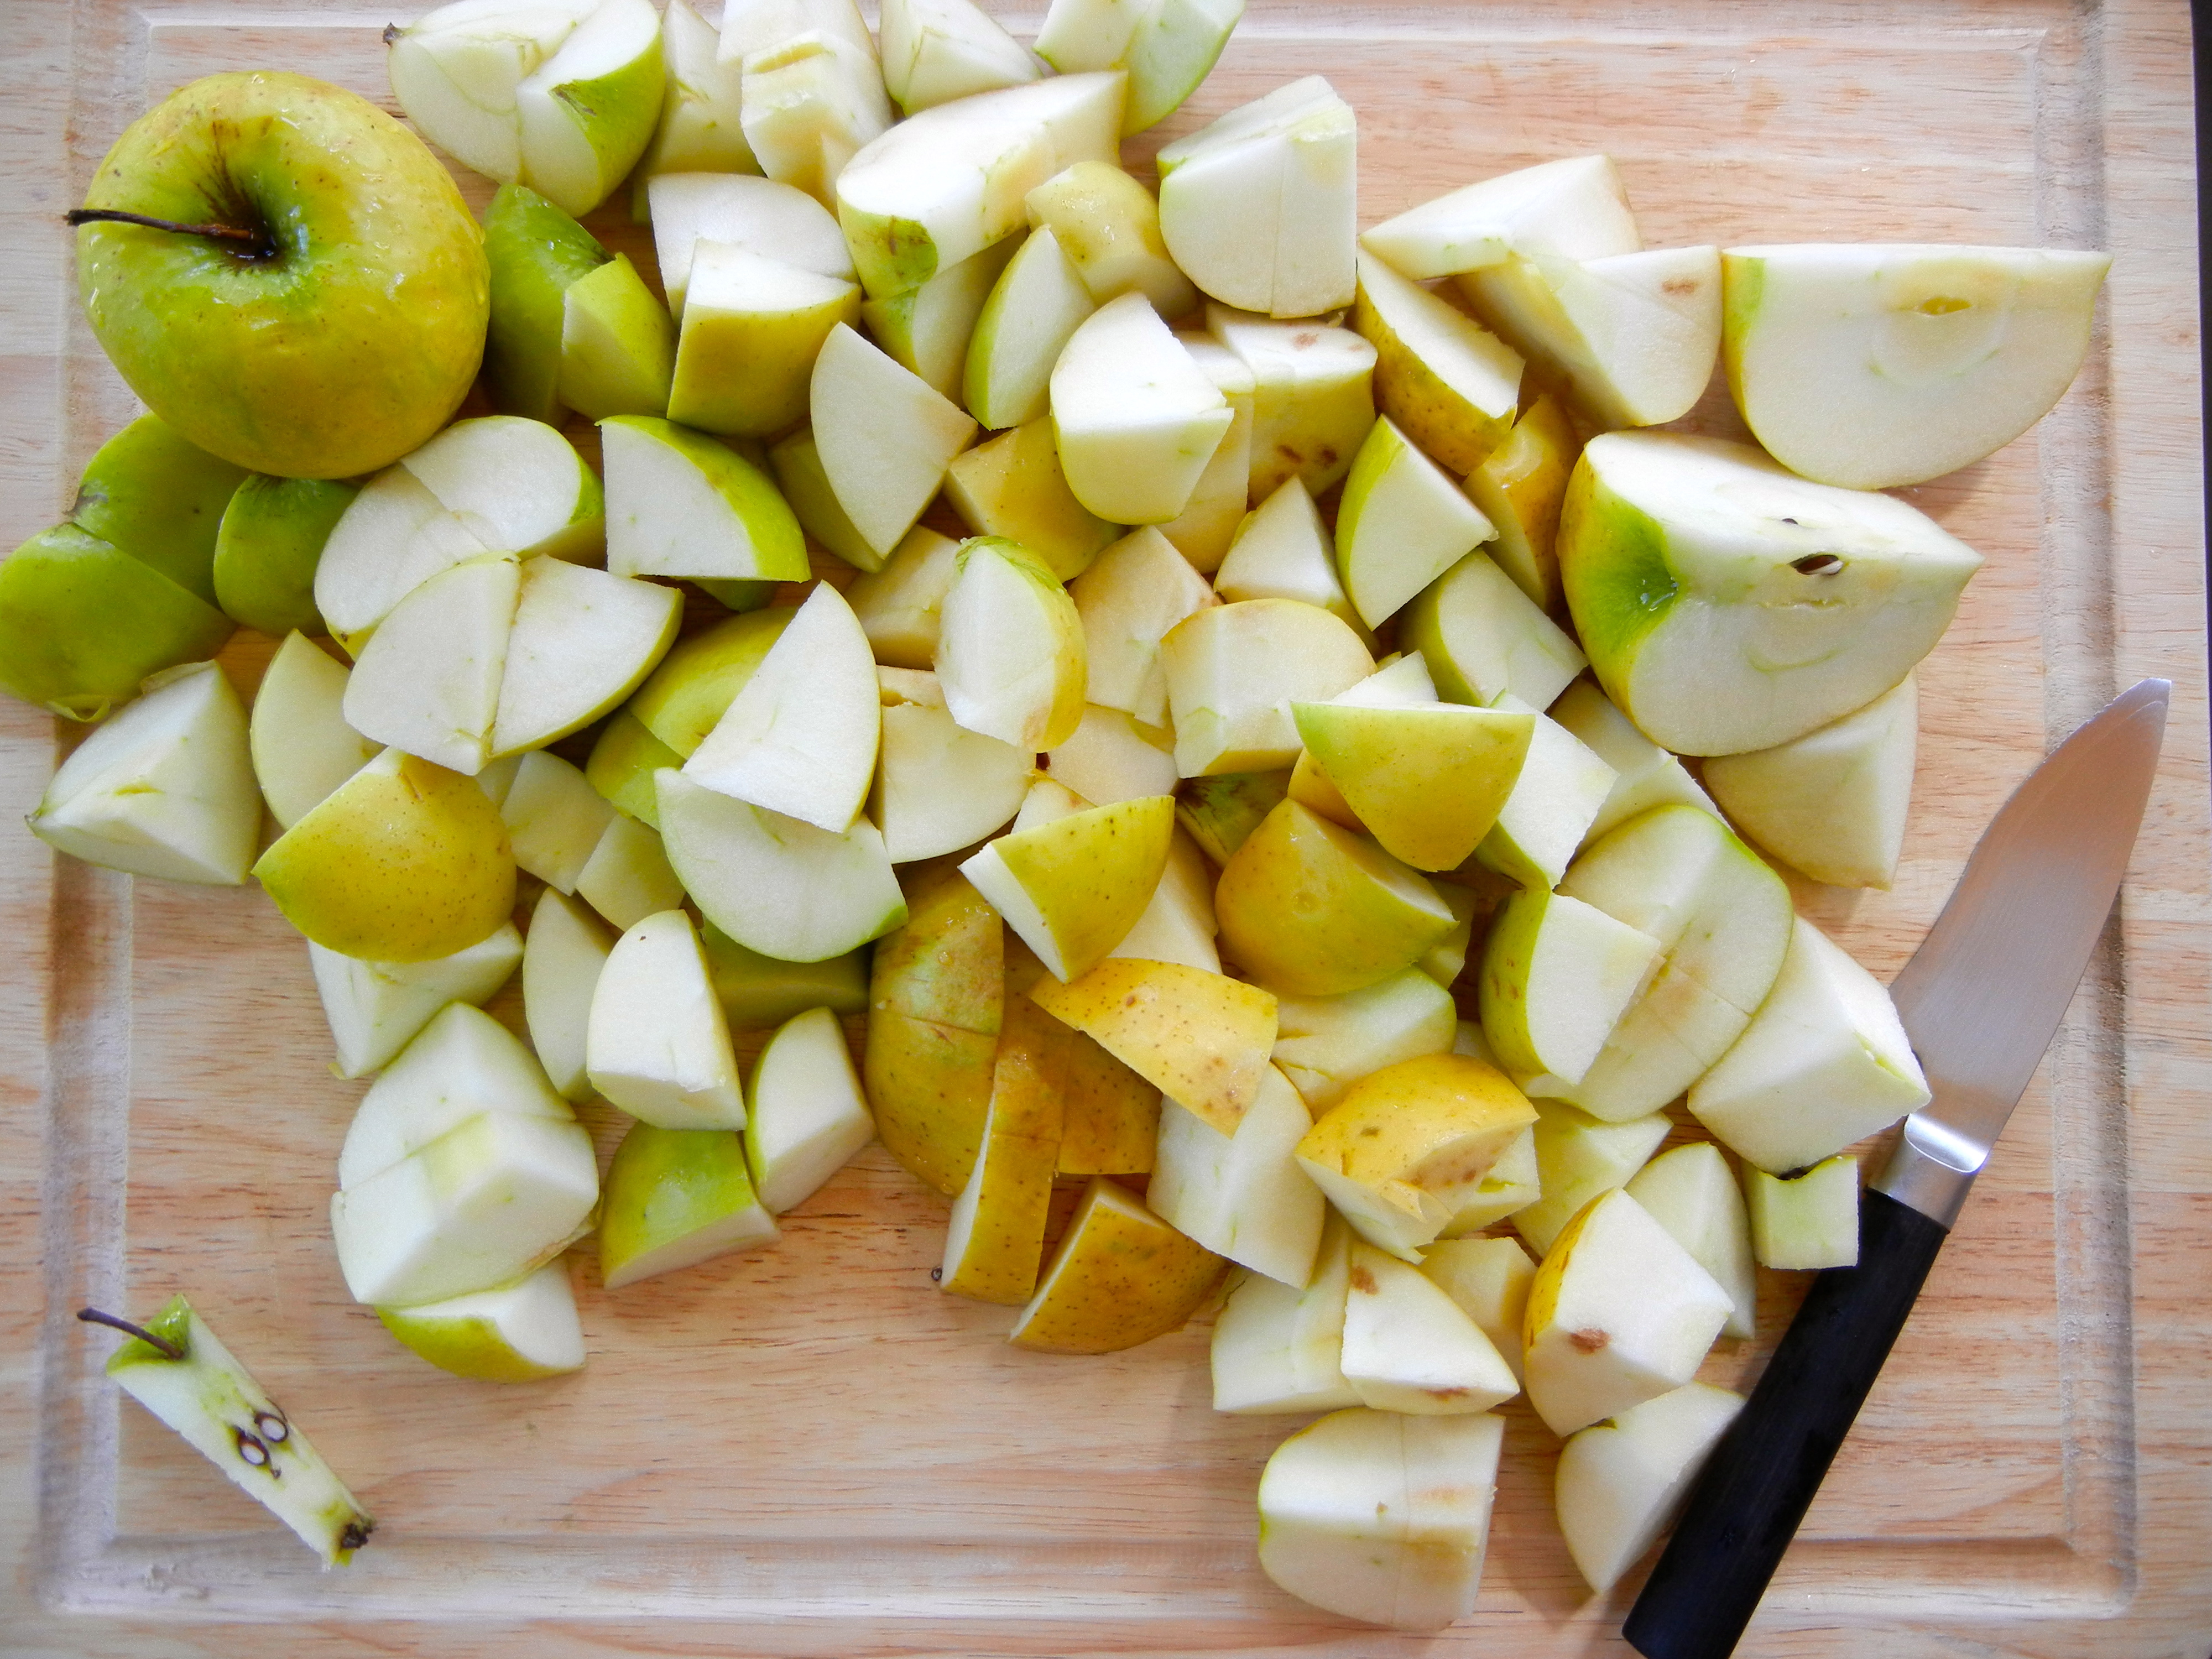
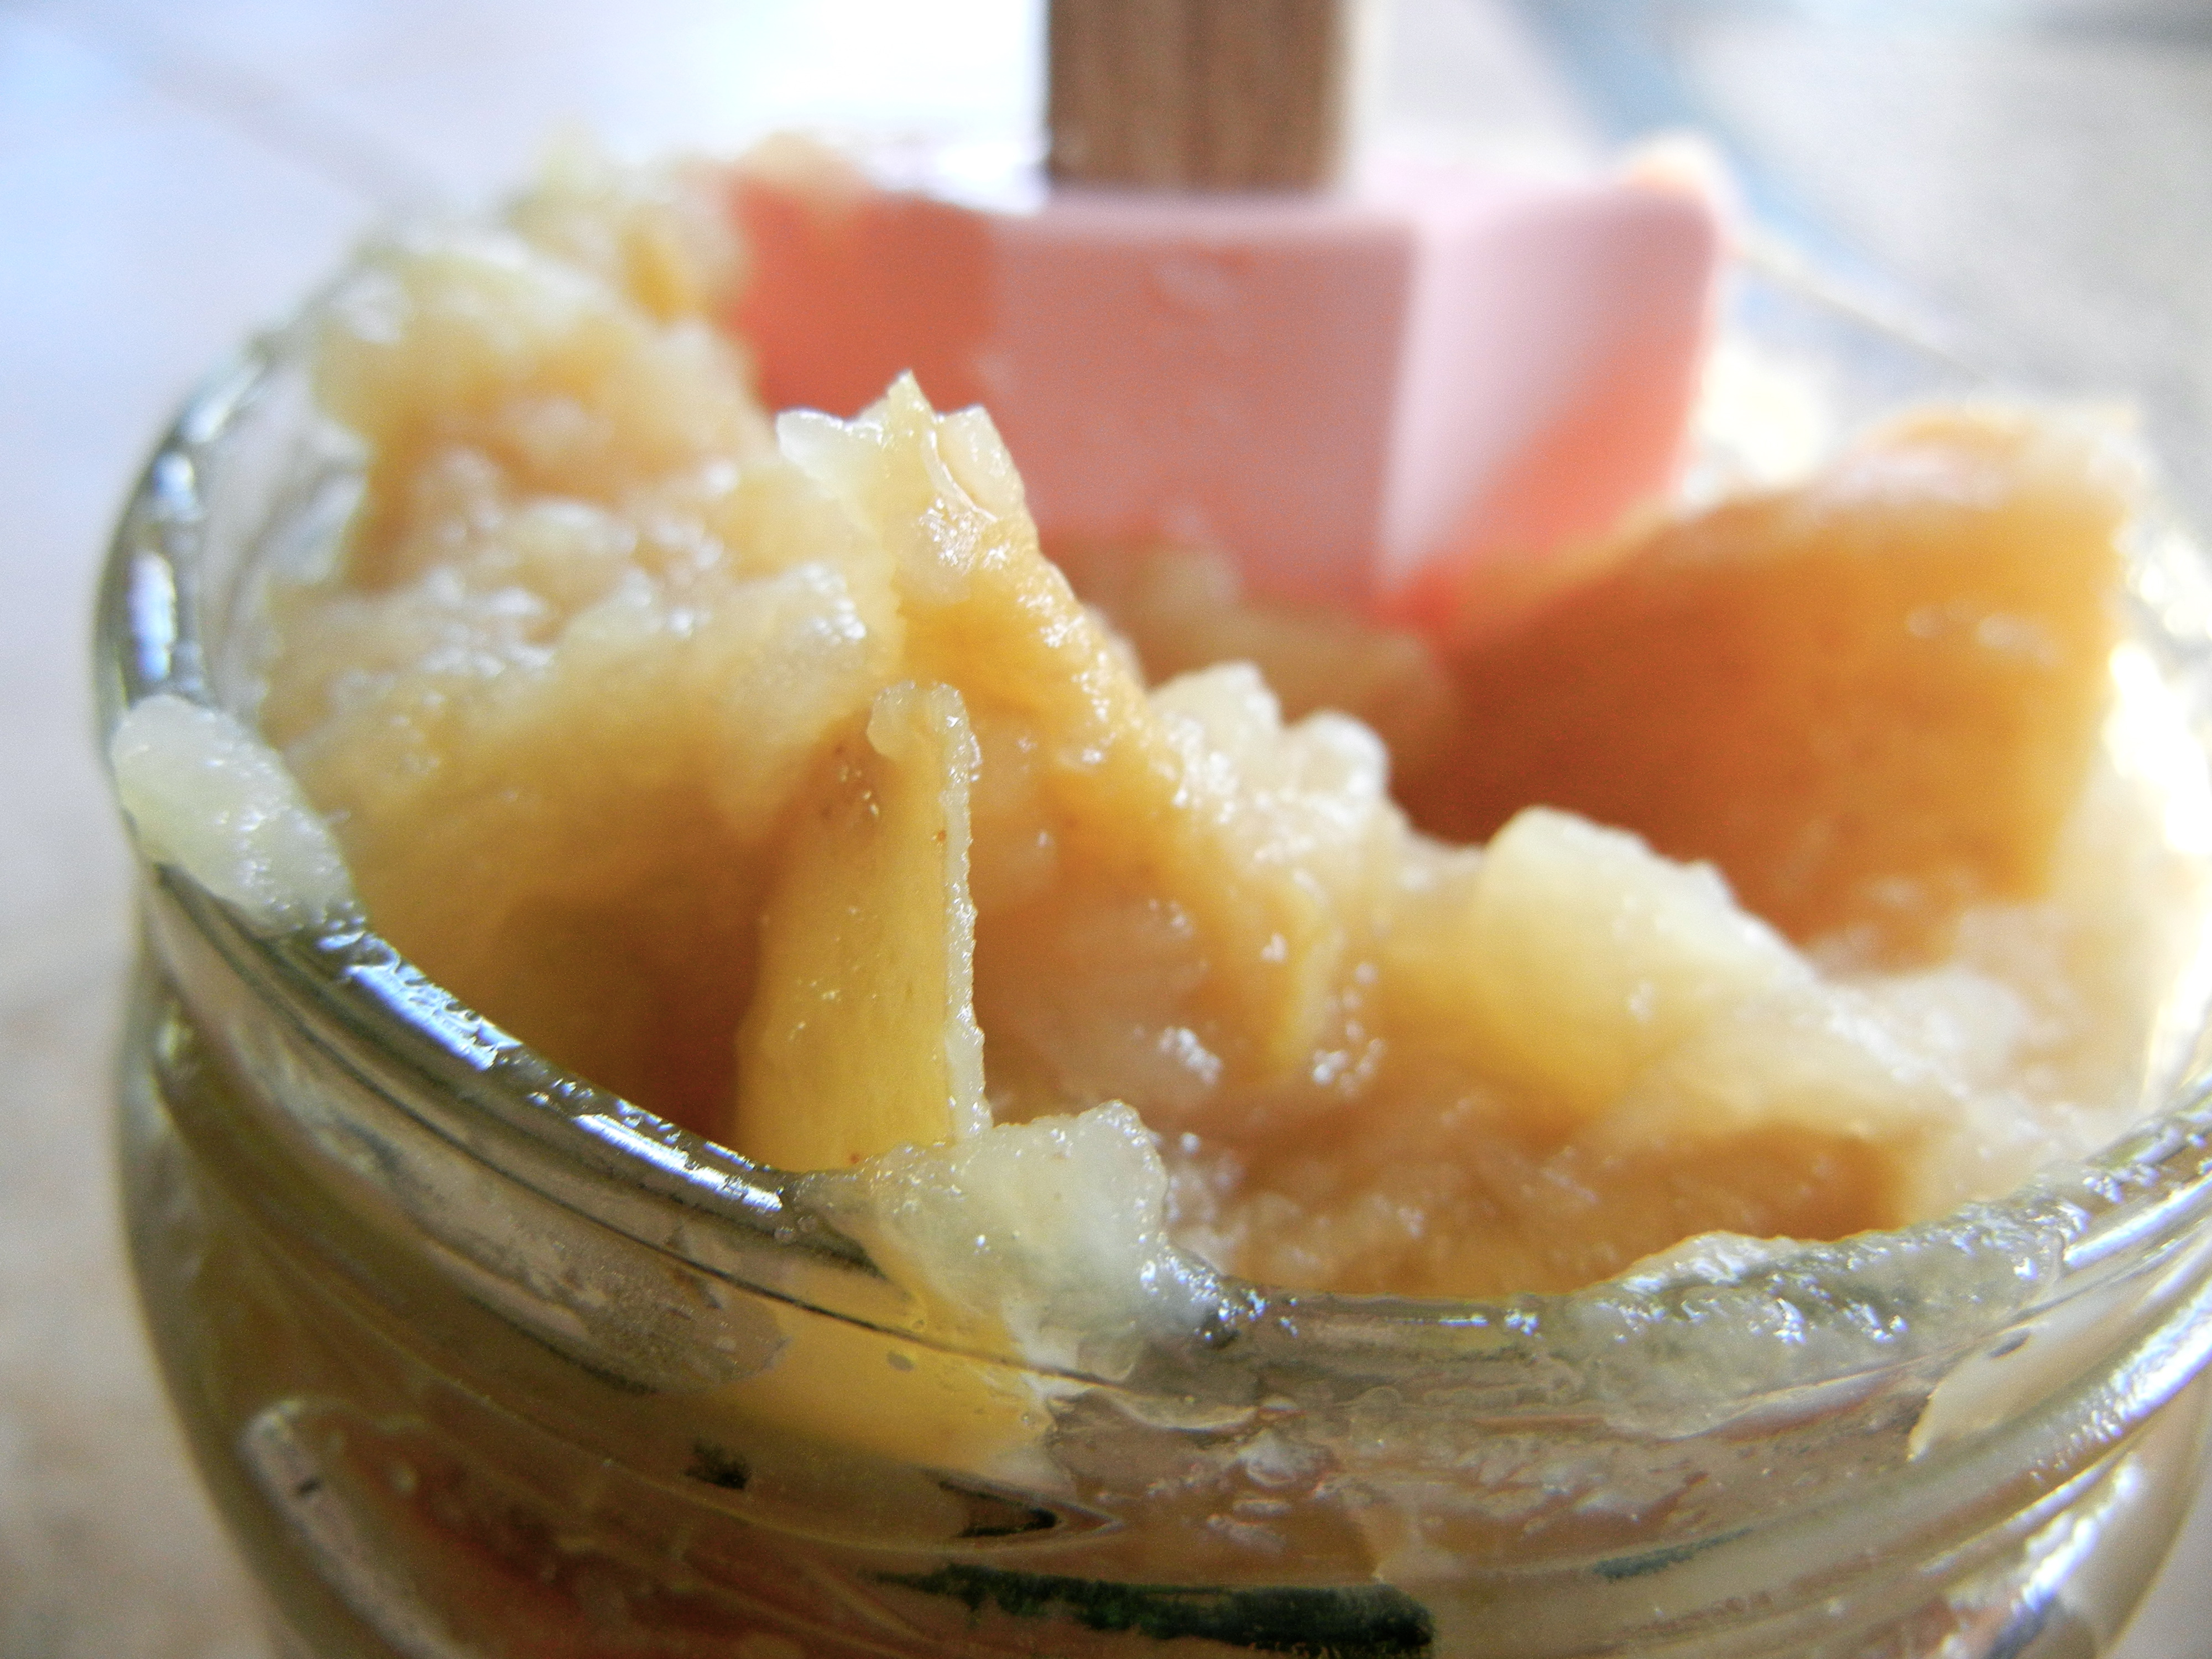
For an easy topping on yogurt or ice-cream its nice to have them cubed up and bite size. I have gone back and fourth cooking whole apples, 1/2 apples, apple slices and now apple “cubes”. It’s fun that apples can be made into a variety of shapes and sizes.

I had my 2 year old helper that I nanny, chop with her plastic knife along side of me. We ended up snacking on the apples that were on the crunchier side because crunchy local apples here in Colorado are amazing!

Stovetop cinnamon apples are a simple recipe for kids to help with too. It is a super easy recipe and can be done in basically 10 min (awesome for short attention spans!). The clean up is minimal but the finished apples are warm and yummy! So here is how you do it.

img_6853

img_6821

Ingredients:

Directions:

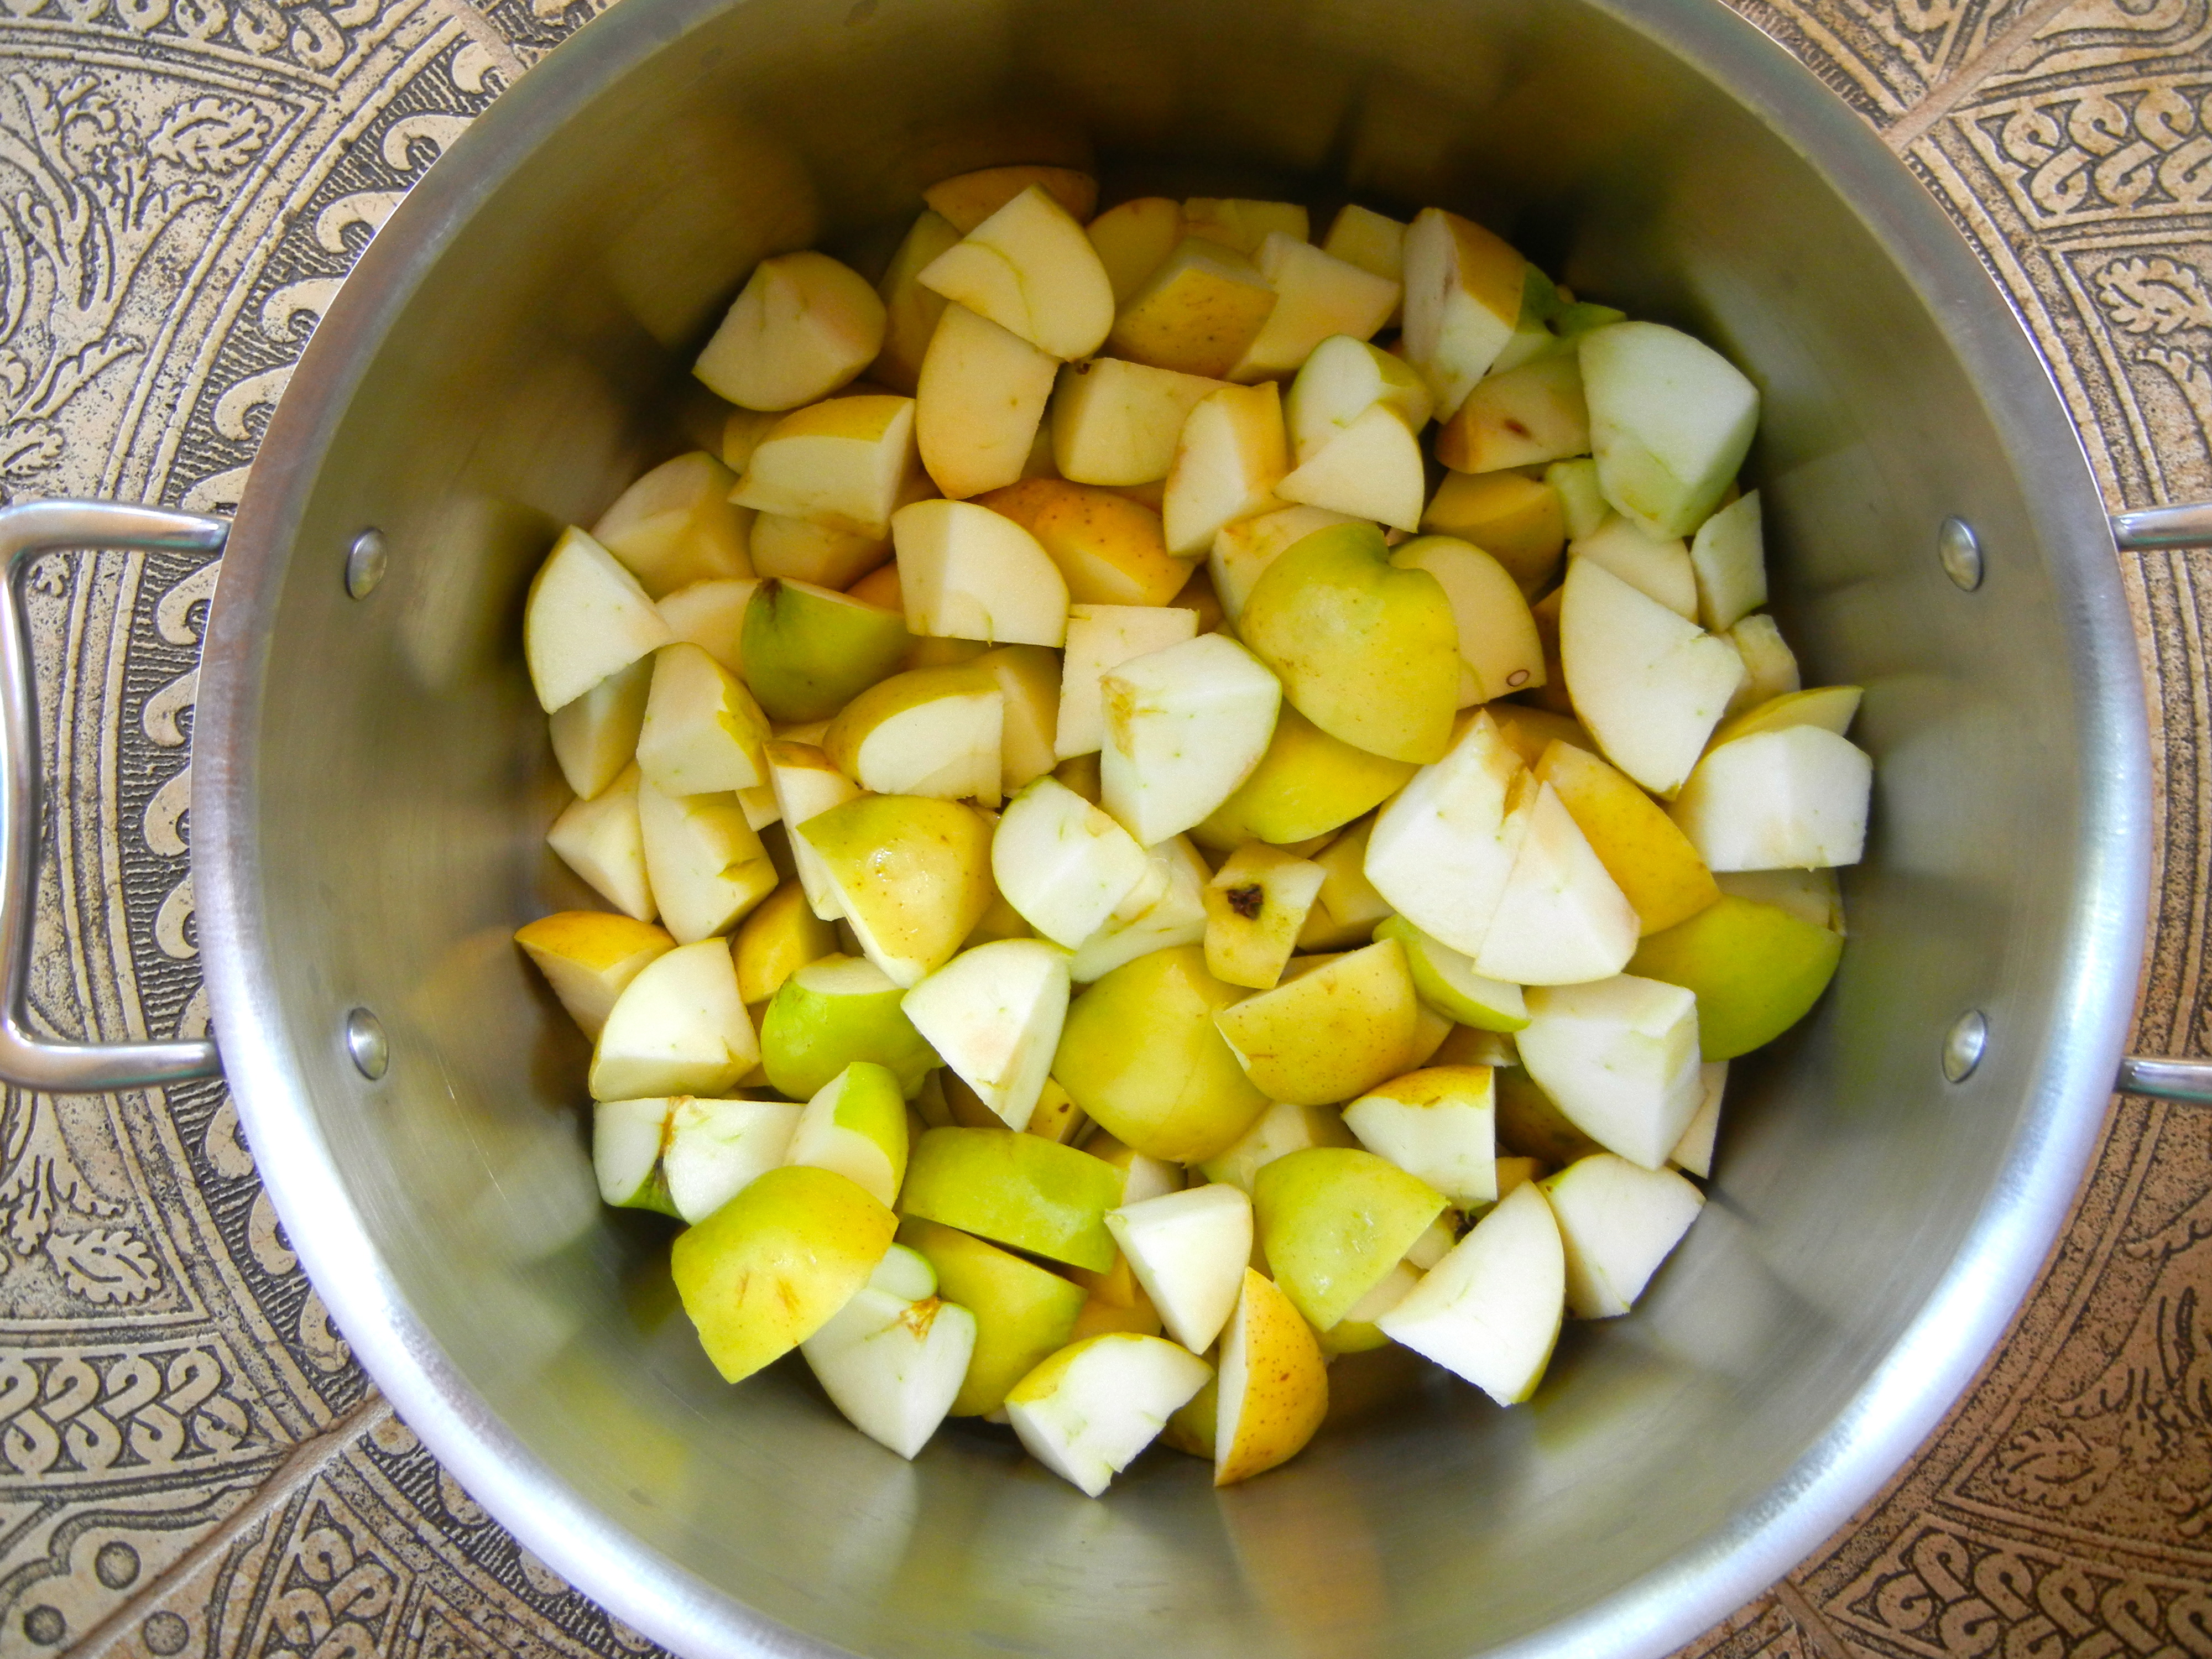
  1. Wash, peel and chop apples into 1/2″ in cubes.
  2. In a saucepan (I use an amber glass one) add water, salt, cinnamon, butter and maple syrup (optional) and stir to combine.
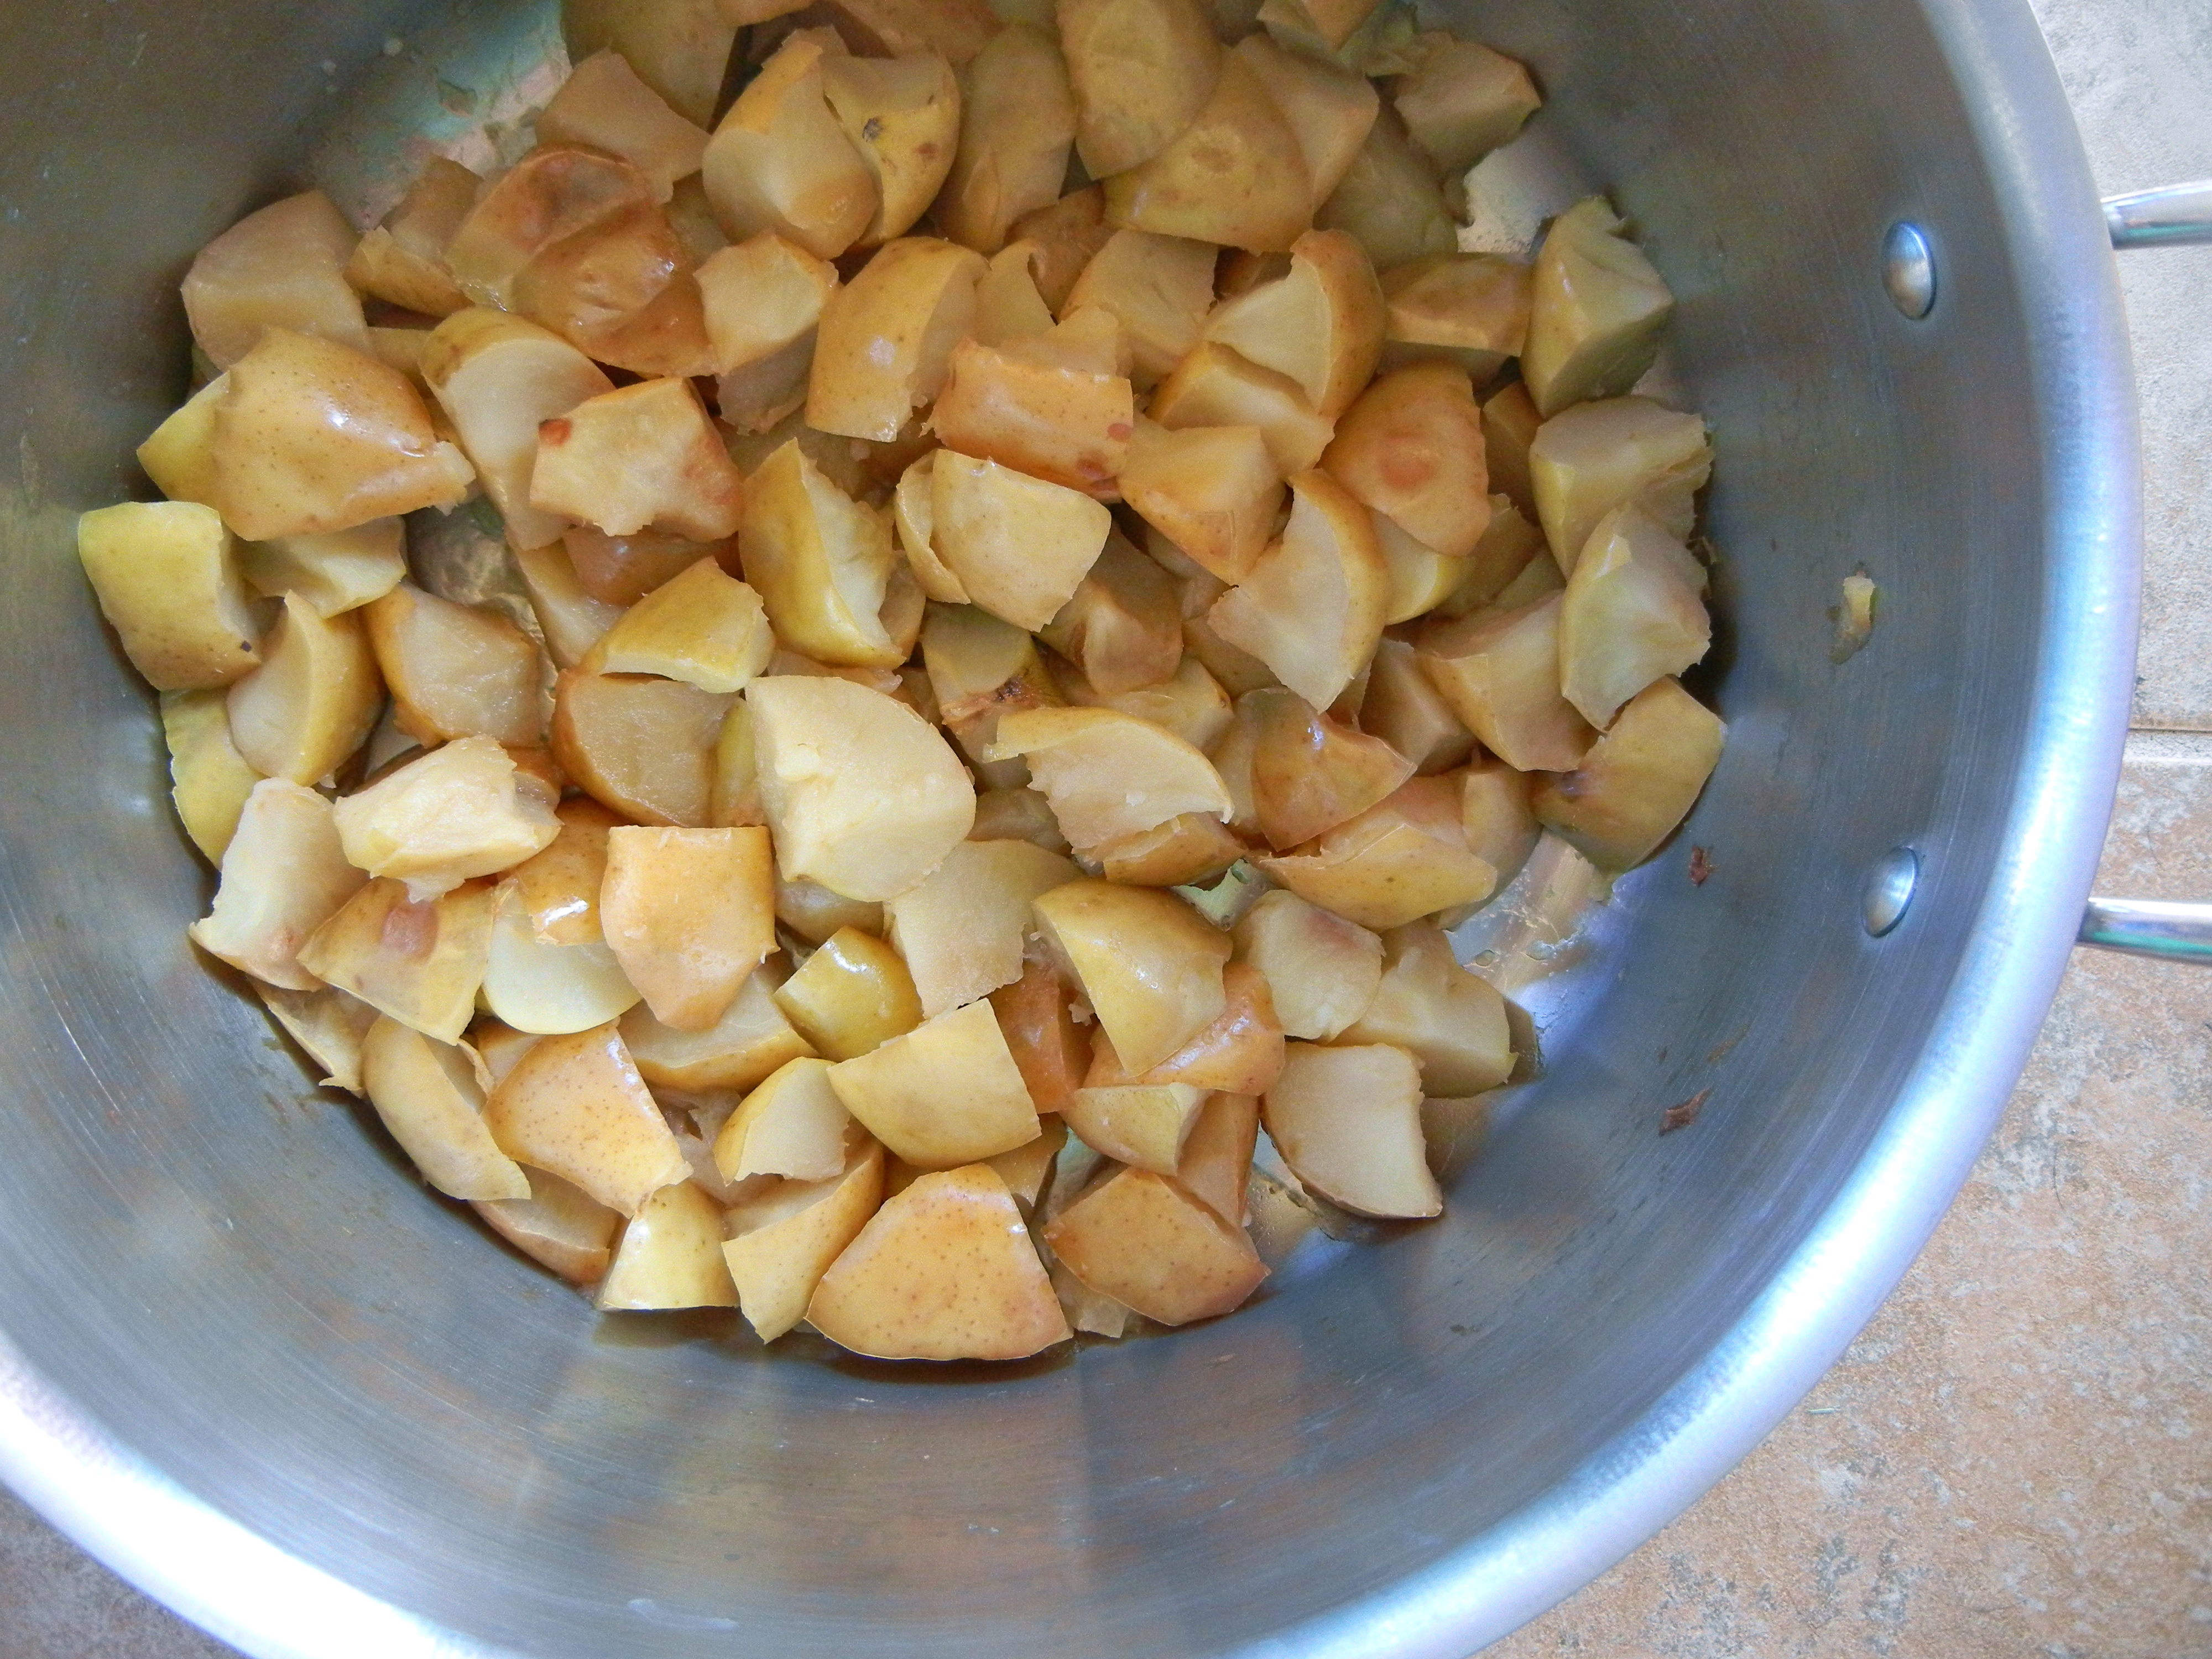
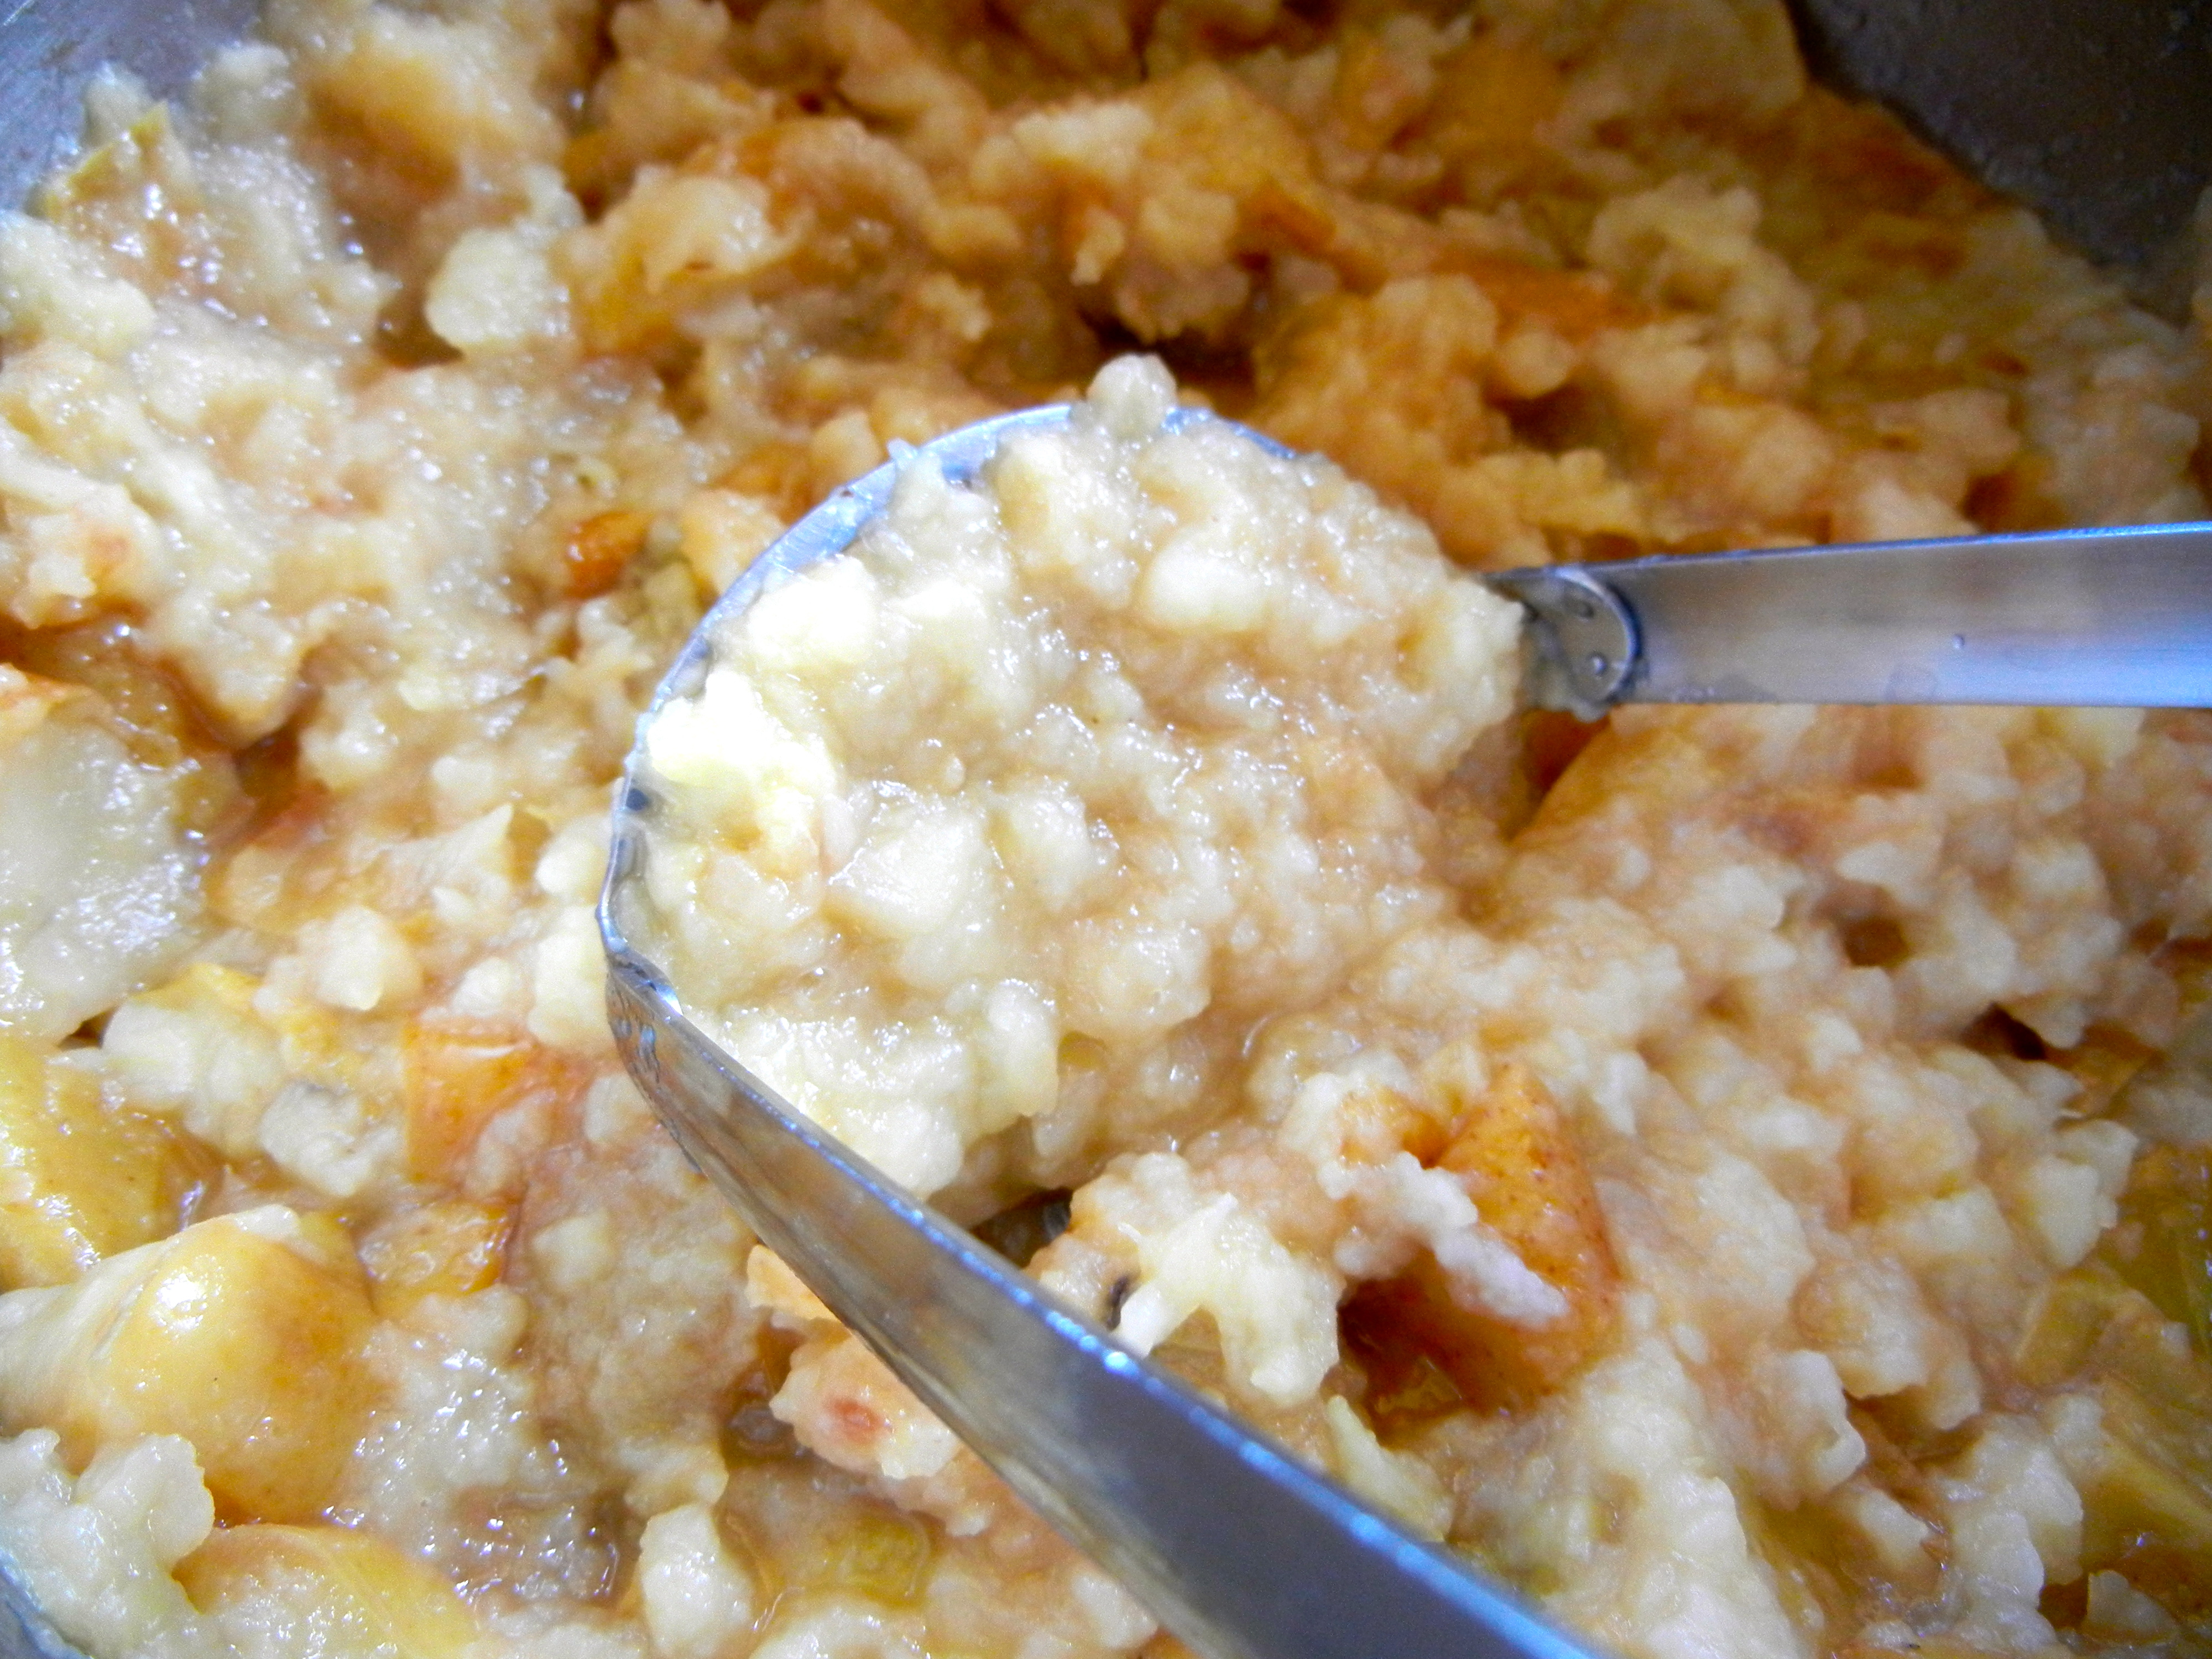
  3. Add chopped apples to the saucepan and turn on med-high heat and cook for 10-15 min with the lid on. (It may bubble up so I always find that cracking the lid to side helps release the pressure so it doesn’t make a mess and overflow.)
  4. Let cool for a few minutes and then serve! Leftovers can be saved in the fridge for a few days too. 🙂


caroline

disclosure 3
10.16.2016

Baked Sweet Potato fries

Hi! I have been loving fall here in Boulder Colorado. The smell in the air is crisp and the nights are cooler so sweet potato fries really warm you to the bones (exactly what I need right now after a long walk).

Since I’m a nanny during the week, that means I’m in charge of the kids meals. I get to cook with awesome organic farm fresh foods for the family I am nannying. Sweet potatoes, pumpkins, apples.. yum!

In my last post I mentioned I was a live in nanny, but after giving it a try I felt it was not ideal for me. I am still a nanny in the same area but I have more personal space after work which is nice. The little ones I nanny are awesome eaters and love to help me make things from scratch. They love to peel sweet potatoes, separate the pumpkin seeds, and freeze fruits. It’s a good match because it helps the process go quicker, gets them involved and trying new things.

Baked sweet potato fries are a favorite (and a great filling warming food after a long day!). True story… In 6th grade I ate a sweet potato every day after school and it was such a good recovery food mentally and physically. That got me thinking, there must be something good for the brain in sweet potatoes. Time to flip through to the biggest best food nutrition dictionary or the online version. I found that

In animal studies, reduced inflammation following sweet potato consumption has been shown in brain tissue and nerve tissue throughout the body.

Baked sweet potato fries are yummy and easy and such an appetizing way to cook a vegetable (in my opinion). Alrighty, enjoy!


Ingredients:

Supplies:

img_6770

img_6771

img_6775


Directions

  1. Preheat oven to 400 degrees fahrenheit.
  2. Use your veggies scrub brush and wash off the potatoes of any dirt under water.
  3. Chop off the tips of the potato to get a flat base.
  4. (If you want to keep the skin skip this step.) Peel potatoes with the veggie peeler.
  5. Cut potatoes into 1/4 in slices.
  6. Cut the slices into 1/4 in strips
  7. If oil or butter is solid quickly melt in a small sauce pan.
  8. Toss sweet potato strips and spices and melted oil in a bowl and coat the fries generously.
  9. (optional) line baking sheet with parchment paper.
  10. Place potato slices on a single layer on a cookie sheet.
  11. Place in oven and bake for 15-18 min on 400 degrees.
  12. Shake the pan or turn the fries 1x during the cooking process so they evenly brown.
  13. Let cool a few minutes before serving!


caroline

disclosure 3
11.28.2012

Roasted Garlic Broccolini

Have you ever tried broccolini?

 Broccolinni

The first time I heard the name, I decided I would like it. Isn’t the name just fun to say “brocc-o-lini”! ;D It is also a fun twist instead of the boring stubby broccoli. Don’t get me wrong, I like broccoli, but something new is always worth a try. What makes it better is the thin slivers of roasted garlic. If you want to get fancy, squeeze some fresh lemon juice on top before you serve.

I find that if you roast them at too high of a temperate the tips immediately char. It is hard to roast broccolini and not brown the tips because they are so thin, but that way it adds to the flavor.

They are light, lightly crisp, and roasty! yum

Since I have been busy lately with NAET treatments (update on that soon) I thought I would post a simple recipe. Here is it! Even though I cannot eat broccolini due to my endless sensitivities, I remember the first time I had it. It was good. I also made this “side” for my family’s dinner.


INGREDIENTS:

sprinkle of sea salt

2-3 Tbsp grassfed butter/ghee or coconut oil

1 lb of broccolini

few garlic cloves or  1 tsp garlic powder


DIRECTIONS:

1. Wash the broccolini and slice the thick stalks in 1/2. lay on a cookie sheet.

2. Cut the butter in cubes and slice the garlic thinly.

3. Sprinkle the chunks of butter, salt, and garlic slivers over the broccolini.

4. Bake in the 375 degree oven for 15-20 minutes or until the tips are brown.

5. Serve hot and squeeze fresh lemon juice over the top (optional).


DSCN3593

DSCN3592


~Stay Gutsy, Caroline

disclosure 3
11.14.2012

GAPS Applesauce

Simple. Yummy. Seasonal. Healthy.

.

GAPS applesauce

What more could you ask for? Applesauce is pretty much a staple on the GAPS diet. If you have been on GAPS intro, you know what I’m talking about ;). I promise you it cannot get more simple then this. You can make as much or as little as you want, because all that really matters is that you have apples!

Variations:

Chunky: Mash with a potato smasher only until every apple in smashed and then stir. You can do more or less depending on the “chunkiness” that you like. To keep it chunky, keep the skins on.

Smooth: “like the jarred grocery store kind”. If you like smooth applesauce, don’t keep the skins. Peel your apples and use the skins to make fried apple skin chips. Smash with a potato smasher until it is all mashed together.

Pureed: Don’t get pureed and smooth mixed up. Smooth is like the consistency of the jarred applesauce at the store. Pureed is like baby food-super duper smooth! I use a blender for this kind. This would be a good “puree” for fruit roll ups.

Tips:

Making applesauce is quite simple but a few tips may help perfect this food.

  • The salt and lemon juice help to break down the apples.
  • The water is used so the bottom of the pan does not burn- use more if needed.
  • Use a variety of apples for the best flavor!
  • Keep the lid on so the bottom of the pan does not burn.
  • I like to make 1 jar with cinnamon and 1 jar without so I add the cinnamon at the end.
  • Sometimes I even add a few Tbsp of butter and honey to the applesauce to make it extra rich 🙂
  • Don’t over cook!
  • Have fun with adding handfuls (1-2 cups) of other fruits and make combinations like…


Strawberry applesauce 

Plum applesauce

Cranberry applesauce

Pineapple applesauce

Cherry rhubarb applesauce

Blueberry applesauce

Cinnamon-maple applesauce


INGREDIENTS:

(makes about 1 1/2 quarts)

10-15 organic small apples (any variety)

pinch of sea salt

2-3 Tbsp of lemon juice

2 tsp cinnamon (optional)

1 cup filtered water —> keep extra on hand just incase you need to add more

1-2 cups other fruit (optional)


DIRECTIONS:

DSCN3642

1. Wash apples (scrub the “wax” off if they came from the store). These do the trick.

DSCN3424

2. Peel (optional) and core apples.

3. Cut into 1 inch cubes (doesn’t have to be perfect!)

DSCN3428

4. Toss the apples, water, lemon juice, sea salt, cinnamon (optional), and fruit (optional) into the pot.

DSCN3452

5. Cover the pot with a lid and bring to a boil. Reduce to a simmer for 20-30 minutes until all apples are soft. Don’t over cook or else the applesauce will turn brownish and start to separate. 

* if there is too much water, keep the lid off for the last 5 minutes to let it evaporate. If there is too little water add 1/4 in at a time.  

DSCN3454

6. Remove from heat and let cool for 10 minutes (just so you don’t burn your face with steam). Smash the applesauce to your favorite consistency.

DSCN3465

DSCN3474

7. Eat piping hot or let cool and put into jars. Jarred fresh applesauce stays fresh for a few weeks in the fridge.


~Stay Gutsy, Caroline

disclosure 3
03.02.2012

Fermented Veggies

Probiotic Power!

Hello everyone. Sorry, I started my blog and then I got sick…bummer 🙁 . When I get sick I don’t feel well for a few weeks and I do as little as possible, so I am sorry. My secret kick-the-cold supplement is this bad boy along with a nice sized dish of these veggies! Yum.

Though now that I am feeling somewhat better I want to continue with posts about my GAPS journey. I do want to get my personal story about how I started GAPS sometime soon, but for now I want to share all my fermented vegetable creations! Some of then are pretty neat and I have a few tricks that I want to share with you, so your krauts turn out to be a success!


fermentt

Dill brussel-sprouts sauerkraut. 

I like to “spice up” my fermented veggies. It can get boring eating the same o’l fermented cabbage each day so I have been experimenting a lot. My favorite add-ins are…

  • brussels sprouts & dill
  • caraway seeds
  • fennel & red cabbage
  • garlic & cabbage
  • mixed veggie melody


For now I will stick to my go-to recipe, and you can switch it up how you like. It’s amazing how good fermented veggies are for you and making them at home is a lot less expensive (especially if you are eating them every day). If I can’t make my fermented veggies and run out for some reason here is a list of the store bought ones I like.

Books:

Recipes:

INGREDIENTS:

SUPPLIES:


1.) I Use Vegetable Starter Culture to jumpstart my ferments with good bacteria. I also use EcoBloom to help “feed” the starter. (optional)

2.) I follow the culture starter directions. I cup of 90 degree filtered water. I find that it helps to use a candy thermometer to be exact.

3.) I put in 1 scoop of the Ecobloom.

4.) I use 1 packet of the culture starter for many jars of kraut. I like to get as much use out of 1 packet so i sometimes use this starter water for 12 jars of kraut. Or after the veggies have been fermented i will take a spoonful or too and add it as a starter to the next batch. Just like you would with a yogurt starter.

5.) This is my new trick to get the jars from molding. I first put them in the dishwasher and let dry completely. Then i swish a little ACV in them to kill all the extra bad bacteria sitting around. It has worked for me so far. I also notice that when you add seeds, ginger, or garlic, onion (natures disinfectants)  the jars don’t develop mold like the kraut with just salt.

6.) Chop cabbage in quarters and de-core it. Take out that little white triangle on the bottom

7.) Chop cabbage into chunks to fit into the Cuisinart, or cut thin with your knife to get shreds.

8.) When i put my chunks into the Cuisinart I try to put them in a way so they will shred out to be think long pieces. I peel away the big chunks I cut and roll then up and stick them into the shredder. I use the thinnest shredding setting (1) on the Cuisinart blade.

9.) Shred away! I usually have to do a few emptying outs when I do a few heads of cabbage.

10.) The Cuisinart is very handy for making a lot of fermented veggies. It already takes a long time to shop for the veggies, wash then, and then cut them..using a Cuisinart or mandolin really helps cut down the time..and you get thinner shreds.

11.) Here is my 5 lb crock. I go back and forth fermenting in the crock or in jars.  right now I prefer the taste of the jarred kraut, but I just need to learn how to ferment properly in my crock. any suggestions? I still use it as place to dump all my cabbage in though.

12.) Dump all the cabbage in to a big bowl or crock.

13.) Chop the fresh dill..I also have used dried and it tastes just as good

14.) Dump into the crock.

15.) Chop Brussels sprouts into shreds or put into Cuisinart.

16.)  My general measurements are 2 TBS of sea salt for 1 medium head of cabbage. It is just right for me but play around with the salt to match your preference.

17.) I don’t have a pounder yet so I just squeeze it. I have learned that it helps to let it sit for 20 min or longer after you put in the salt and before you start squeezing. the salt helps release juices. I clean my dishes while i wait 🙂

18.) Squeeze! Looks like the juices are starting to break down.

19.) The more juice the better, and the more you break down the cell walls of the cabbage the quicker it will ferment too. Once the cabbage is translucent and flimsy you know it is done.

20) Pack into jars, leave about 1 nice from the top to let the cabbage have room to expand as it ferments. I always put a cabbage leaf on top, to keep out the potential mold from getting in the good stuff. Once it is fermented, you just peel of the top and dig in!

21.) Important step! press down on the cabbage until there is juice that submerges everything! you need this juice to keep mold from growing and to keep the kraut moist.  You can always add more water onto if necessary. 

22.) this is what it looks like all ready for the lid.

23.) screw the lid on just until you feel it stop. don’t force a tight seal, it should be light.

24.) I store mine on cardboard, because frequently one or two explode. I also store it away in the mud room because its dark (I also drape a towel over the veggies too) and not everyone likes the smell in my family 🙂

25.) Here are all the fermented veggies I made. from the left top: Kimchi, spicy kimchi,  caraway seed kraut. from the bottom left: sauerkraut, dill Brussels sprout kraut, dulse kraut, beet/carrot/red cabbage.

I LOVE to get creative with my fermented veggies. I also just made fermented cauliflower, green beans, carrots, asparagus, red fennel kraut (also my favorite), celery seed kraut, green onion kraut, garlic kale kraut, ginger, and fennel seed. I will post more recipes..which ones would you like to see?

If you want a quick easy way to get fermented veggies in your diet and can’t find any at your store, try my favorites!

Wise Choice market

rejuvenate foods

Bubbies!- love their pickles 🙂

sue sure


~stay gutsy, caroline

disclosure 3