07.17.2012

Vanilla Honey

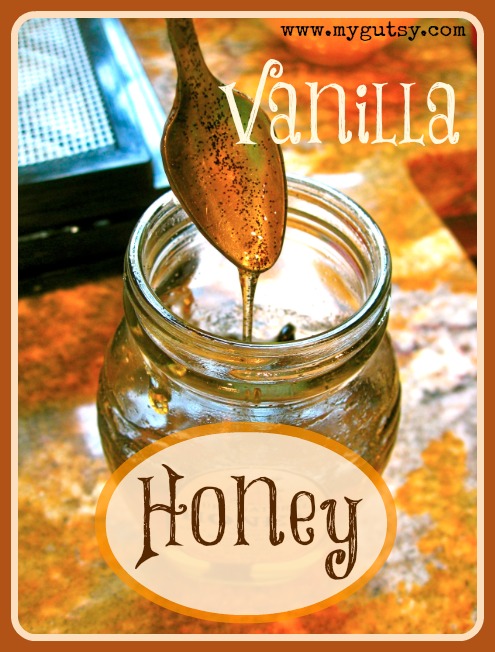
What is vanilla honey?

If you can’t tell, I made vanilla honey. Oh, this stuff is just the BEST!

I cannot wait to share this with you! I made this a week ago and I don’t know why I waited this long to share it! I think it’s because I didn’t get around to taking pictures that day, and by the time I wanted to..it was all eaten! My mom and sister LOVE vanilla and honey, so this quickly turned into their favorite.

Vanilla honey is simply honey infused with vanilla seeds and the pod. It is ok to eat the little seeds but please don’t eat the pod…Ha! That would be a little crunchy!

honey

Vanilla honey nutrition:

Raw honey is a super food. It contains raw enzymes because it is not heated. These enzymes are needed to digest the sugars in your body. Raw local honey is also a amazing remedy for allergies, sore throats, fatigue, anxiousness, coughs, burns, and the list goes on! Even better, raw honey is GAPS friendly! The vanilla beans are packed with the b-complex vitamins. B-vitmains help relate you metabolism and nervous system. It also contains small amounts of trace minerals. I think vanilla and honey were destined to be together!

Where did I get my vanilla beans?

The recipe can’t get much easier. The hardest part is finding good quality vanilla beans for a decent price. Pure vanilla extract is quite expensive at the store and fresh vanilla beans go along way, so I think this is the way to go. I am planning on making vanilla extract in the future too! I got 54 Vanilla Beans through amazon for $27.69 (free shipping with a prime account). That is about $0.50 a bean!

I took a lot of pictures to make it easy for you to follow. I love the look of pure tiny vanilla pod seeds, they are so delicate. Have fun using the vanilla honey in anything you would normally put honey and vanilla in! Yum!

How to store vanilla beans

After I opened mine, I put them in a plastic bag in the freezer to keep them fresh. I had a few start to mold when I kept them in the cabinet. oops! That is because the kind I got are not dried.  Just deforest them in the fridge before you use one.

The “vanilla honey song”

I think its so good that it deserves a song… oh I ♥ vanilla honey, oh yes I do, yes it do. Vanilla honey is the best, it is above all the rest..oh ♥ vanilla honey 🙂


INGREDIENTS:

1 pint of raw honey (2 cups) <— local is best!

1 vanilla bean <— This is the brand I choose.


DIRECTIONS:

DSCN2182

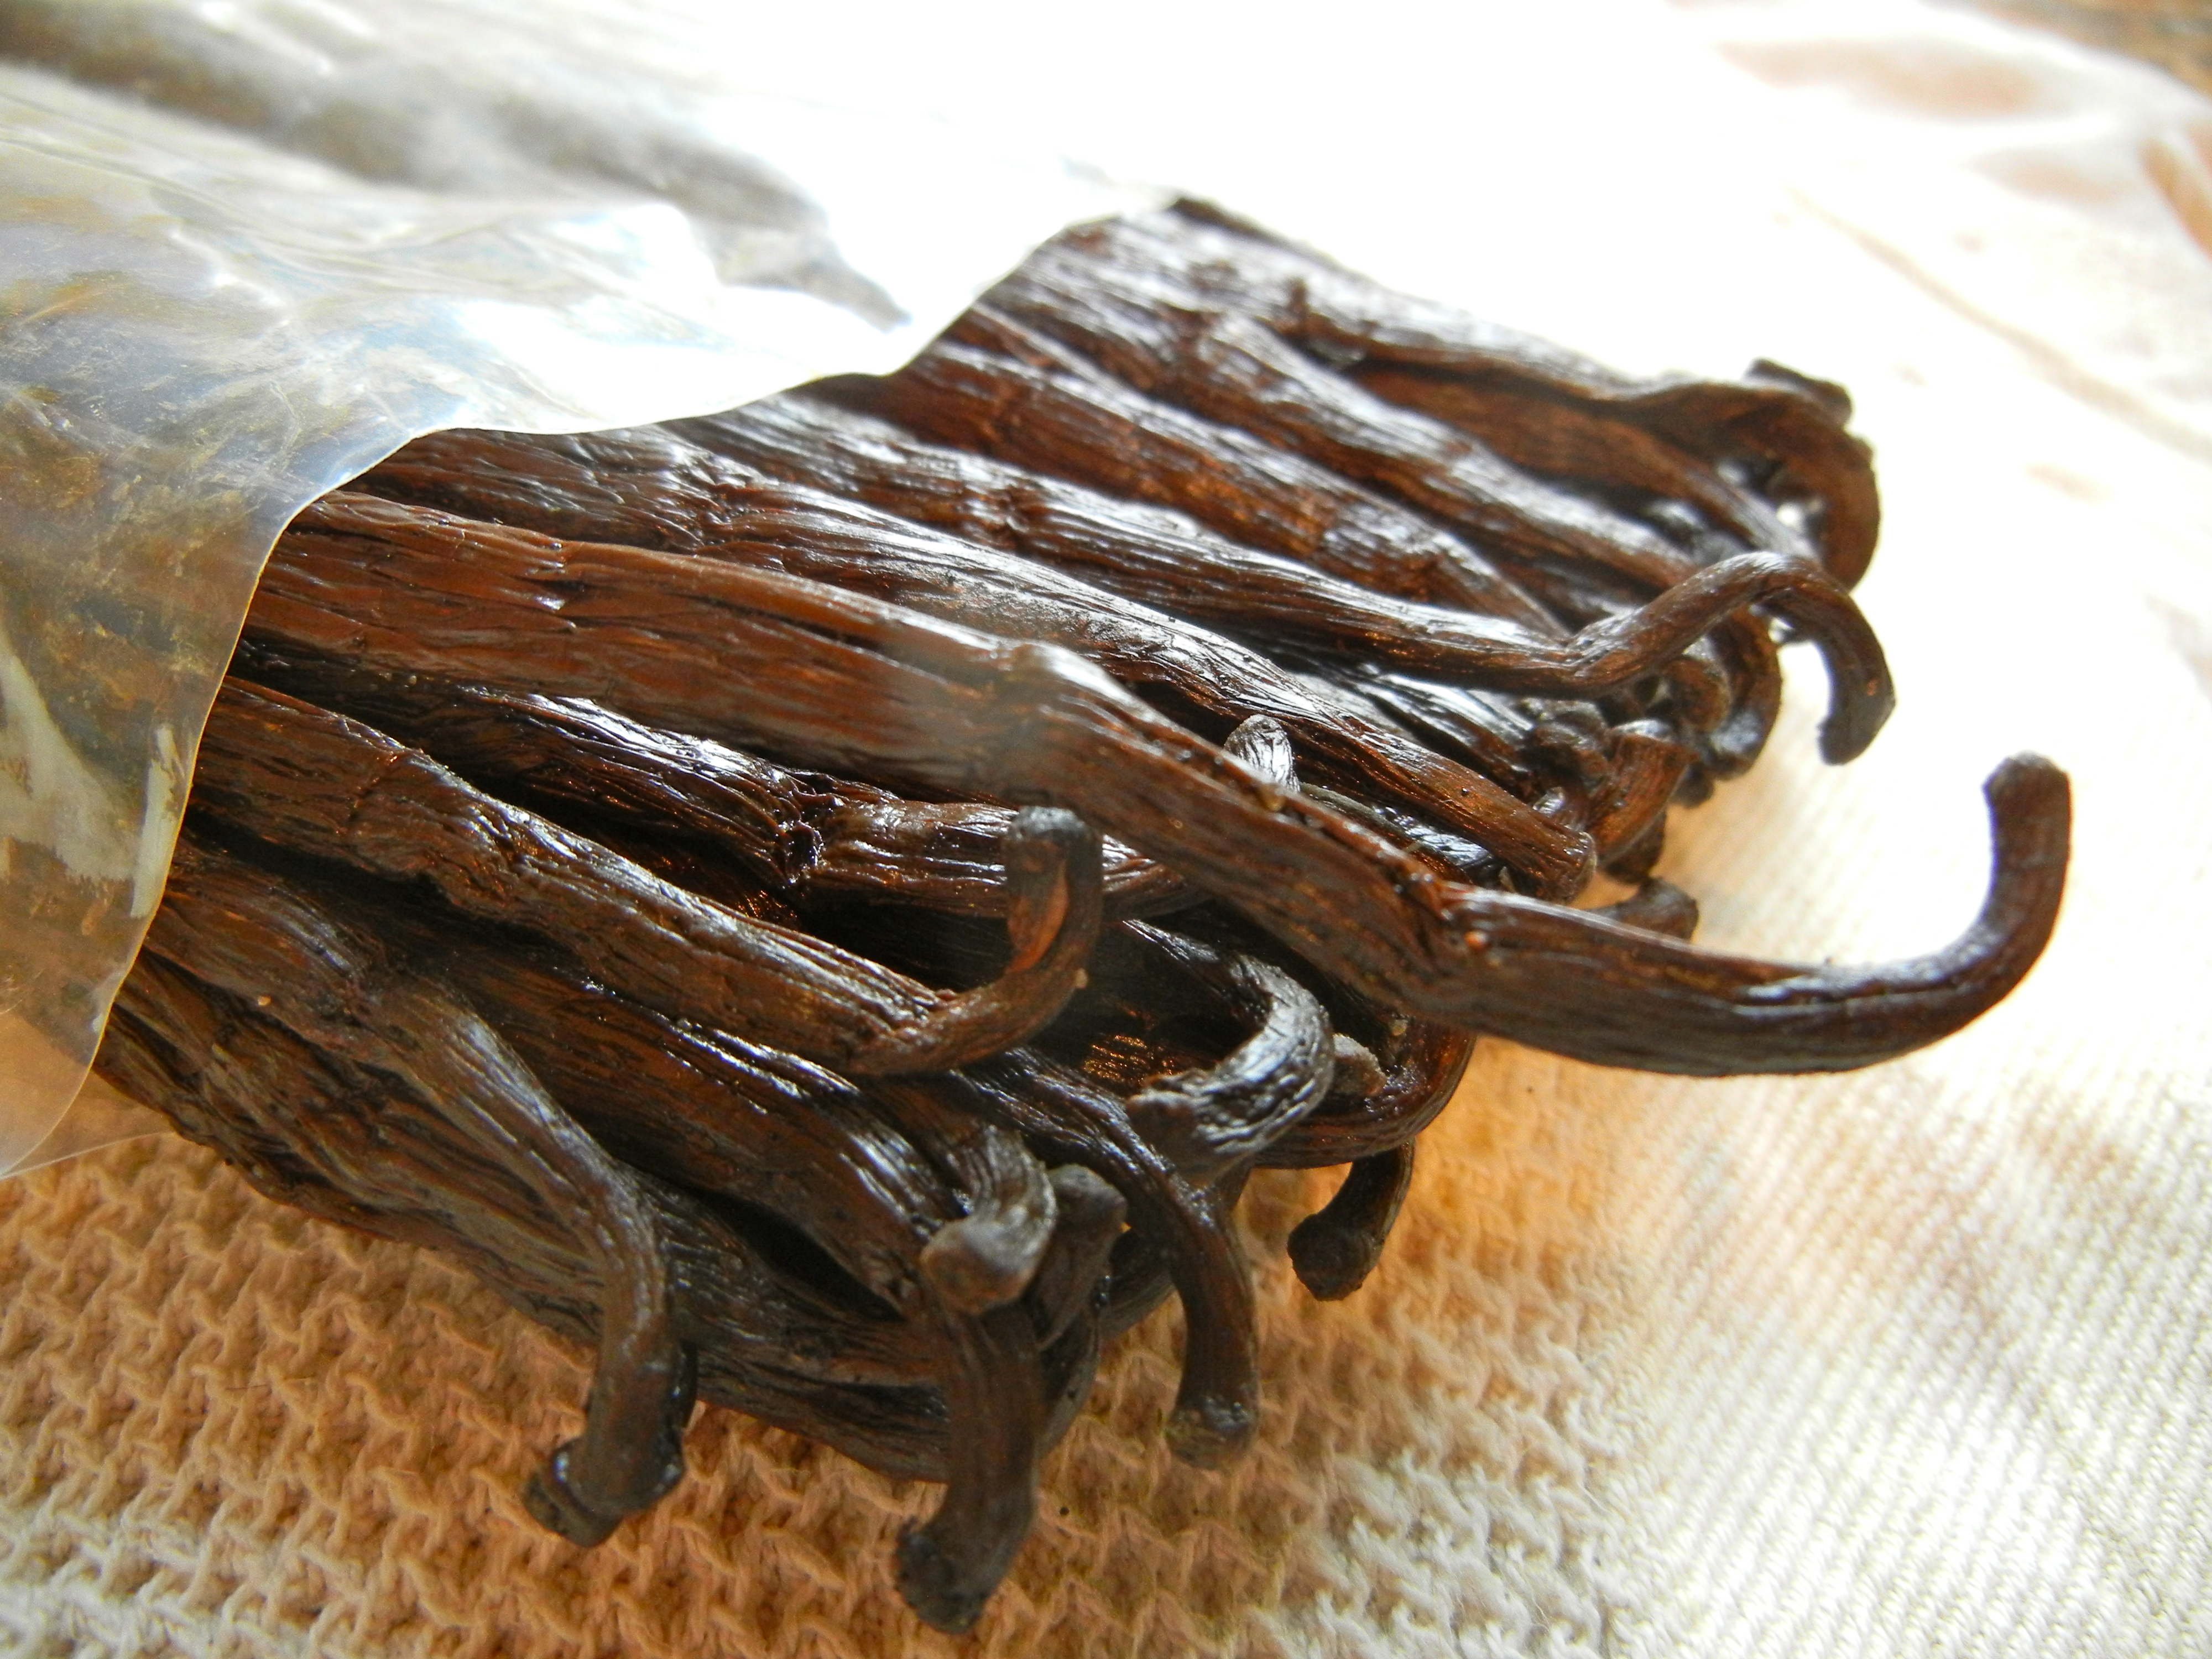
Here are my 54 vanilla beans. 

VV1

A healthy vanilla bean should be plump, slightly soft and have a strong vanilla scent!

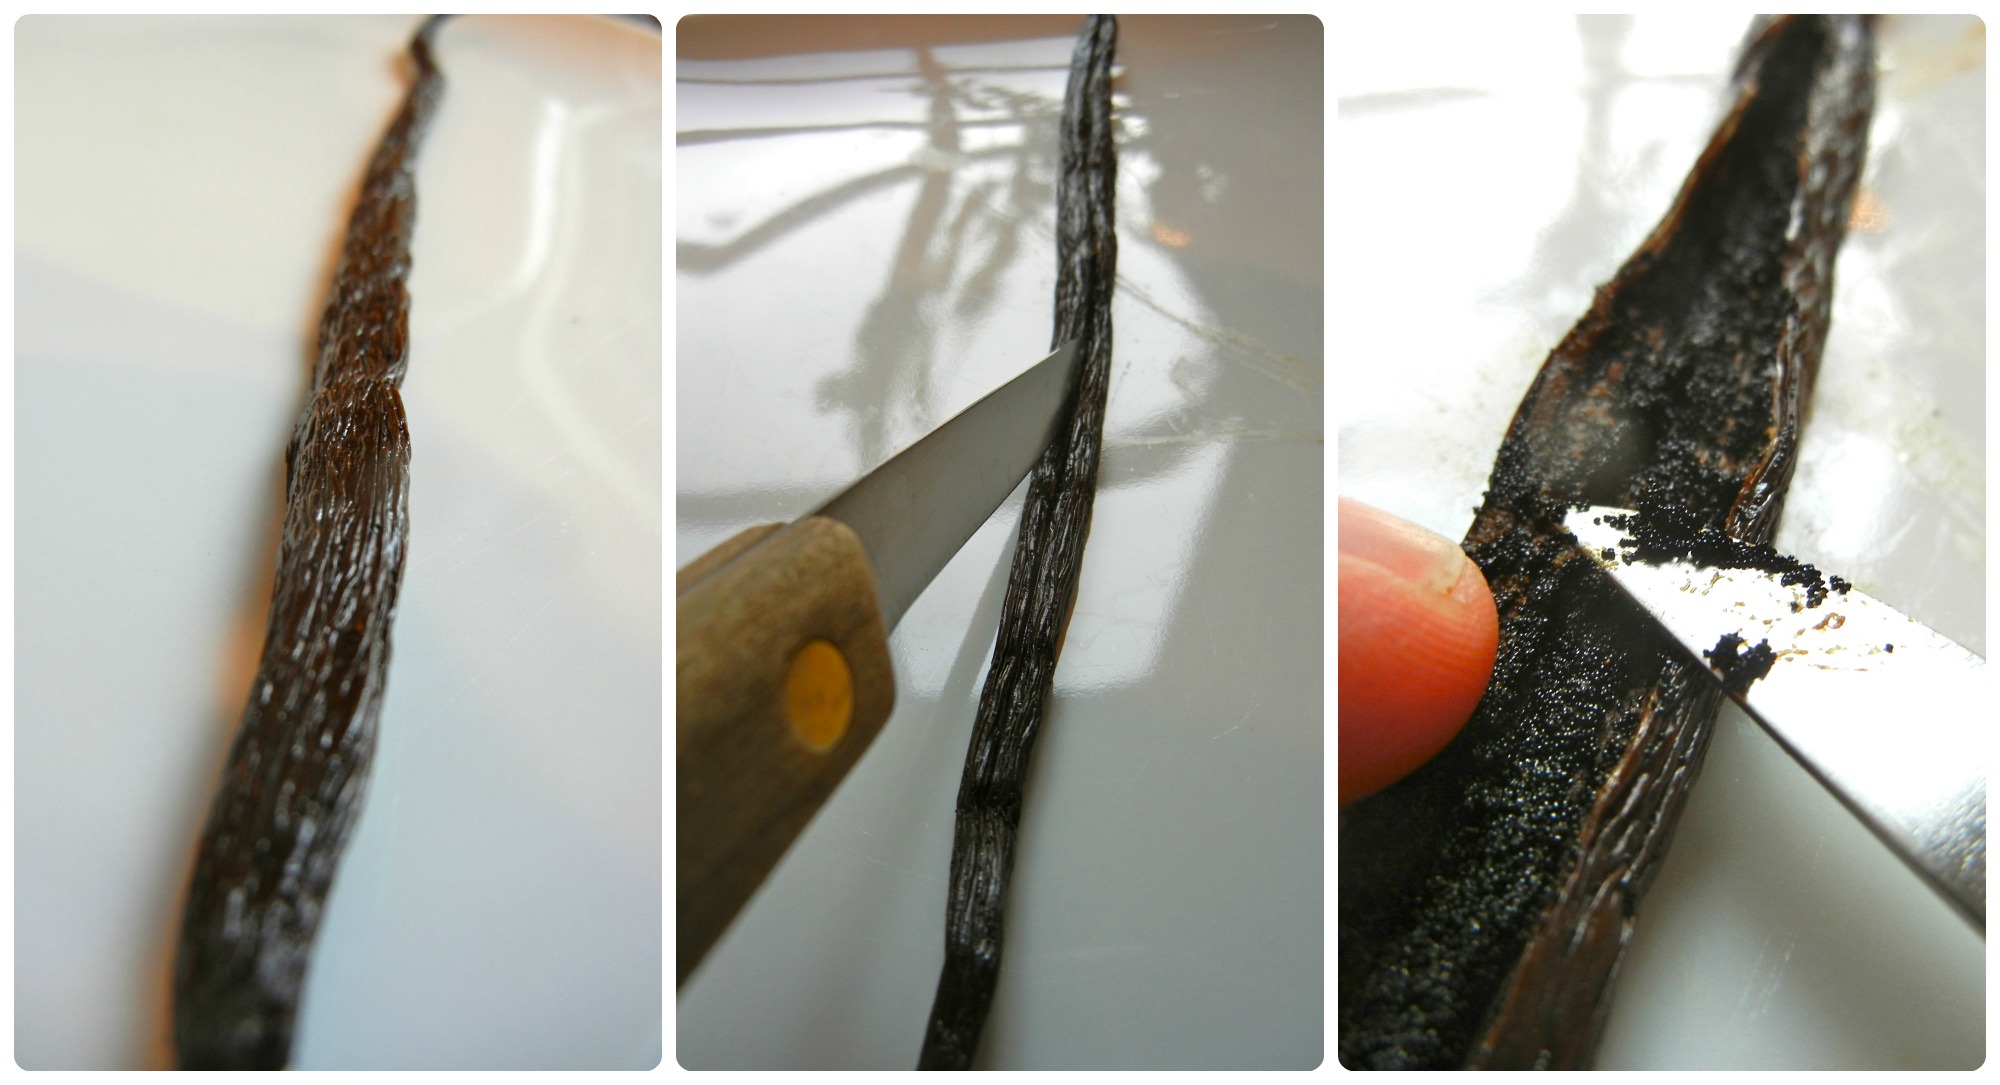
1. Cut open 1 vanilla bean. You will have to push firm to open the skin, but not too firm that you cut the whole thing in half!

bb2

2. Peel away the sides of the vanilla bean with your knife and fingers.

DSCN2194

DSCN2198

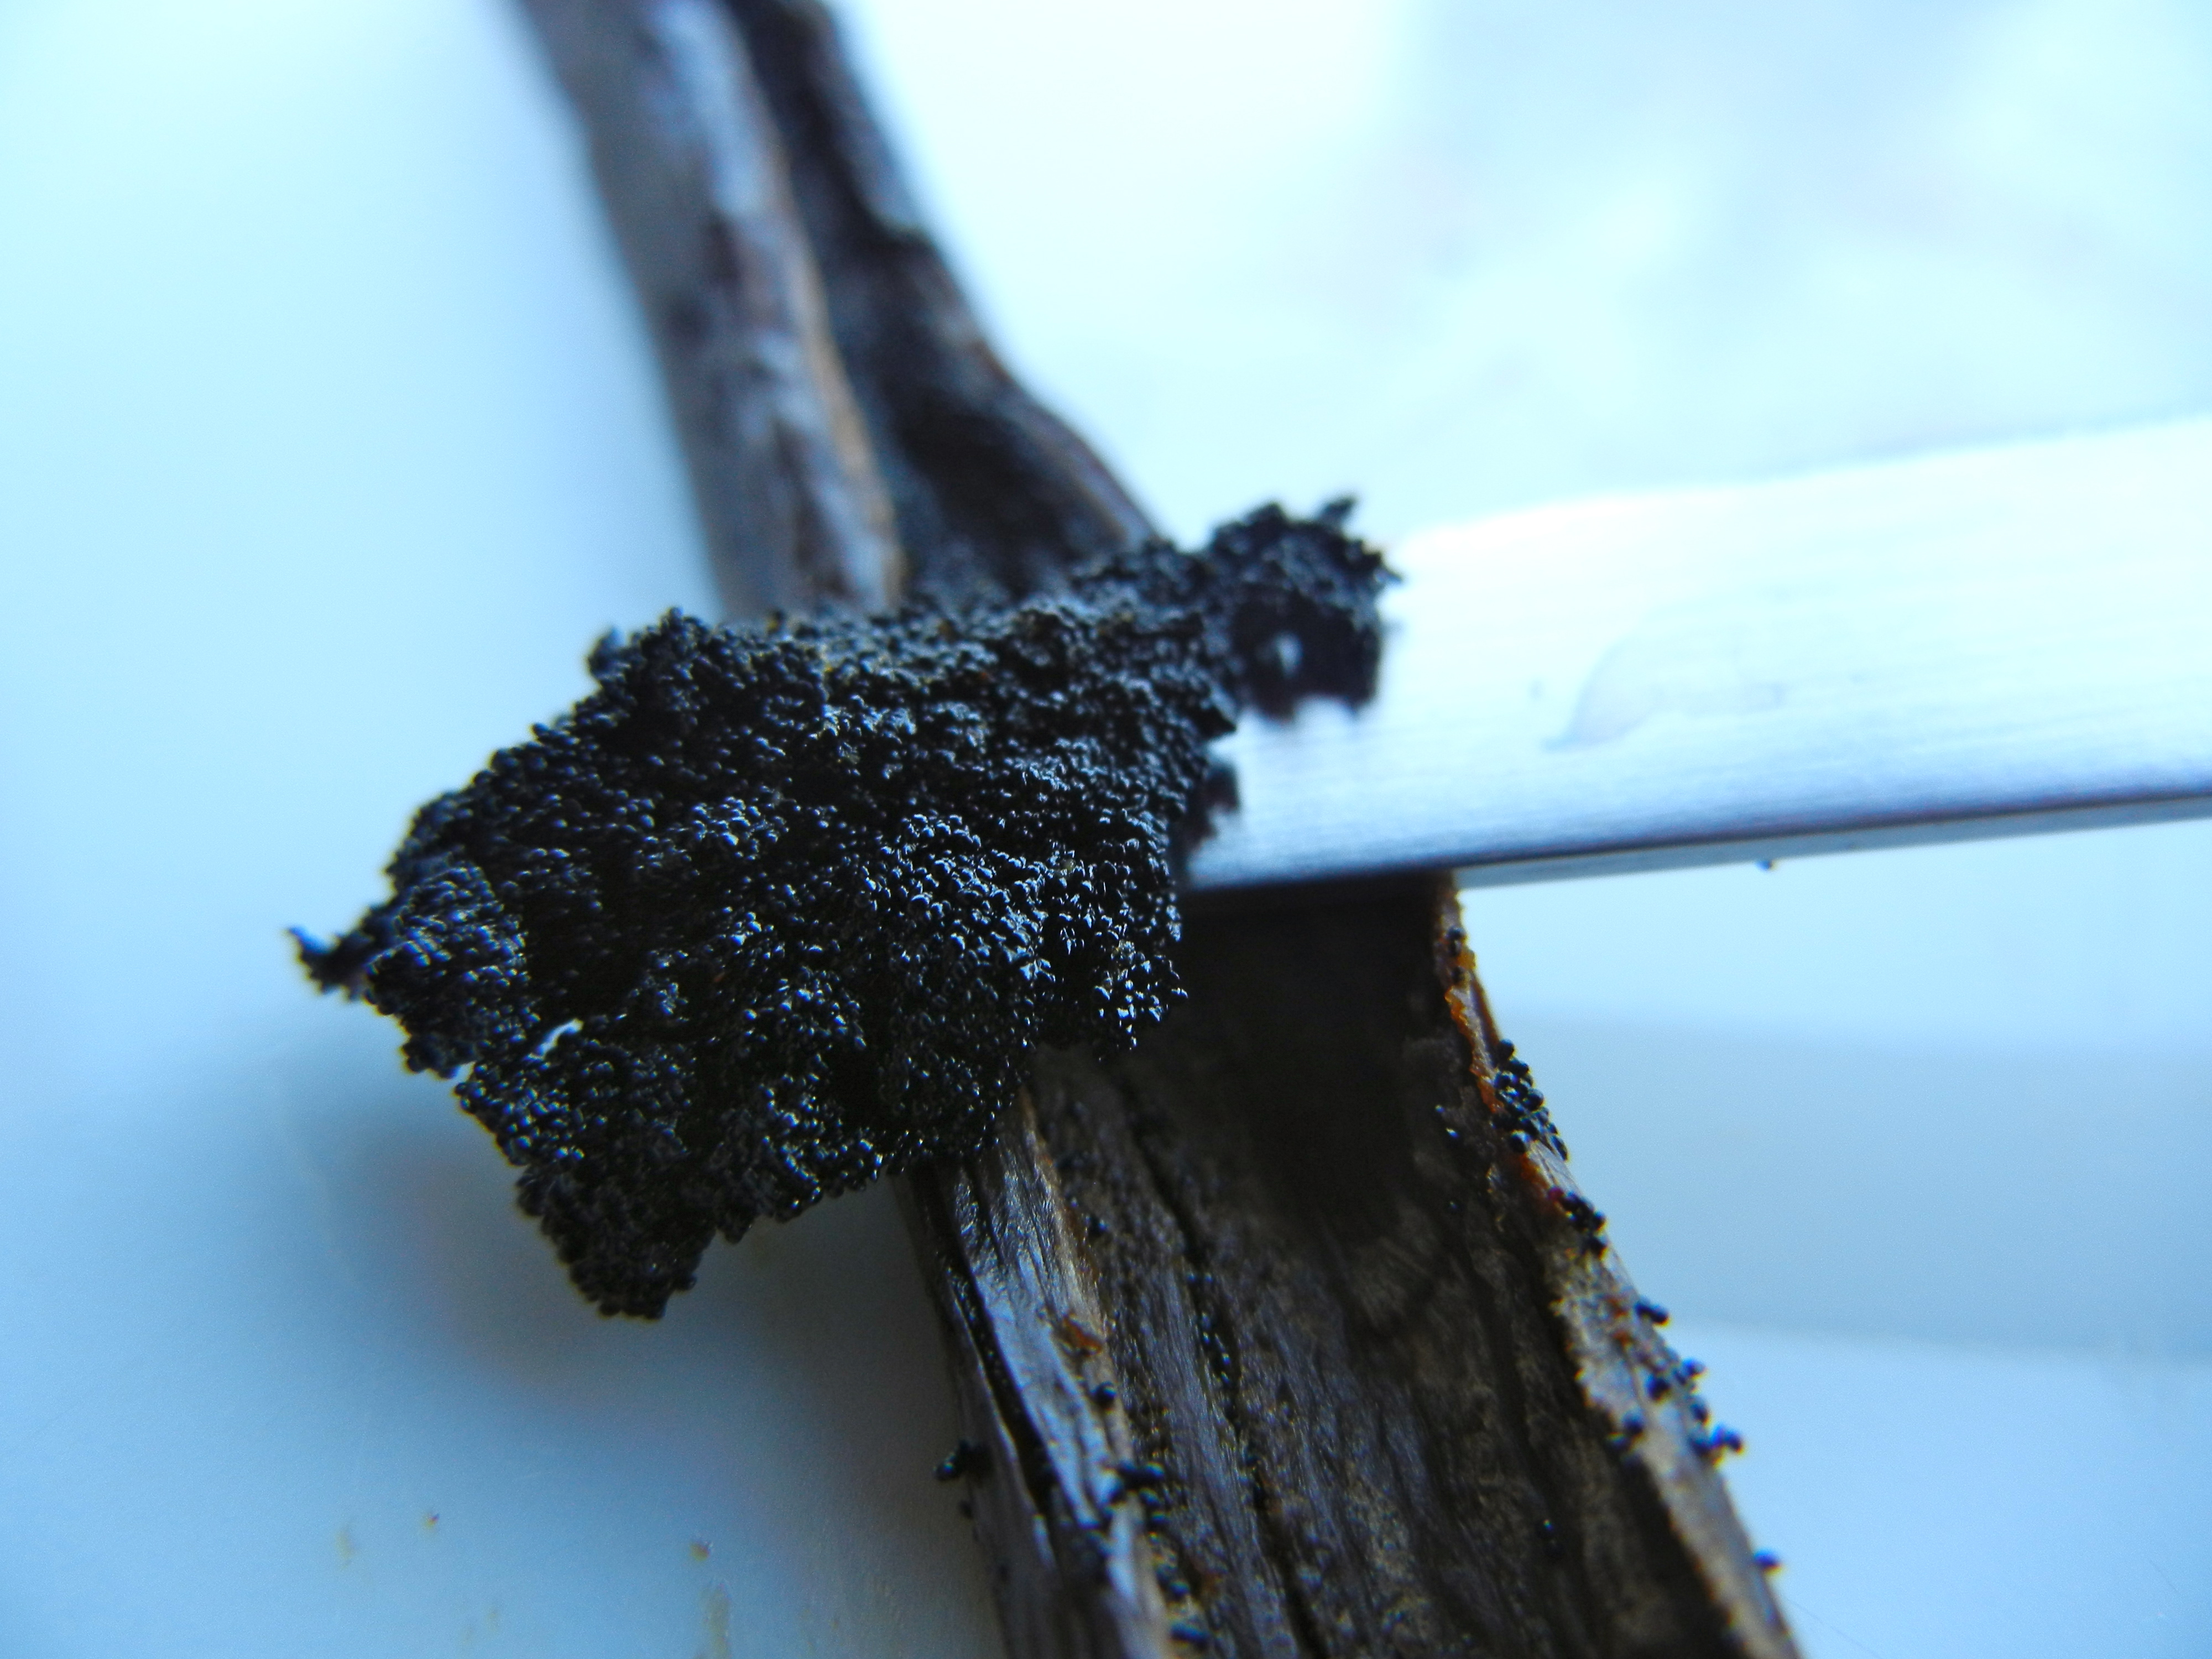
Take a closer look at those gorgeous vanilla seeds. They are packed with flavor and B-vitamins!

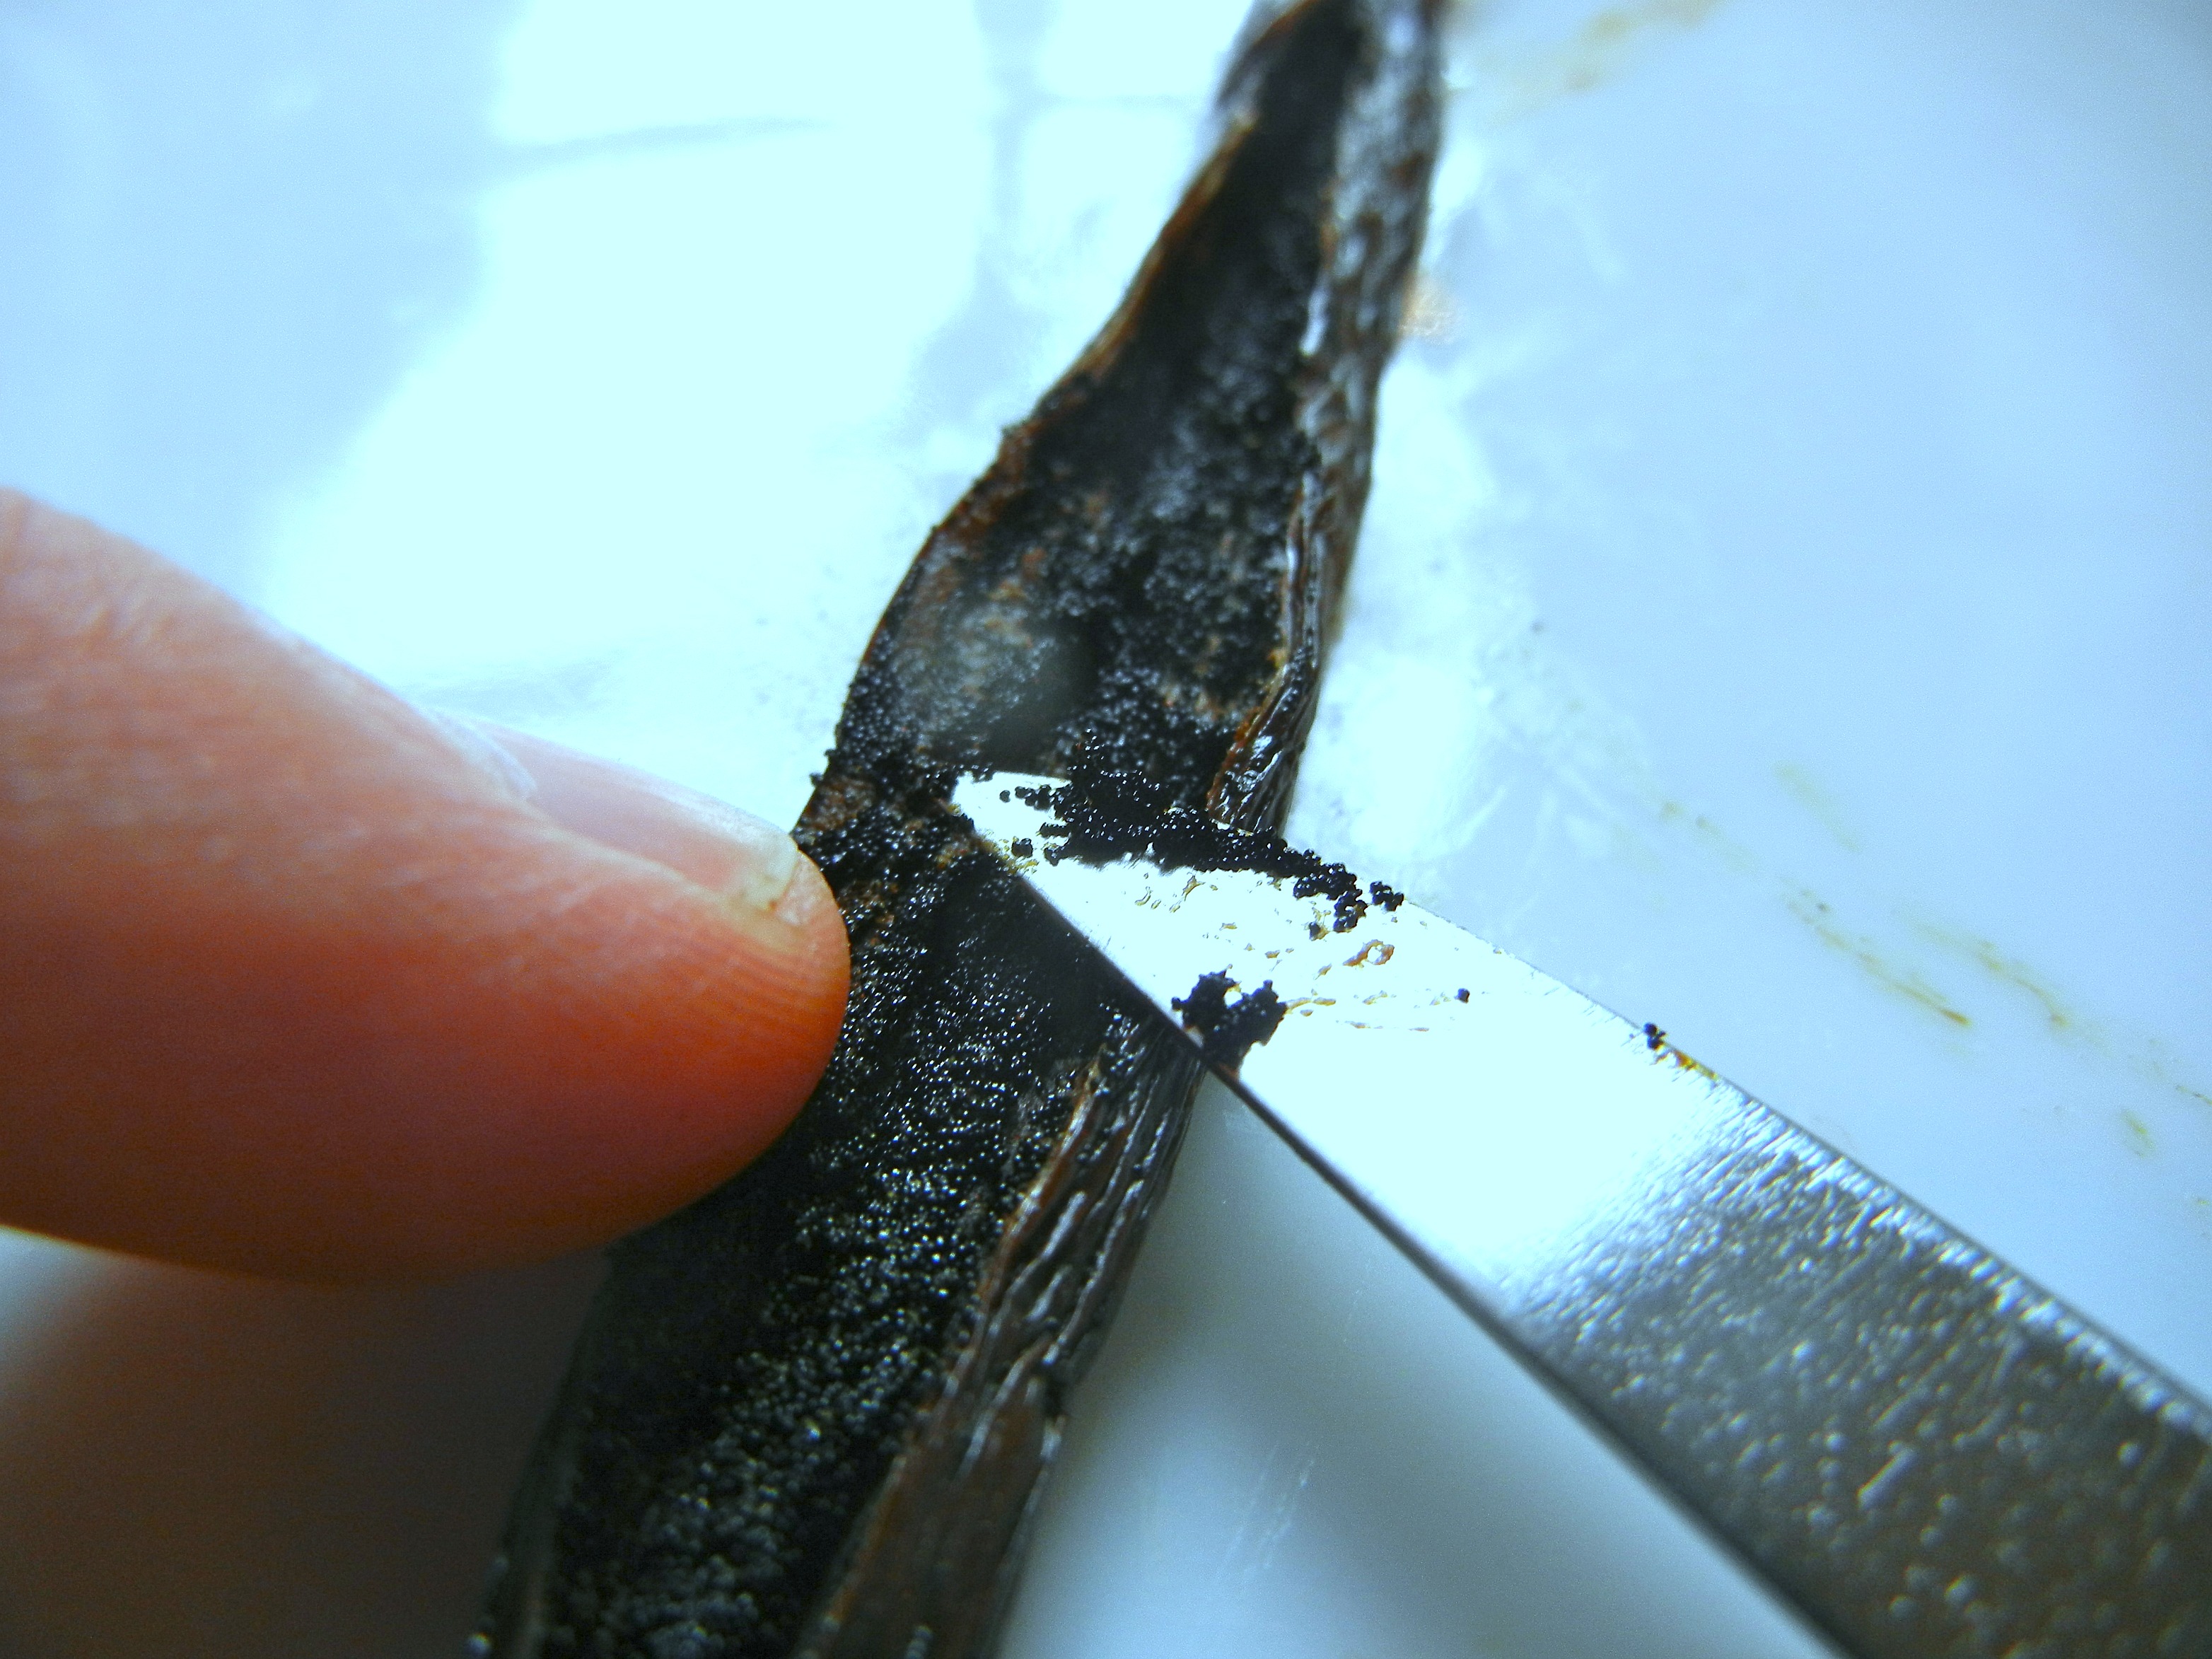
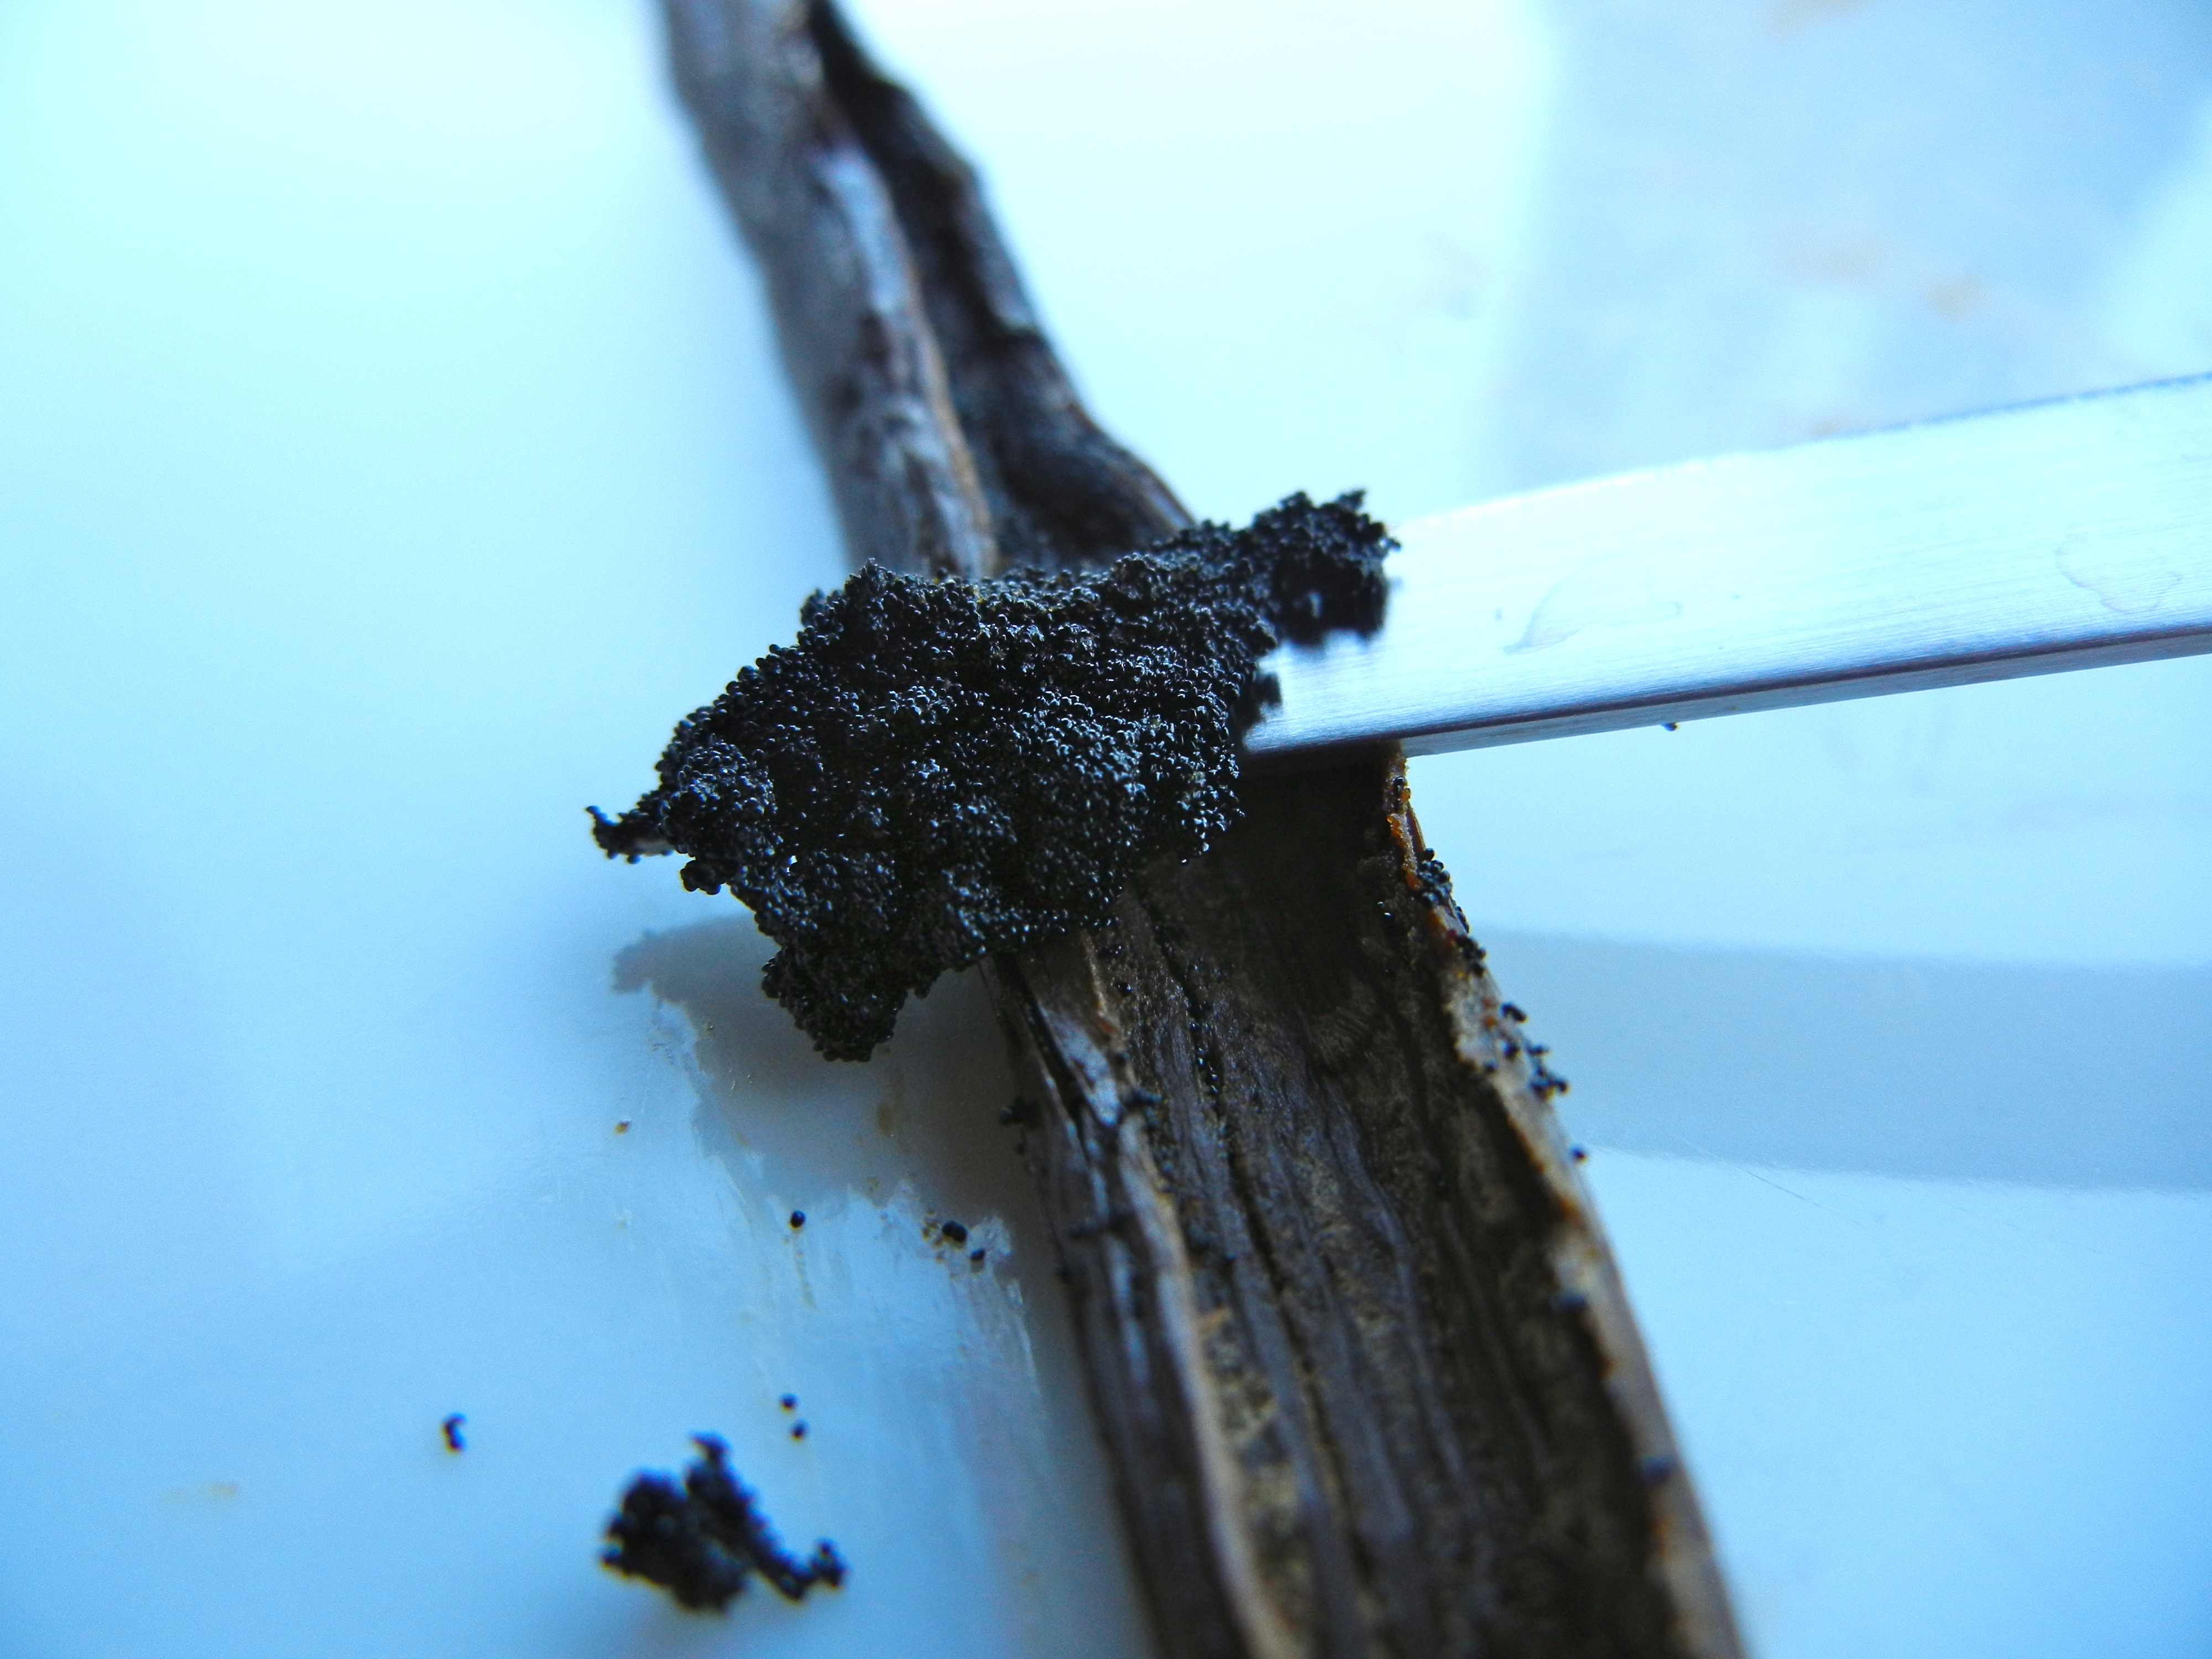
3. Scrape out the vanilla bean seeds with your knife. Don’t worry if you can’t get all of them out, because you are putting the whole pod in the honey jar anyways.

DSCN2200

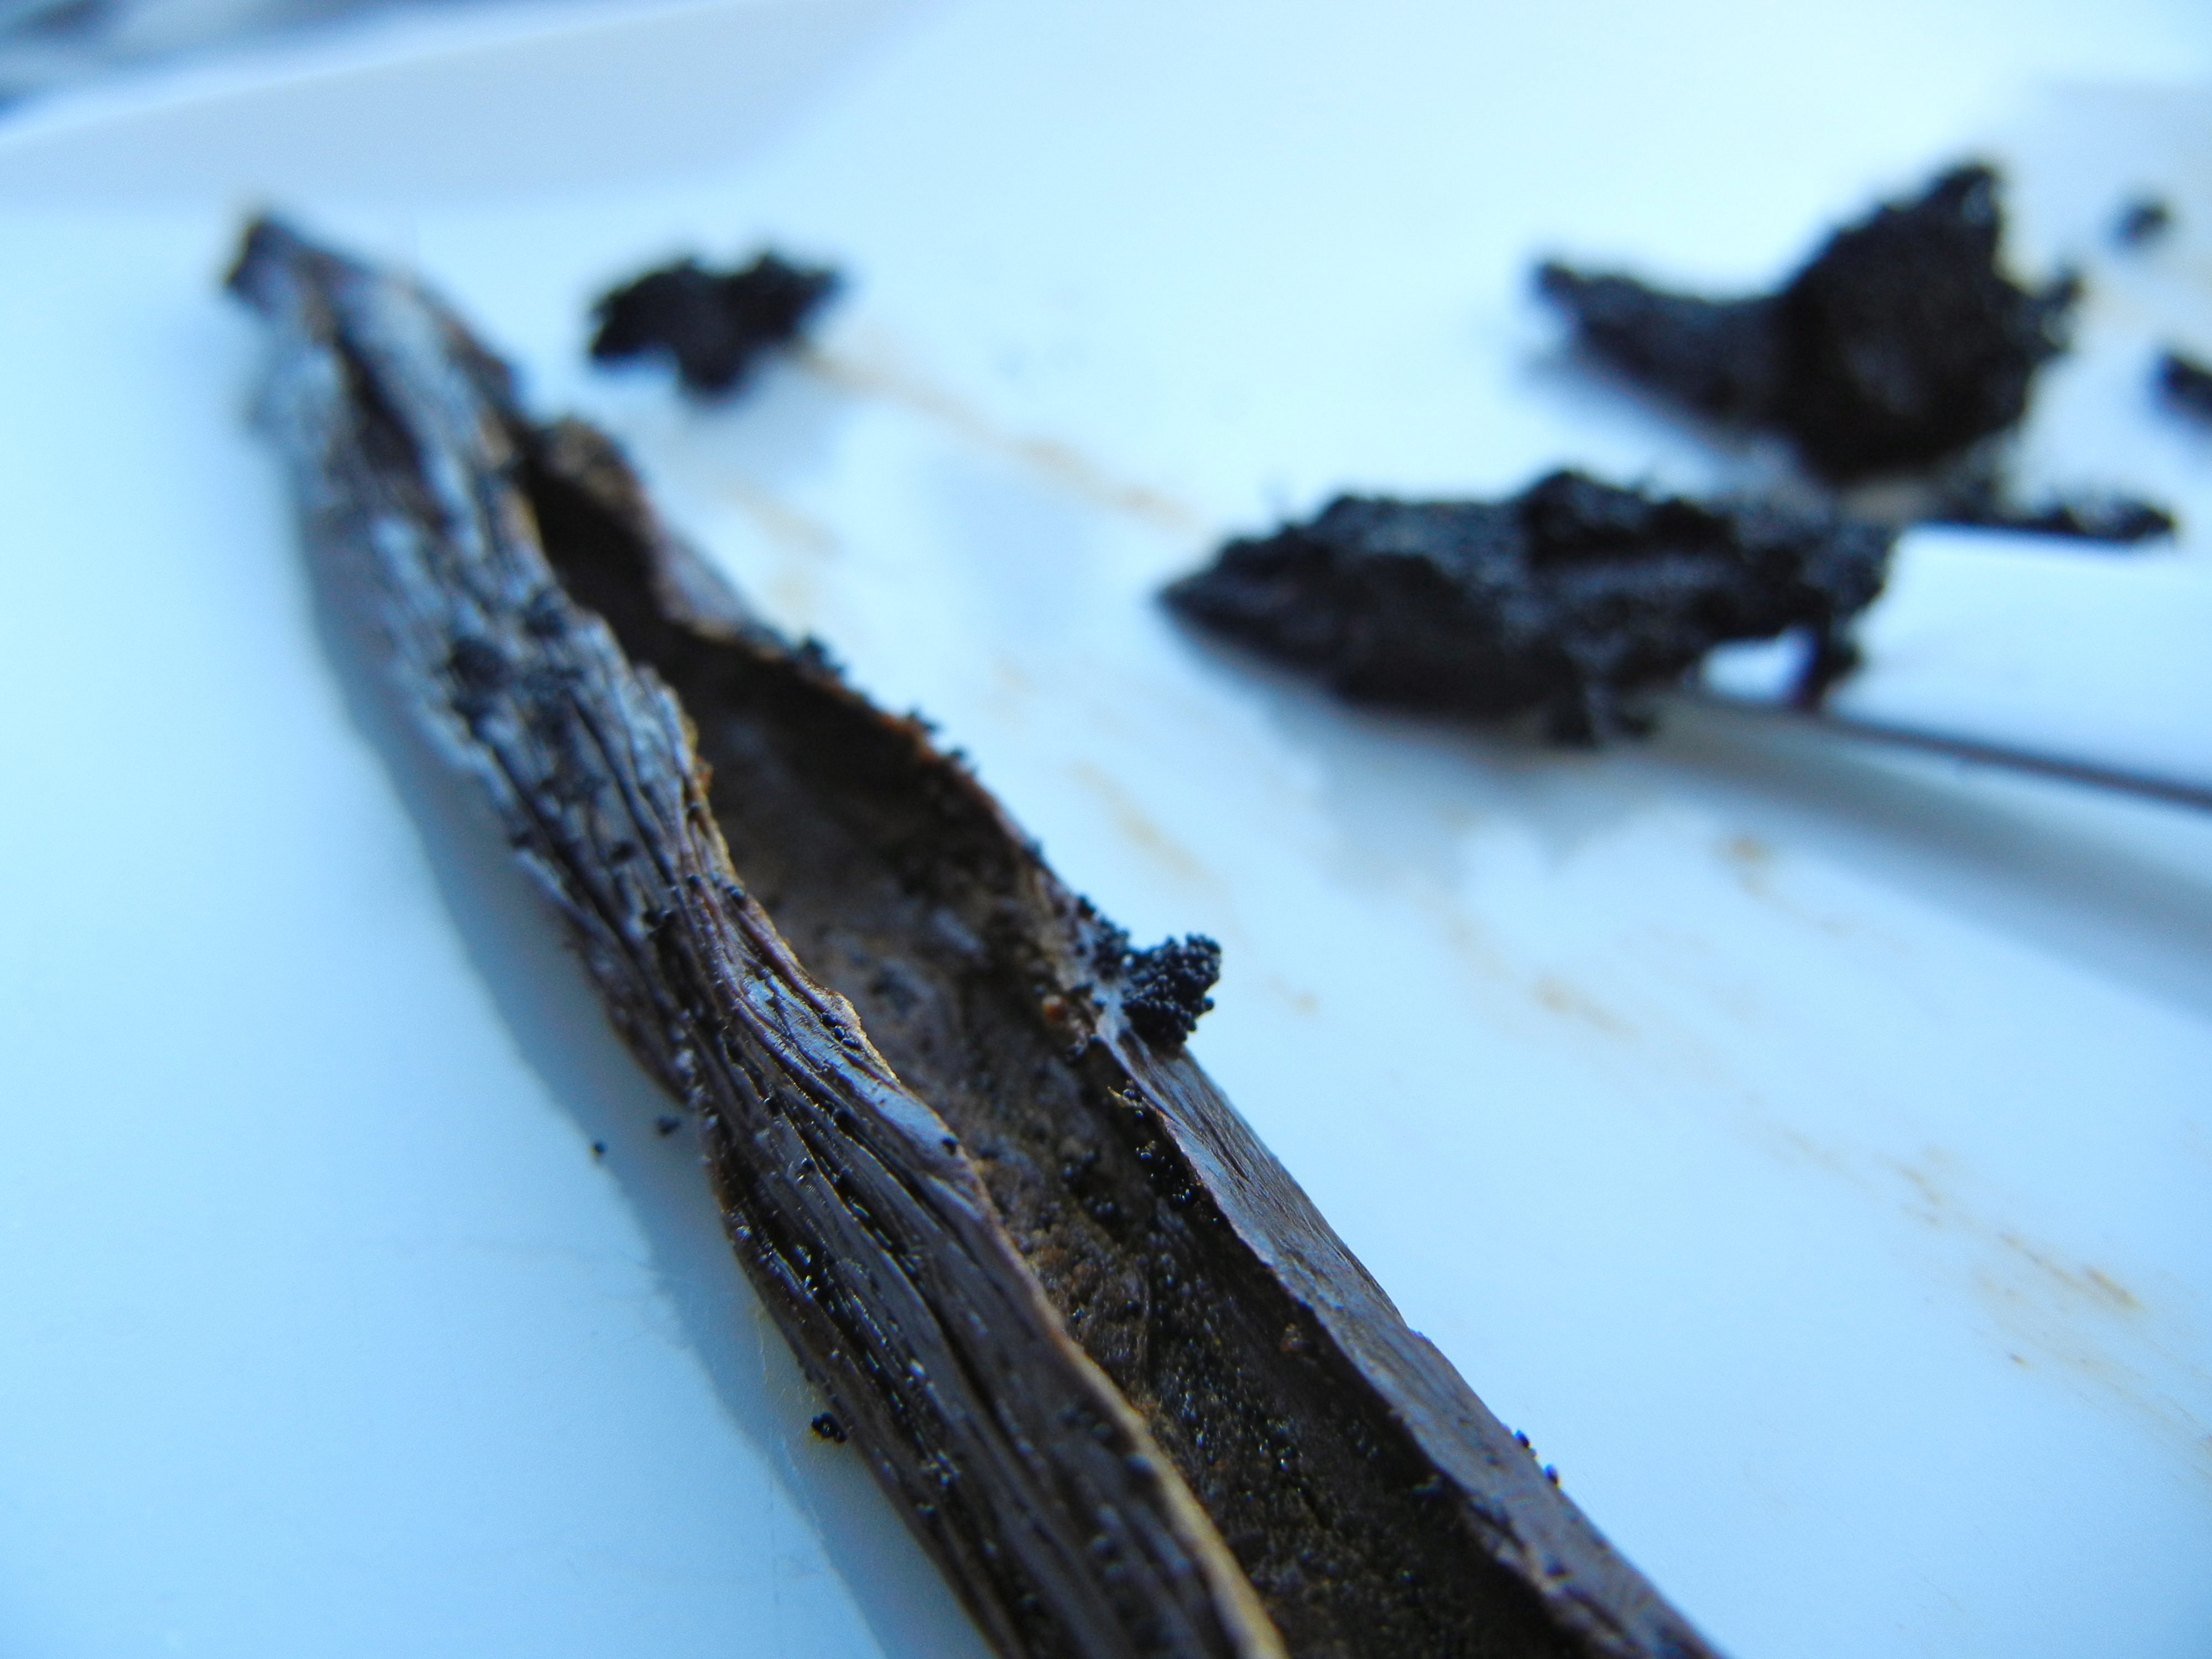
I got my pod all hollowed out.

DSCN2202

I love this picture!

DSCN2203

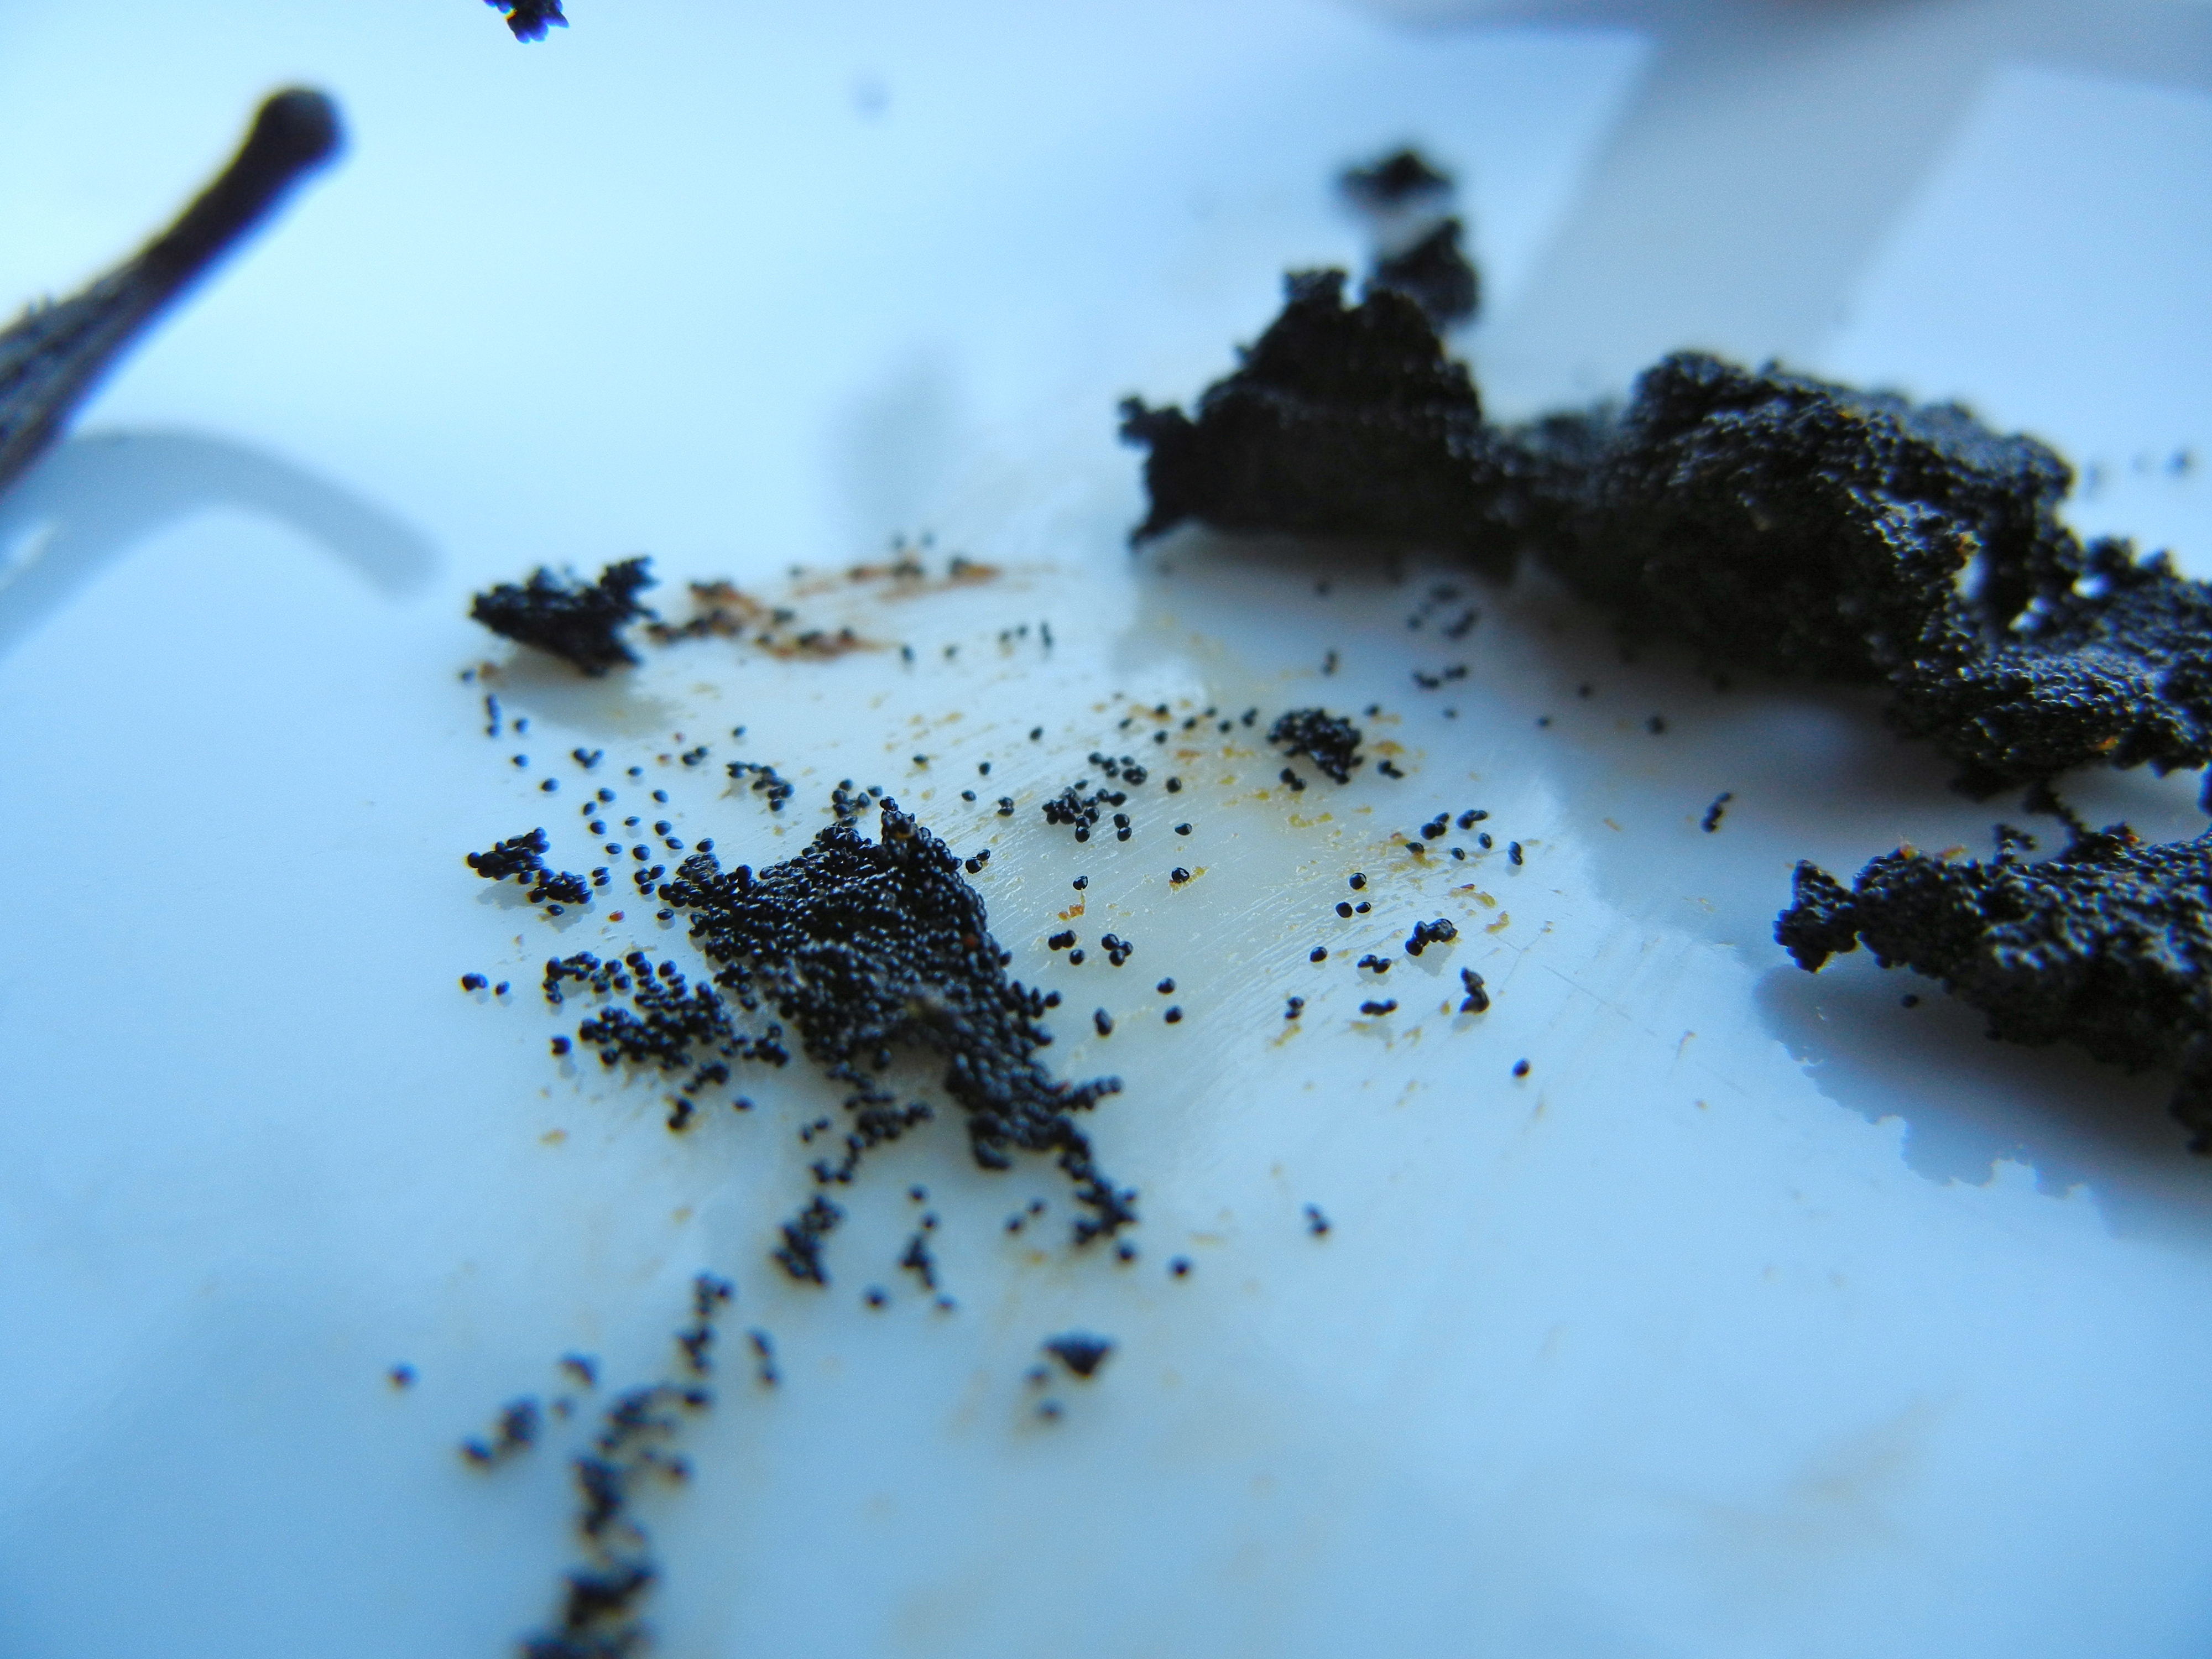
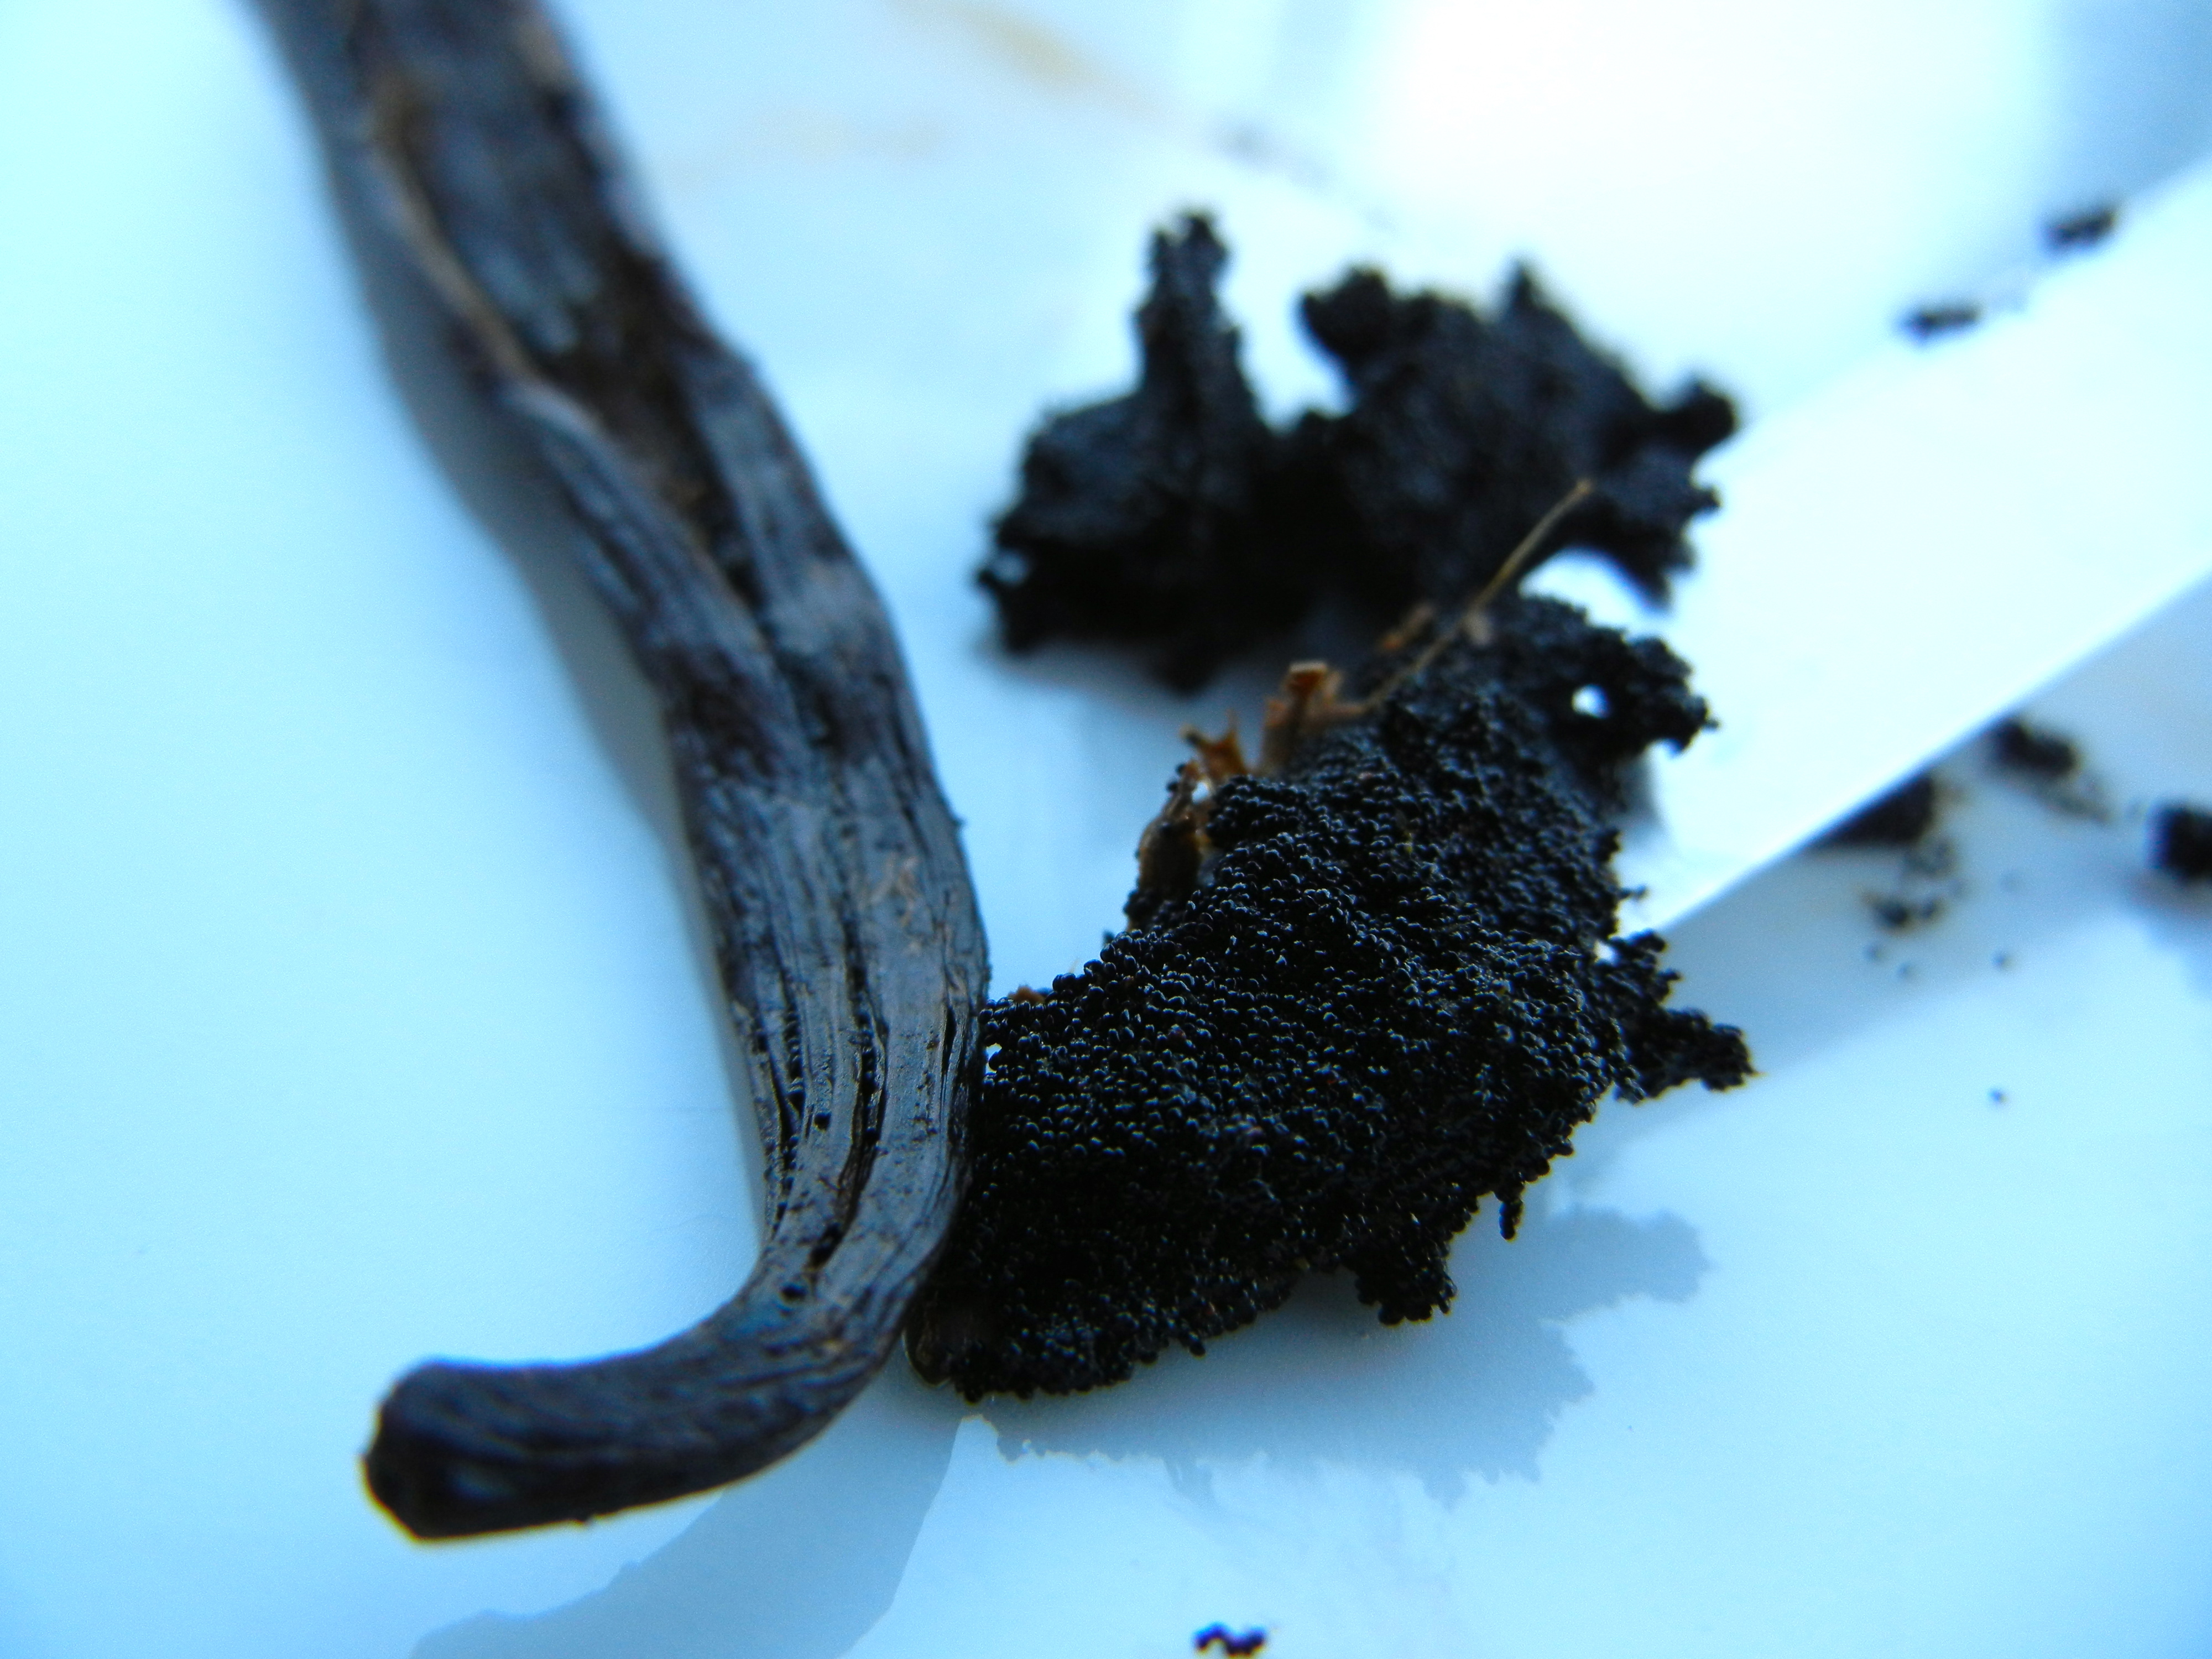
4. Set your scraped vanilla pod seeds off to the side. I got about 1/2 a tsp out of 1 plump vanilla bean.

DSCN2204

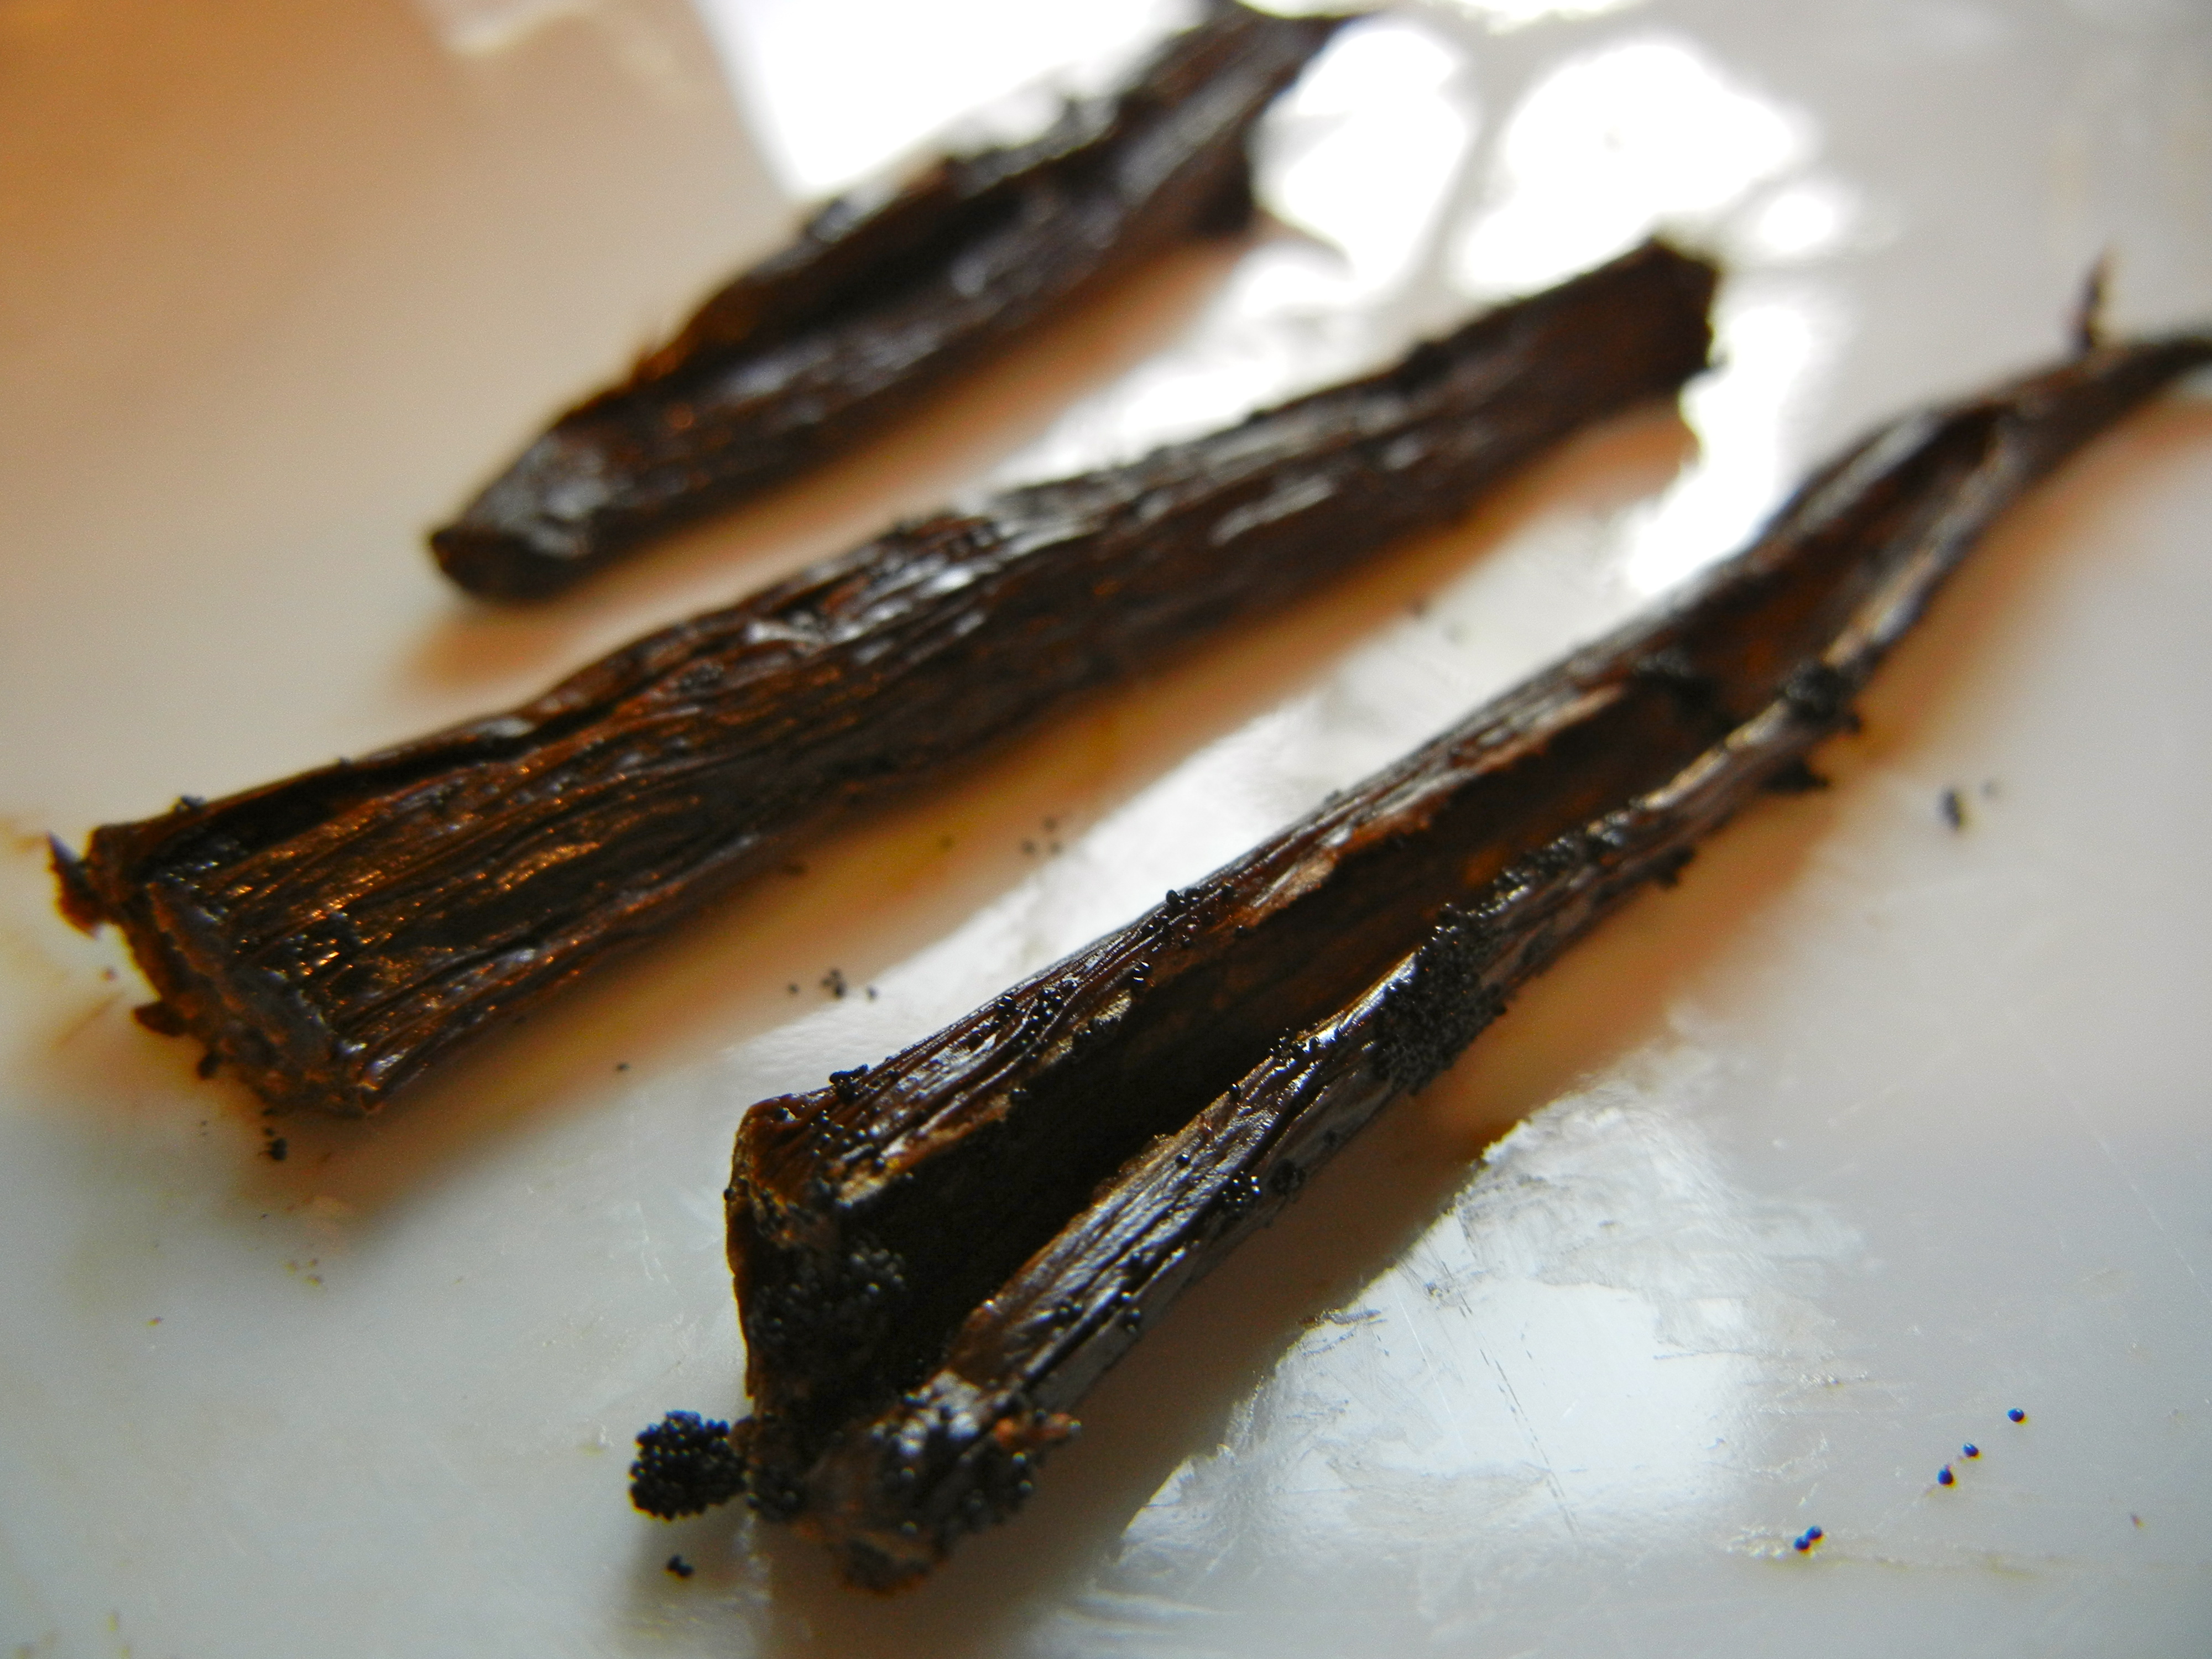
5. Chop or cut (with kitchen scissors) your hollowed vanilla bean into thirds.

VV2

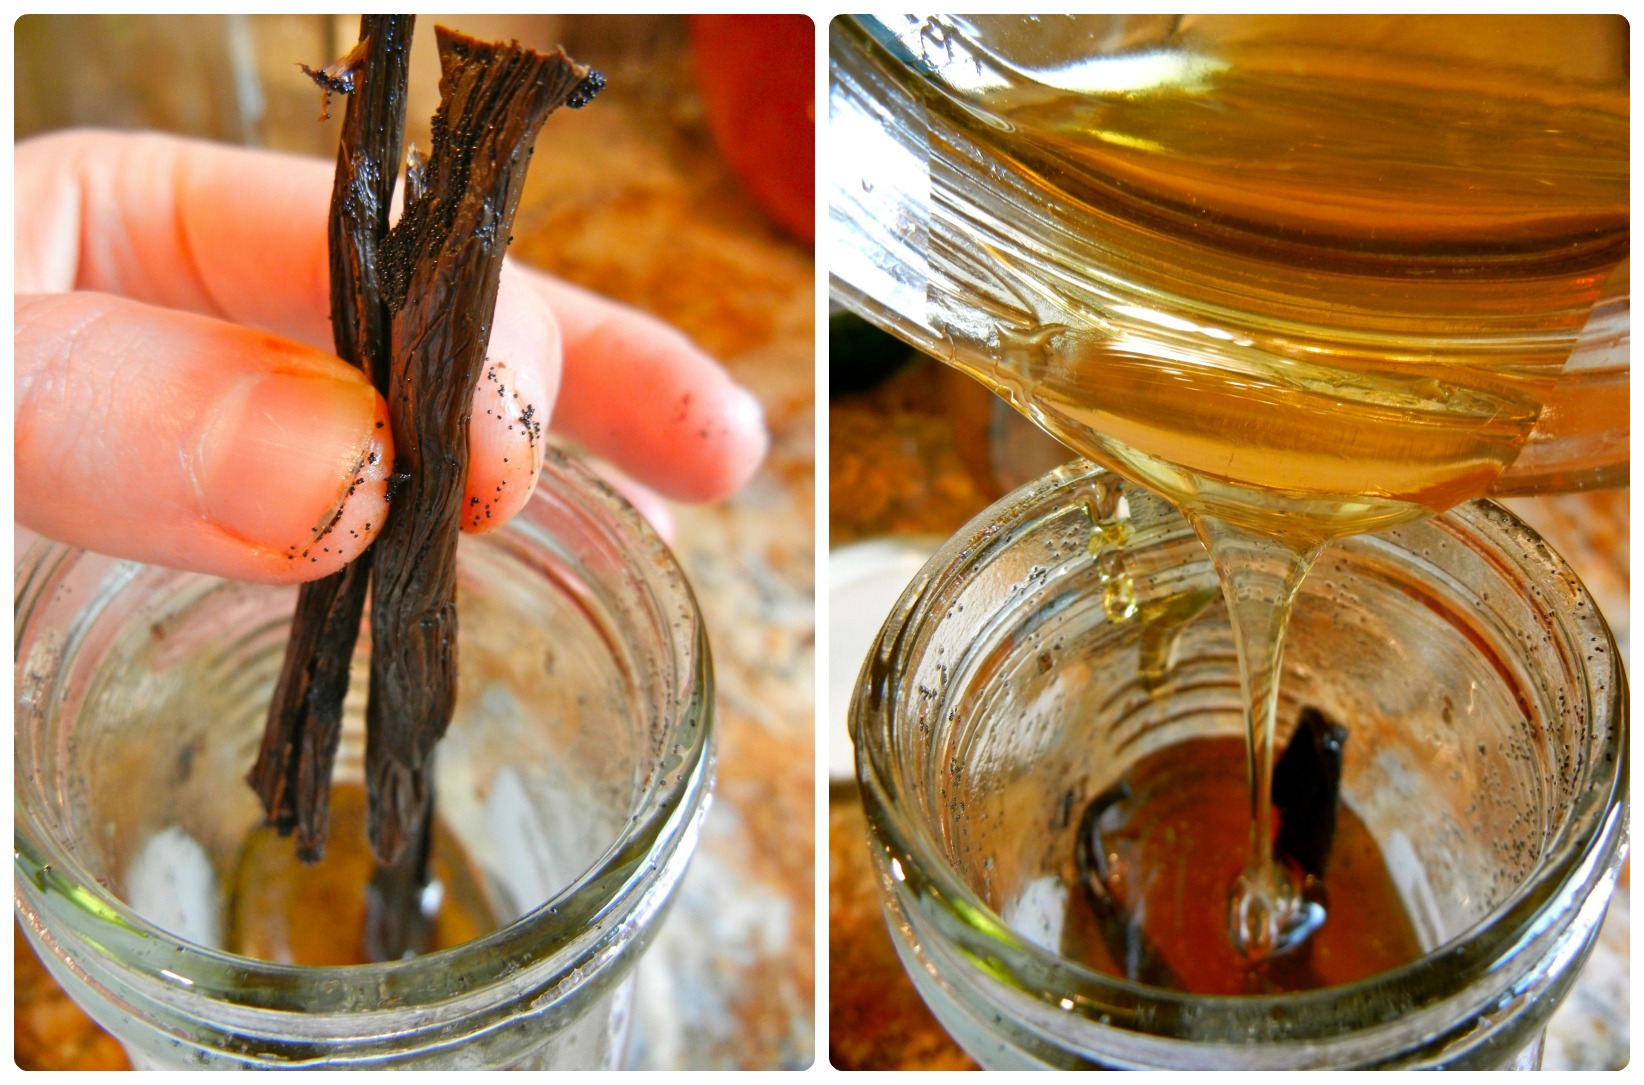
Hehe! Sorry about my messy fingers. The vanilla seeds got all over and into my nails 🙂

6. Drop your hollowed chopped vanilla pods into your honey jar. I used and old (pint size) honey jar for this recipe.

7. Pour 2 cups of honey into your honey jar.

DSCN2210

DSCN2213

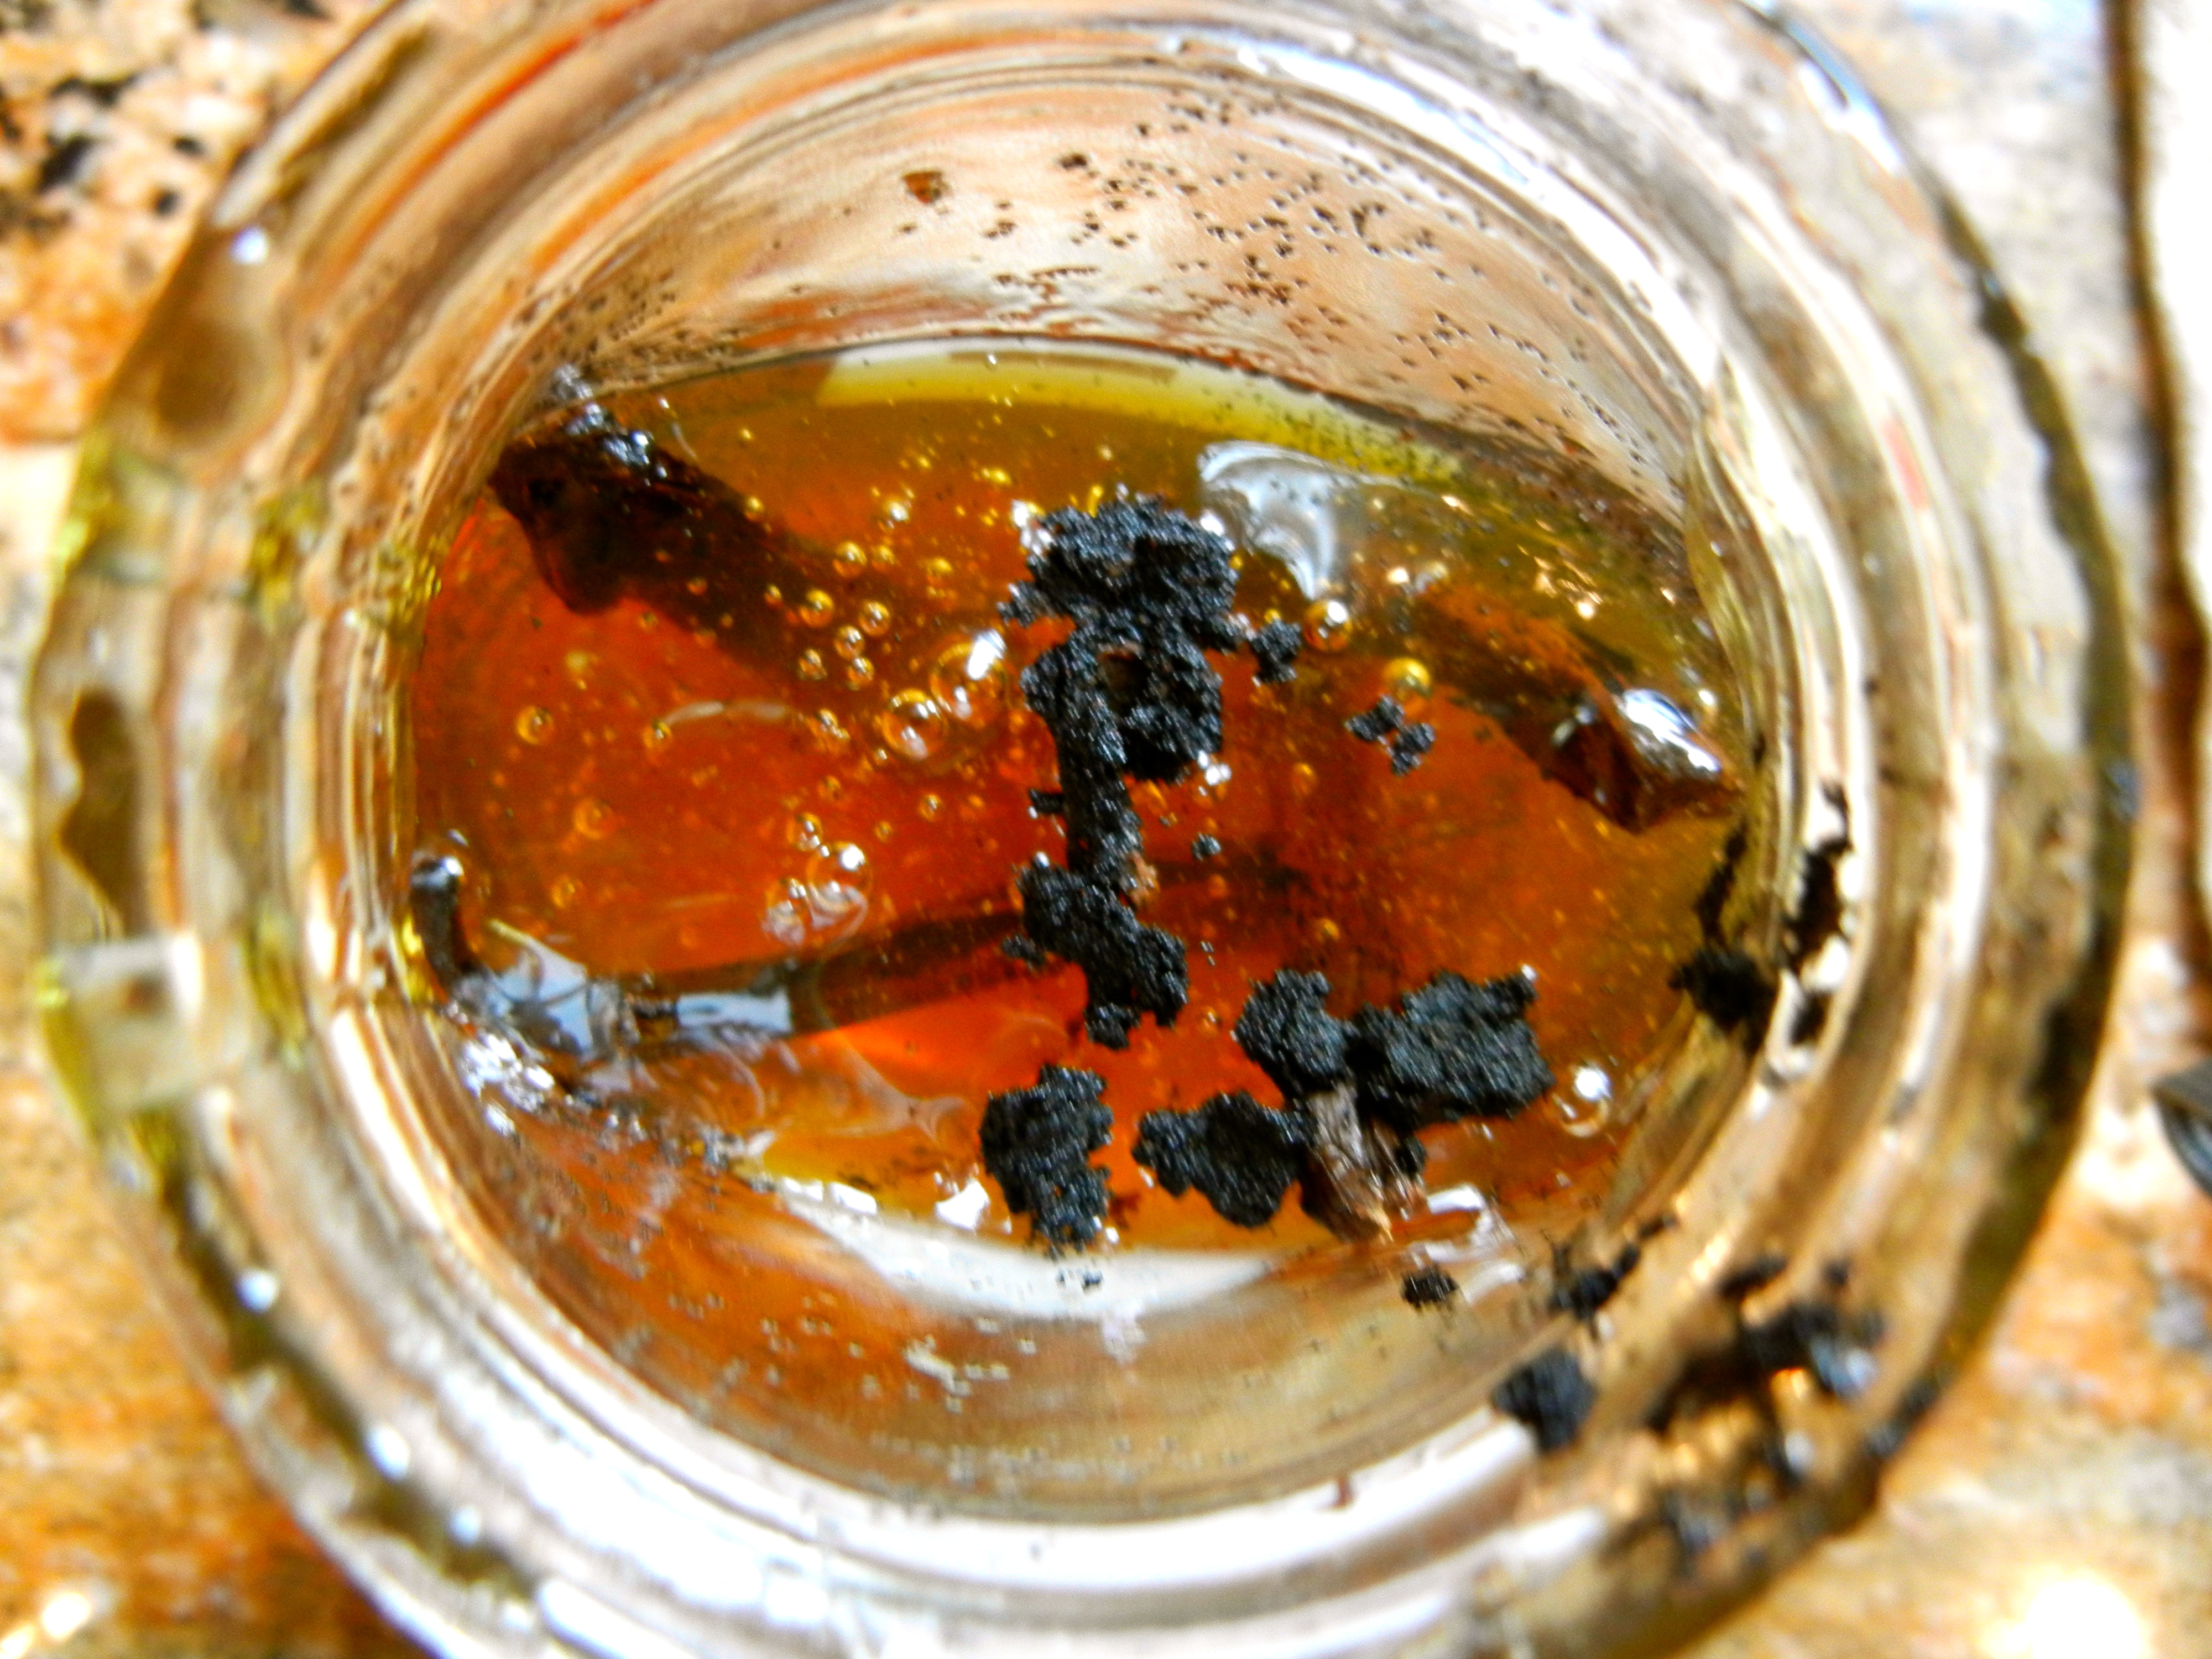
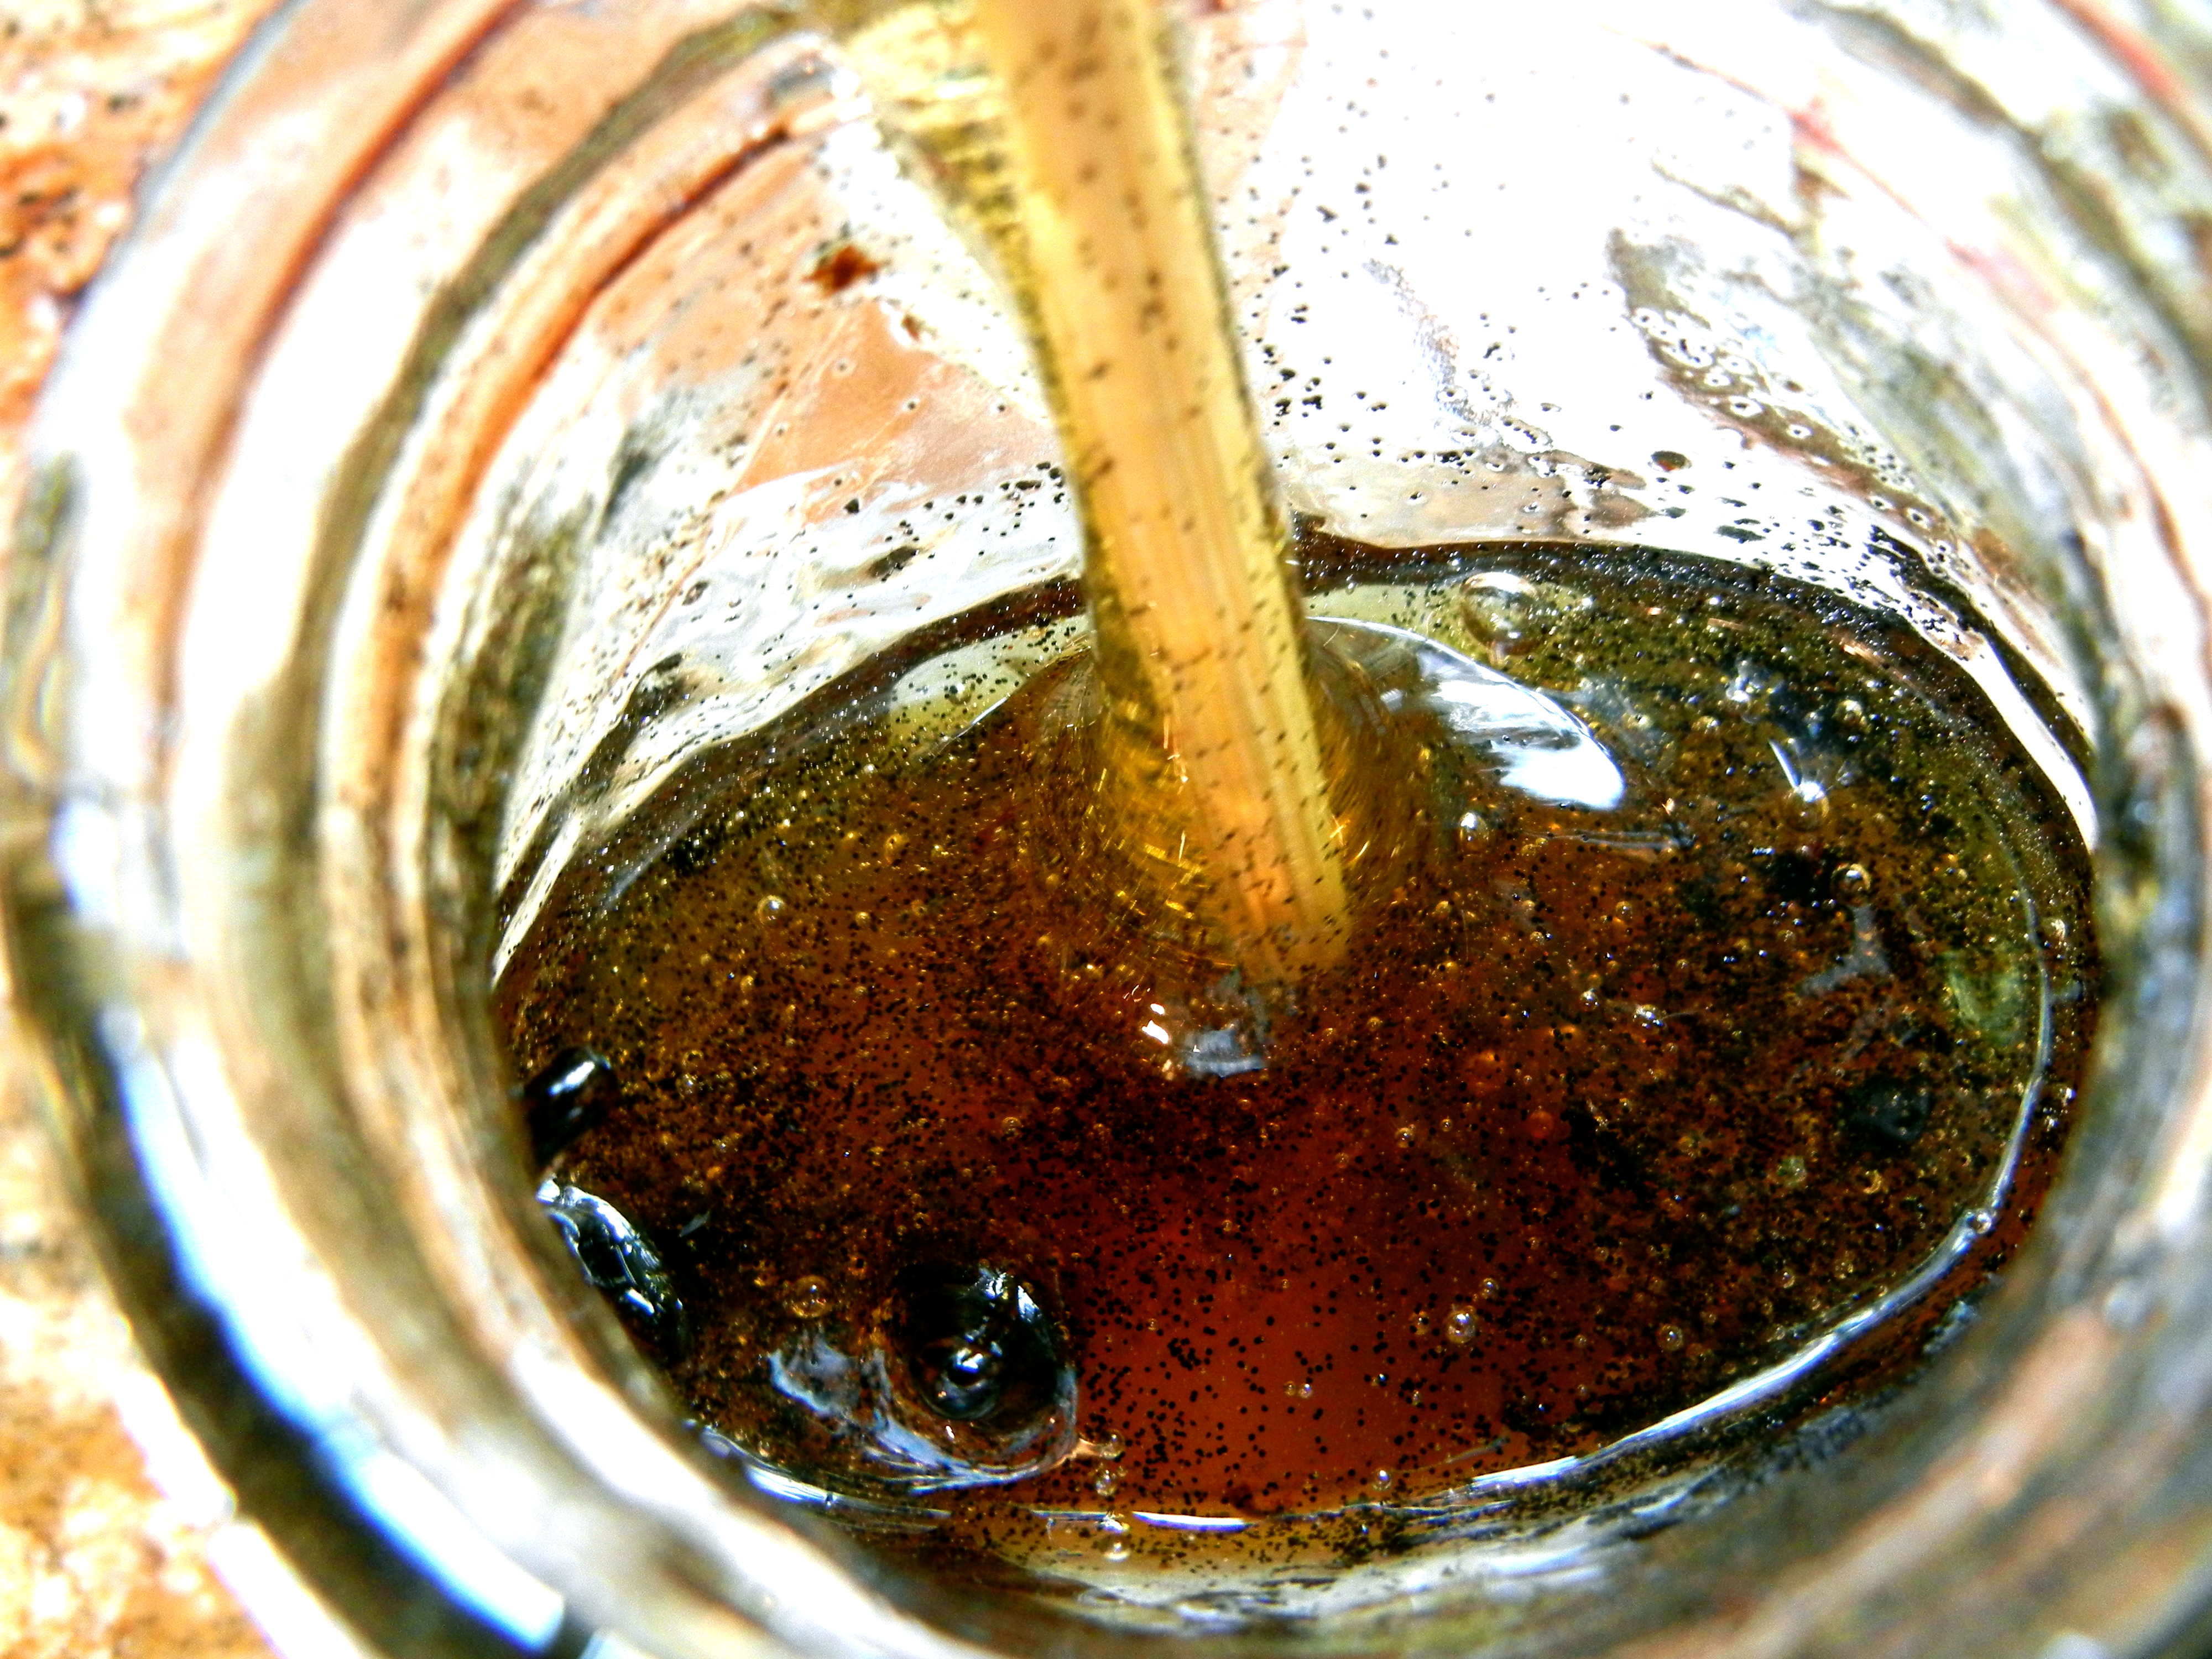
8. Carefully drop your pile of vanilla bean seeds into your jar filled with honey.

vv3

 The honey looks so gourmet, because you can see the little seeds suspend in the honey. mmm.

9. Stir, stir, stir. I stir my honey and vanilla with a kabob stick. I use an up and down motion because the seeds like to float to the top.

10. To get maximum flavor, infuse your honey in the sunlight for 1-2 weeks. After 1 week, the flavor and scent will be much stronger. When the vanilla flavor is strong enough for your taste, put it back where you usually keep the honey. It will keep just as long as a jar of regular honey will.

*Before using, stir because the vanilla pod seeds tend to migrate towards the top.

11. Use  vanilla honey in anything you would normally use honey and vanilla in. Get creative! We put ours in…


how to b


BAMILLA

~Stay Gutsy, Caroline


disclosure 3
05.22.2012

KoMbUcHa!

Its Tea time!

Today you will learn how to make kombucha! There is so many ways to make it, and i took many ideas to create the most economical and practical way for my family. I forgot to take a lot of step by step pictures along the way because i had a kombucha get together with some friends and was having so much fun. Though next week when we make our next batch i will just add the pictures to this post. Whenever i read a recipe i want SIMPLE easy steps make it much more doable.. and i like a little background information about it too!

Here is my kombucha ready to sit on the counter for many days- we like your sour!

WHY SHOULD YOU DRINK KOMBUCHA?

1. It is a yummy fizzy, slightly sweet tangy drink low in sugar, calories, and caffeine (the bacteria eats all the sugar)

2. It is cheap…compared to the store, you will save a lot of $

3. It is FUN to make 🙂

4. Kombucha is full of good bacteria to help replenish your gut. Good Gut bacteria will in turn help heartburn, digestion, acid reflex, bloating, and many more things. Though don’t drink it too much too fast because you may get die off detox symptoms. Start slow and listen to your body.

5. It is high in b-vitamins. So you will stress less because b vitamins help you stay calm and your memory will be better!

6. Helps detox your body and matain a healthy liver

7. boosts the immune system- 80% of the immune system is in the gut so if you fill you gut with good bacteria it will in turn help your immune system- this mean less sickness!

8. It can give you a afternoon pick up and increase over all energy levels.

9. Helps you loose weight because it improves digestion and is a good substitute for all you soda drinkers.

10. Make your skin clearer, heals eczema, and oily skin- apply plain kombucha topically and drink it as well for optimum results.  (i have not tried this yet)

11. Good for hangovers- because it is a liver tonic

12. Helps constipation- this is because it aids your digestion

12. Improves the color of your hair- you can use it externally  in the shower too!! (i have not tried this but I am going too)

WHAT IS KOMBUCHA MADE OF?

lactic acid: good for digestive system

acetic acid: it inhibits harmful bacteria. This gives the kombucha its distinctive smell and taste.

malice acid: used for detoxing in the body

oxalic acid: is a cellular production of energy

gluconic acid: effective against yeast like Candida

butyric acid: produced by yeasts and helps fight yeast in the body ( like heals like…again..just like the cancer mushroom)

nucleic acid: aids in healthy cell regeneration

amino acid: building blocks of protein- helps rebid mucles

enzymes: catalysts that speed the rate of reactions in the body- helps digestion

Vitamins B, C, beneficial yeasts, and living bacteria

resource: http://www.getkombucha.com/

HISTORY:

Kombucha has been used for over 2000 years in China, Japan, and Korea. SCOBY’s were passed down from generation to generation. One story goes that a doctor in Moscow discovered that his patients did not get cancer. This was because to save on money, they brewed Chage or birtch-tree mushroom tea. Actually this birtch-tree mushroom is cancer on the tree!! So they were using cancer to cure cancer. Chage is related to the kombucha mushroom, but the real kombucha mushroom has many stories of origination. SCOBY stand for Symbiotic Colony of bacteria and yeast.

EXTRA PRECAUTIONS:

1. Wash everything you are going to touch…pots, jars, lids, spoons, your hands. You don’t want to get new bad bacteria on your SCOBY because that is how is gets weak and moldy.

2. Don’t let your SCOBY touch metal! and don’t ferment in plastic!

3. Never use sugar or tea that is not organic- pesticides, fluoride, and anti-caking agents can kill the SCOBY

4. Only use filtered water- chlorine can kill the SCOBY too.

5. Always keep an extra SCOBY on hand just incase yours gets moldy

6. always reserve 2 cups of fermented kombucha liquid for the next batch as a starter

7. Never put the SCOBY in hot water

8. Don’t use herbal tea because they contain oils that will damage your SCOBY. if you want to use it, put it in for the second fermentation.

9. Always throw away a moldy SCOBY as well as the batch of tea it was in and start over! you don’t want to take any chances and make yourself and family sick. I know this is a bummer..but that is why you have to remember to save an extra.

10. Keep your kombucha away from anything else that is fermenting as well as plants so mold spores don’t contaminate the SCOBY and kombucha batch.

WHAT YOU NEED:

metal pot (for boiling 4 cups of water)

gallon glass jar

cotton light towel/ cheesecloth

rubberband

spoon (not metal)

6 t of tea (black/ green/ white) or 6 tea bags

1 gallon of filtered water

1 cup of reserved liquid from pervious batch

1 SCOBY

1 cup organic cane sugar ( don’t skimp on the sugar, the sugar will ONLY feed the bacteria, not your body) —-i used this site as a sugar resource in case you are interested in experimenting with sugars:

http://www.kombuchakamp.com/what-is-kombucha/kombucha-mushroom-tea-brewing-safety-tips/types-of-sugar-to-use-for-brewing-kombucha

STEPS:

1. clean EVERYTHING, use 1. soap  2. rinse well with water  ( you don’t want extra soap residue around your SCOBY) 3. spray with hydrogen peroxide- counters, lid, jar (i use food grade hydrogen peroxide form Guardian of Eden)  4. rise again with water  5. air dry

2. boil 4 cups of filtered water

3. add tea bags or loose leaf tea (no tea ball is necessary)

4. simmer tea for 10 minutes ( 10 minutes ensures all the nutrients from the tea are released)

5. turn off the heat and let steep for 10 more minutes

6. strain out tea bags or loose tea

7. while it is still warm stir in sugar until dissolved

8. pour sweet tea mixture into your gallon jar

9. fill the rest with filtered water ( room temperature) – but save room for your SCOBY,  1 cups of reserved liquid, and keep at least 2 inches from the top

10. pour 1 cup of previous reserved kombucha into jar (or if you don’t have that much add 2 TBS of raw ACV into jar)- this just jumpstarts the good bacteria

10. The water should be cool once you put in all that filtered water, so your SCOBY should be safe. You want the sweet tea temp below 80 degrees

11. put in your SCOBY ( smooth/ white/ creamy side up)!- make sure your hands are clean

12. cover with dish cloth and secure with rubberband

13. put it in a warm (70-85 degrees) dark place for 4-8 days – the warmer it is the less time you will need  (we put our on the counter by our crock pot because our house is cool)

14. bottle it in smaller bottles for a 2nd fermentation (learn how to here) -and then you can flavor it and make it even fizzier!..post to come soon 🙂

We keep our kombucha by the crock pot so it stays warm and ferments faster

EXTRA HINTS:

*Some people like it sweet so you will need less days for it to ferment. If you like it sour you might need to go a few more days. To test it stick a straw or plastic spoon and taste the liquid- no double dipping and no metal

*Allowing 8-14 days will make a vinegary taste which has a lot of medicinal properties and can even be used in the place of vinegar

* If you don’t want to make kombucha at a constant brew then store 2 cups of liquid or enough to cover the SCOBY and store it in a jar in the fridge. It will stay dormant for months without going bad. Though it is BEST to keep continually brewing new batches to keep the kombucha strong. Also a dormant SCOBY in the fridge is more susceptible to mold, so keep an eye on it.

* After your kombucha is done it will form a baby- keep the mother and baby attached for a 2-3 brews to allow the baby to grow 1/4 -1/2 inch thick. Then you can separate the two SCOBY’s and give the mother to a friend!

* When you give away a scoby, put it in a clean jar and cover with 1-2 cups of reserved kombucha liquid from your last brew

* you want a strong starter tea that is very acidic- this will help kill off the bad bacteria.

* For a faster and stronger fermentation you can add another cup of starter tea

*Black tea contains the most glucuroic acid, which is good . But Oolong tea makes a very yummy kombucha!

* extra kombucha tea FAQ

http://www.culturesforhealth.com/kombucha-tea-frequently-asked-questions-faq

HAVE FUN!! I hope i didn’t overwhelm you with information, but you can read it over 1 or 2 or 3 times. Be patient with yourself, practice, and soon it will be second nature to brew kombucha!  If you have any questions, please post below. Happy fermenting 🙂

~stay gutsy, caroline


disclosure 3