08.05.2012

GAPS Snickerdoodles

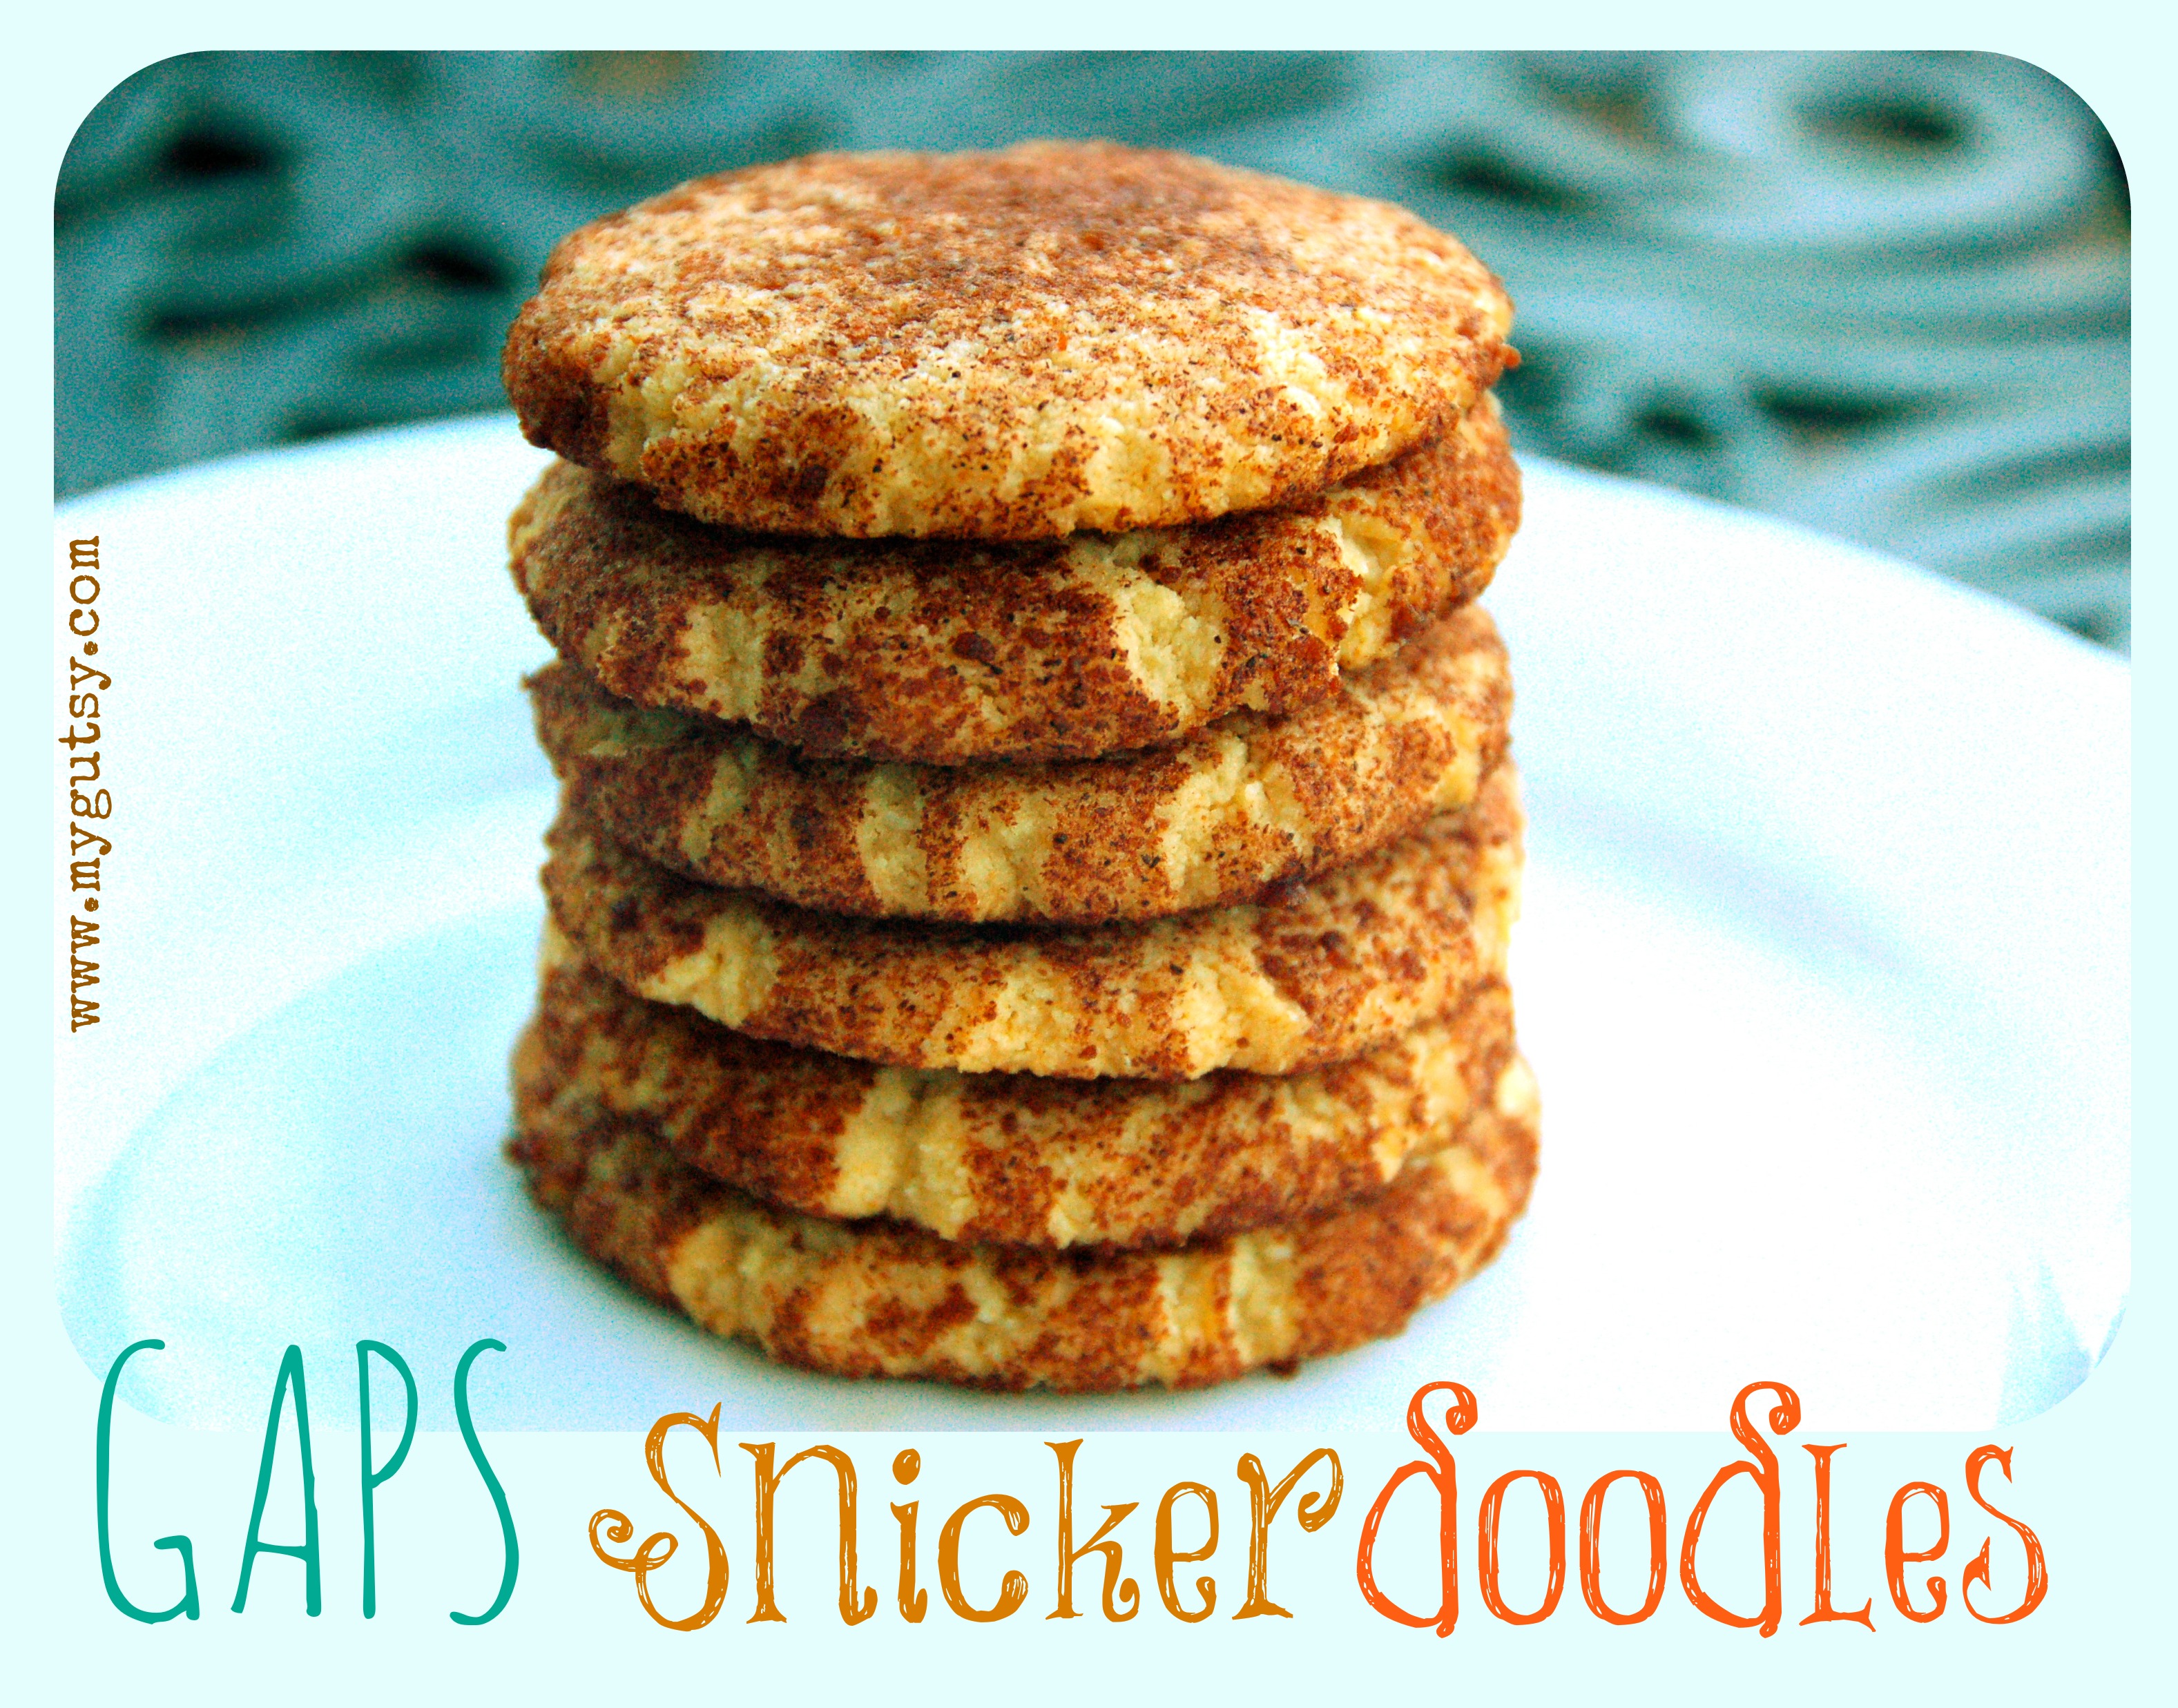
GAPS Snickerdoodle story..

So once again my sweet tooth sister was my inspiration for these GAPS snicker doodle cookies, I shouldn’t be surprised! She was my inspiration to make the GAPS lemon bars, and those were a huge hit! It all started with a simple craving for a cookie, but we like to make our desserts “healthy” in our house. These GAPS Snickerdoodle cookies are still a “treat”. Though, I bet you could get away with eating one with your breakfast!

GAPS Snickerdoodles are by far one of my family’s favorite cookies. These snickerdoodles are perfect, chewy, gooey, scrumptious delicious…should I keep going?  Of course they are rolled in cinnamon sugar to give them their trademark snickerdoodle taste and look. Not like you need anymore convincing, but if you do, GAPS snickerdoodles are the easiest cookie I have ever made.

snickerdoodles22

What makes these GAPS Snickerdoodles the best?

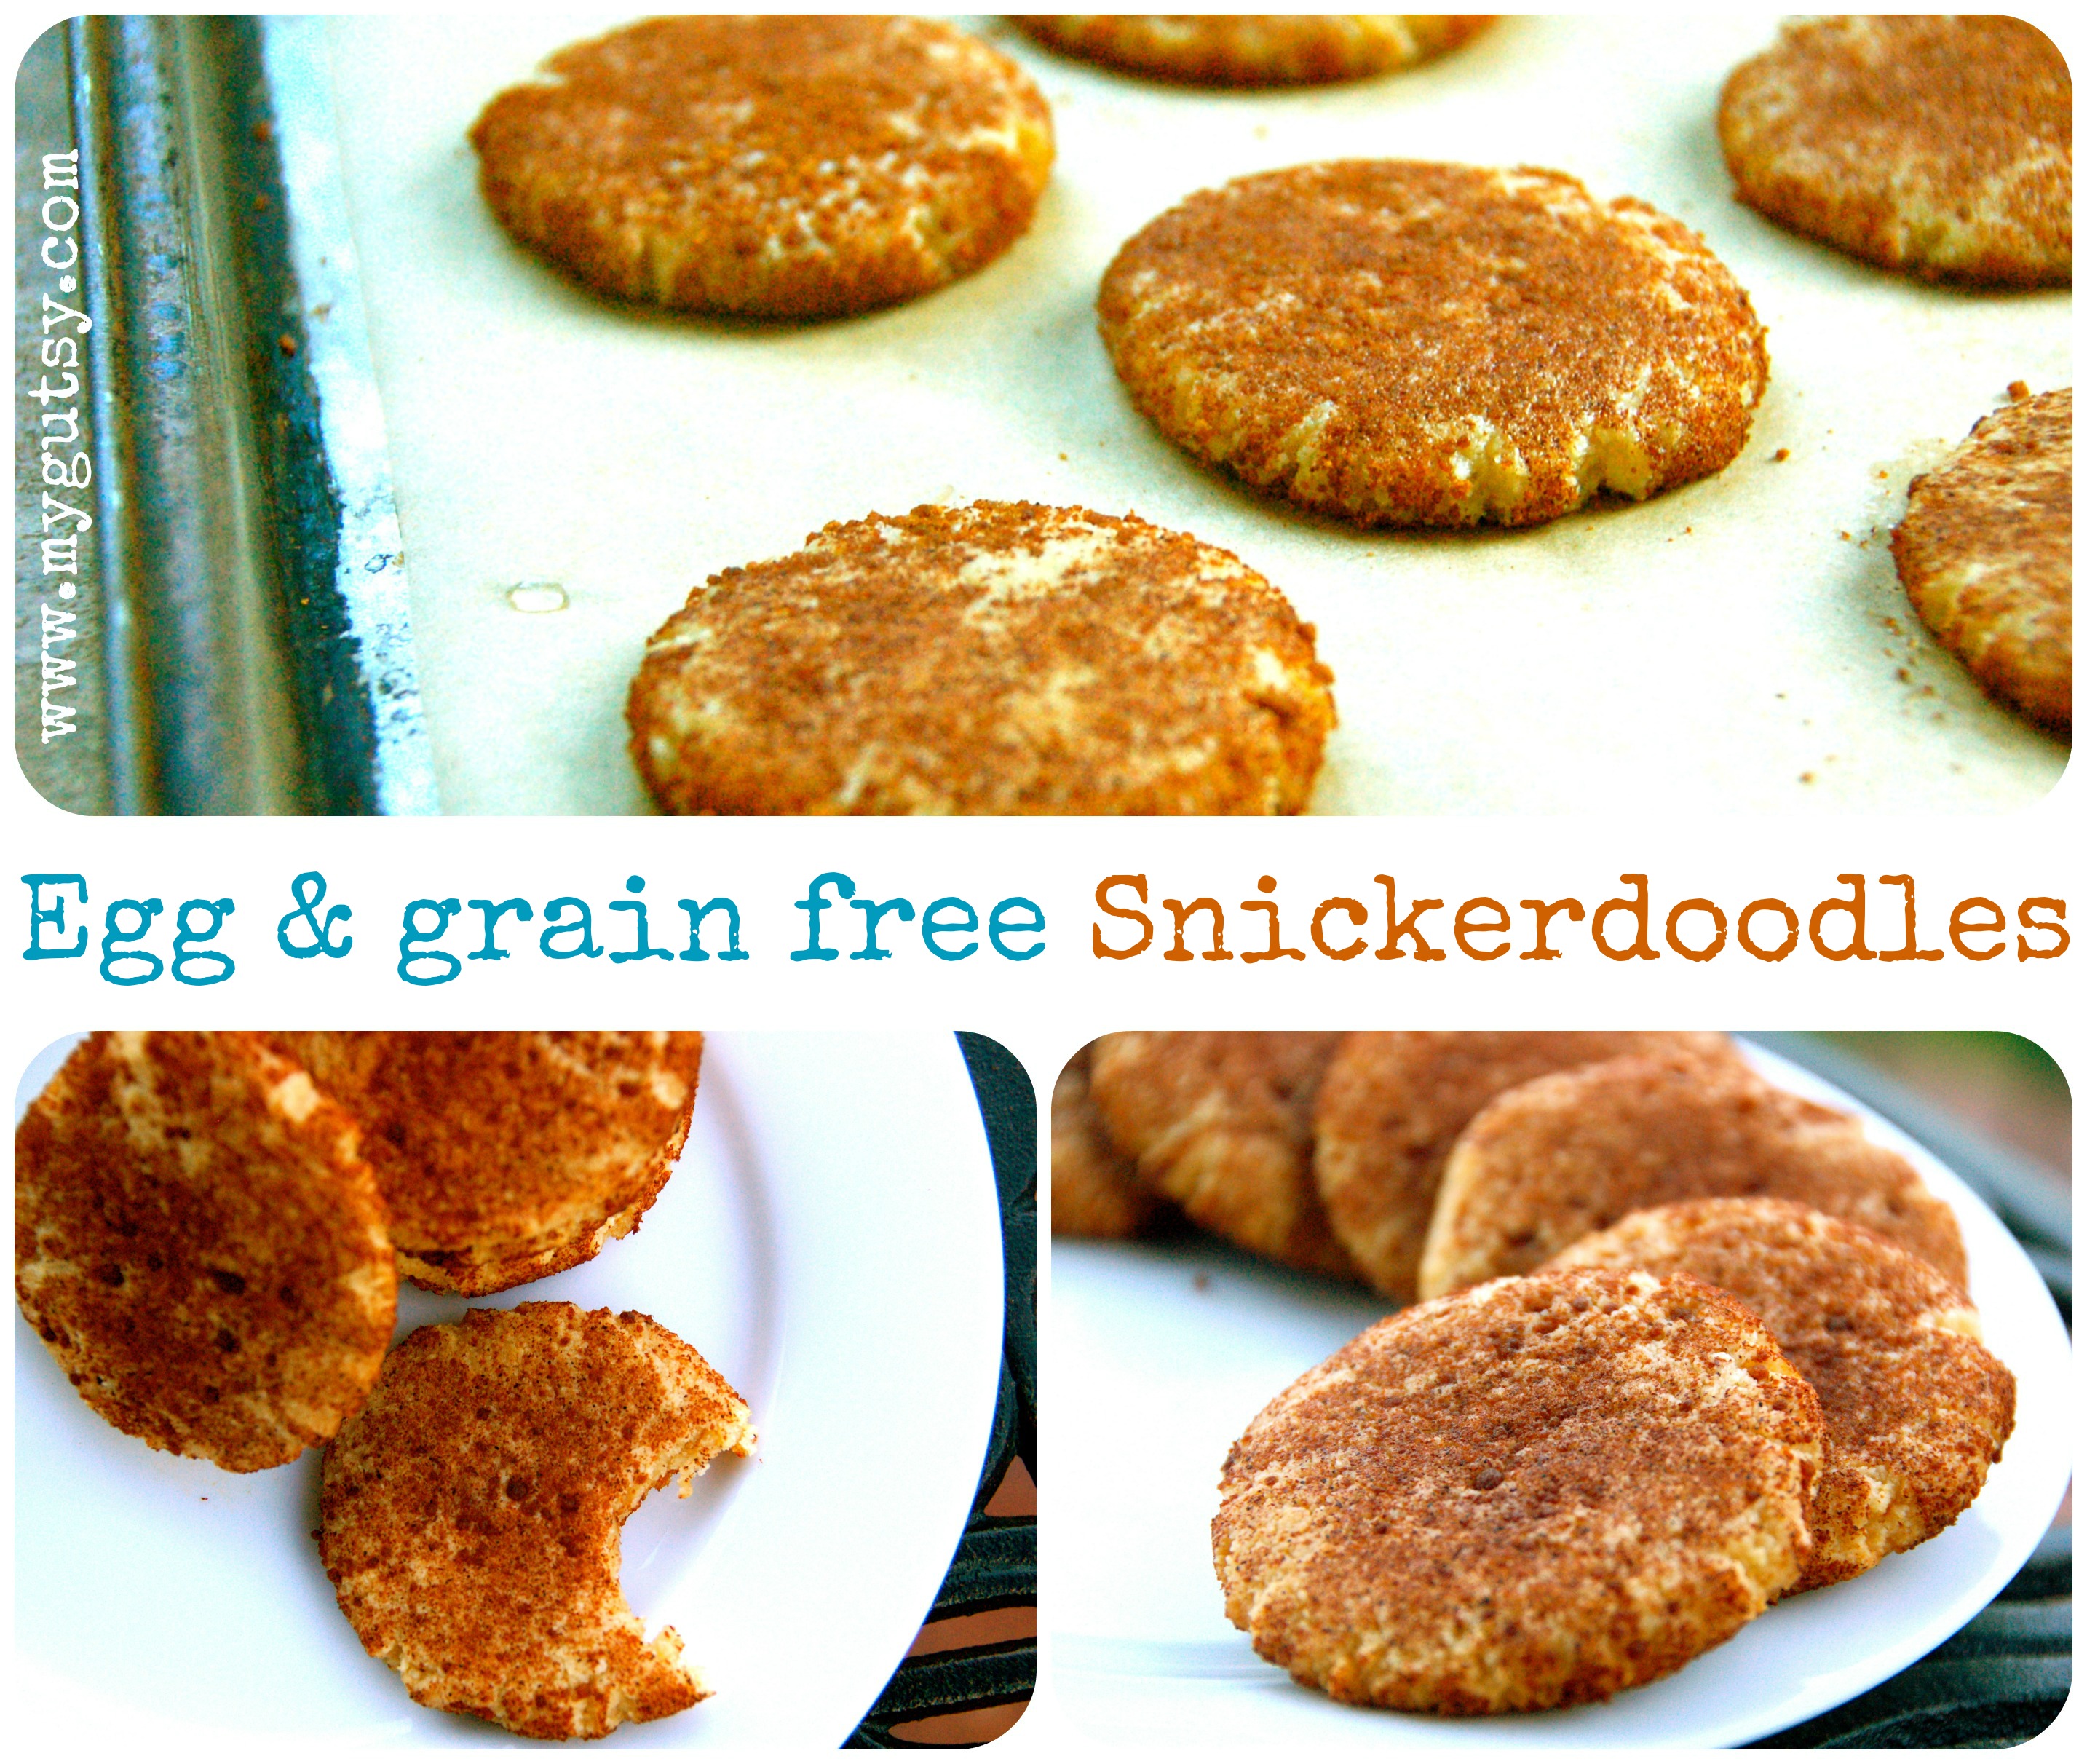
Well, I am glad you asked! First off, these cookies are grain free and egg free (they can even be dairy free if you choose)! Best of all, they are GAPS friendly! A little treat here and there on the GAPS diet won’t hurt if your gut can tolerate it. They are the perfect little cookie for anytime and any occasion. They have that crackle look from smashing the cinnamon coated balls of dough onto the pan. Ooo they are just so cute!

GAPS Snickerdoodle nutrition:

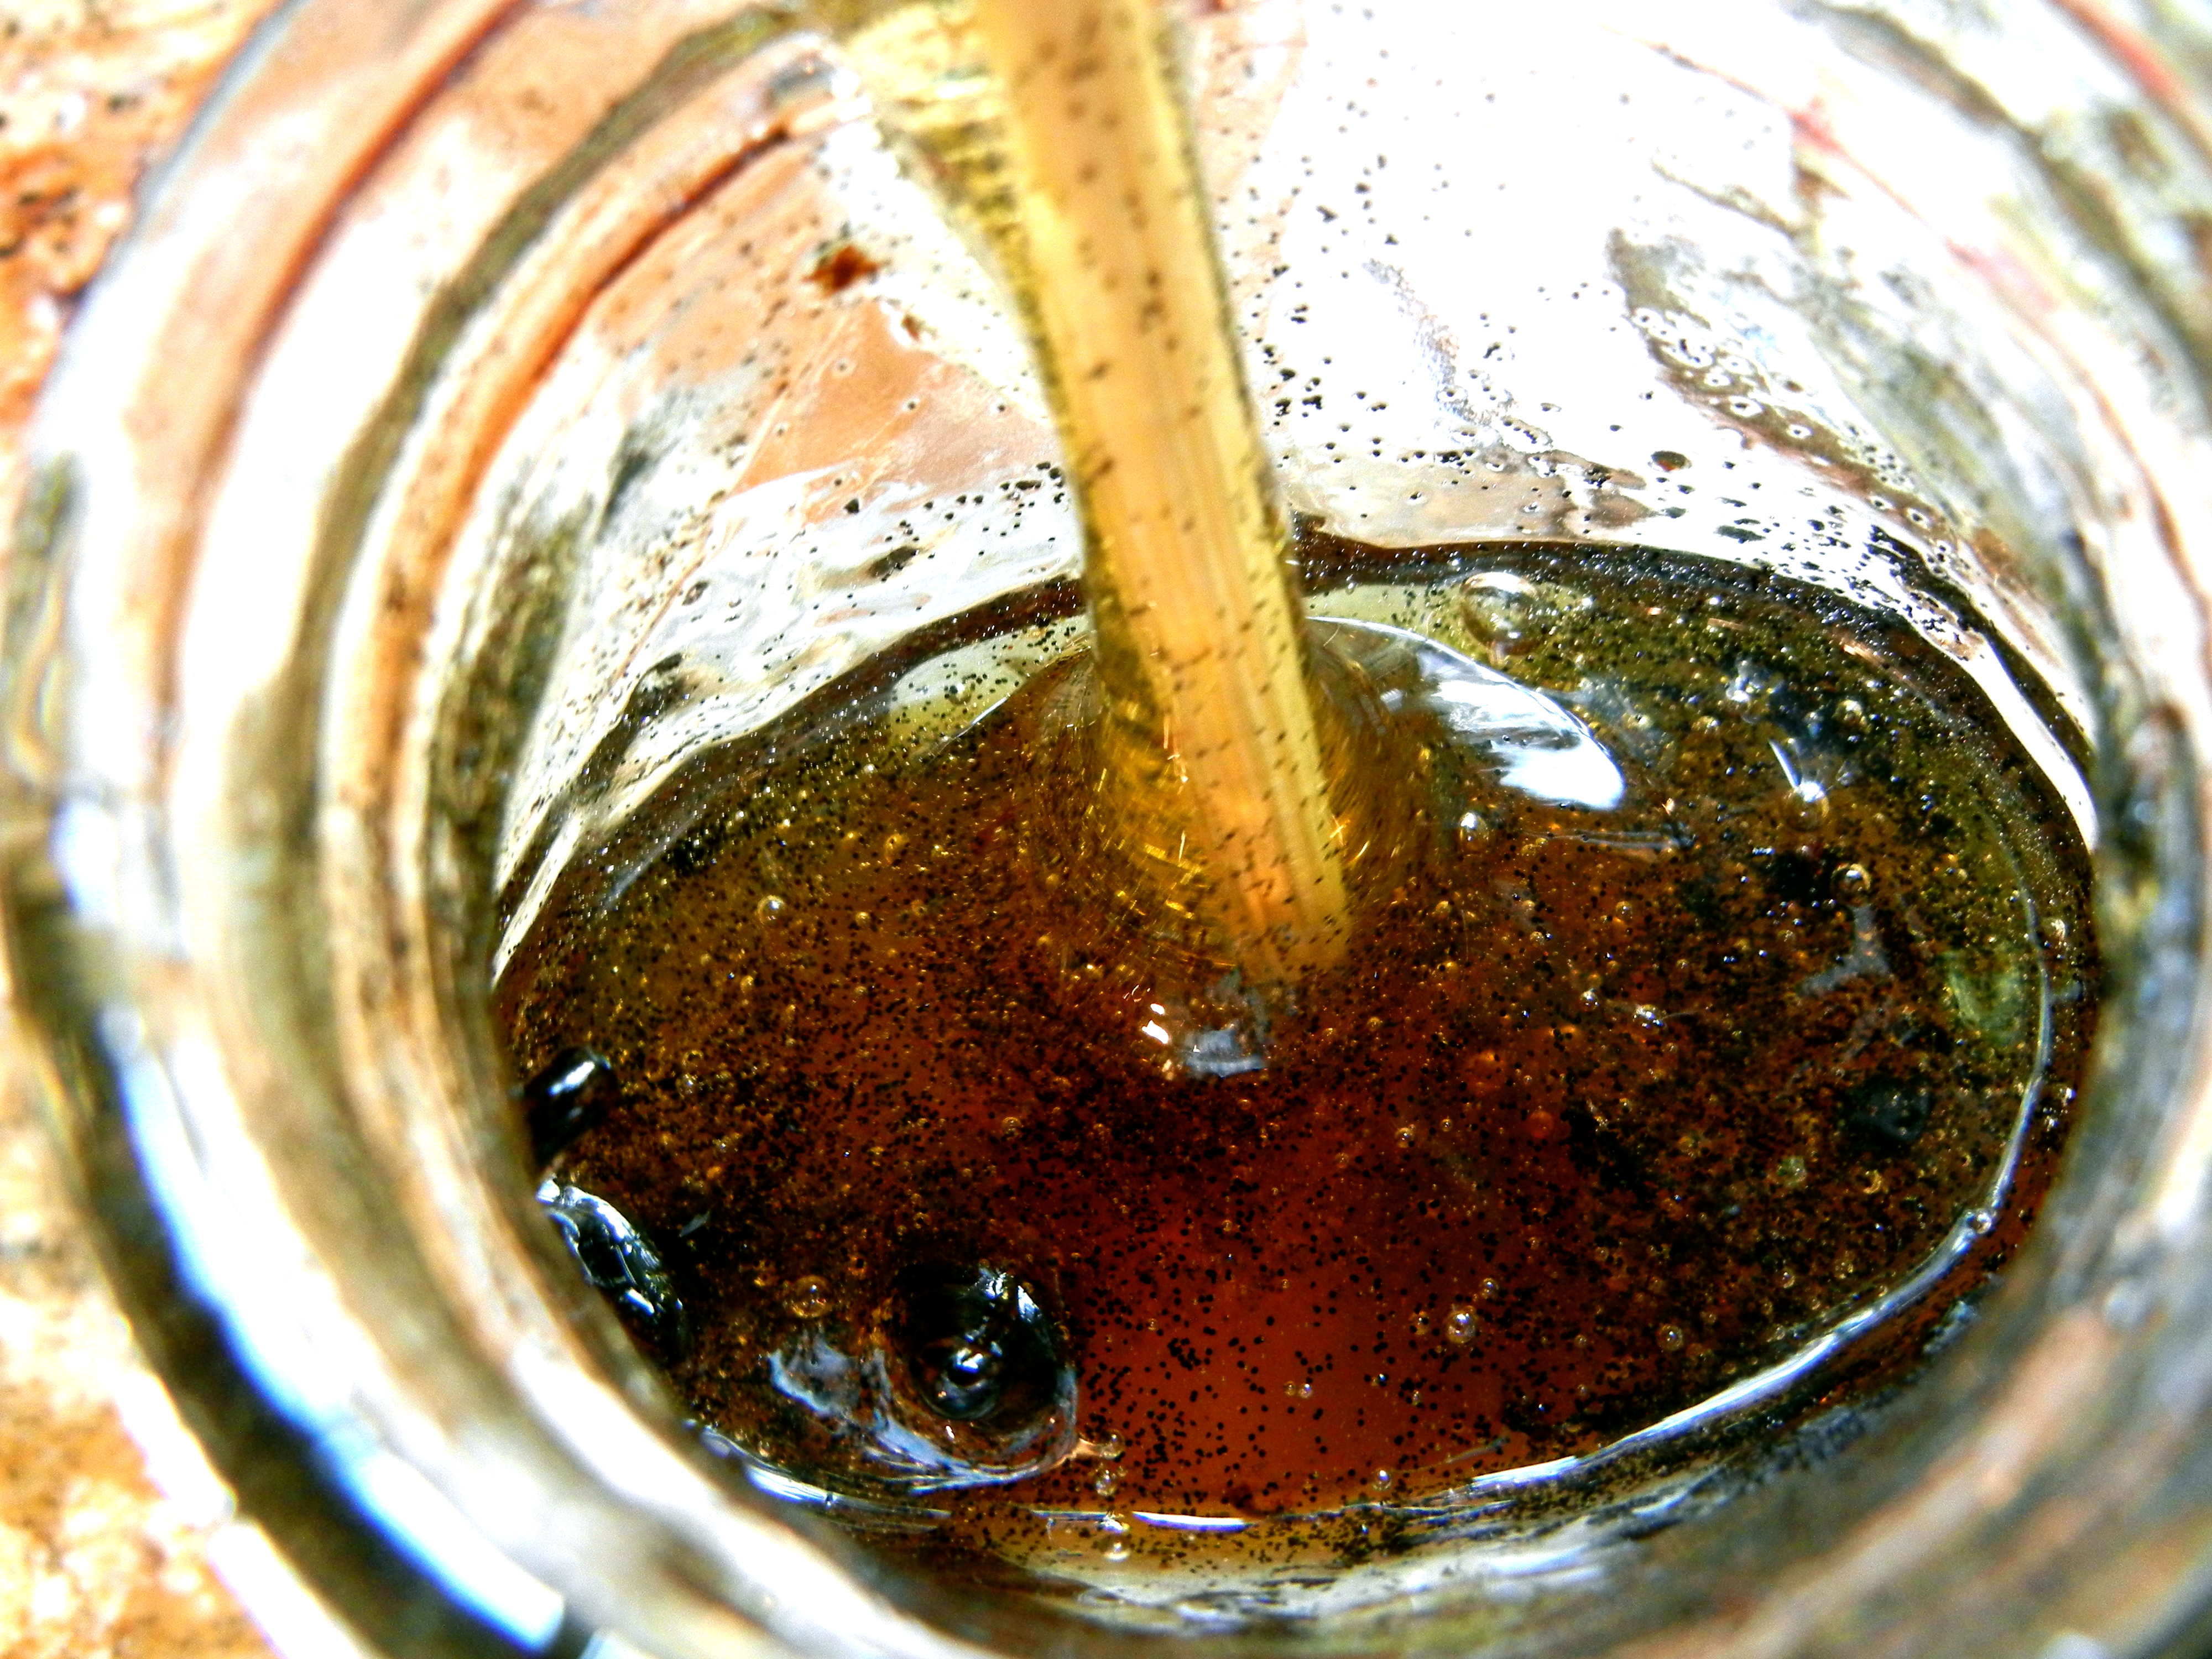
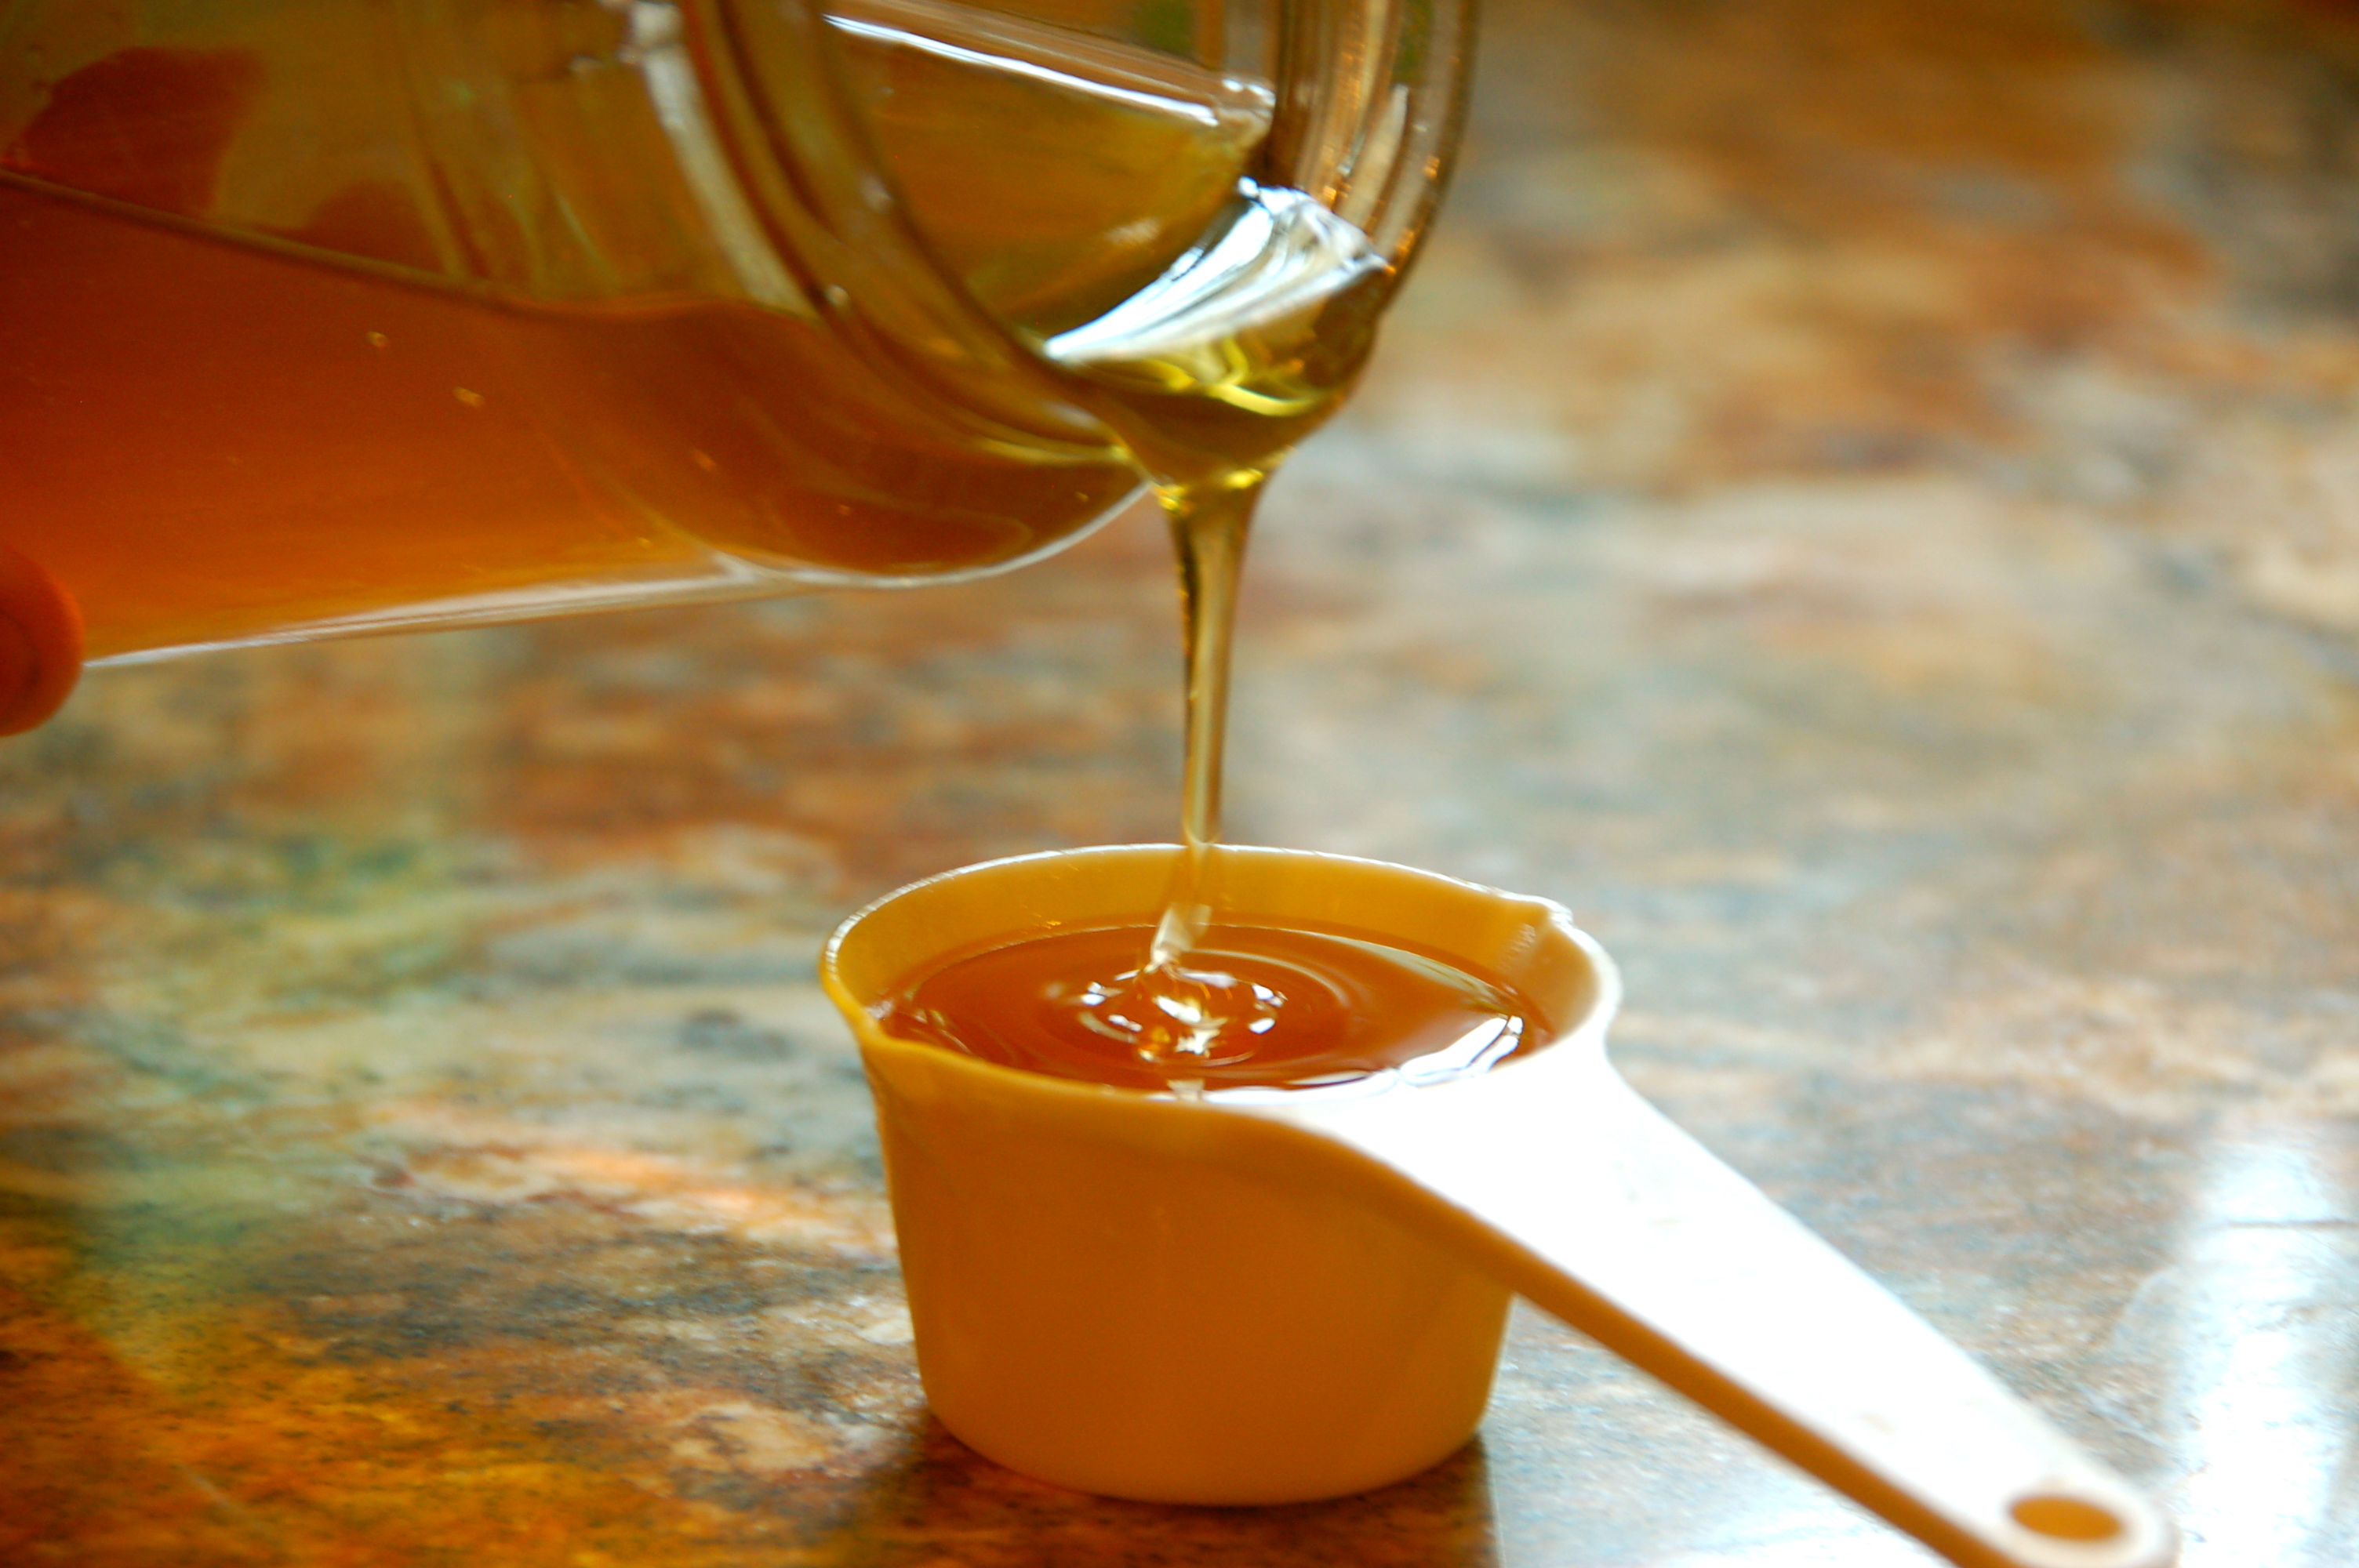
Almond flour is very nutrient dense and packed with vitamin E, magnesium, and potassium. Yeah! I love magnesium 🙂 Of course cinnamon is filled with fiber, along with manganese and calcium. If you didn’t know, high manganese foods can help keep your blood sugar levels balanced as well as help your body use key nutrients to help it function. For me, cinnamon is just one of those immediate yum scents when I bake with it, so it makes me feel relaxed. Honey is a great sweetener if you are on the GAPS diet because it is easy for your gut to break down. If you cannot have coconut crystals, just skip it and use cinnamon alone for the coating!

Get ready, get set, bake!

So what are you waiting for? These are super fast to make too. I really timed it, they take about 5 minute to pull all the ingredients out, 5 minutes to mix everything together, and if you have 1 set of hands to roll into balls, then roll into the cinnamon and the other set to smash..it takes no time at all! Total it took my sister and I, 20 minutes from start to finish! Now that is one easy cookie.


INGREDIENTS:

dry:

2 cups almond flour (I use Honeyville)

1/4 tsp sea salt

1/4 tsp baking soda


wet:

5 Tbsp ghee/butter Melted (coconut oil works too, but they will taste more coconutty)

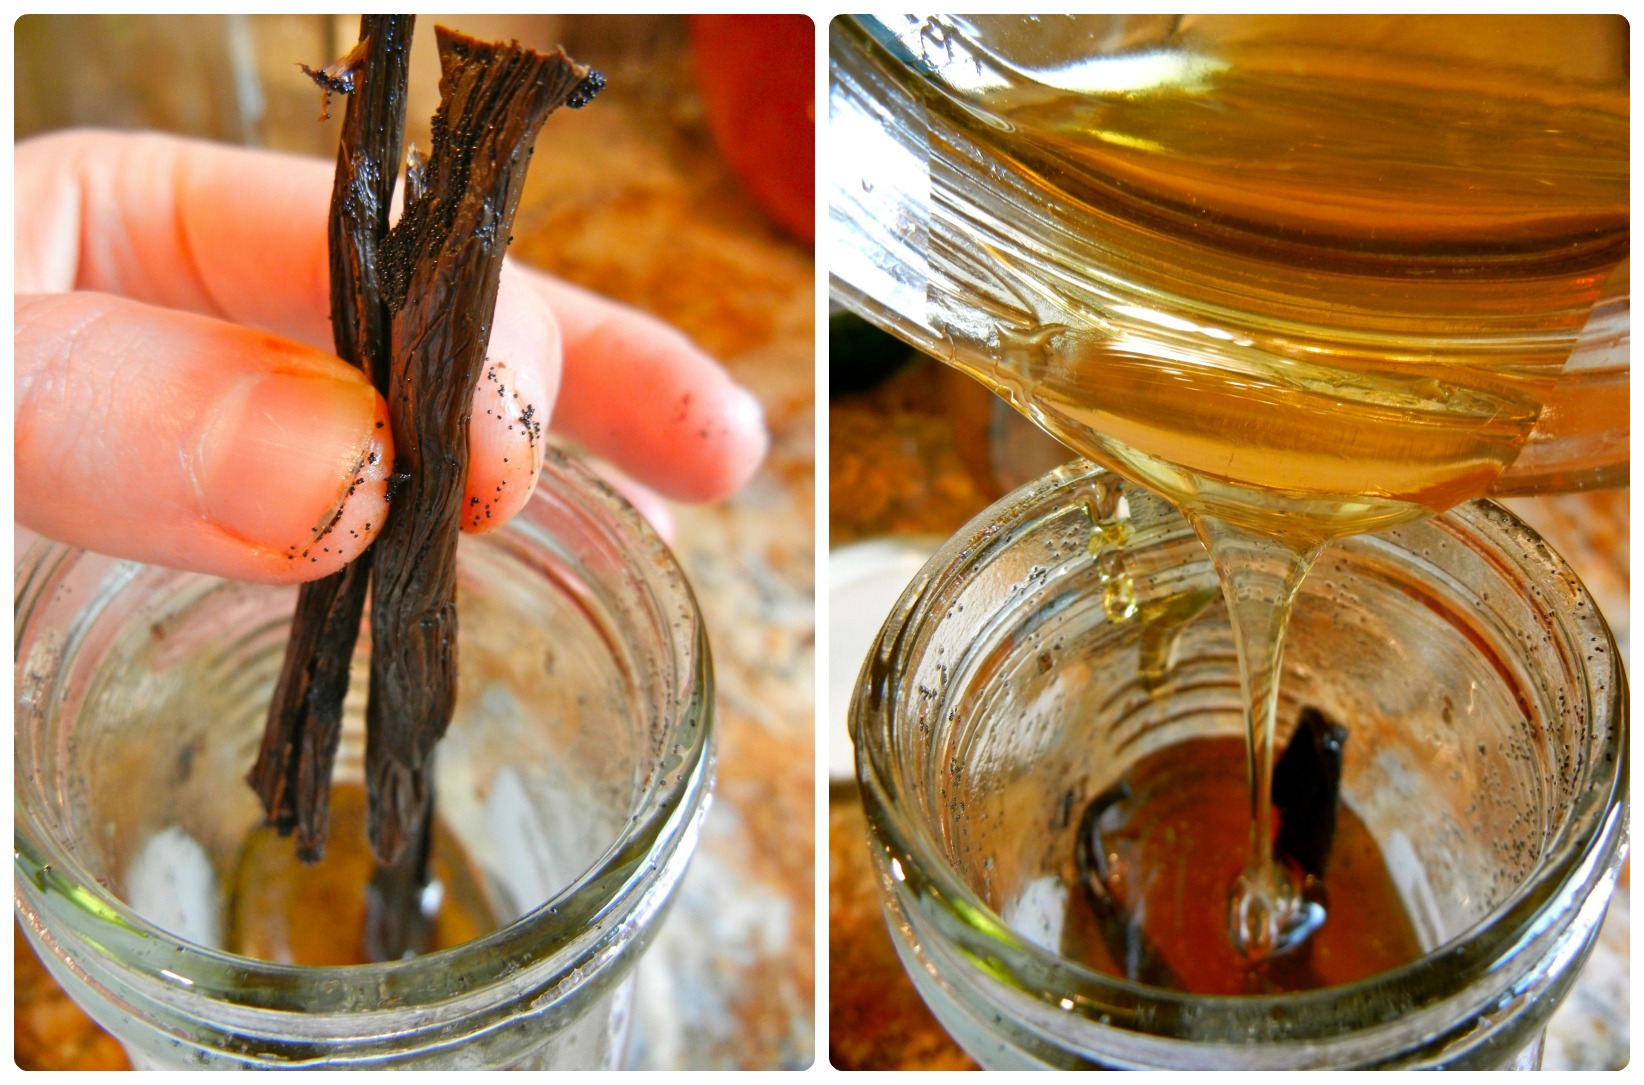
1/4 cup honey or vanilla honey (omit vanilla extract if you use vanilla honey) **

1 1/2 Tbsp vanilla extract

** low sugar option: 2 TBS honey + 40 drops of stevia (2 squirt droppers full)


coating:

3 TBS coconut crystals (omit if you are on GAPS)

3 TBS cinnamon


DIRECTIONS:

1. Preheat oven to 350 degrees.

2. Line 2 cookie sheets with bleach free parchment paper.

3. Mix dry ingredients together.

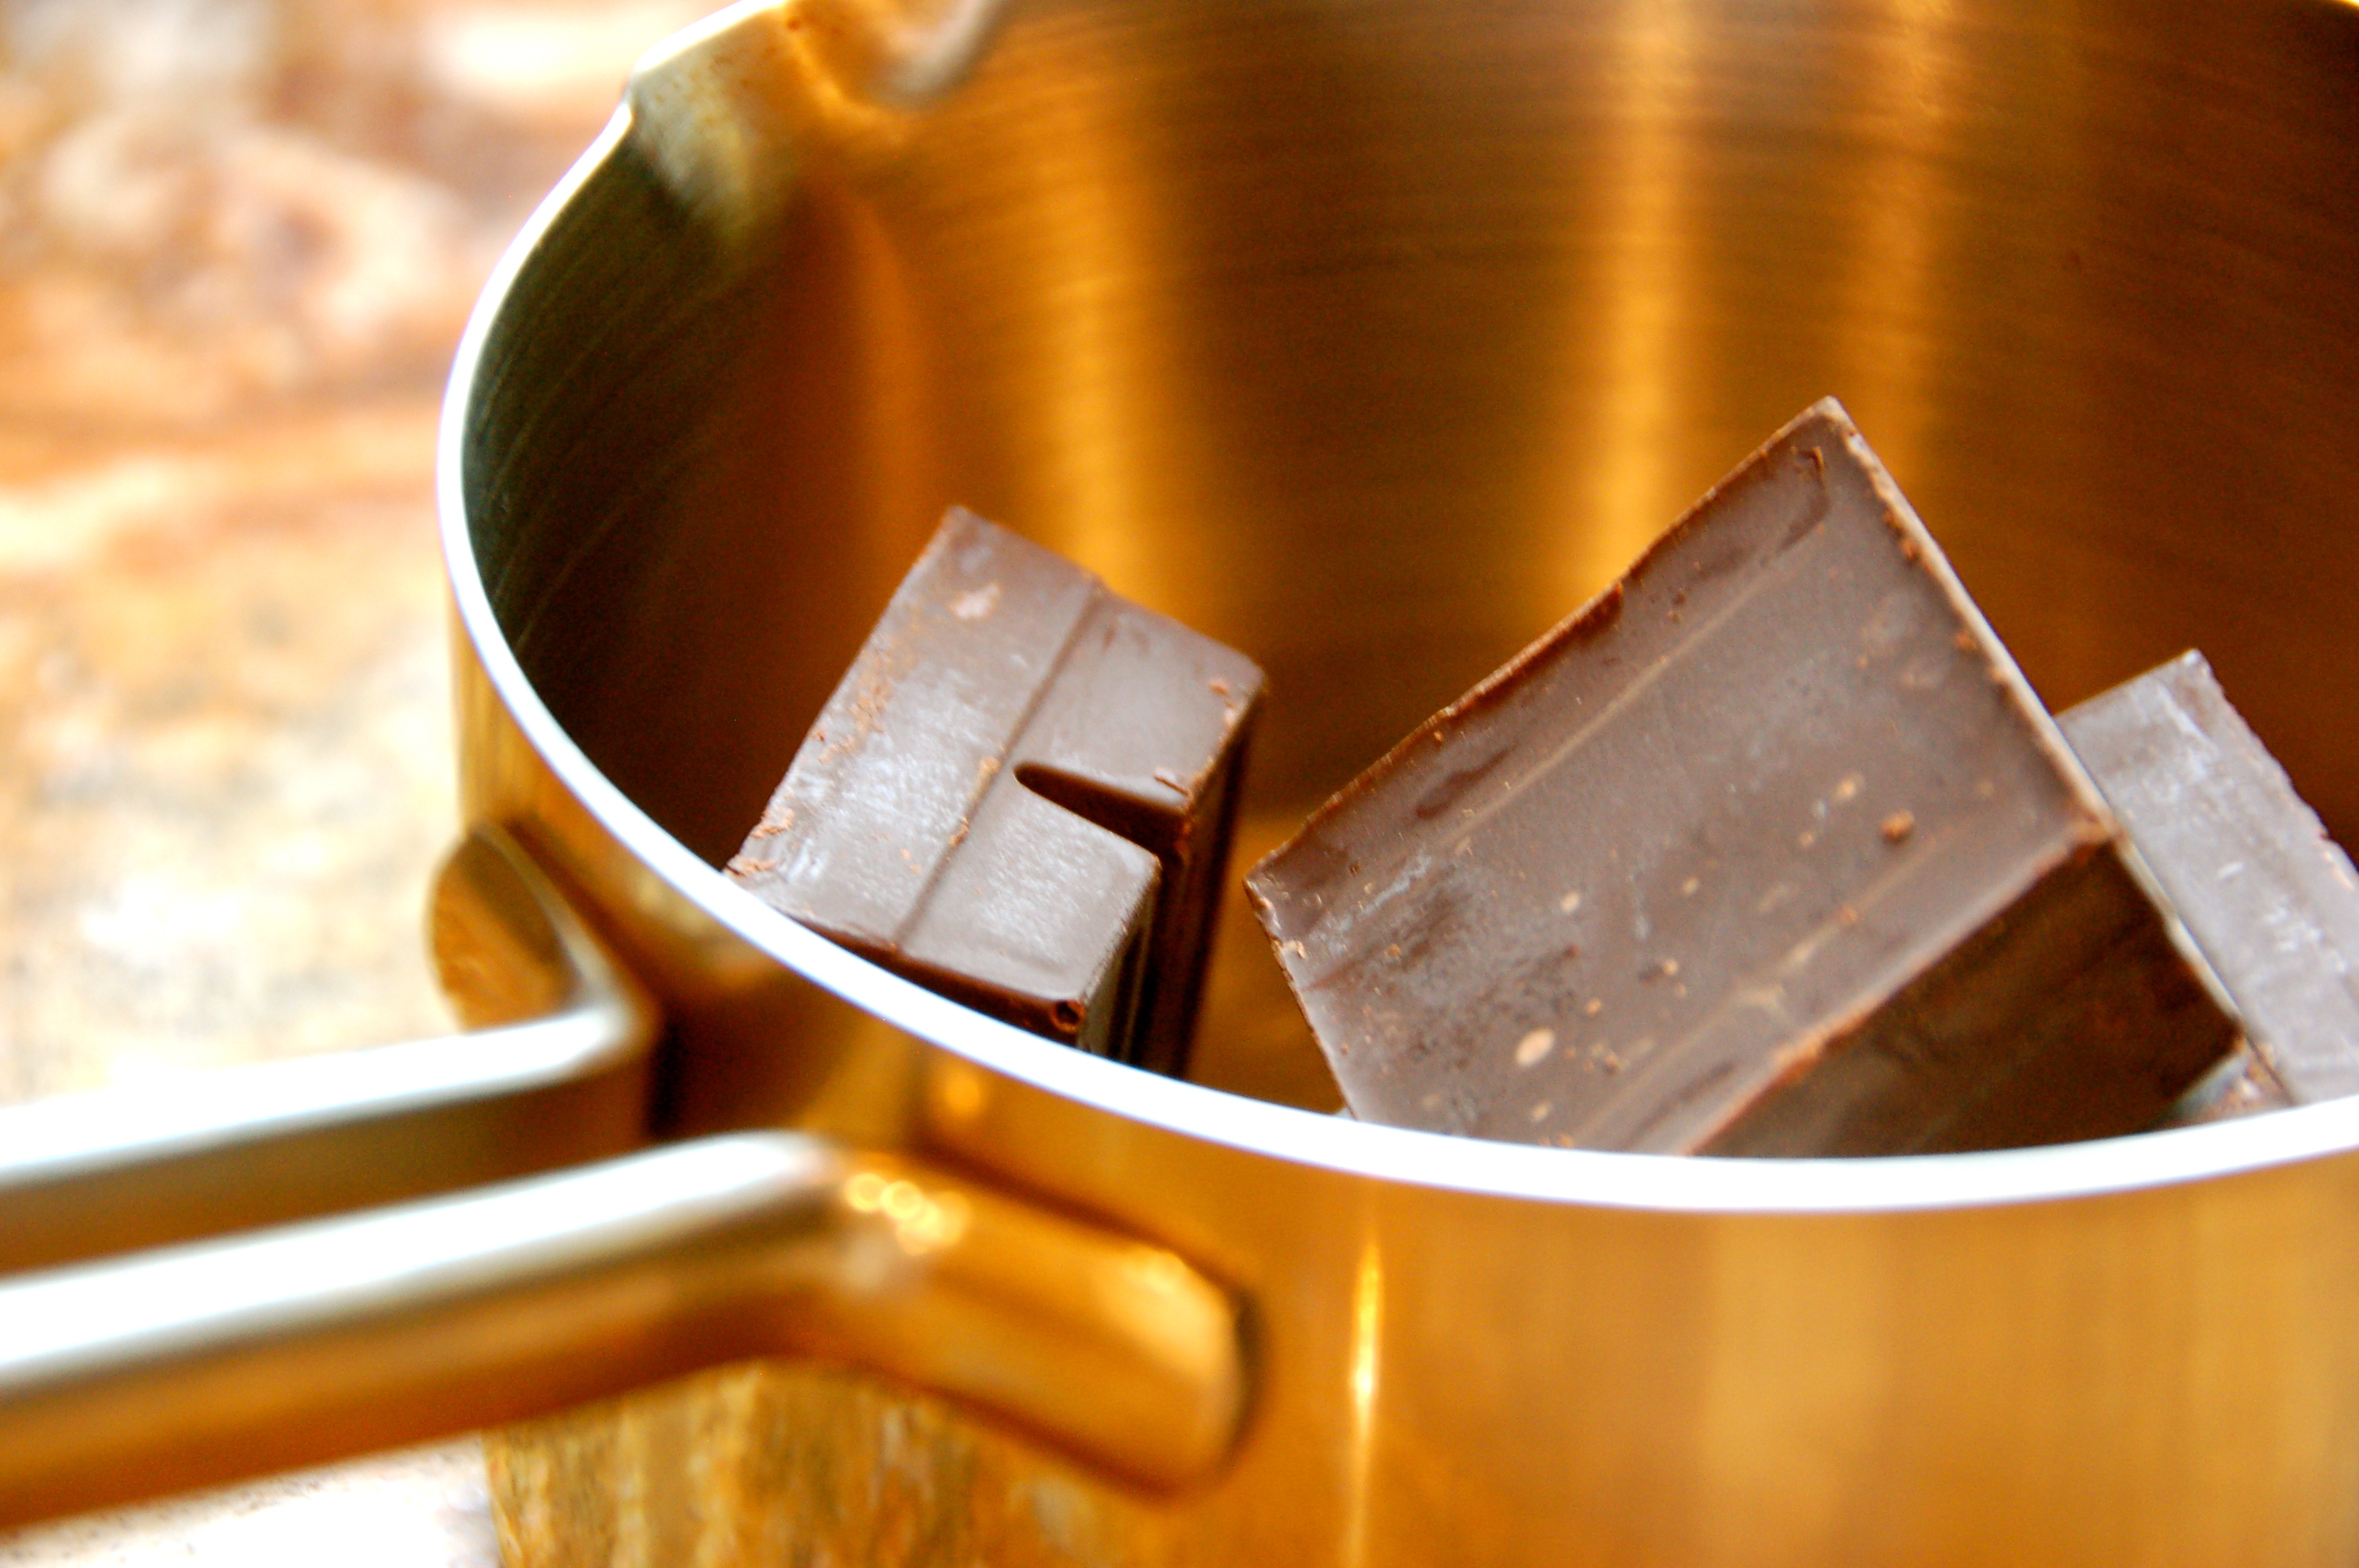
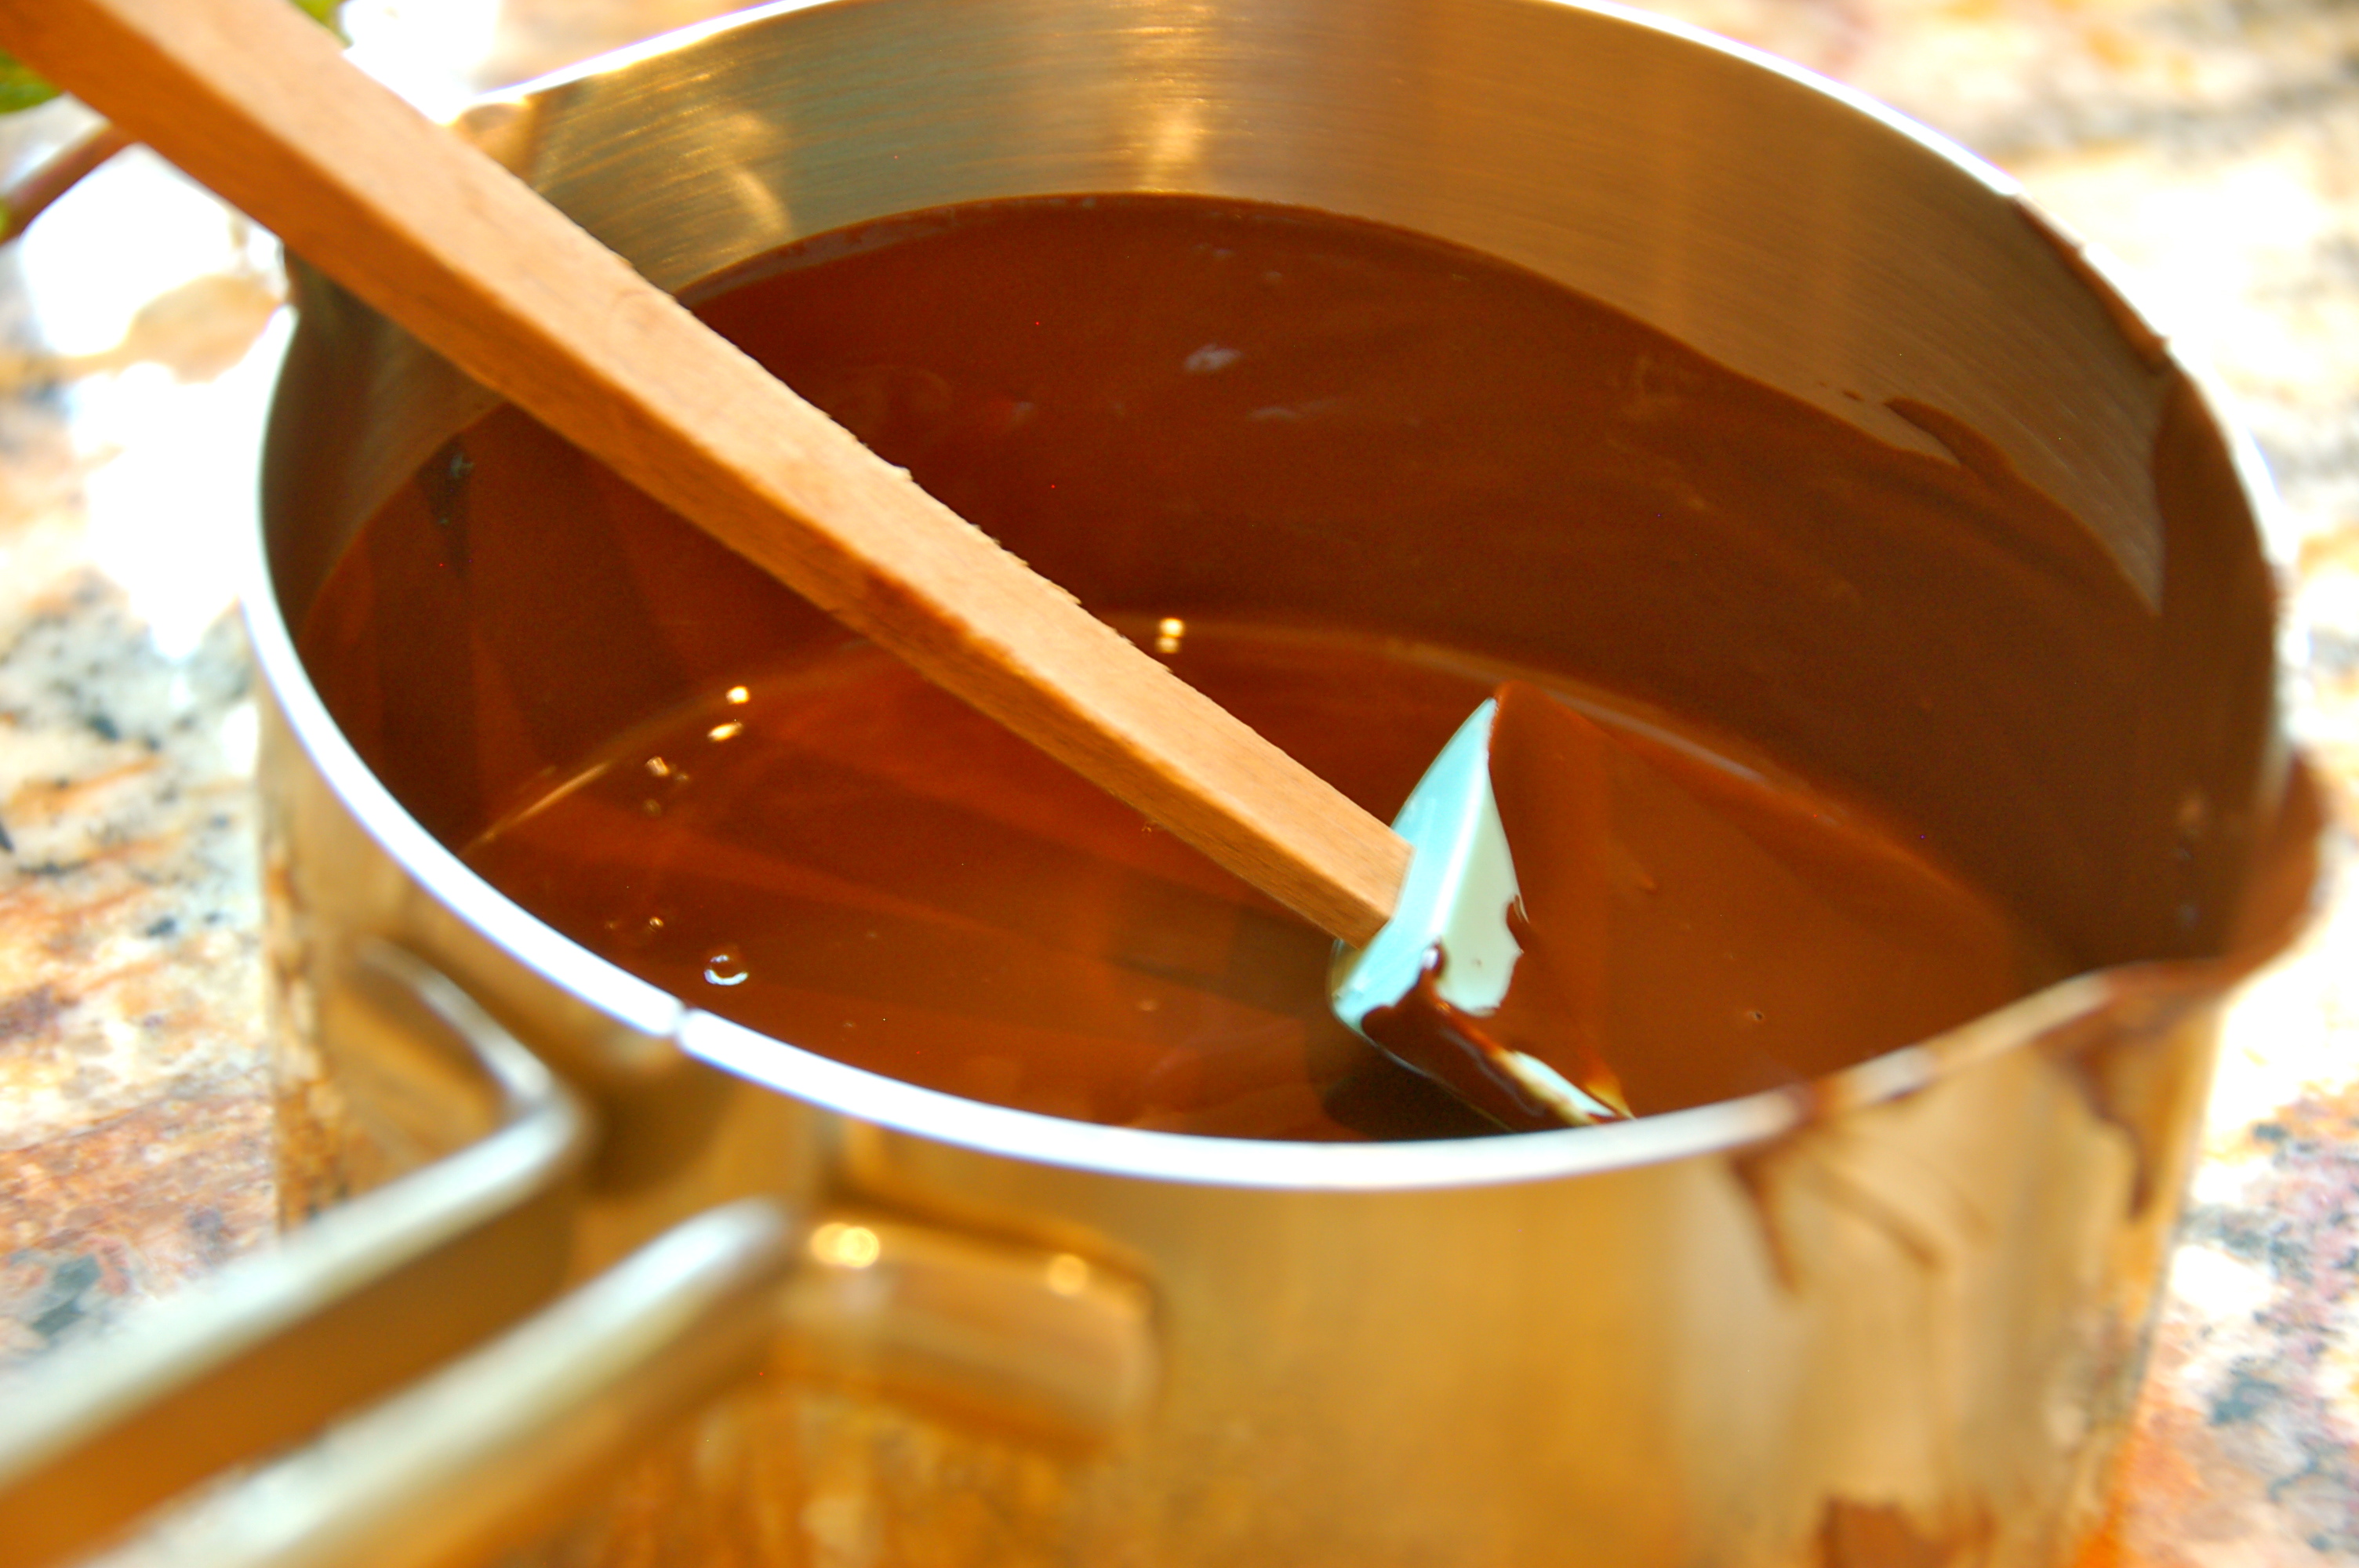
4. Melt ghee/butter or coconut oil in a sauce pan over low heat.

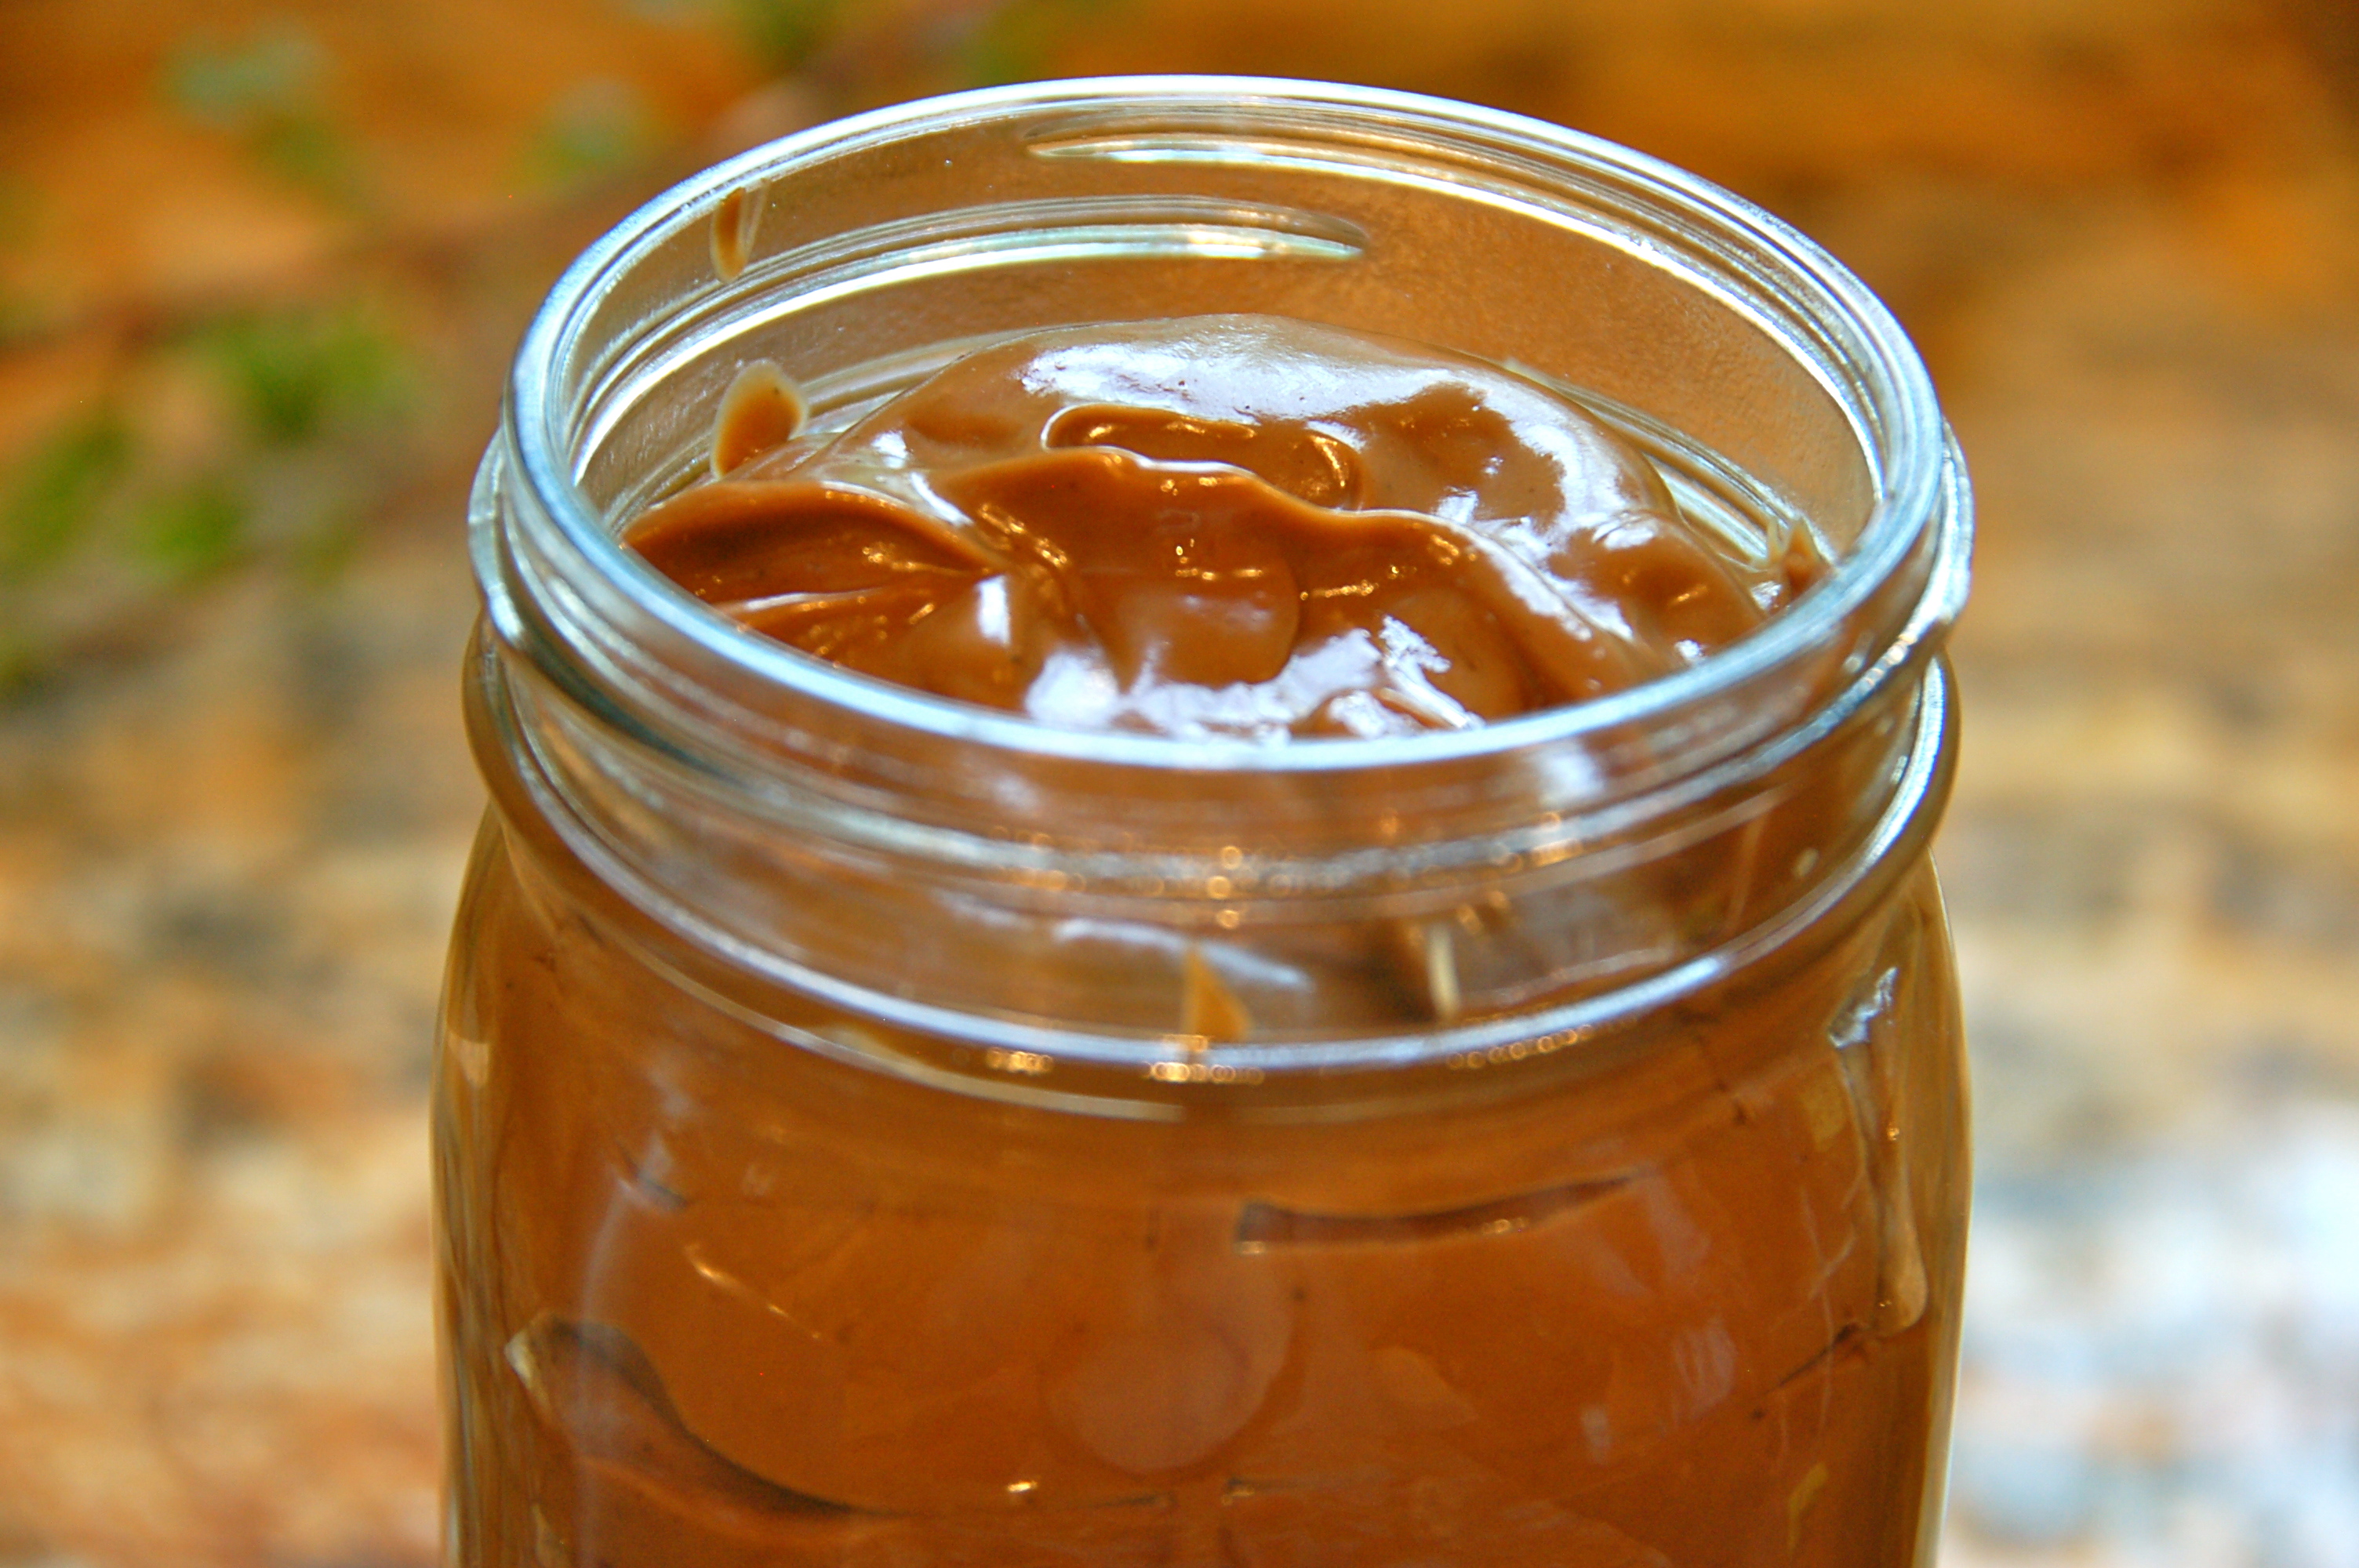
5. Mix wet ingredients together in a separate bowl.

6. Mix wet into dry bowl and stir until all incorporated.

7. Mix the cinnamon and coconut sugar for the coating in a separate bowl.

8. Scoop 1 Tbsp of dough and roll it in a ball. **

9. Roll your ball of dough into the coating mixture an coat all the way.

10. Place your coated dough onto the cookie sheet and use a ball jar (grease the bottom with coconut oil/butter) and press down until your cookie is about 1/4 in thick. Lift up the jar and voila! (Thanks Urban Poser for the tip!)

11. Repeat for all of the dough. (We made about 20 cookies). Keep the smashed cookie dough  2-3 inches apart from each other, because they expand some.

12. Bake for 8 minutes. If you like them a little chewier-crunchy bake them for 10 minutes.

13. Let the cookies cool on the pan for 10 minutes (if you don’t they will fall a part when you try to pick them up!).

14. Carefully lift the soft cookies onto a plate. They will still be gooey and soft but over a few hours they will be a PERFECT texture!

15. Eat 1 or 2 or 3! Enjoy with a glass of homemade coconut milk!


**We made another batch for some friends and made baby GAPS snicker doodles. For the “mini” size use 1 tsp in step 8.

.

 hmm..I wonder what happened to the GAPS Snickerdoodle?

PicMonkey Collage

~Stay Gutsy, Caroline

disclosure 3
07.17.2012

Vanilla Honey

What is vanilla honey?

If you can’t tell, I made vanilla honey. Oh, this stuff is just the BEST!

I cannot wait to share this with you! I made this a week ago and I don’t know why I waited this long to share it! I think it’s because I didn’t get around to taking pictures that day, and by the time I wanted to..it was all eaten! My mom and sister LOVE vanilla and honey, so this quickly turned into their favorite.

Vanilla honey is simply honey infused with vanilla seeds and the pod. It is ok to eat the little seeds but please don’t eat the pod…Ha! That would be a little crunchy!

honey

Vanilla honey nutrition:

Raw honey is a super food. It contains raw enzymes because it is not heated. These enzymes are needed to digest the sugars in your body. Raw local honey is also a amazing remedy for allergies, sore throats, fatigue, anxiousness, coughs, burns, and the list goes on! Even better, raw honey is GAPS friendly! The vanilla beans are packed with the b-complex vitamins. B-vitmains help relate you metabolism and nervous system. It also contains small amounts of trace minerals. I think vanilla and honey were destined to be together!

Where did I get my vanilla beans?

The recipe can’t get much easier. The hardest part is finding good quality vanilla beans for a decent price. Pure vanilla extract is quite expensive at the store and fresh vanilla beans go along way, so I think this is the way to go. I am planning on making vanilla extract in the future too! I got 54 Vanilla Beans through amazon for $27.69 (free shipping with a prime account). That is about $0.50 a bean!

I took a lot of pictures to make it easy for you to follow. I love the look of pure tiny vanilla pod seeds, they are so delicate. Have fun using the vanilla honey in anything you would normally put honey and vanilla in! Yum!

How to store vanilla beans

After I opened mine, I put them in a plastic bag in the freezer to keep them fresh. I had a few start to mold when I kept them in the cabinet. oops! That is because the kind I got are not dried.  Just deforest them in the fridge before you use one.

The “vanilla honey song”

I think its so good that it deserves a song… oh I ♥ vanilla honey, oh yes I do, yes it do. Vanilla honey is the best, it is above all the rest..oh ♥ vanilla honey 🙂


INGREDIENTS:

1 pint of raw honey (2 cups) <— local is best!

1 vanilla bean <— This is the brand I choose.


DIRECTIONS:

DSCN2182

Here are my 54 vanilla beans. 

VV1

A healthy vanilla bean should be plump, slightly soft and have a strong vanilla scent!

1. Cut open 1 vanilla bean. You will have to push firm to open the skin, but not too firm that you cut the whole thing in half!

bb2

2. Peel away the sides of the vanilla bean with your knife and fingers.

DSCN2194

DSCN2198

Take a closer look at those gorgeous vanilla seeds. They are packed with flavor and B-vitamins!

3. Scrape out the vanilla bean seeds with your knife. Don’t worry if you can’t get all of them out, because you are putting the whole pod in the honey jar anyways.

DSCN2200

I got my pod all hollowed out.

DSCN2202

I love this picture!

DSCN2203

4. Set your scraped vanilla pod seeds off to the side. I got about 1/2 a tsp out of 1 plump vanilla bean.

DSCN2204

5. Chop or cut (with kitchen scissors) your hollowed vanilla bean into thirds.

VV2

Hehe! Sorry about my messy fingers. The vanilla seeds got all over and into my nails 🙂

6. Drop your hollowed chopped vanilla pods into your honey jar. I used and old (pint size) honey jar for this recipe.

7. Pour 2 cups of honey into your honey jar.

DSCN2210

DSCN2213

8. Carefully drop your pile of vanilla bean seeds into your jar filled with honey.

vv3

 The honey looks so gourmet, because you can see the little seeds suspend in the honey. mmm.

9. Stir, stir, stir. I stir my honey and vanilla with a kabob stick. I use an up and down motion because the seeds like to float to the top.

10. To get maximum flavor, infuse your honey in the sunlight for 1-2 weeks. After 1 week, the flavor and scent will be much stronger. When the vanilla flavor is strong enough for your taste, put it back where you usually keep the honey. It will keep just as long as a jar of regular honey will.

*Before using, stir because the vanilla pod seeds tend to migrate towards the top.

11. Use  vanilla honey in anything you would normally use honey and vanilla in. Get creative! We put ours in…


how to b


BAMILLA

~Stay Gutsy, Caroline


disclosure 3
07.14.2012

GAPS Chocolate Pudding

The (secret ingredient) healthy pudding!

Sorry for leaving you guys hanging when I mentioned the chocolate pudding in the Frozen Avocado post. Today I will show you how to make it!

pudd

 Shhh. The secret ingredient is avocados. Don’t tell anyone who wouldn’t like it if they knew!

A GAPS treat

When my older sister came home from college this summer, my mom and I put her on the GAPS diet. She is doing pretty well on it, but the food can get boring. She tries adding new things into her diet, but reactions are still frequent for her. This is a sign she might be introducing foods too fast. To help with the variety of food that she can tolerate, I decided to add something very tasty into her diet. It wasn’t long after I made this pudding that she would constantly ask for it! Thats how good it is!

It tastes  so “normal”

I also served this pudding in little cups at my graduation party. No one knew that these were healthy. Better yet, one of my friends who tried this hates avocado’s and she LOVED the pudding. I never told her that it had avocados in it ;). Sometimes it is better not to say anything about the ingredients in food around here!

This is GAPS friendly, assuming that you can have chocolate. If you cannot have chocolate, carob would work (powder or squares, just taste as you go) or even just some cinnamon (it might look a little wired because it is avocados, and they are green. But who really cares if it tastes good! Right?)

I hope you like this recipe as much as my family does. It has become a staple in my house! This chocolate pudding is rich though, so don’t over do it. It is sure easy to, because it tastes so delicious!!


INGREDIENTS:

3 cups smashed (fresh of frozen) avocados 

1/2 cup raw coconut oil (melted)

4 (1 oz) squares of bakers unsweetned chocolate or 3/4 cup cocoa powder

3/4 cup raw honey

2 Tbsp vanilla or 1 vanilla bean (learn how to scrape out seeds here)

1/2 tsp sea salt


*This recipe makes about 6 cups of chocolate pudding. It lasts for 1-2 weeks in your fridge. It might even last longer, but mine has not lasted that long without being eaten! You can always make half a batch if you want.

DIRECTIONS:

1. Peal and smash avocados

DSC_0052

2. Put smashed  avocado’s in a big bowl.

DSC_0057

DSC_0059


DSC_0077

3. ** If you are using the bakers unsweetned chocolate…Unwrap and melt the chocolate in a double boiler (or a heat proof bowl over boiling water). If you cut up the pieces of chocolate, it will melt faster and easier.

DSC_0063

DSC_0069

4. Add the coconut oil (melted), honey, salt, melted chocolate or cocoa powder, and vanilla to the bowl. Roughly stir to incorporate all ingredients.

DSC_0070

5. Put half the mix into the the blender <– I use this one or Cuisinart. (I have learned that the Vitamix blender makes the pudding the best texture. Sometimes the Cuisinart or a regular blender will leave the pudding a little less silky, but still GREAT!)

6. Blend all together. I actually had to blend in 2 batches because it seems to put less stress on the blender and it runs smoother.

7. Scrape out the blended pudding into a container or a ball jar (I like to use a small spatula).

8. Blend the other half of the pudding. If you have a Vitamix, it is helpful to use the black plunger to keep the blade running, because this pudding is thick! If you don’t, you might have to stop the blender or Cuisinart to stir it a few times.

9. Scrape the other half of the pudding out of the blender.

DSC_0081

10. Serve just as is! Refrigerate leftovers (I always make a big batch of GAPS foods because it is easier to make a big batch of one recipe, than remaking it over and over again. I like to save time).

* It will be hard when you take it out of the fridge (the coconut oil turns hard when cold). If you like a softer texture, just keep it on the counter for 15 min and stir before you eat. Cold tastes just as good though.

11. Yum!

gogo3

~Stay Gutsy, Caroline


disclosure 3
06.23.2012

chocolate vanilla cookies! (GAPS legal)

Hello!

I recently hosted a fermented veggie swap and these cookies I served at the party were a hit! Everyone one was asking for the recipe. I don’t usually use recipes, I just use my instinct, so I had to recreate the recipe and it turned out the same, so I guess remembered how to make them.

I will do a little recipe at the bottom on how I make GAPS chocolate drops. I cannot get a hold of cocoa butter right now so I used coconut oil. I found out that they melt VERY easily though, almost too easily. But they melt right into the vanilla cookie making it a chocolate vanilla cookie! Ok here it goes…

GAPS chocolate vanilla cookies

savveee

INGREDIENTS:

1 1/4 cup almond flour

2 T coconut flour

1/2 cup  honey or maple syrup

1/8 t Celtic Sea Salt®

1/2 Tbsp vanilla or 1 vanilla bean

Dash cinnamon

1 pastured egg + 1 egg white (2 Tbsp ground flax + 6 Tbsp of water –> use this recipe)

GAPS chocolate chips


DIRECTIONS:

1. Mix the almond flour, coconut flour, salt, cinnamon in a mixing bowl.

2. In another bowl mix eggs, vanilla, and honey.

3. Pour the liquid ingredients into the dry bowl.

4. Stir until mixed and let sit for a few minutes to let the coconut flour soak up completely.

5. Carefully and quickly mix in the GAPS chocolate drops, so they don’t melt and make the batter totally chocolate!

6. Bake at 350 for about 10-15 minutes (I made small ones so the time will vary. I never like to go by time, instead I go by when the cookie looks a tad golden brown around the edges)

7. Let cool and them remove from cookie sheet. Eat and refrigerate leftovers 🙂

~Stay Gutsy, Caroline

disclosure 3