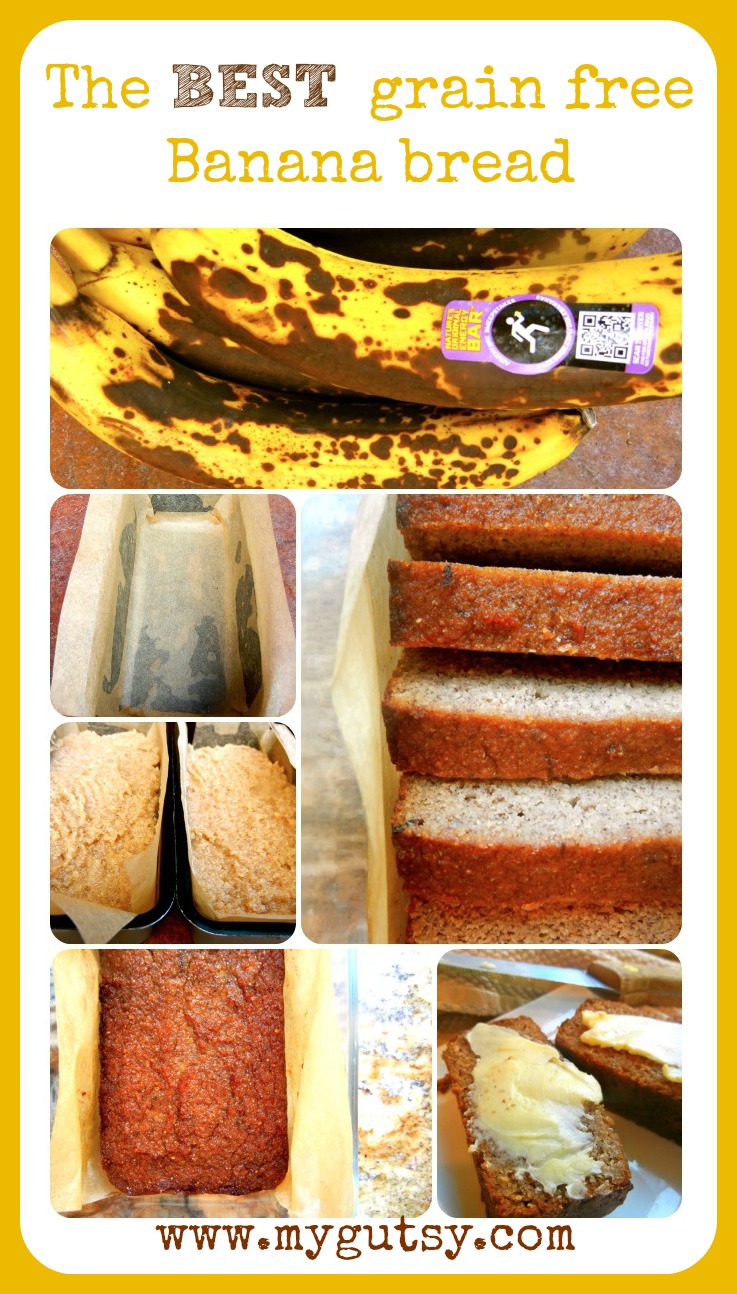
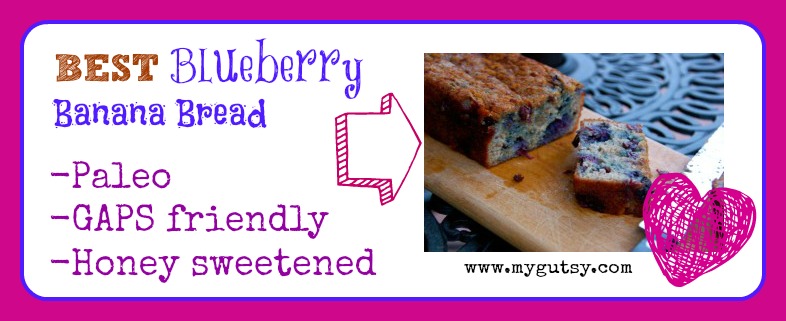
Its about time I show you this Coconut flour banana bread! For those of you who follow me on Facebook, I gave you a big tease about 1 week ago. Sorry about that!

We LOVE coconut flour banana bread
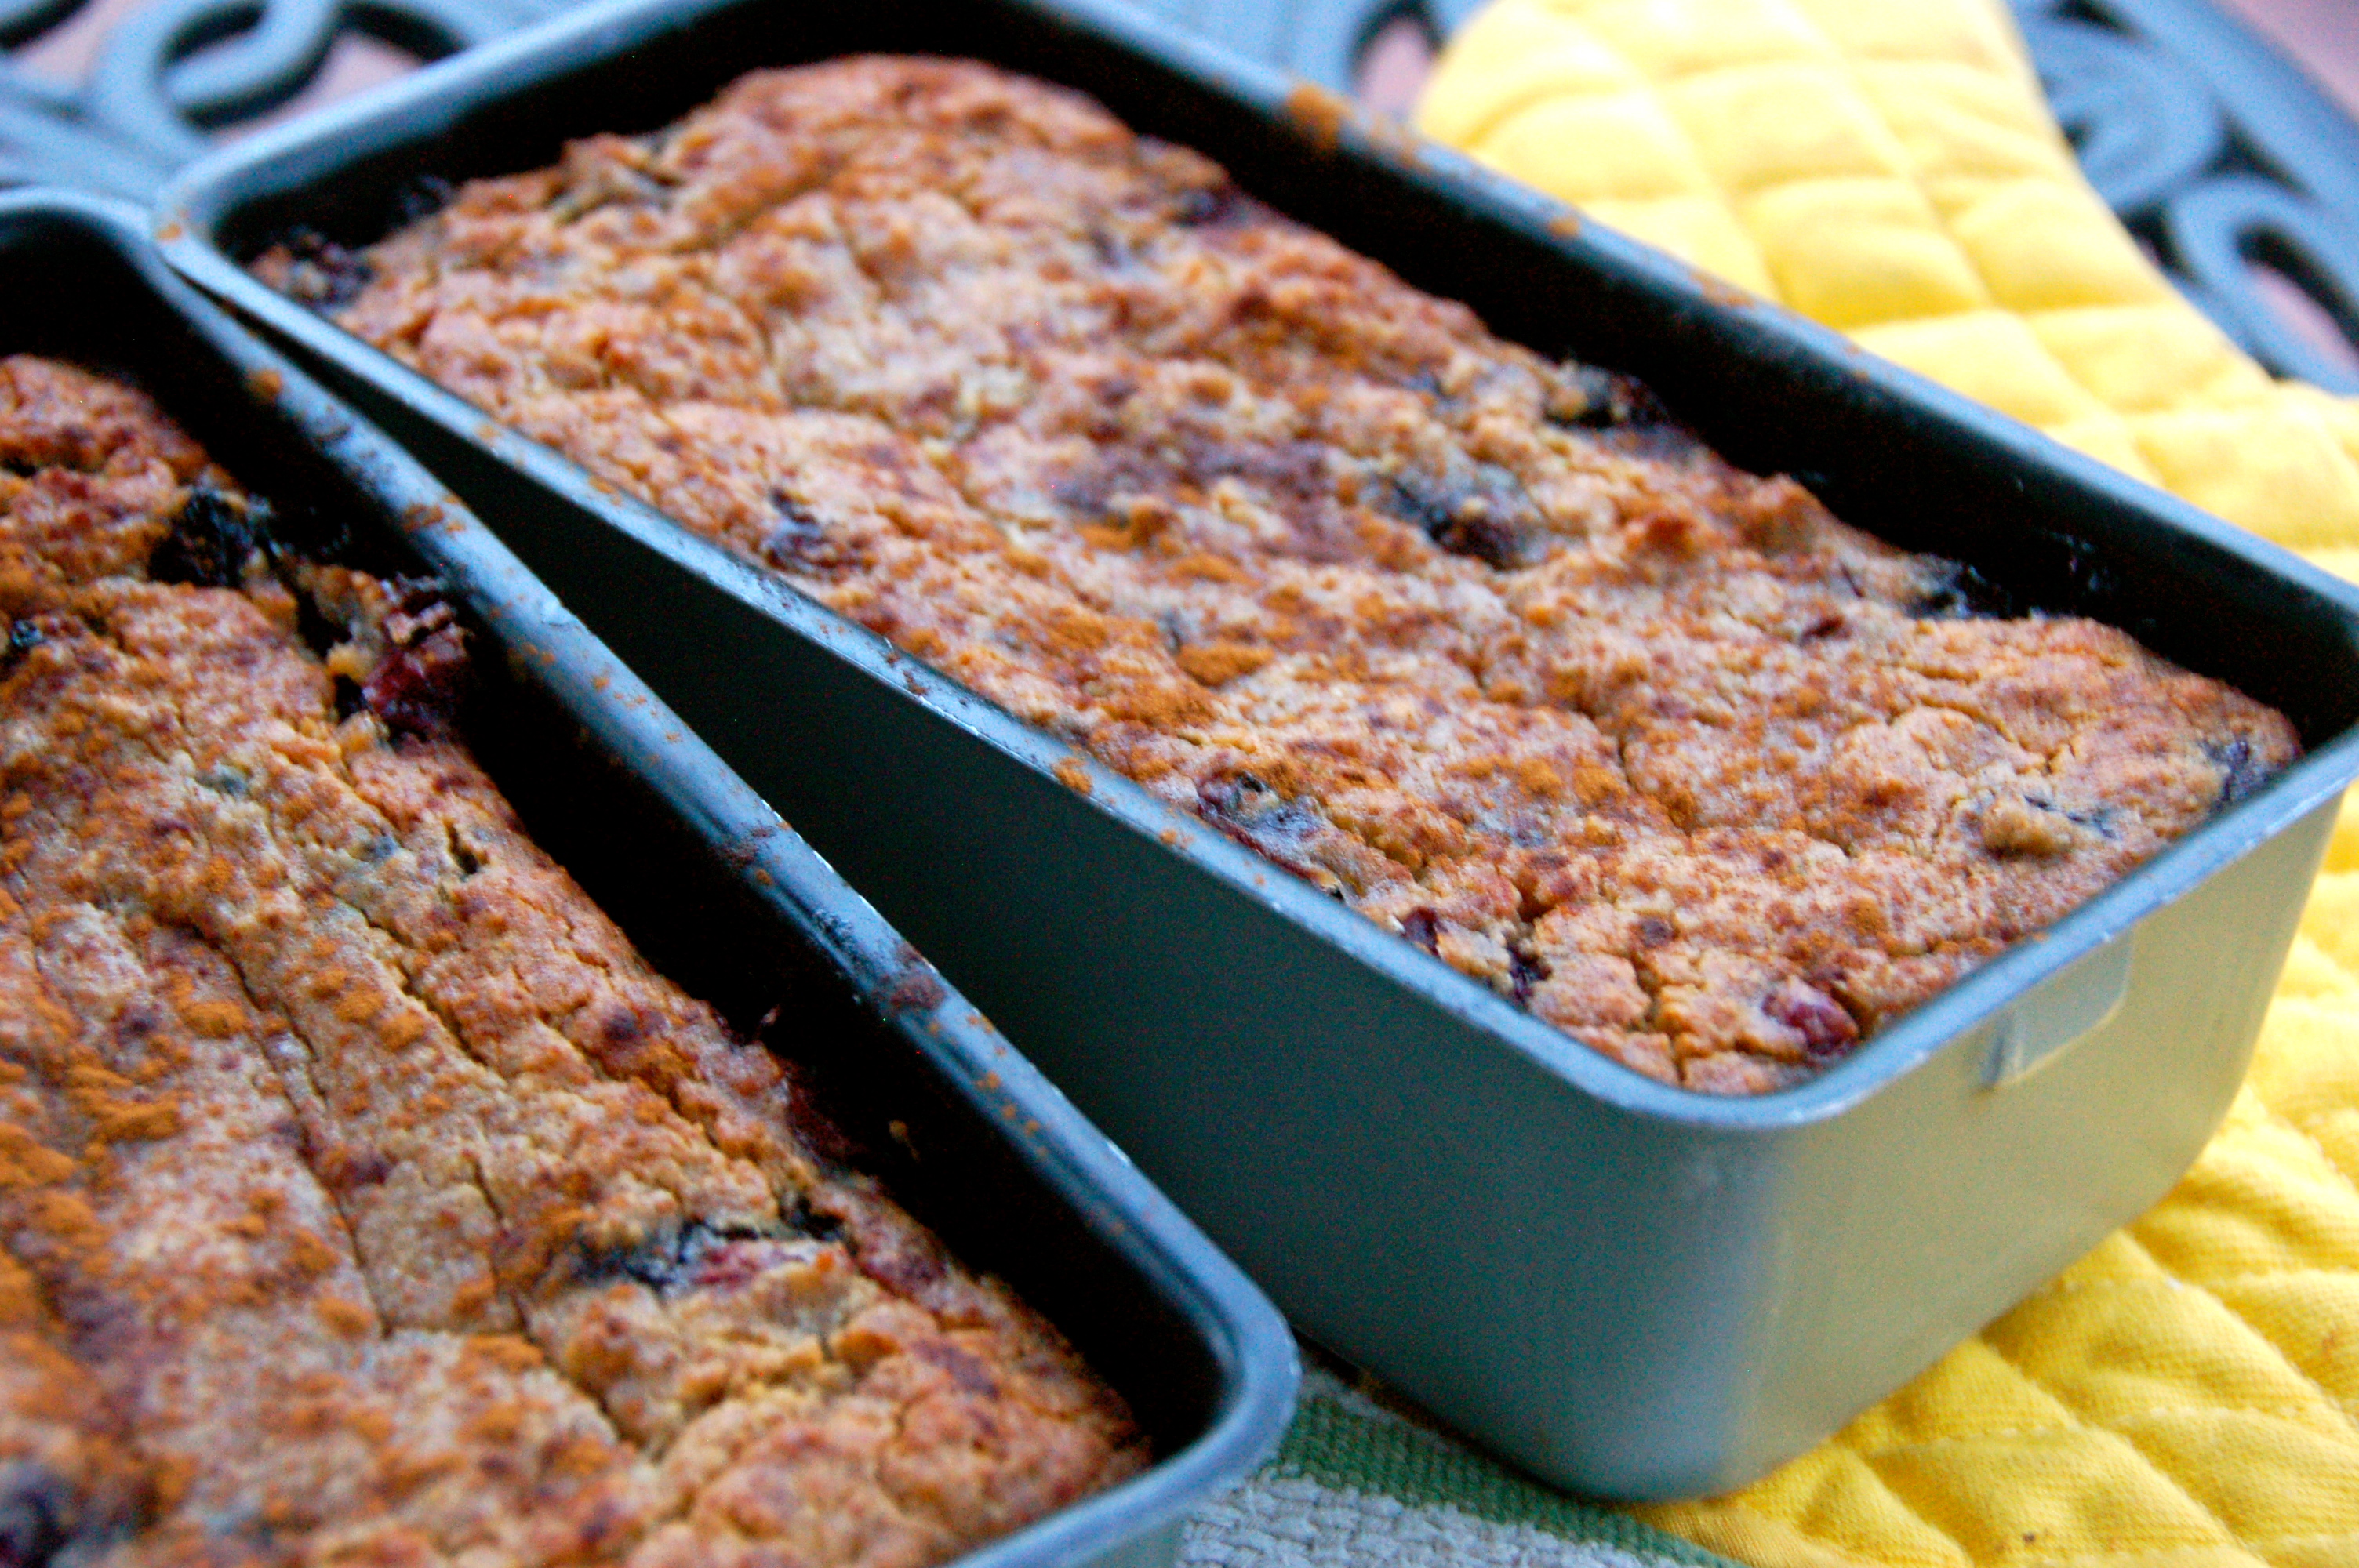
Now I have to admit that this recipe was voted as the “favorite” in my house. This coconut flour banana bread outdid my last GAPS banana blueberry bread! For those of you who tried my first recipe, you know that it is hard to top. After making way to many loaves of banana bread, I finally got the PERFECT recipe!
Texture
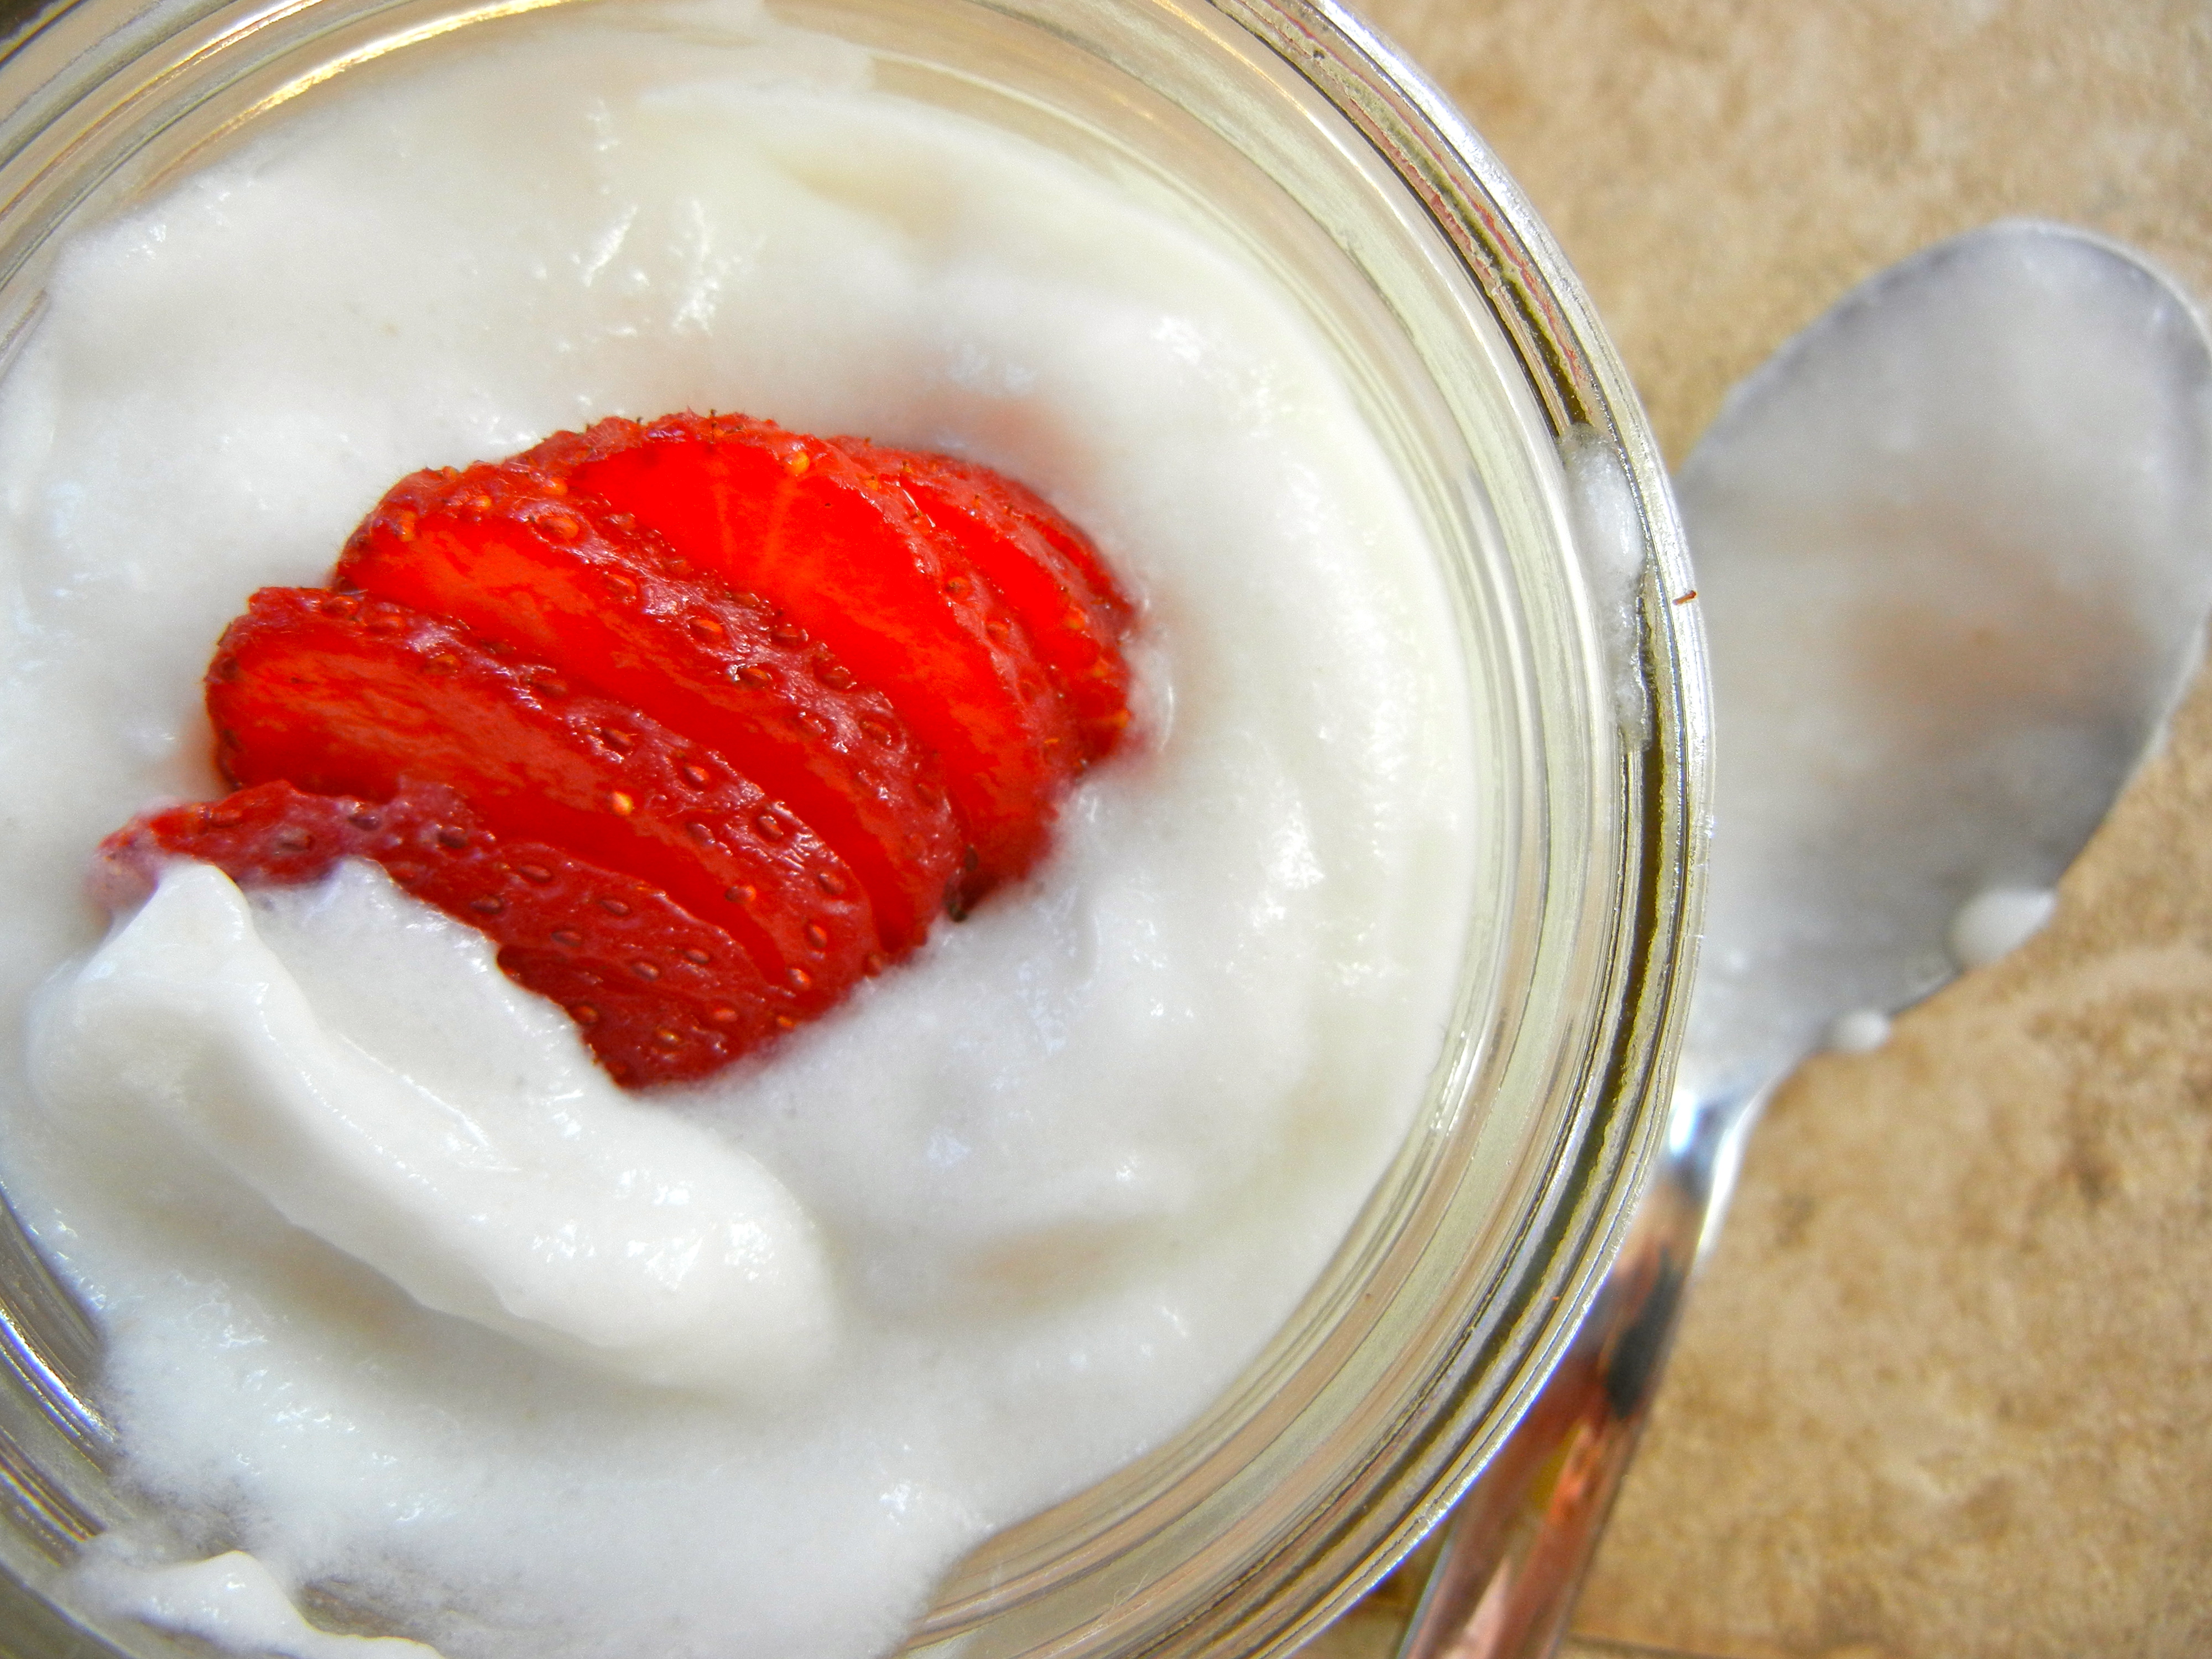
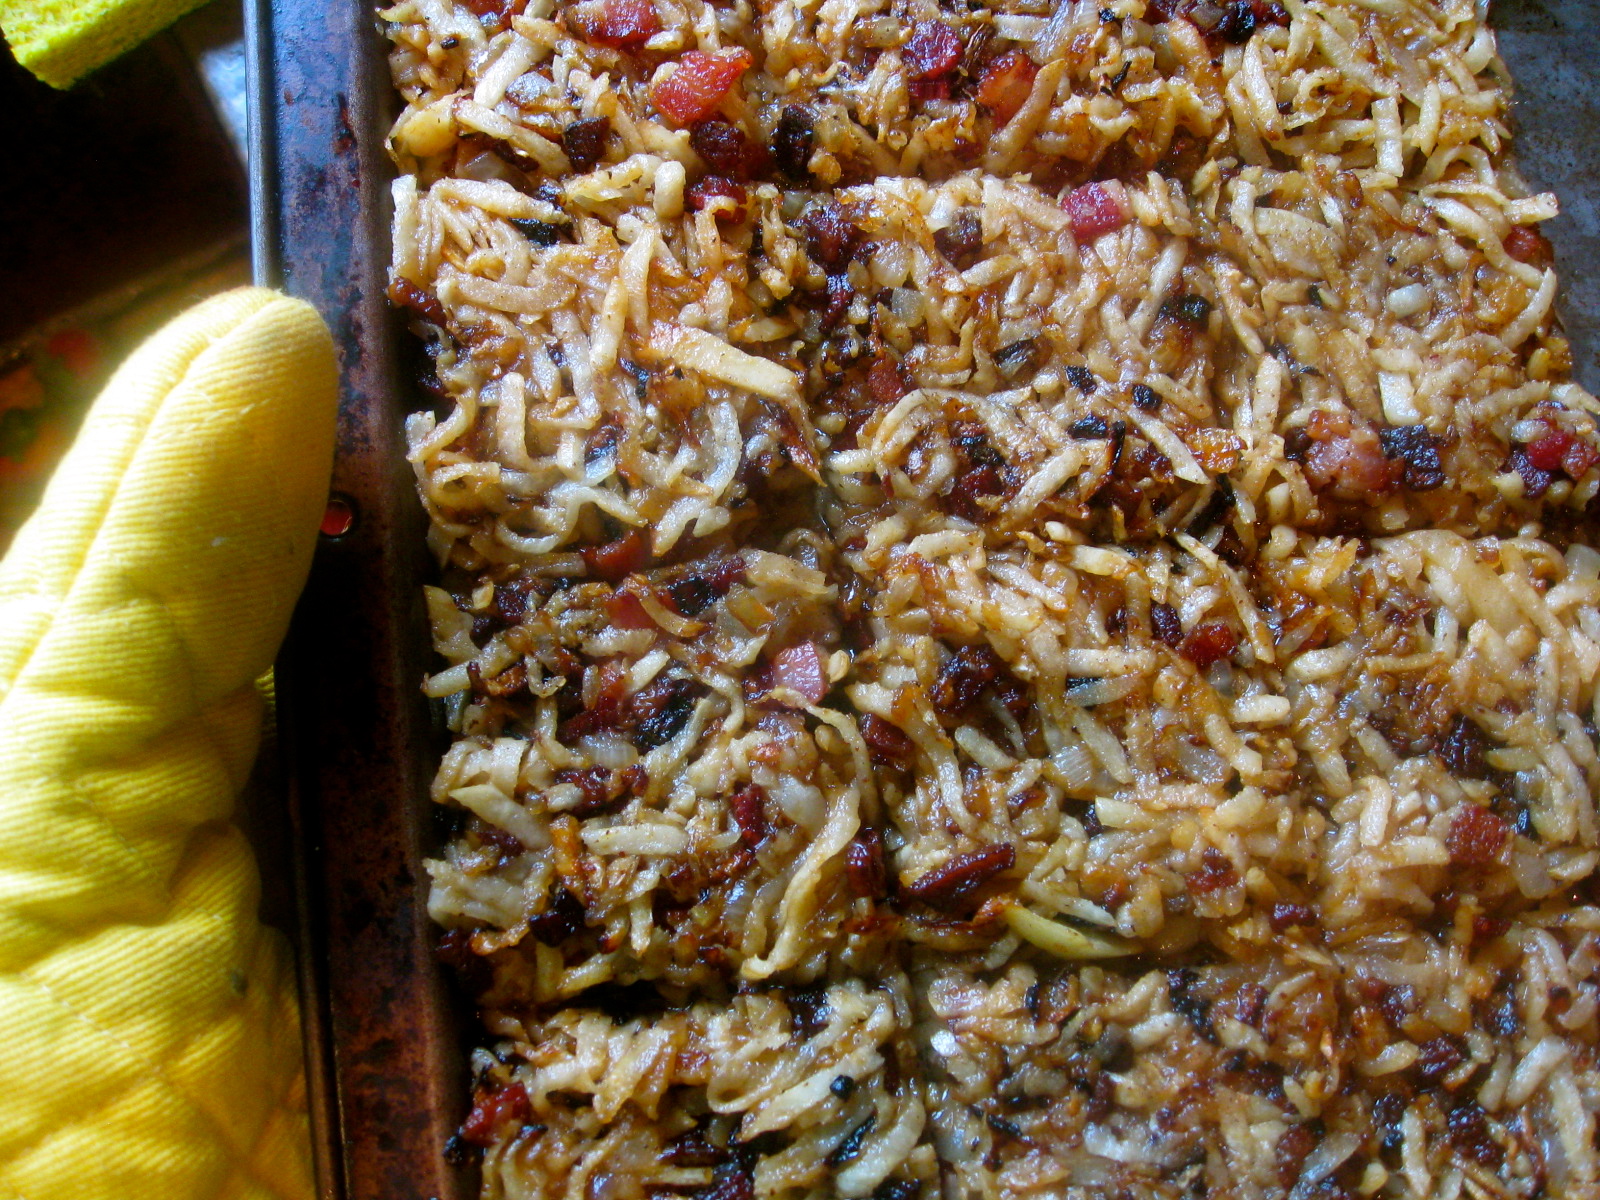
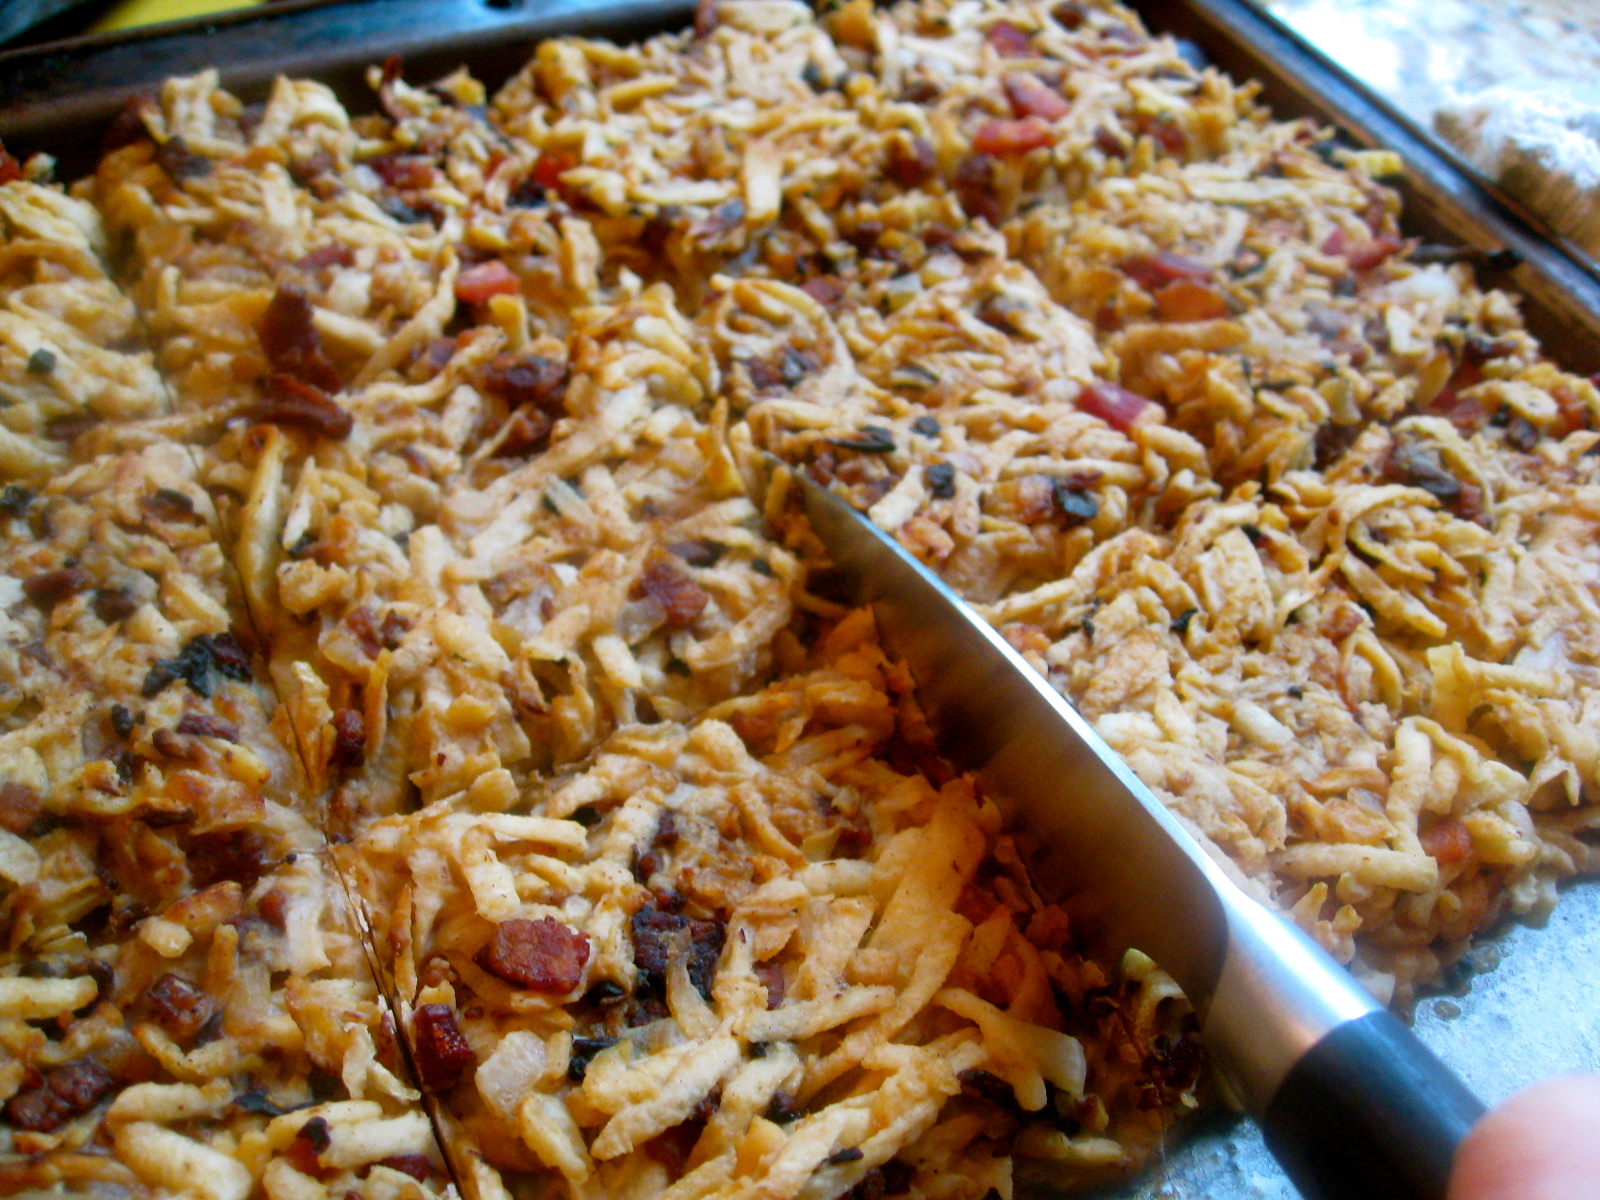
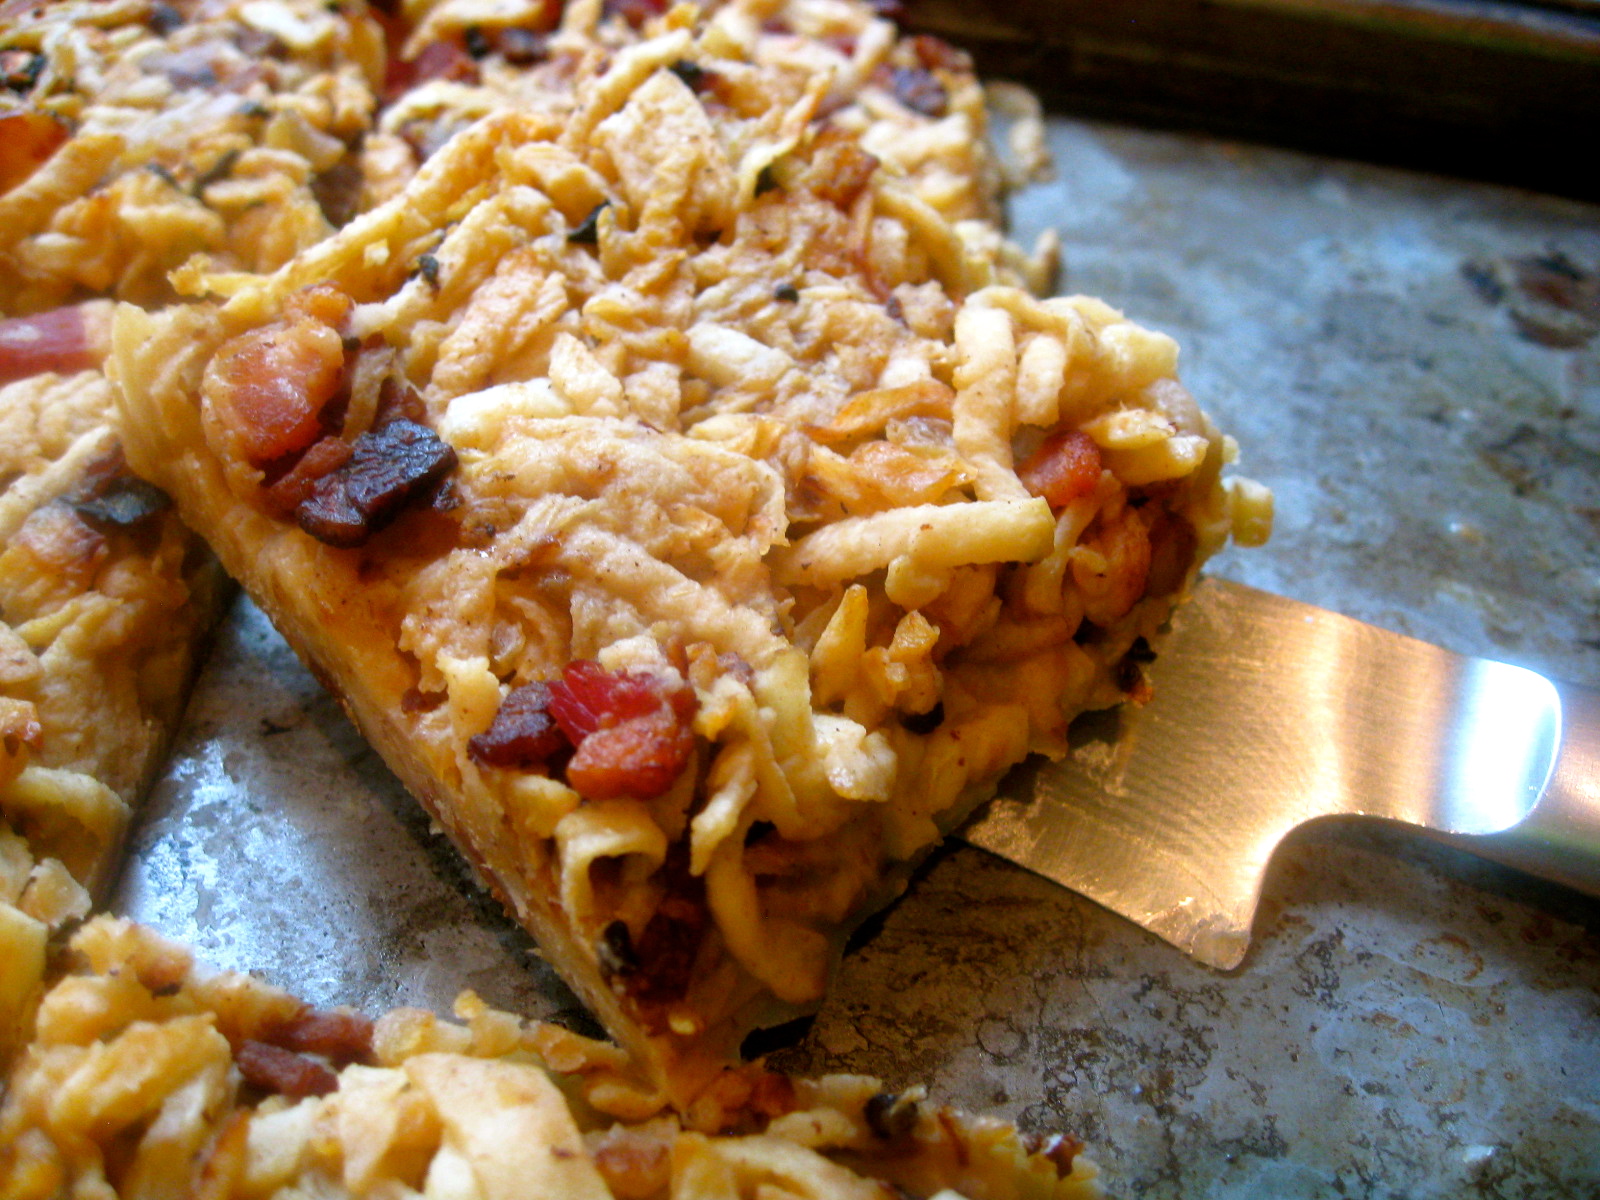
No too dry but not mushy in the middle. Its JUST right, spongy yet moist! The texture of this coconut flour banana bread reminds me of the kind my mom used to make when I was little. That one was full of flour, which we don’t eat anymore, due to my severe sensitivities. I use the Wilderness Family Naturals (WFN) coconut flour (my favorite) or Bob’s Red mill Organic Coconut Flour (make sure you sift it first)I feel like the WFN flour is slightly fluffier then the other brands I have tried. This fluffy characteristic makes it easier to bake with because it leaves the finished product light and fluffy. Though no need to worry if you don’t have WFN coconut flour. I also use Organic Coconut Flour
and it works (I sift and then measure). This is surprising, because coconut flour is known to make baked goods dry. Not this bread! It is moist and oh so perfect.
Coconut flour banana bread nutrition
Coconut flour has a reason to always be tooting its horn! It is paleo/nut-free/gluten/grain-free/celiac/GAPS/SCD/anti-candida friendly! It is full of protein and fiber and low in carbs. Coconut flour is also full of good minerals. A plus side to its density, is that you don’t have to use as much!
Butter it up!
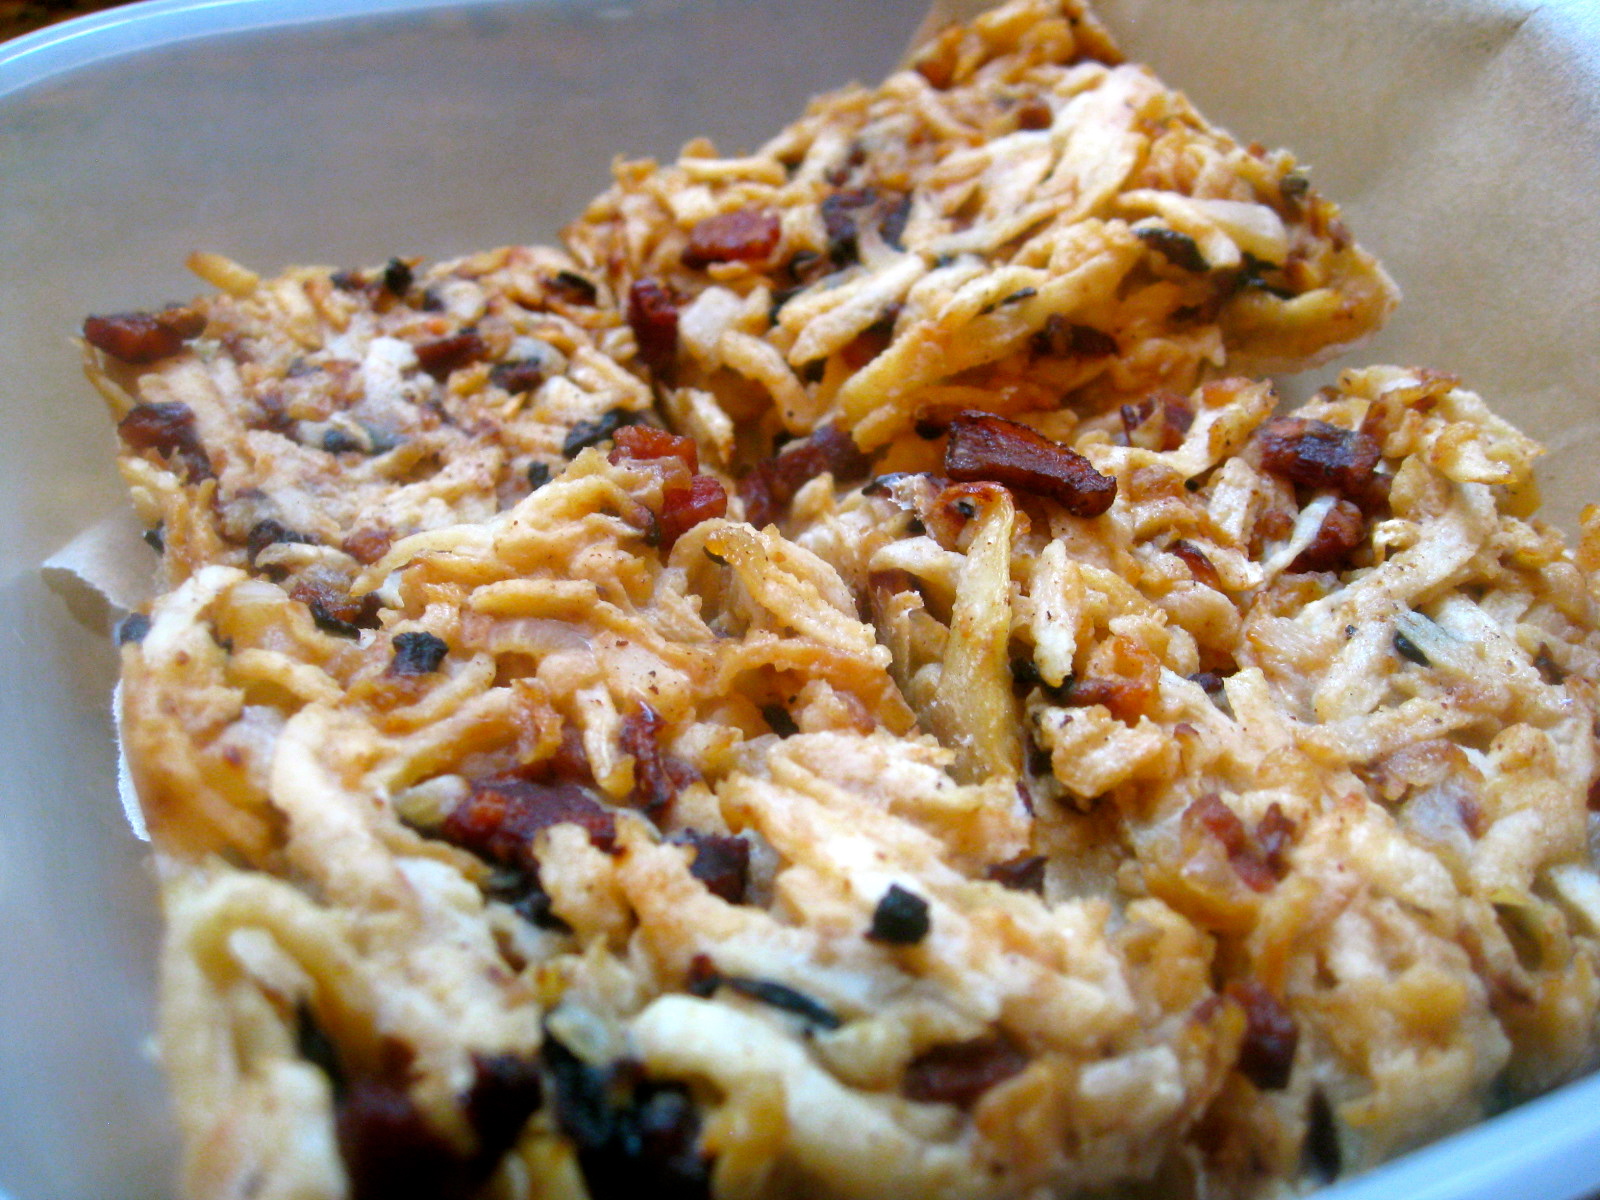
Not to mention, the butter and honey just add in a powerhouse of good nutrients as well. Who can argue with butter? My mom spotted the pieces of banana bread covered in butter after my photo shoot. I happily gave her the 2 pieces, though she spread about 4 more pats of butter on each . She always says, she like to “have a little bread with her butter”. 🙂 Do I have to convince you any more? I think these pictures will do the talking! Happy GAPS baking!
INGREDIENTS:
- 1 cup coconut flour (Organic Coconut Flour
) ** see below in steps
- 1 1/2 cup very ripe bananas (2-3 bananas)
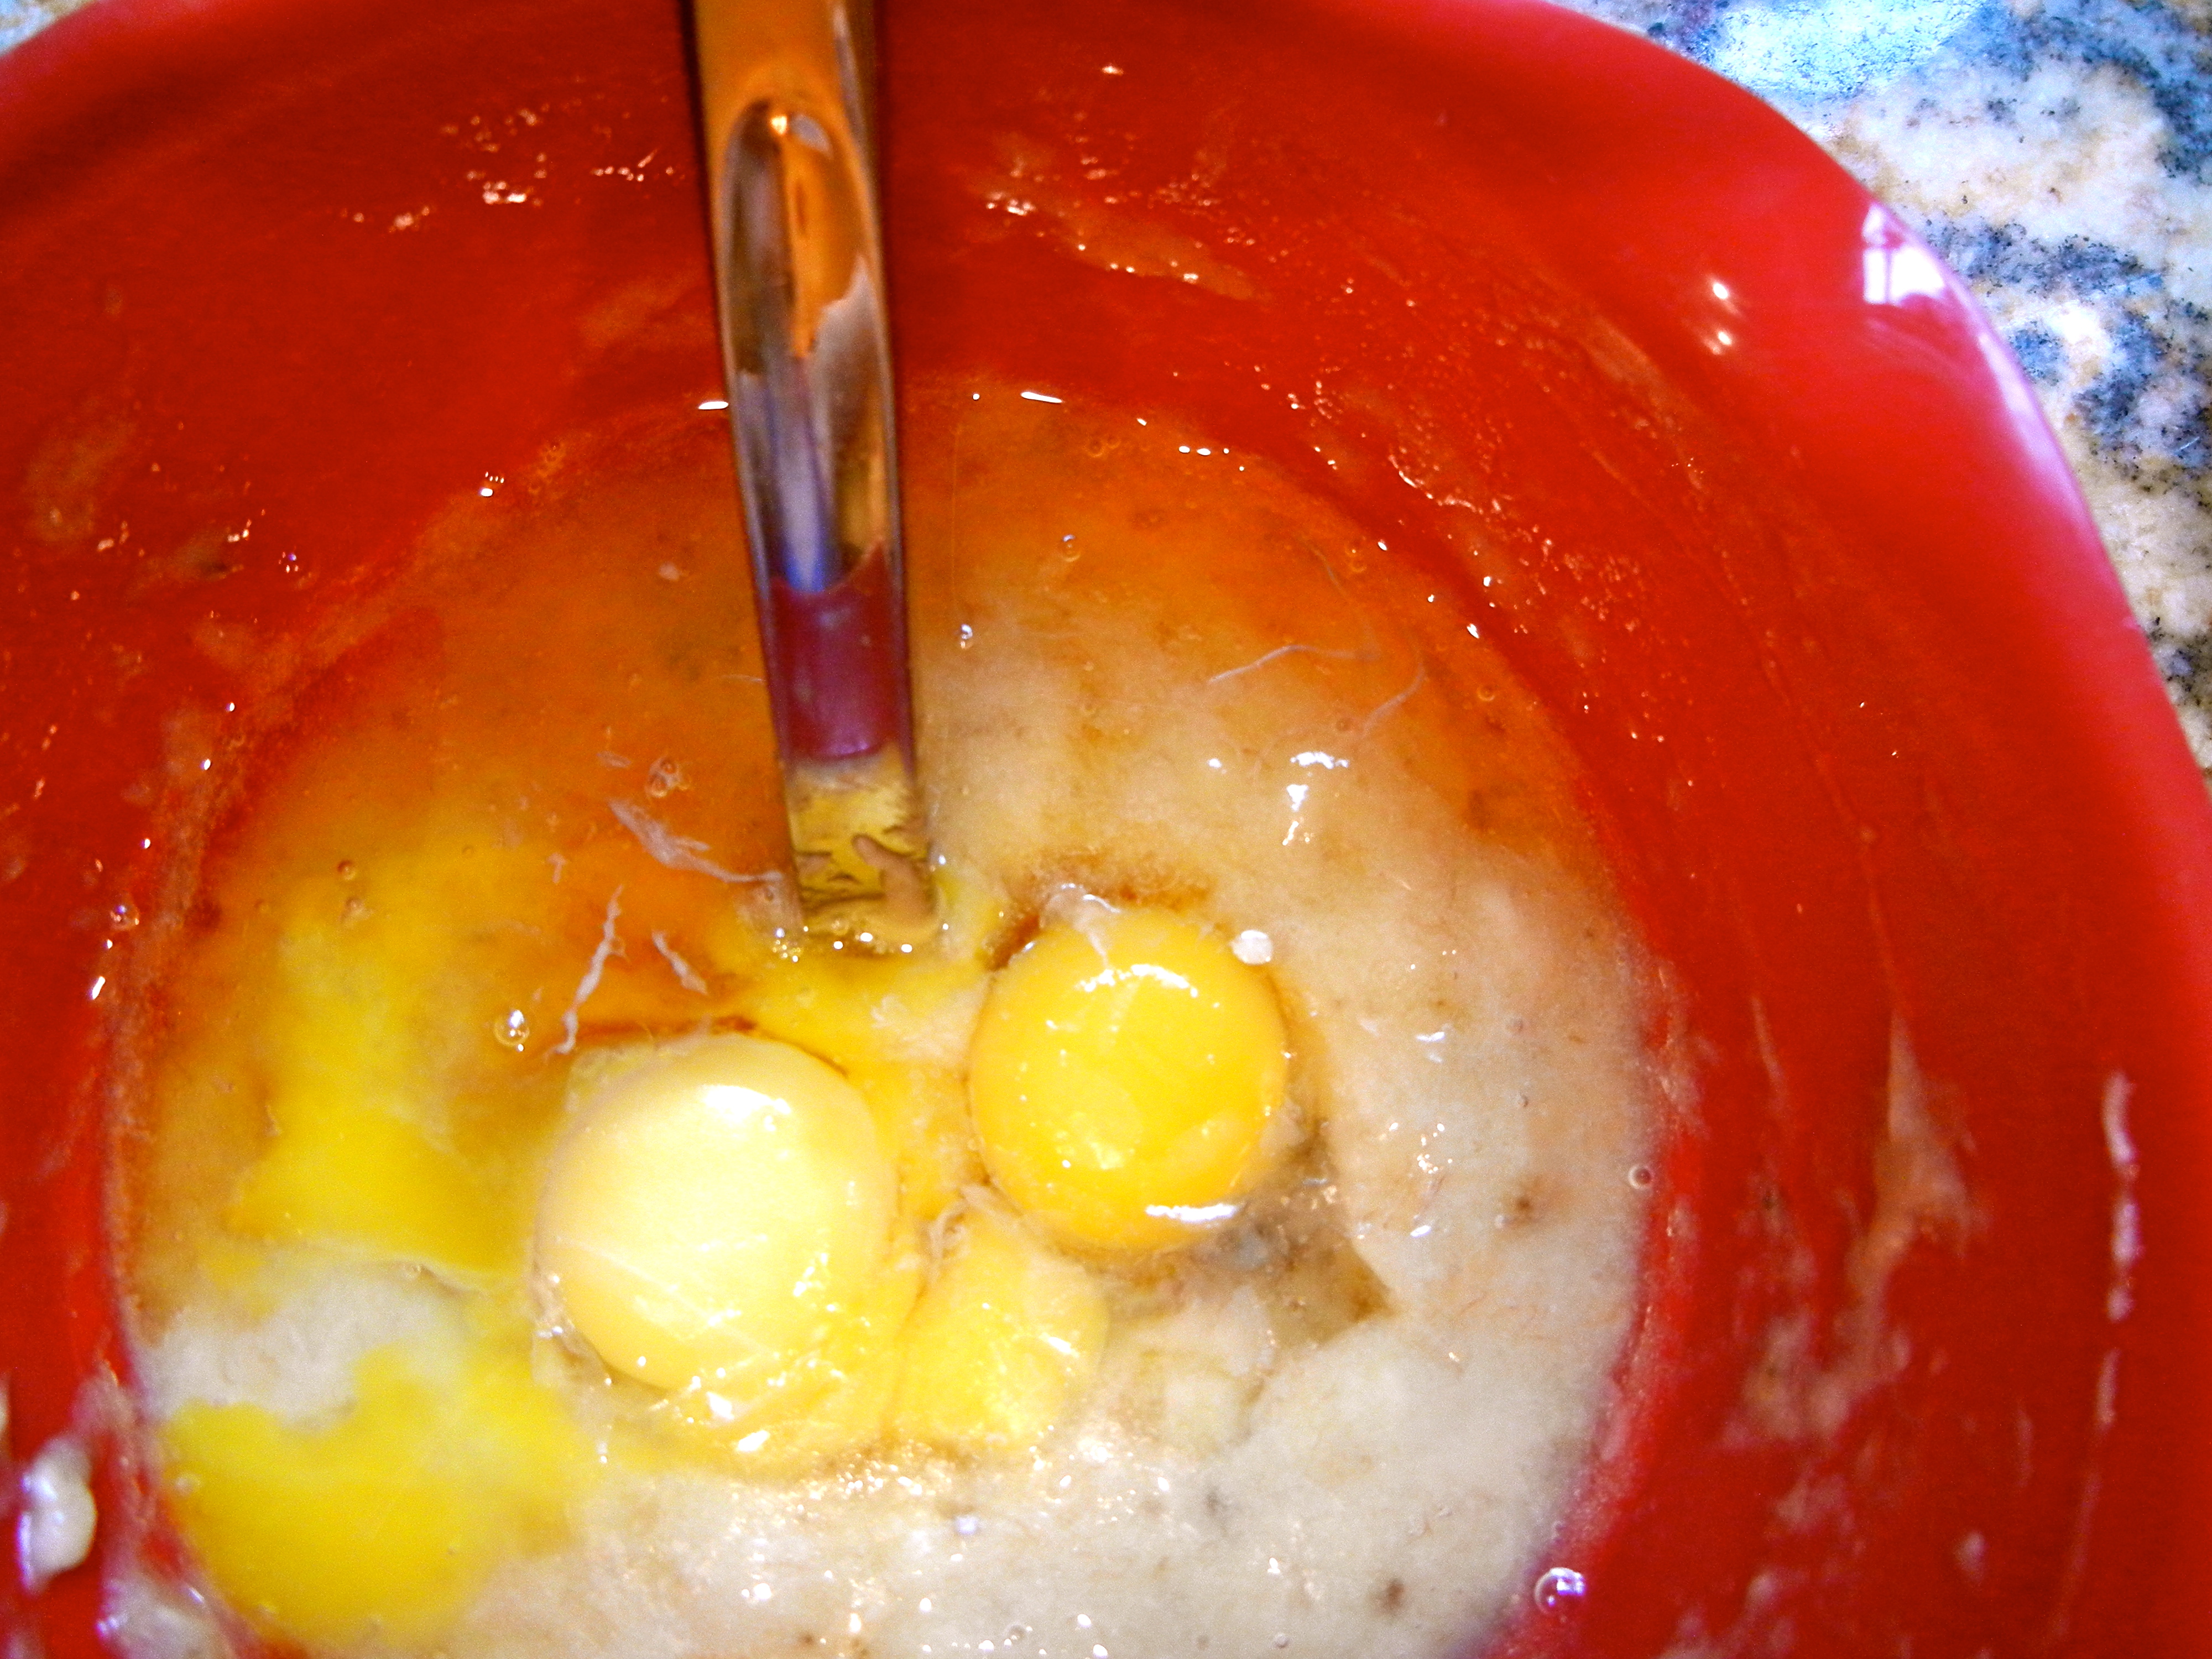
- 4 pastured eggs
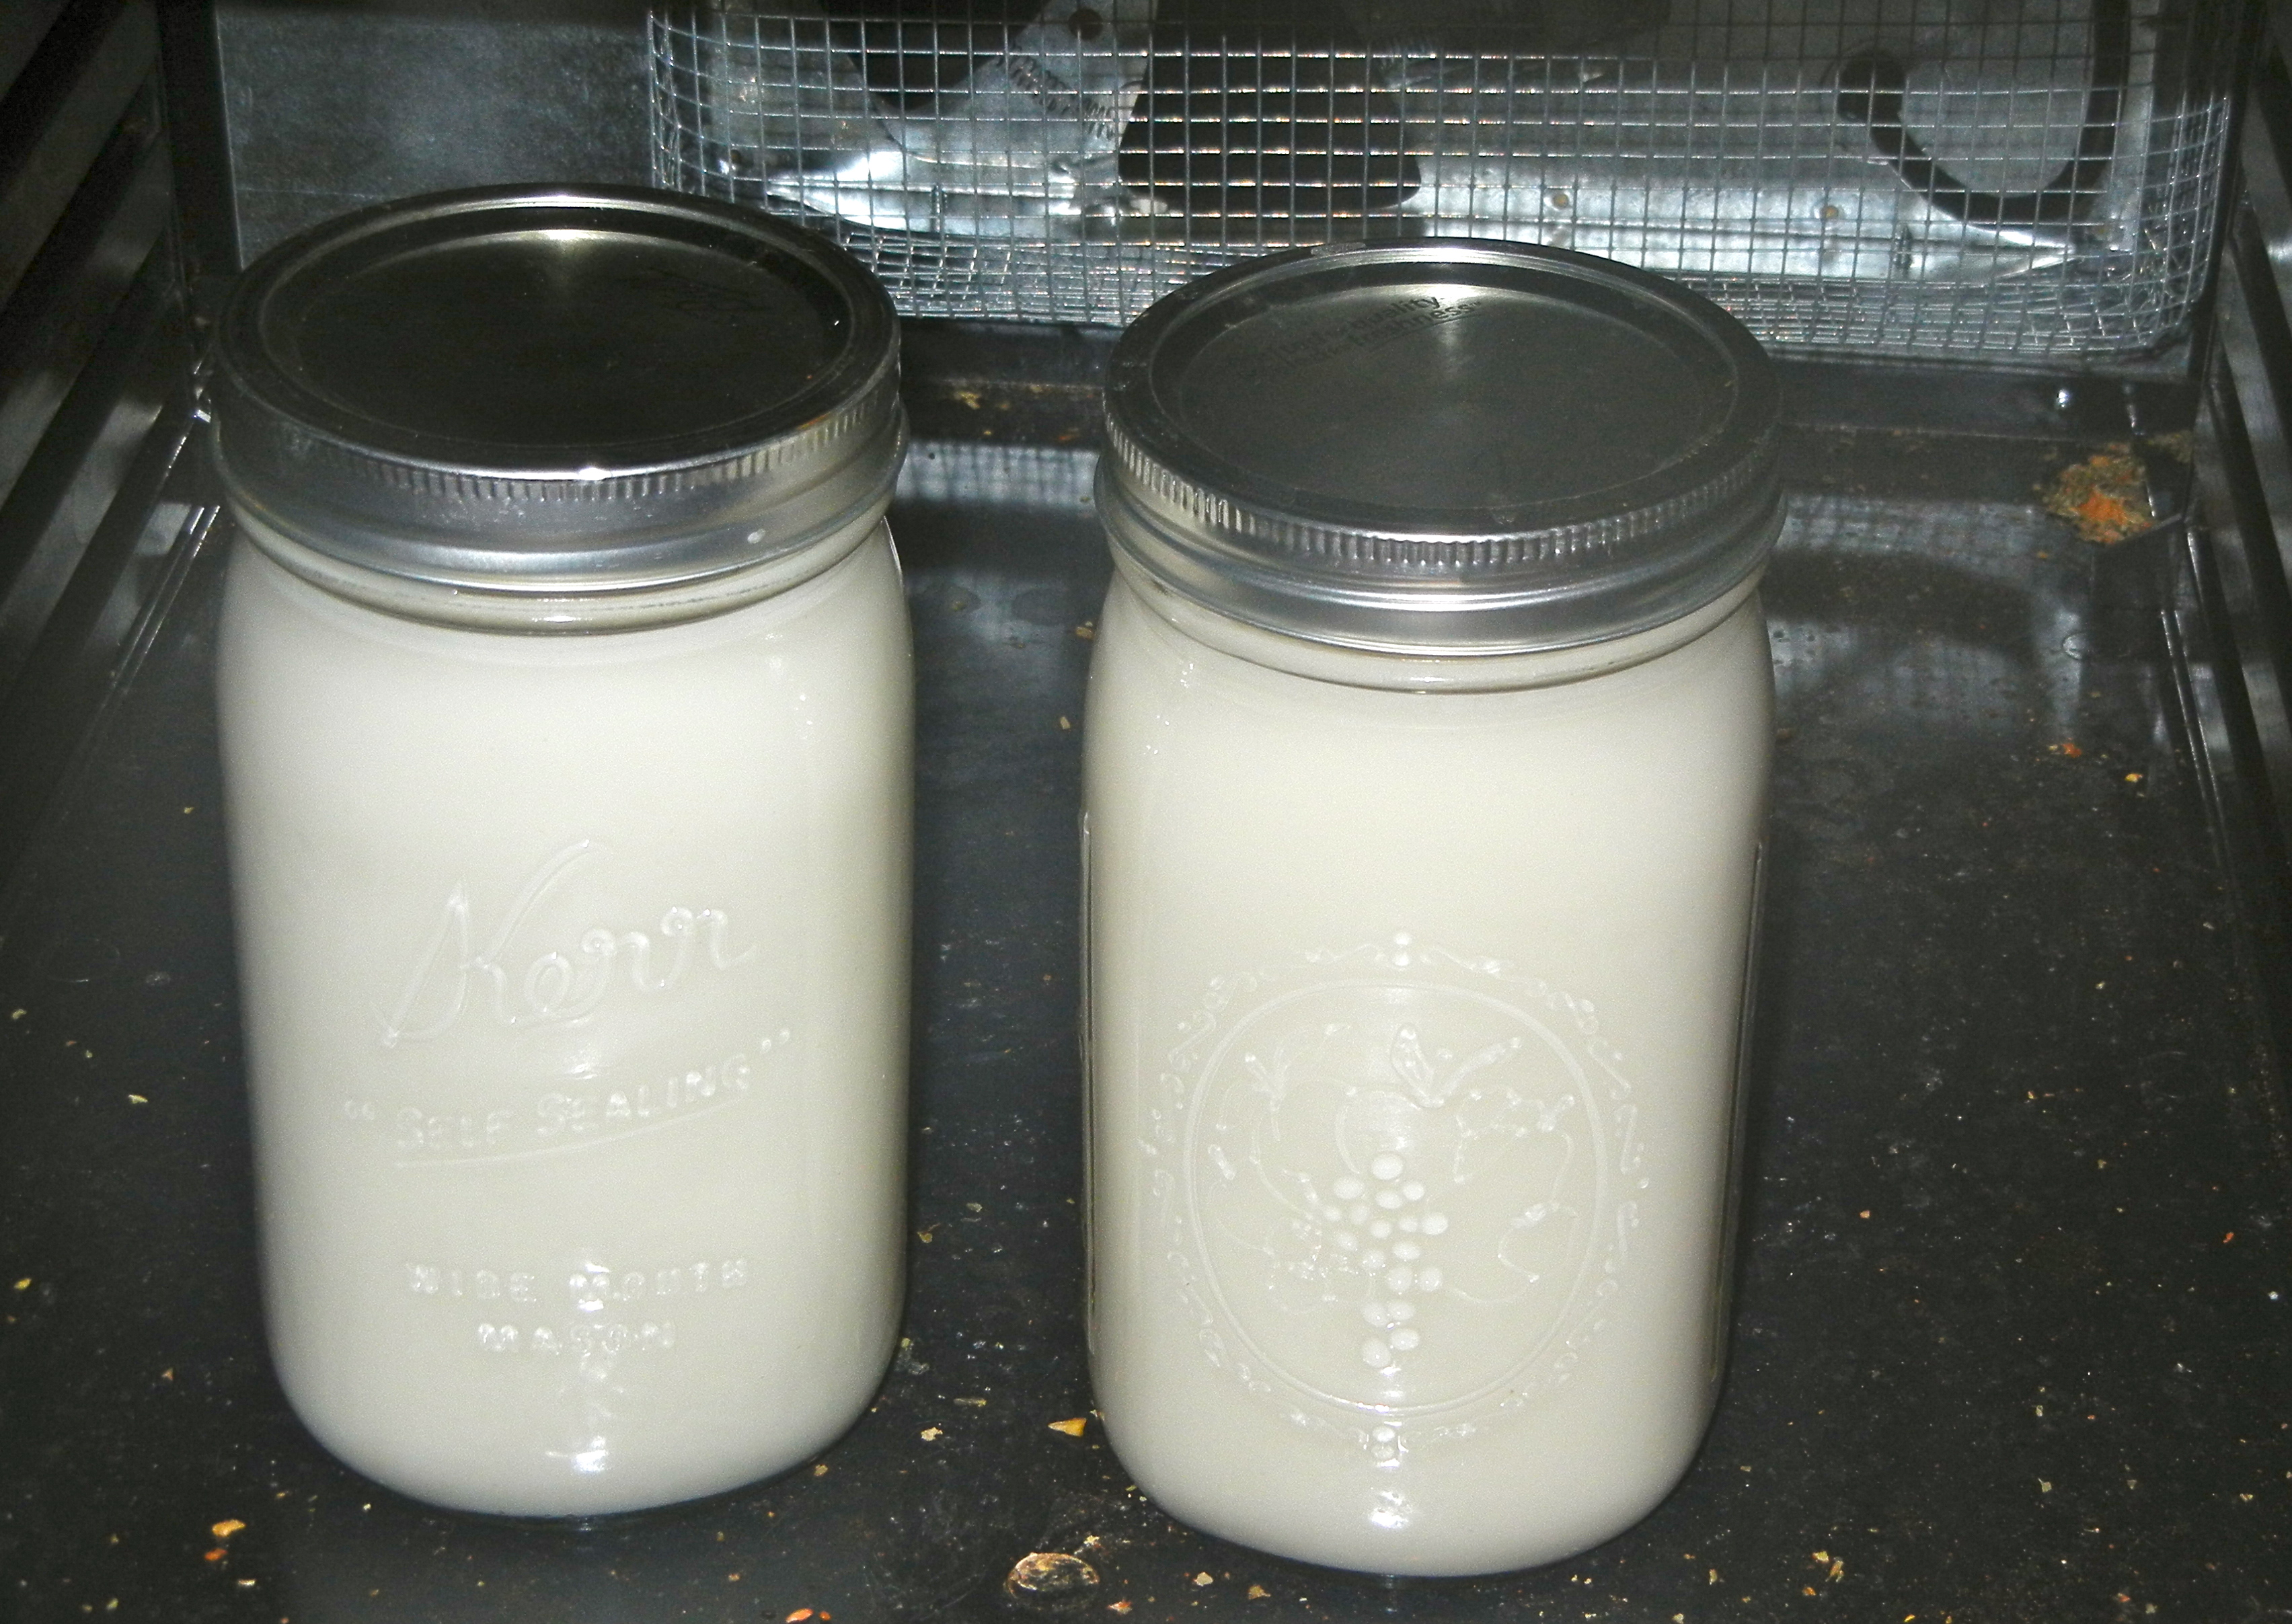
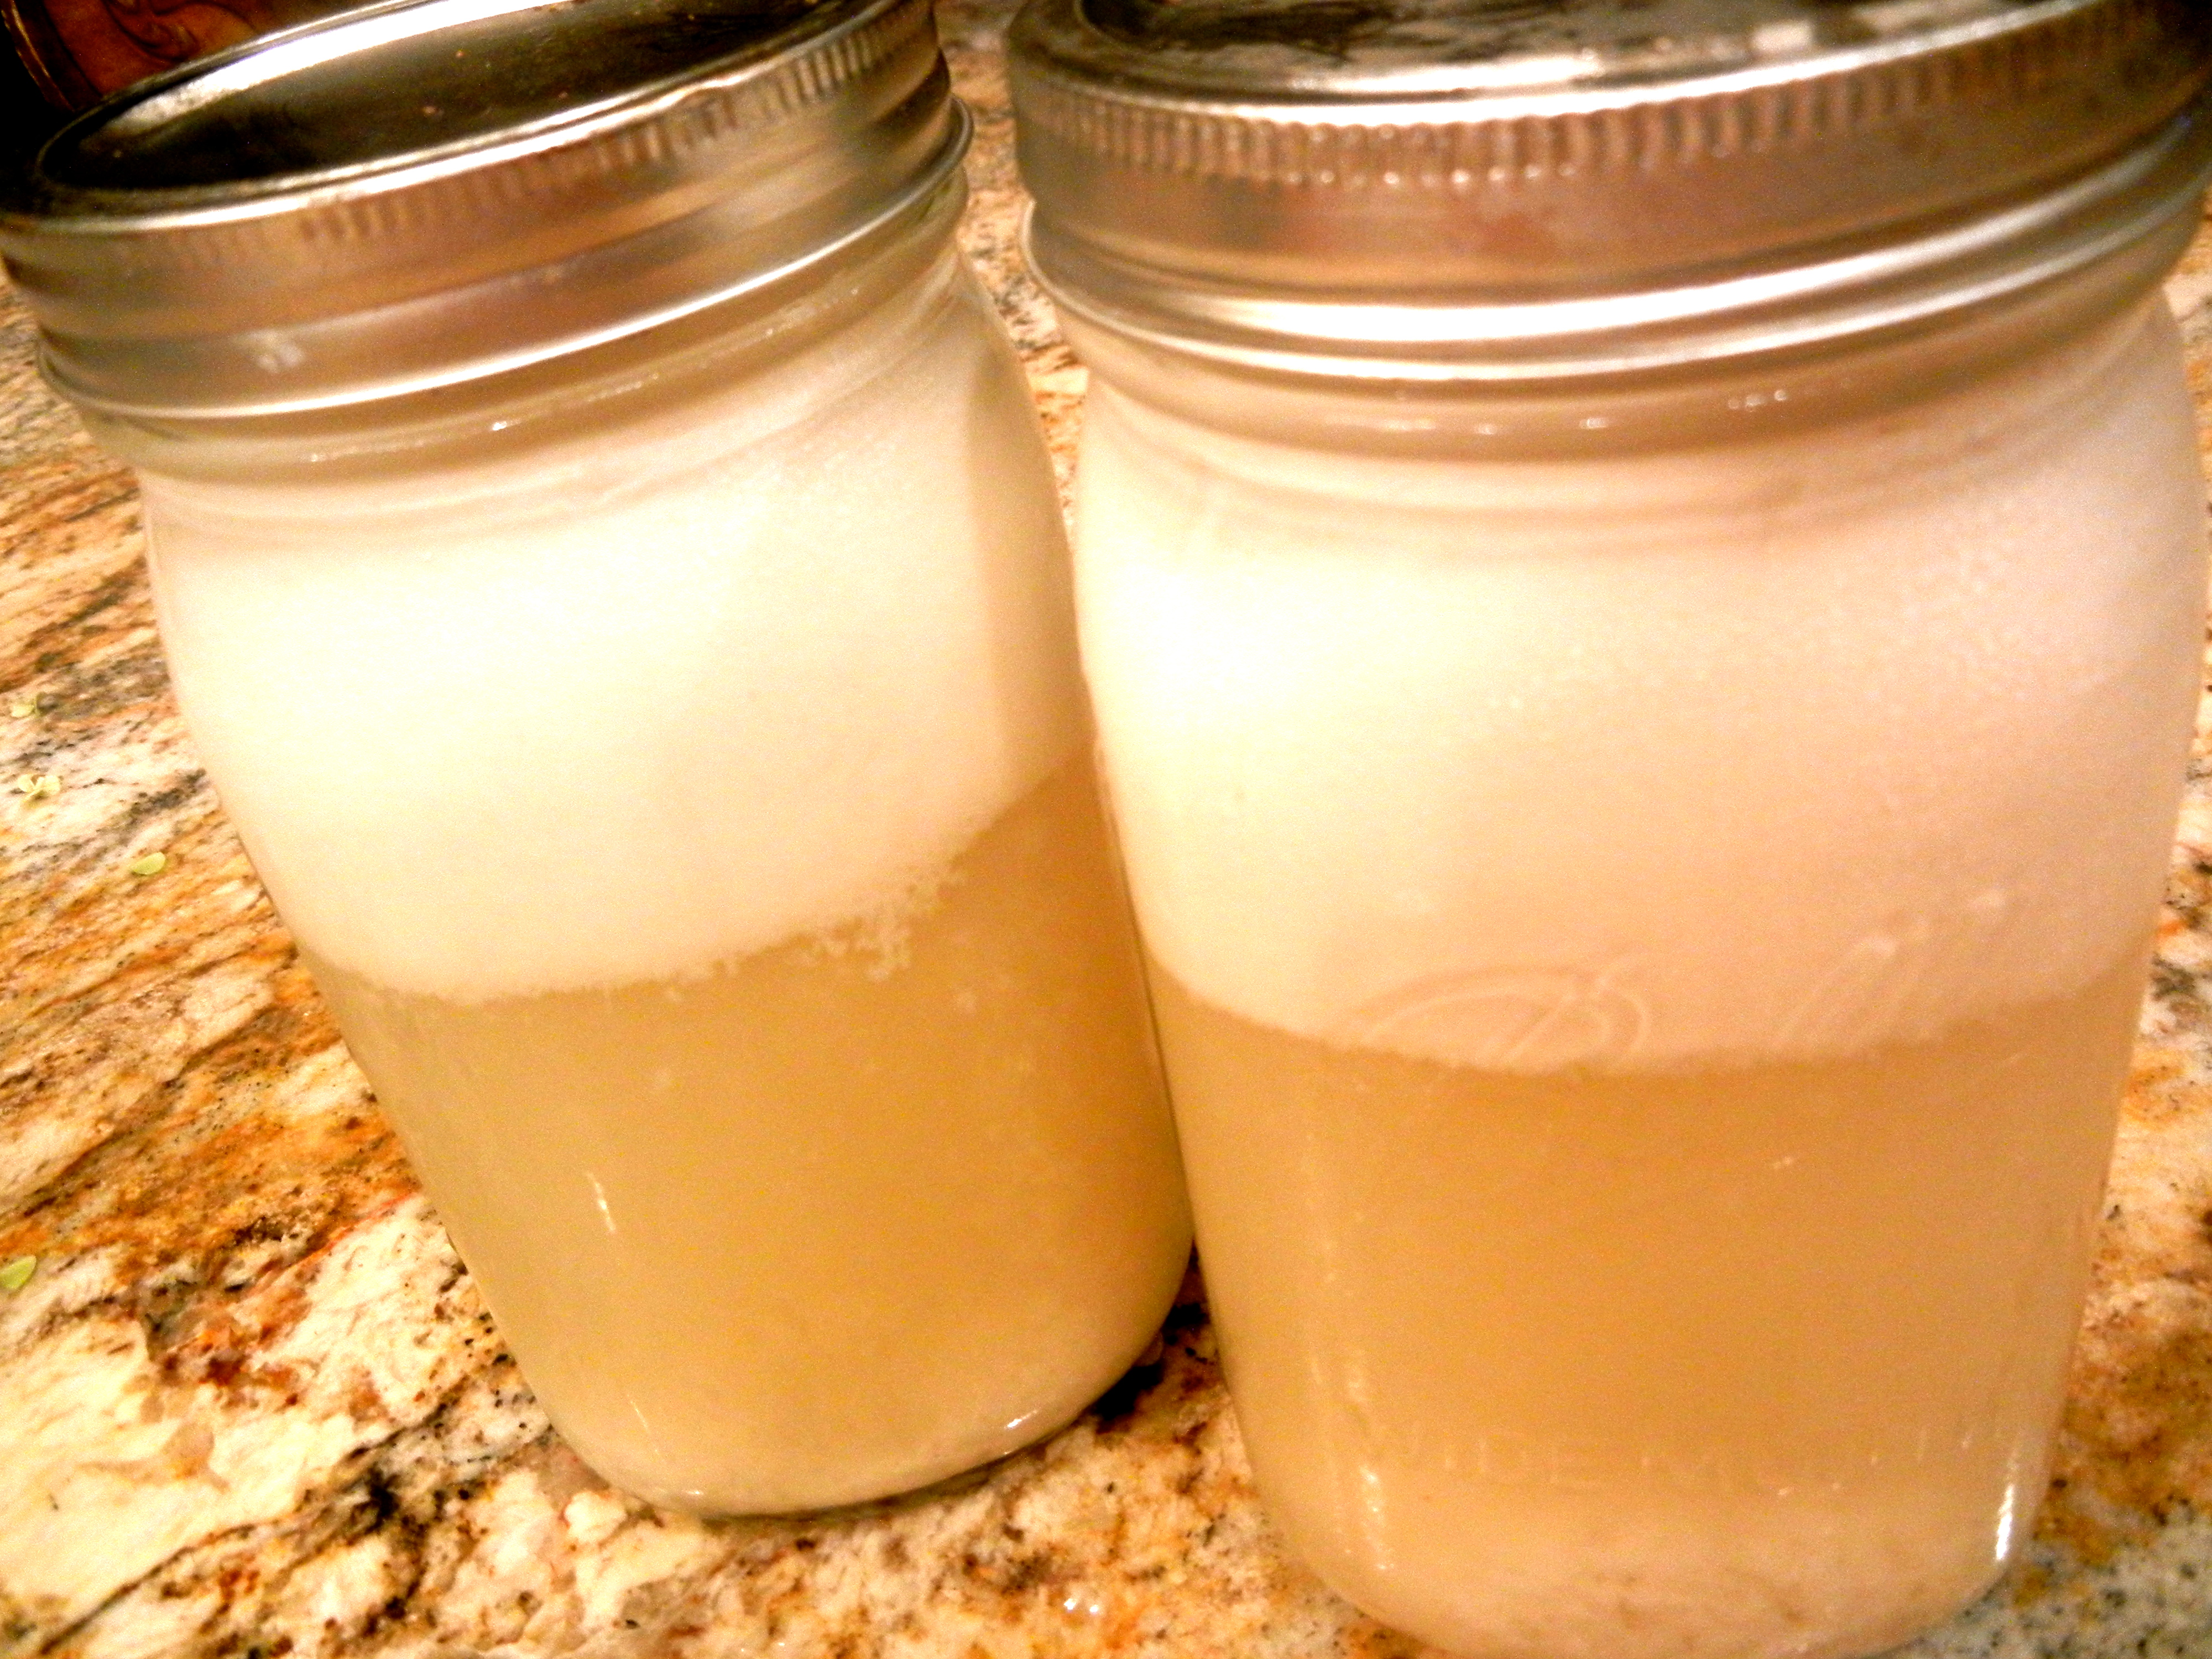
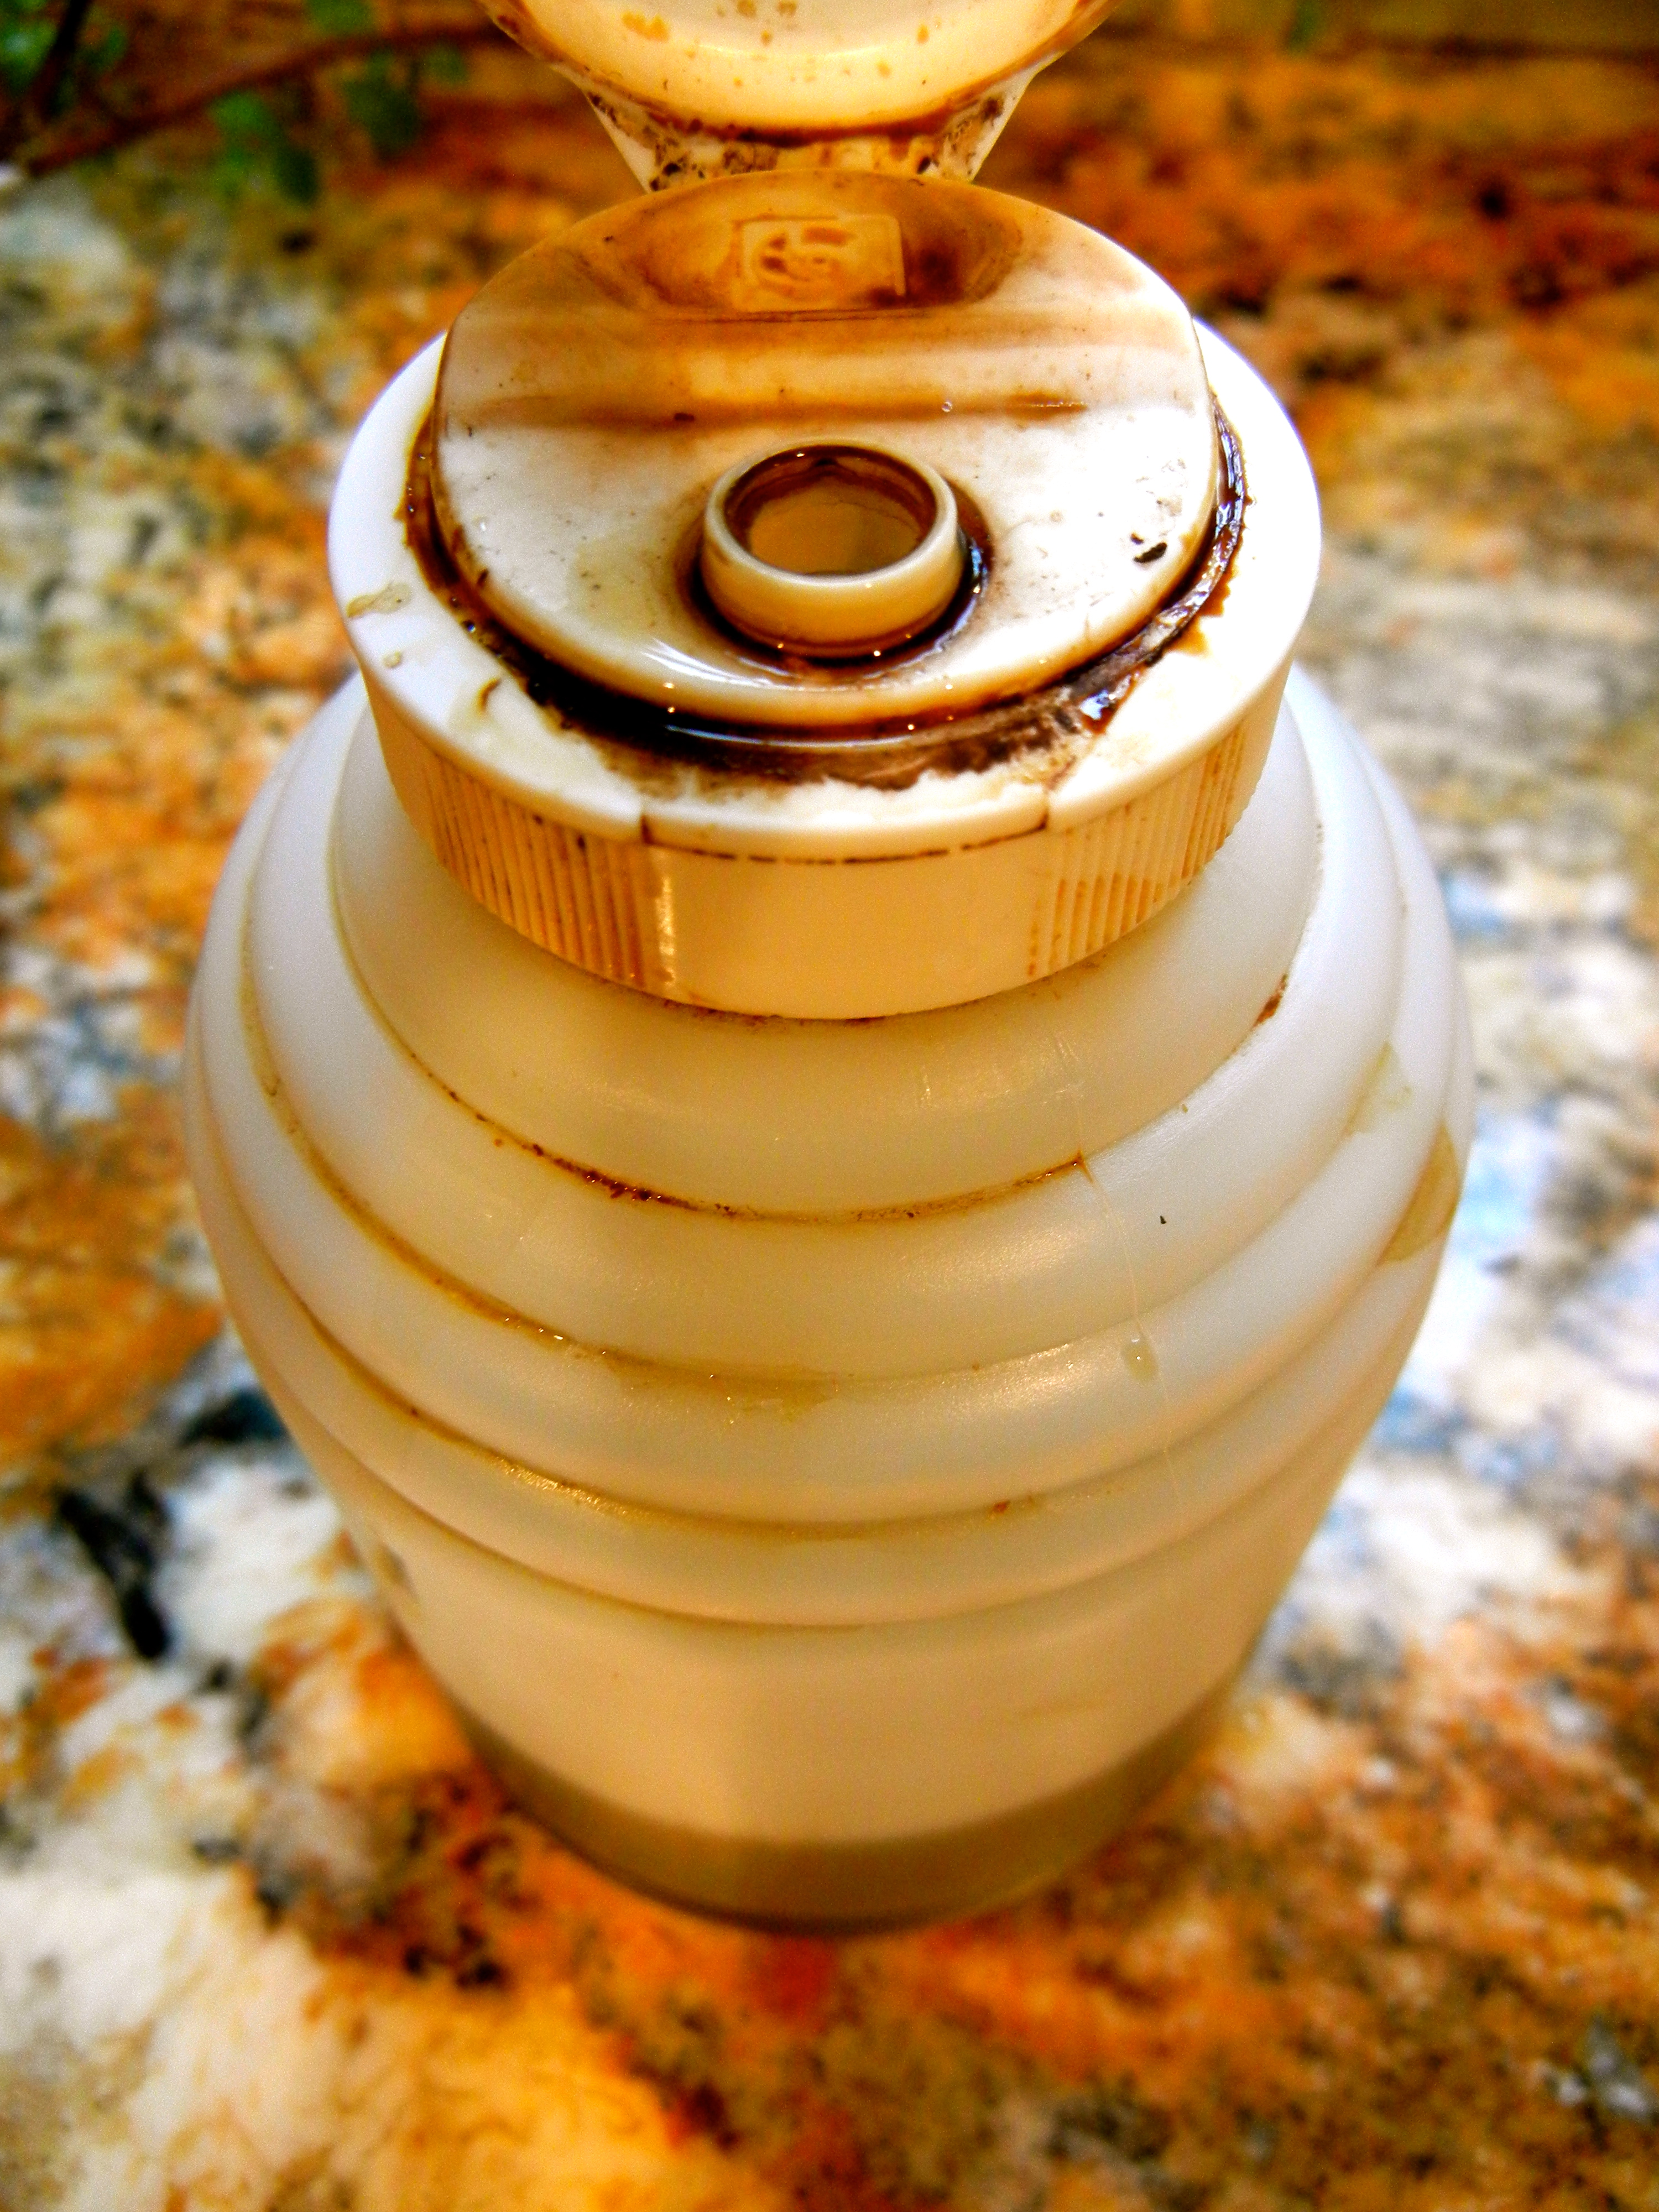
- 6 tbsp butter or coconut oil (melted)
- 5 tbsp raw honey or vanilla honey
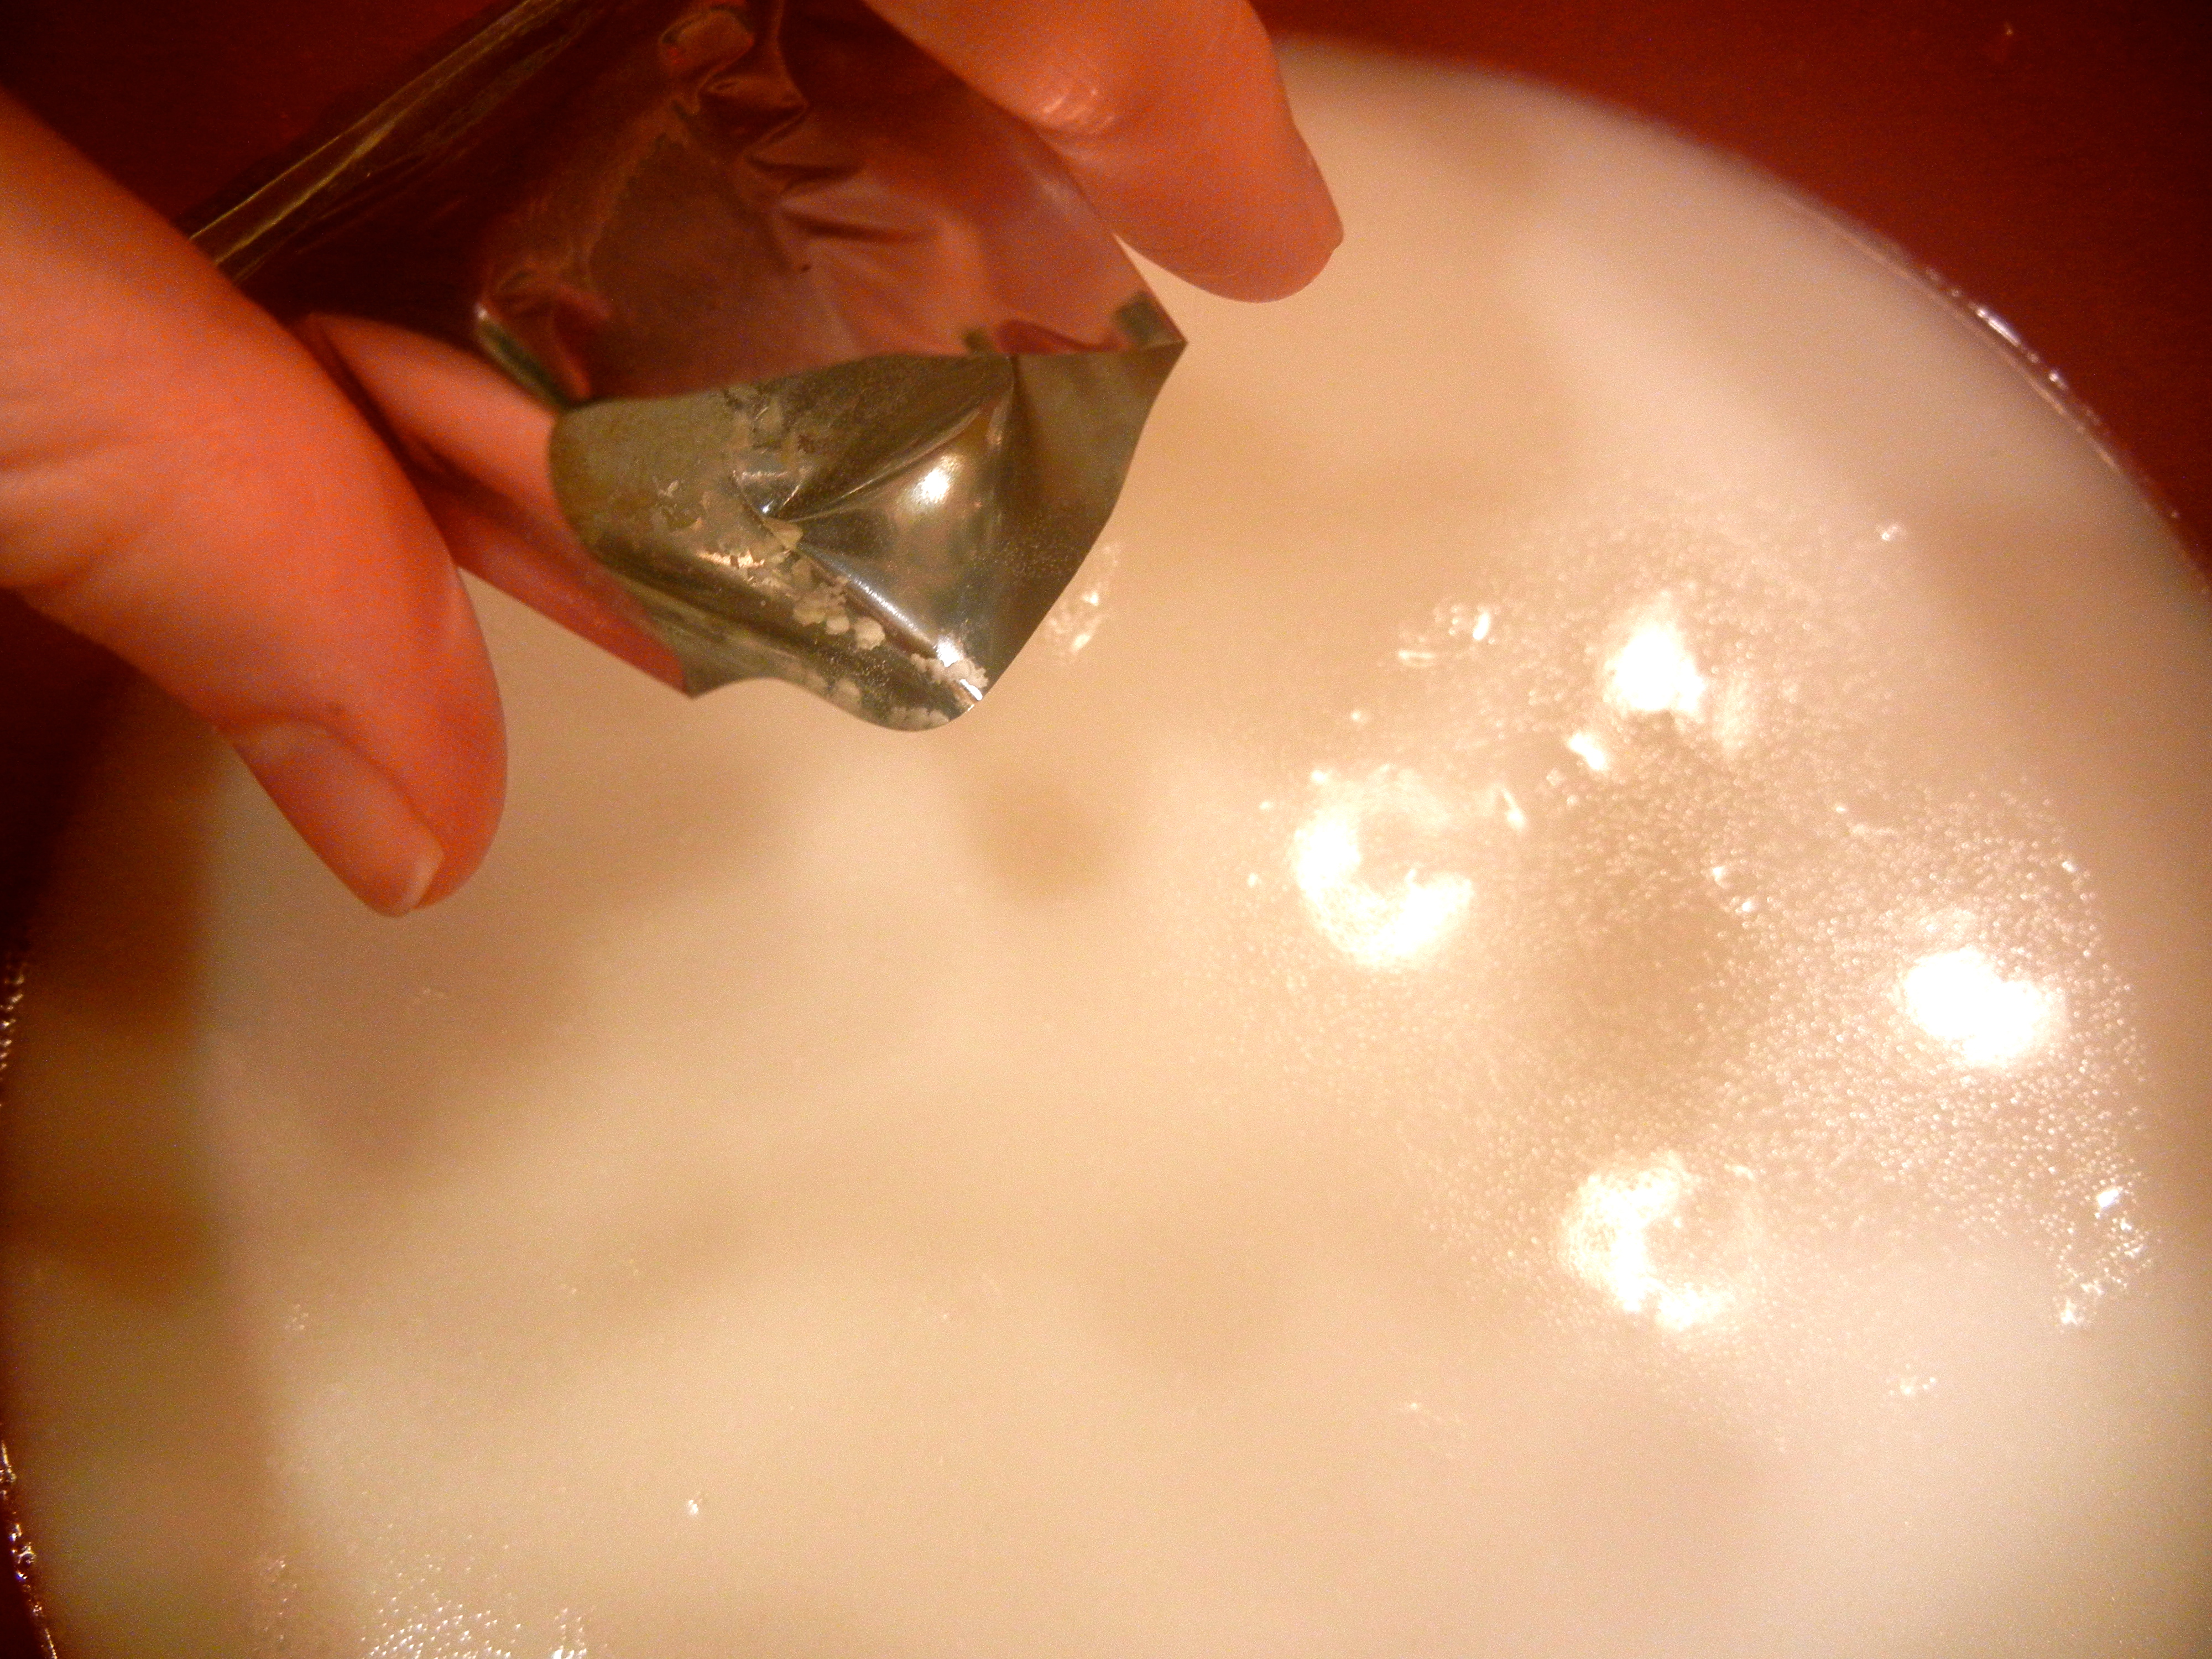
- 2-3 squirters full of stevia (40-60 drops drops in a squirt) *optional
- 1/4 tsp sea salt
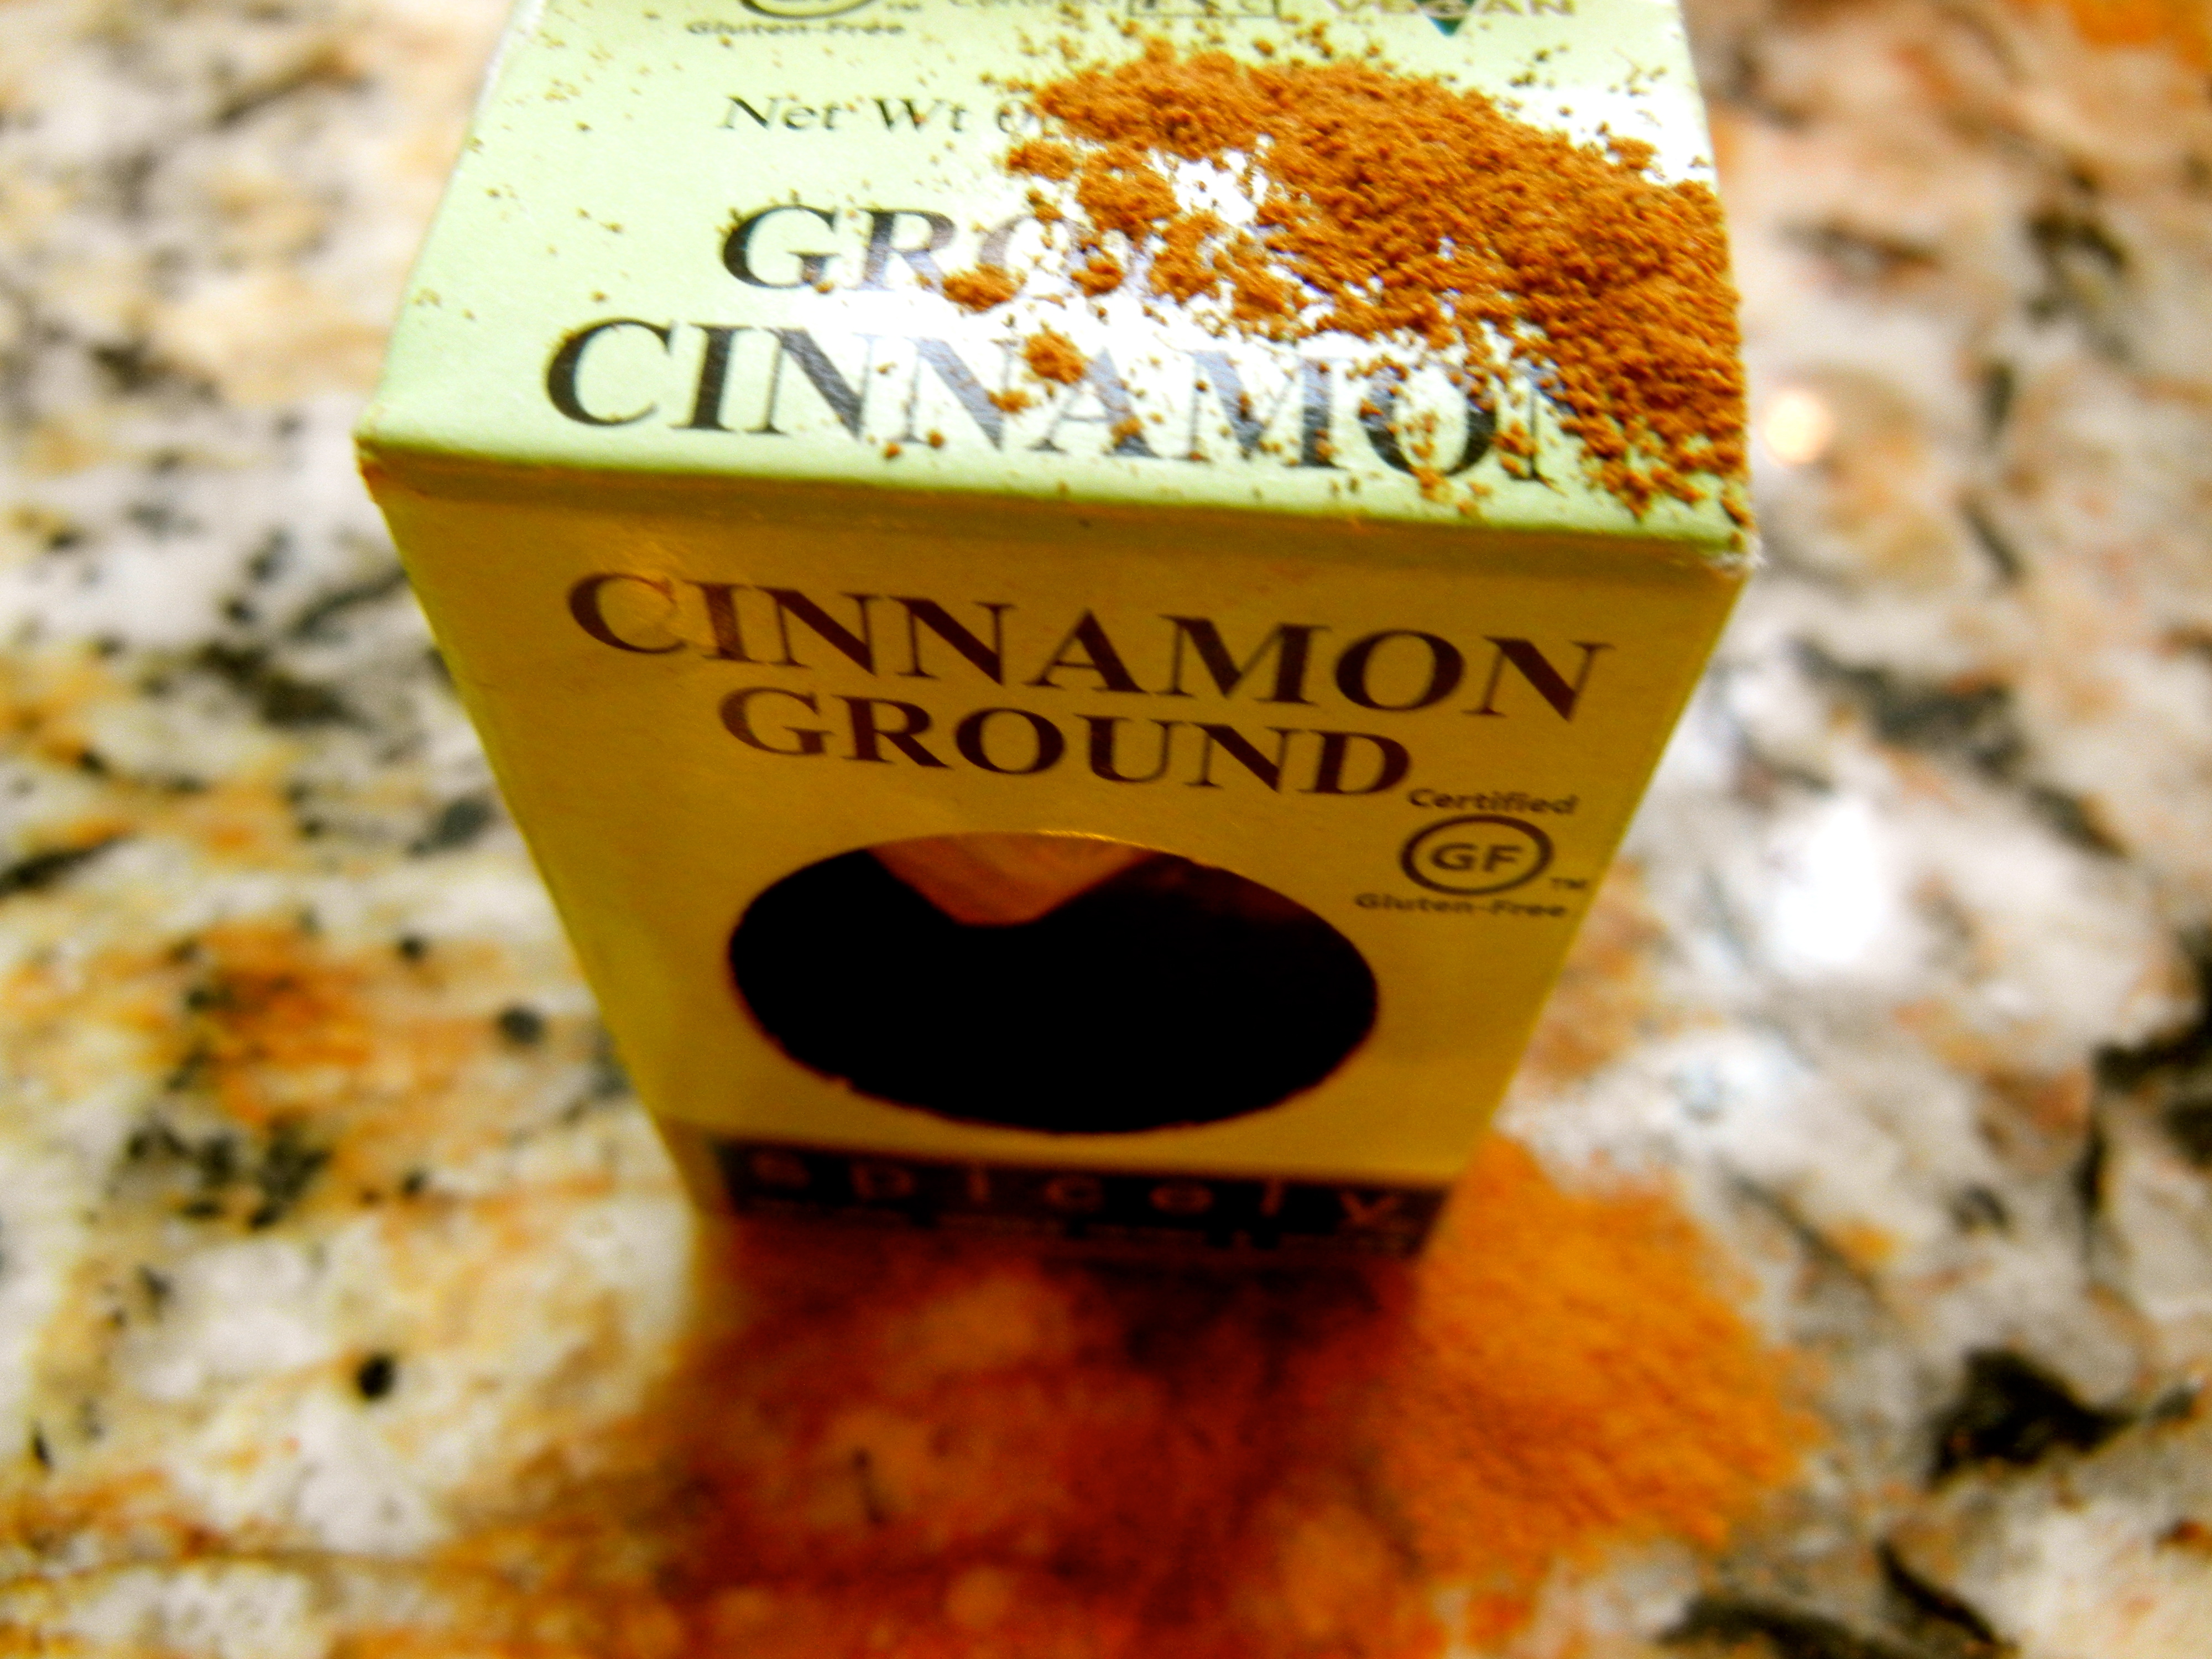
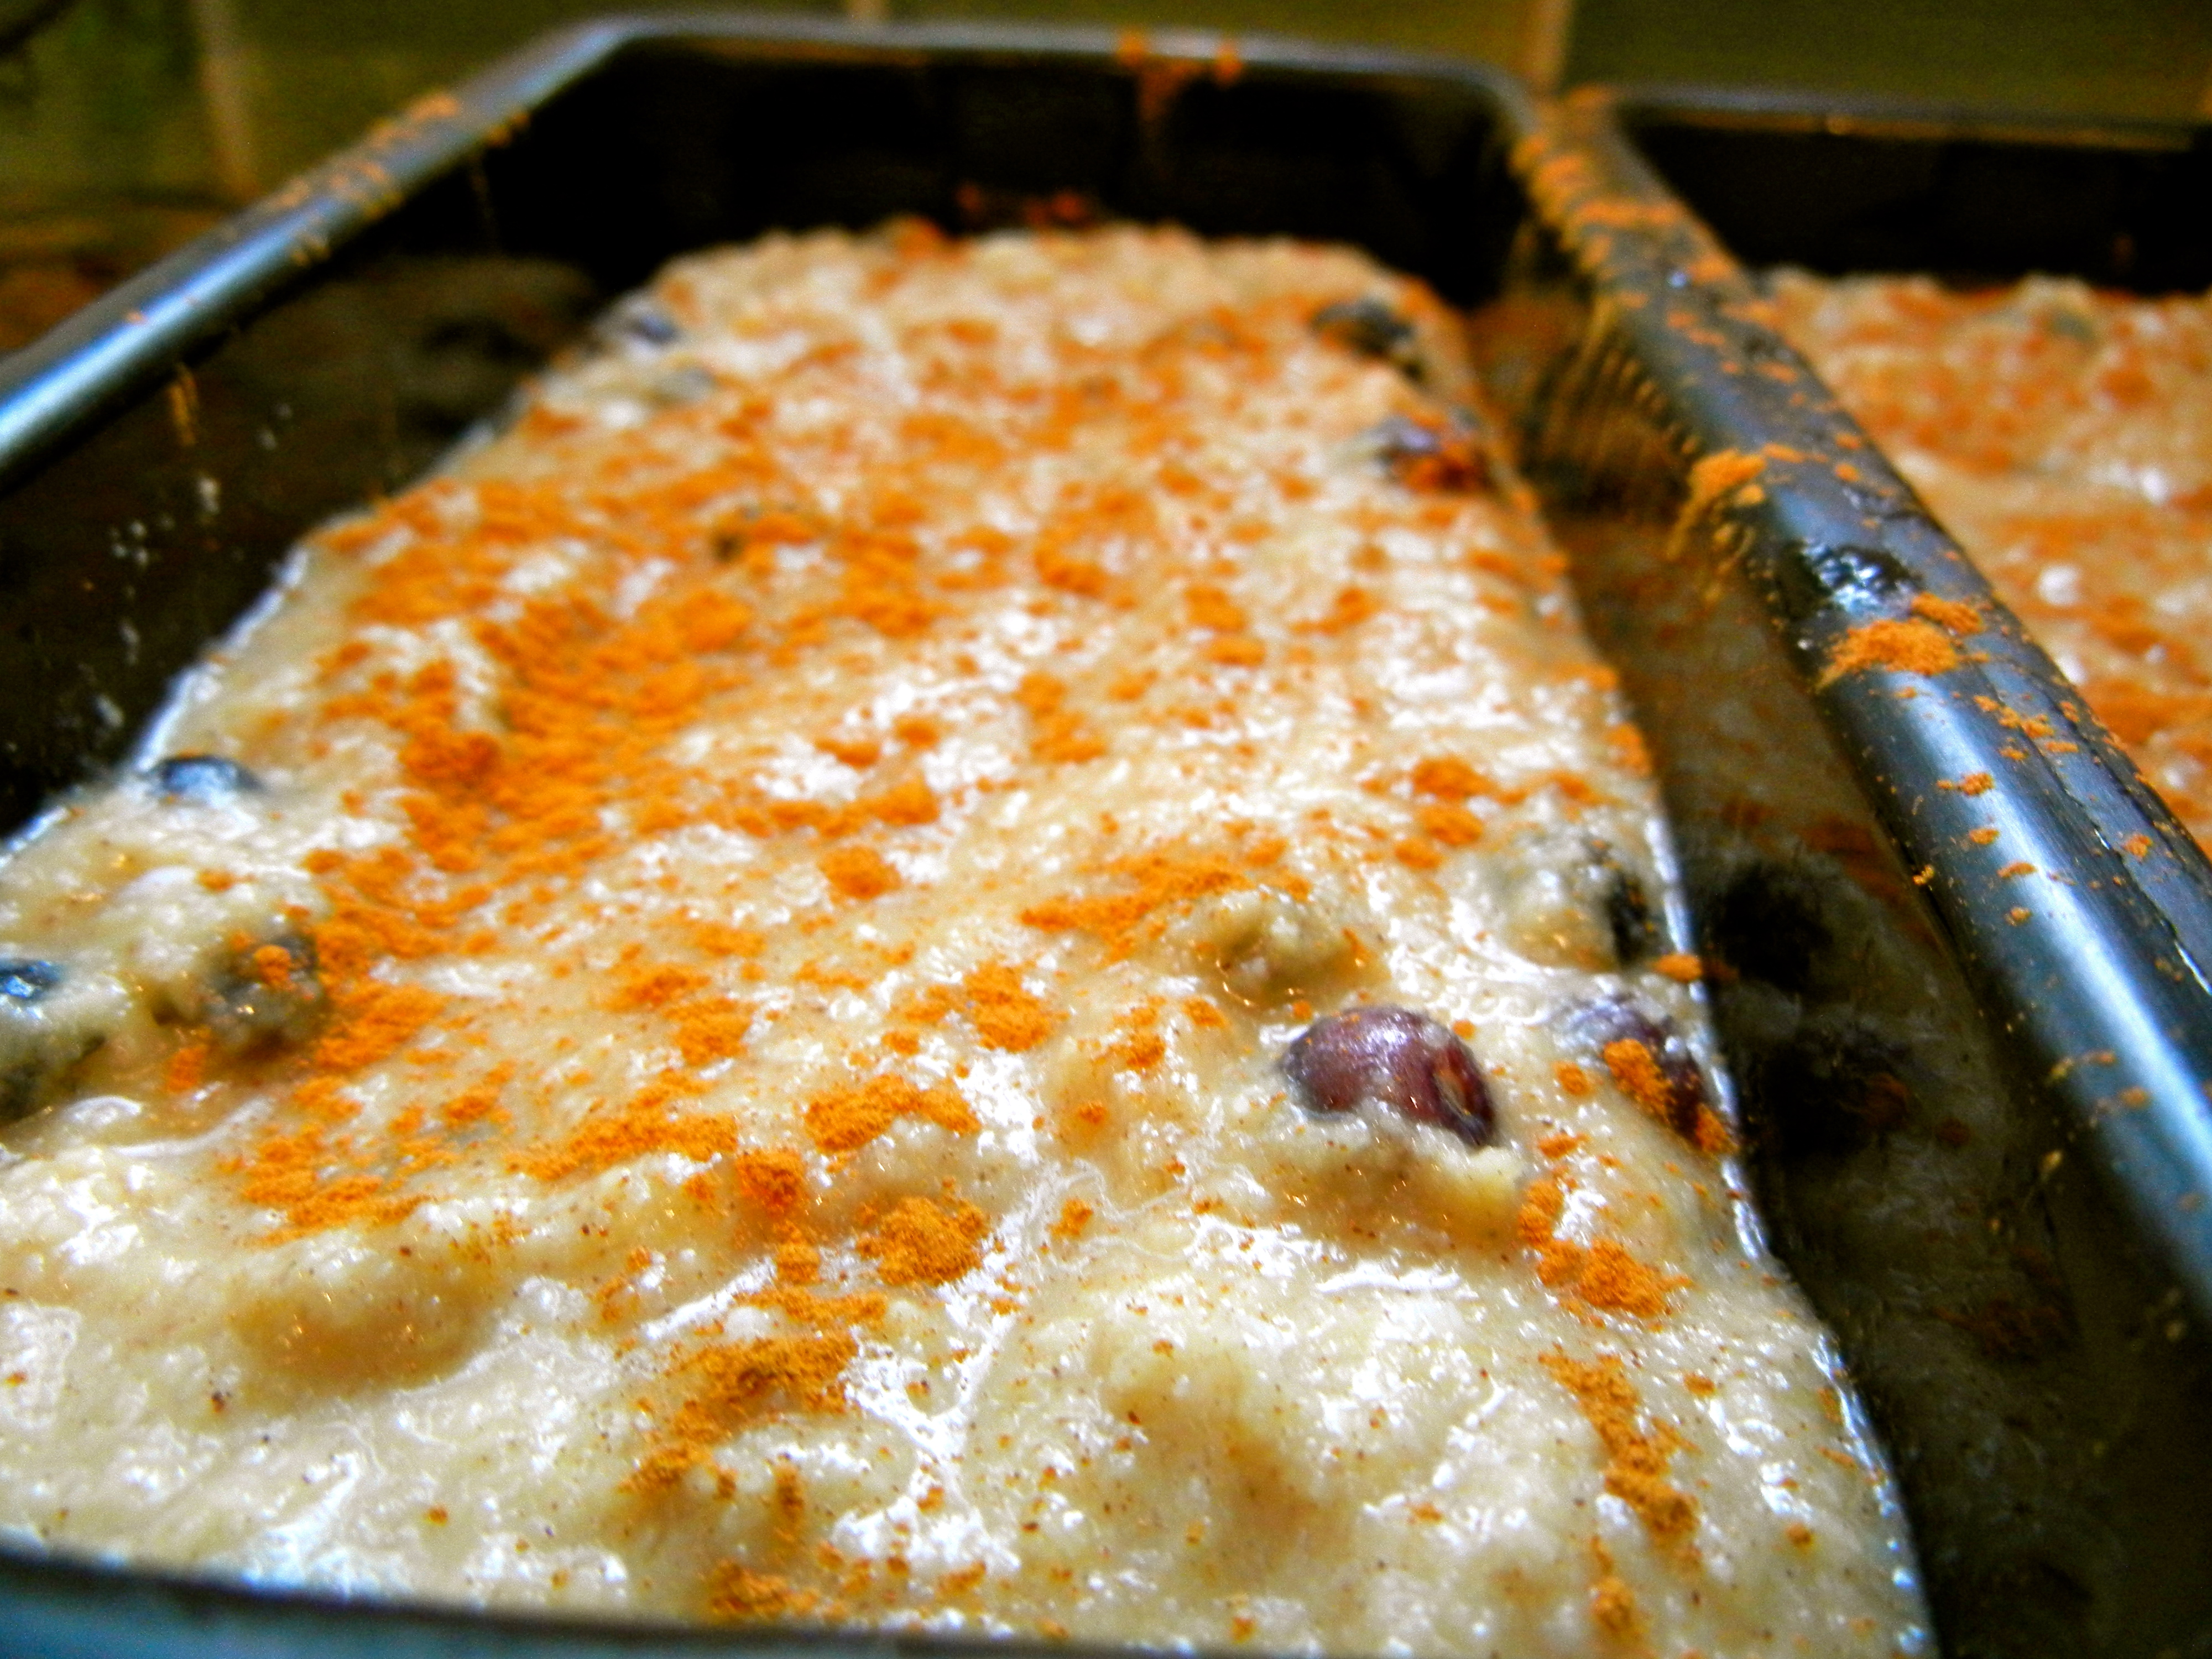
- 1tsp-1 tbsp cinnamon
- 1/2 tsp baking soda
- 1 tbsp vanilla
DIRECTIONS:
*Preheat your oven to 300 degrees
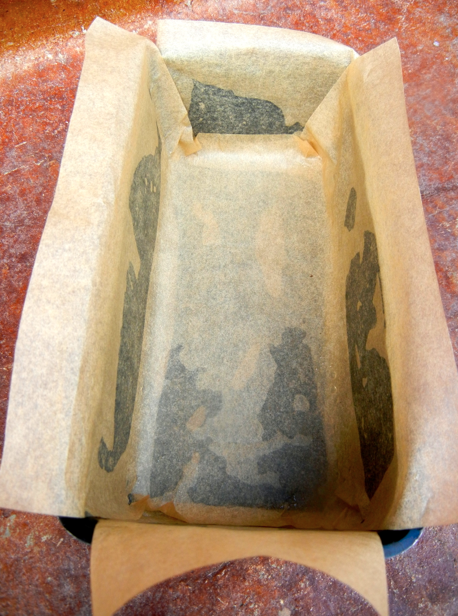
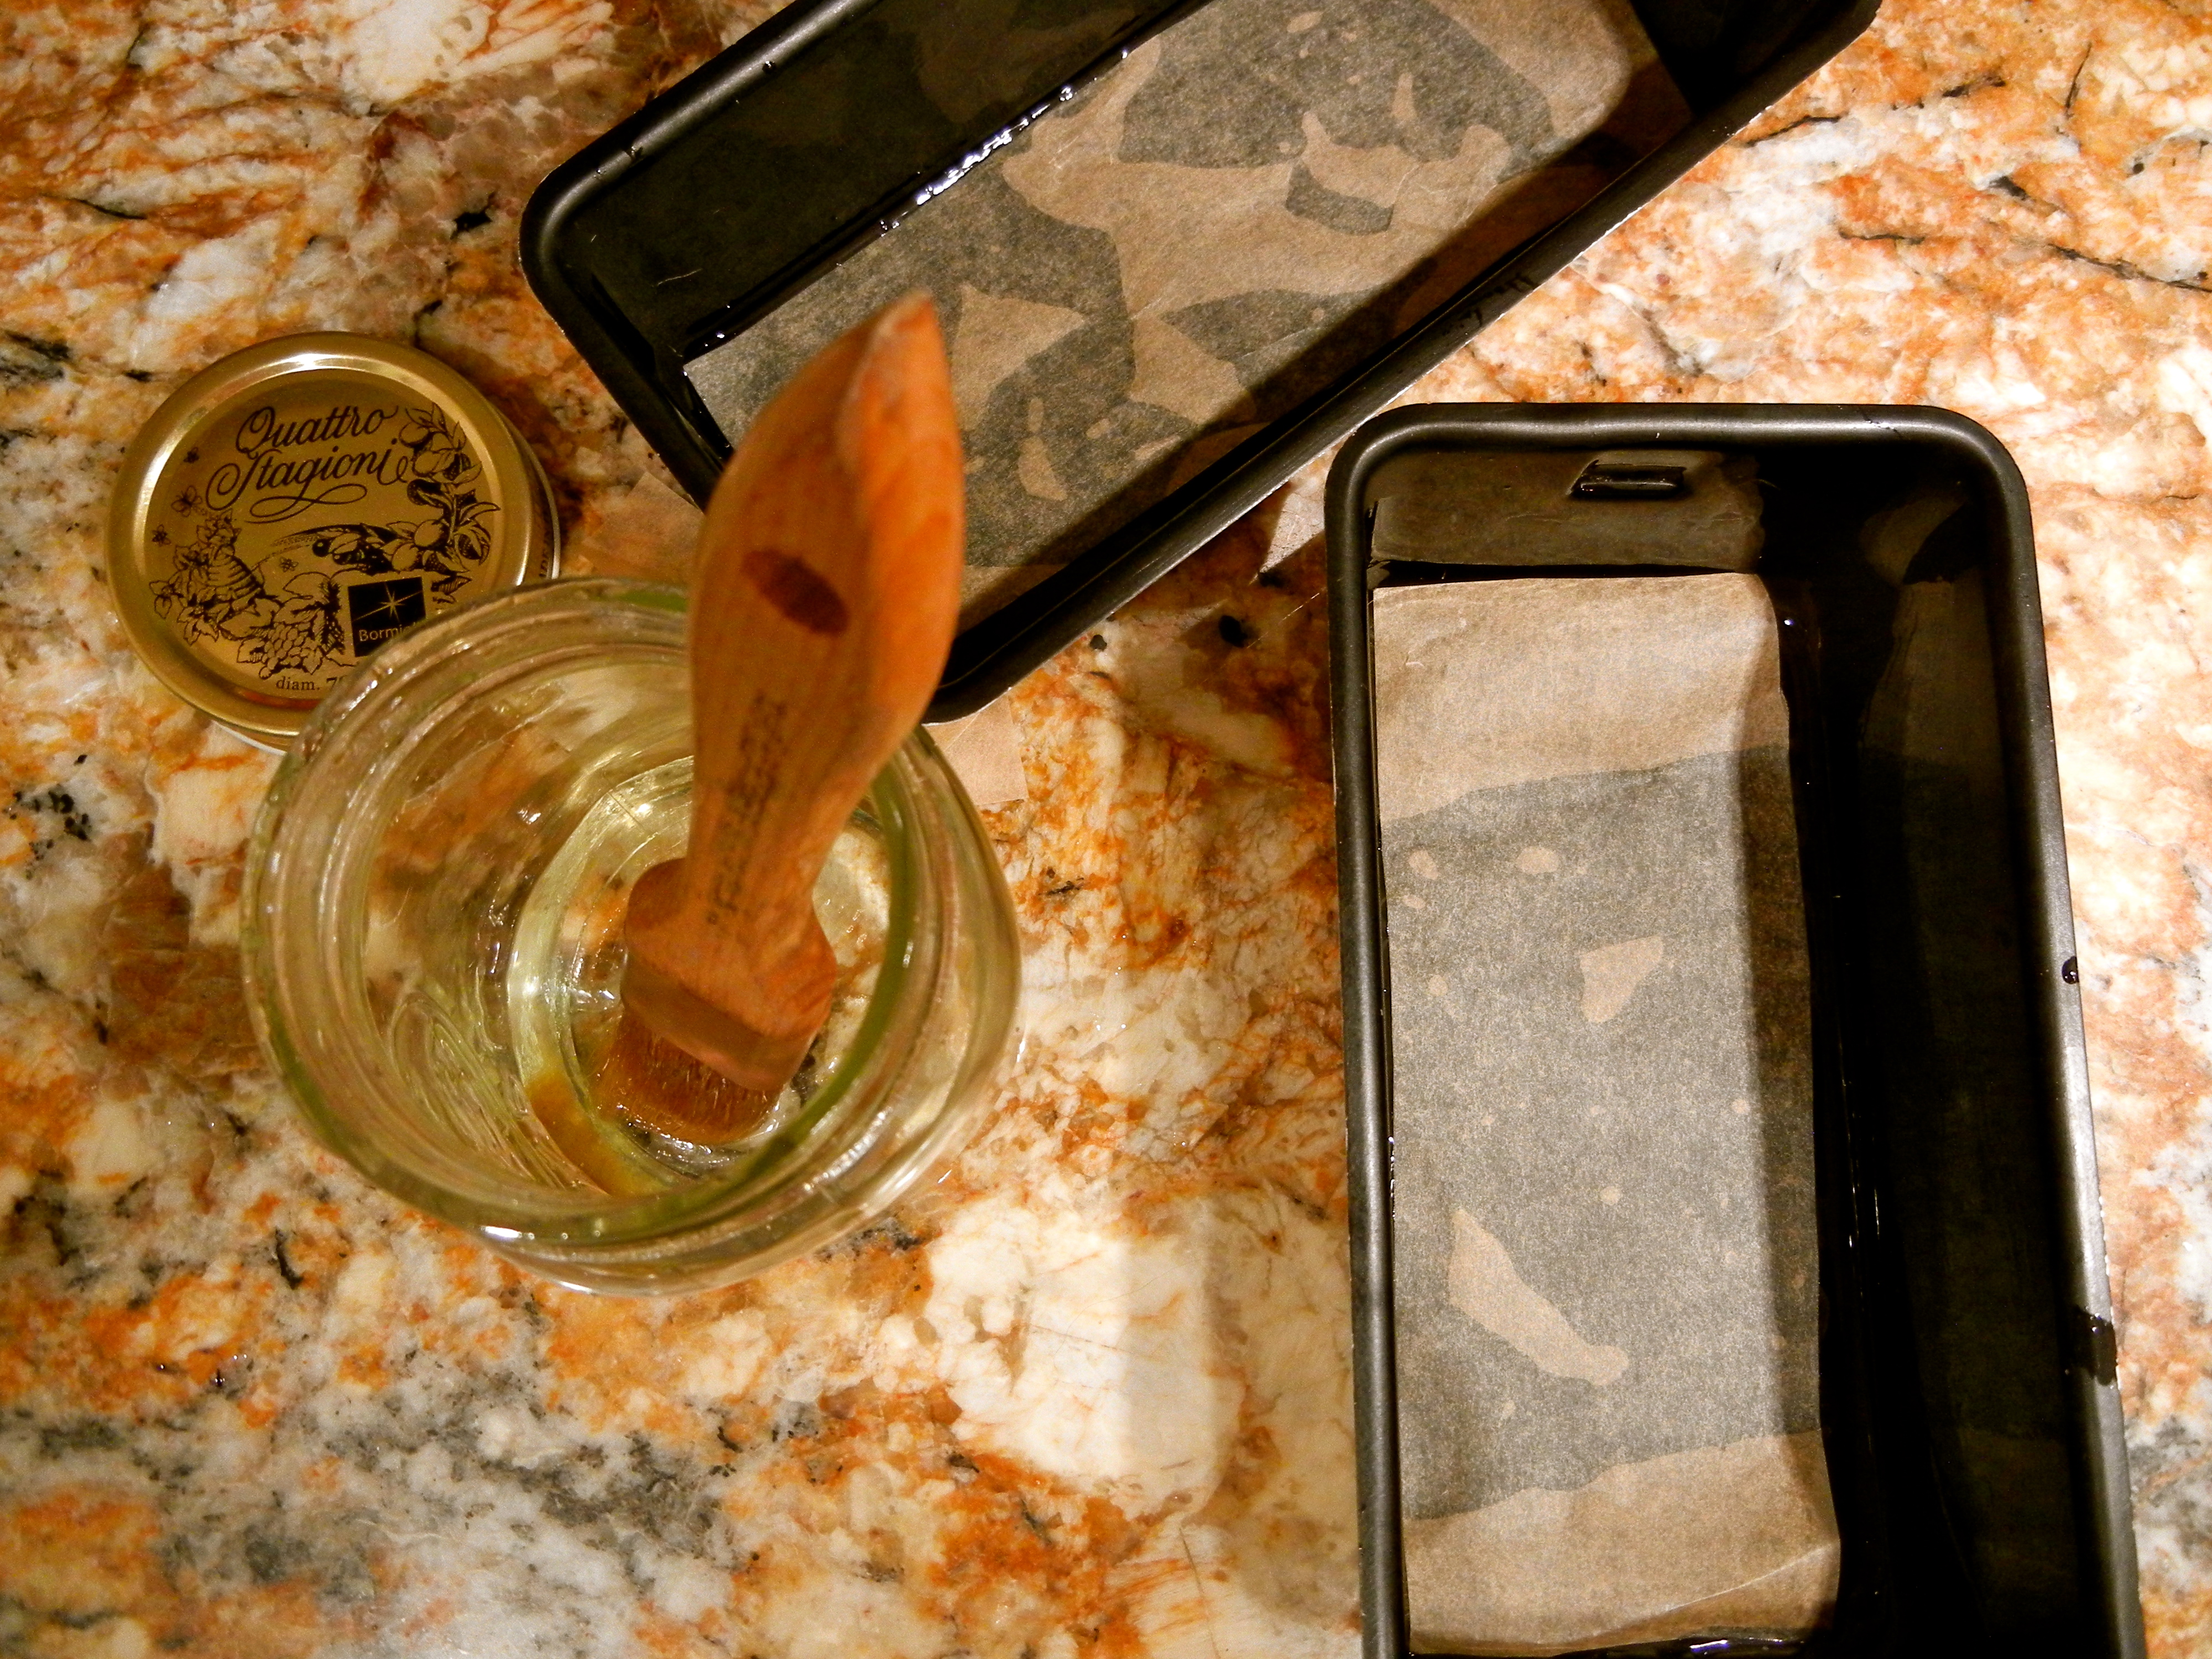
1. Oil or butter your bread pans (I used 2 mini). Line with parchment paper. Cut 2 pieces and fit them in the baking pan. (It is easier to oil it first, so the paper kind of sticks to the sides of the pan)

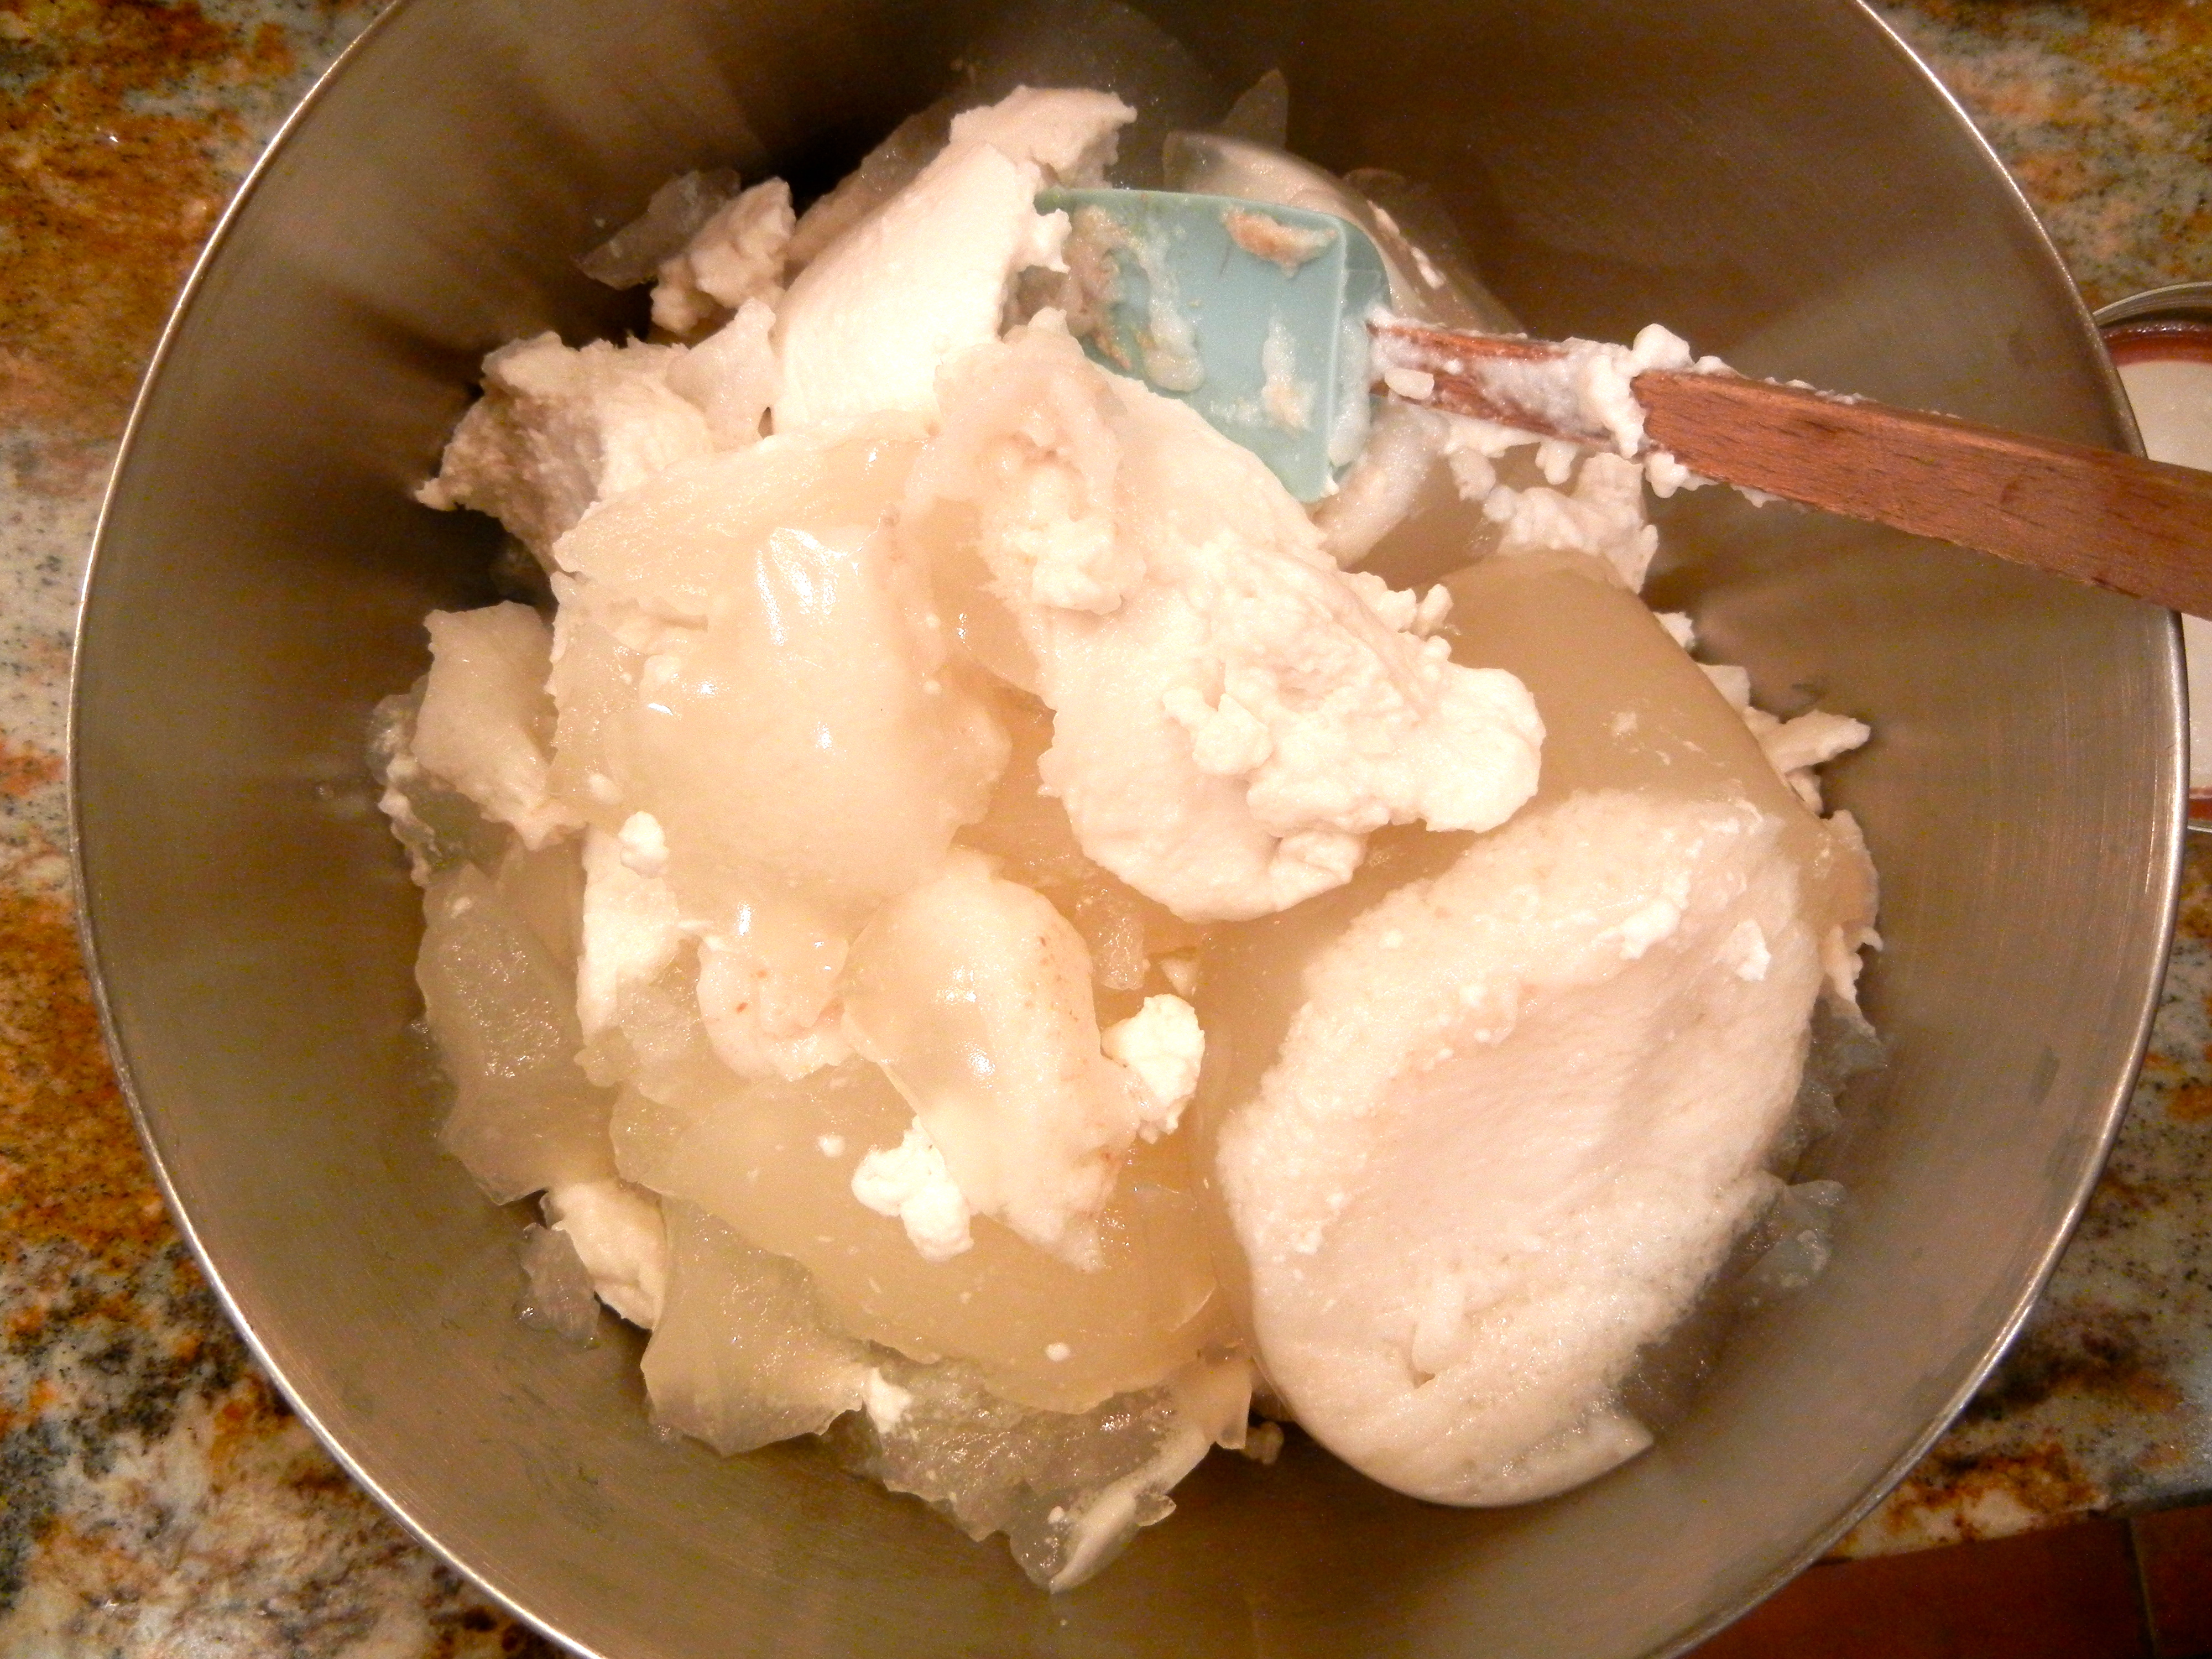
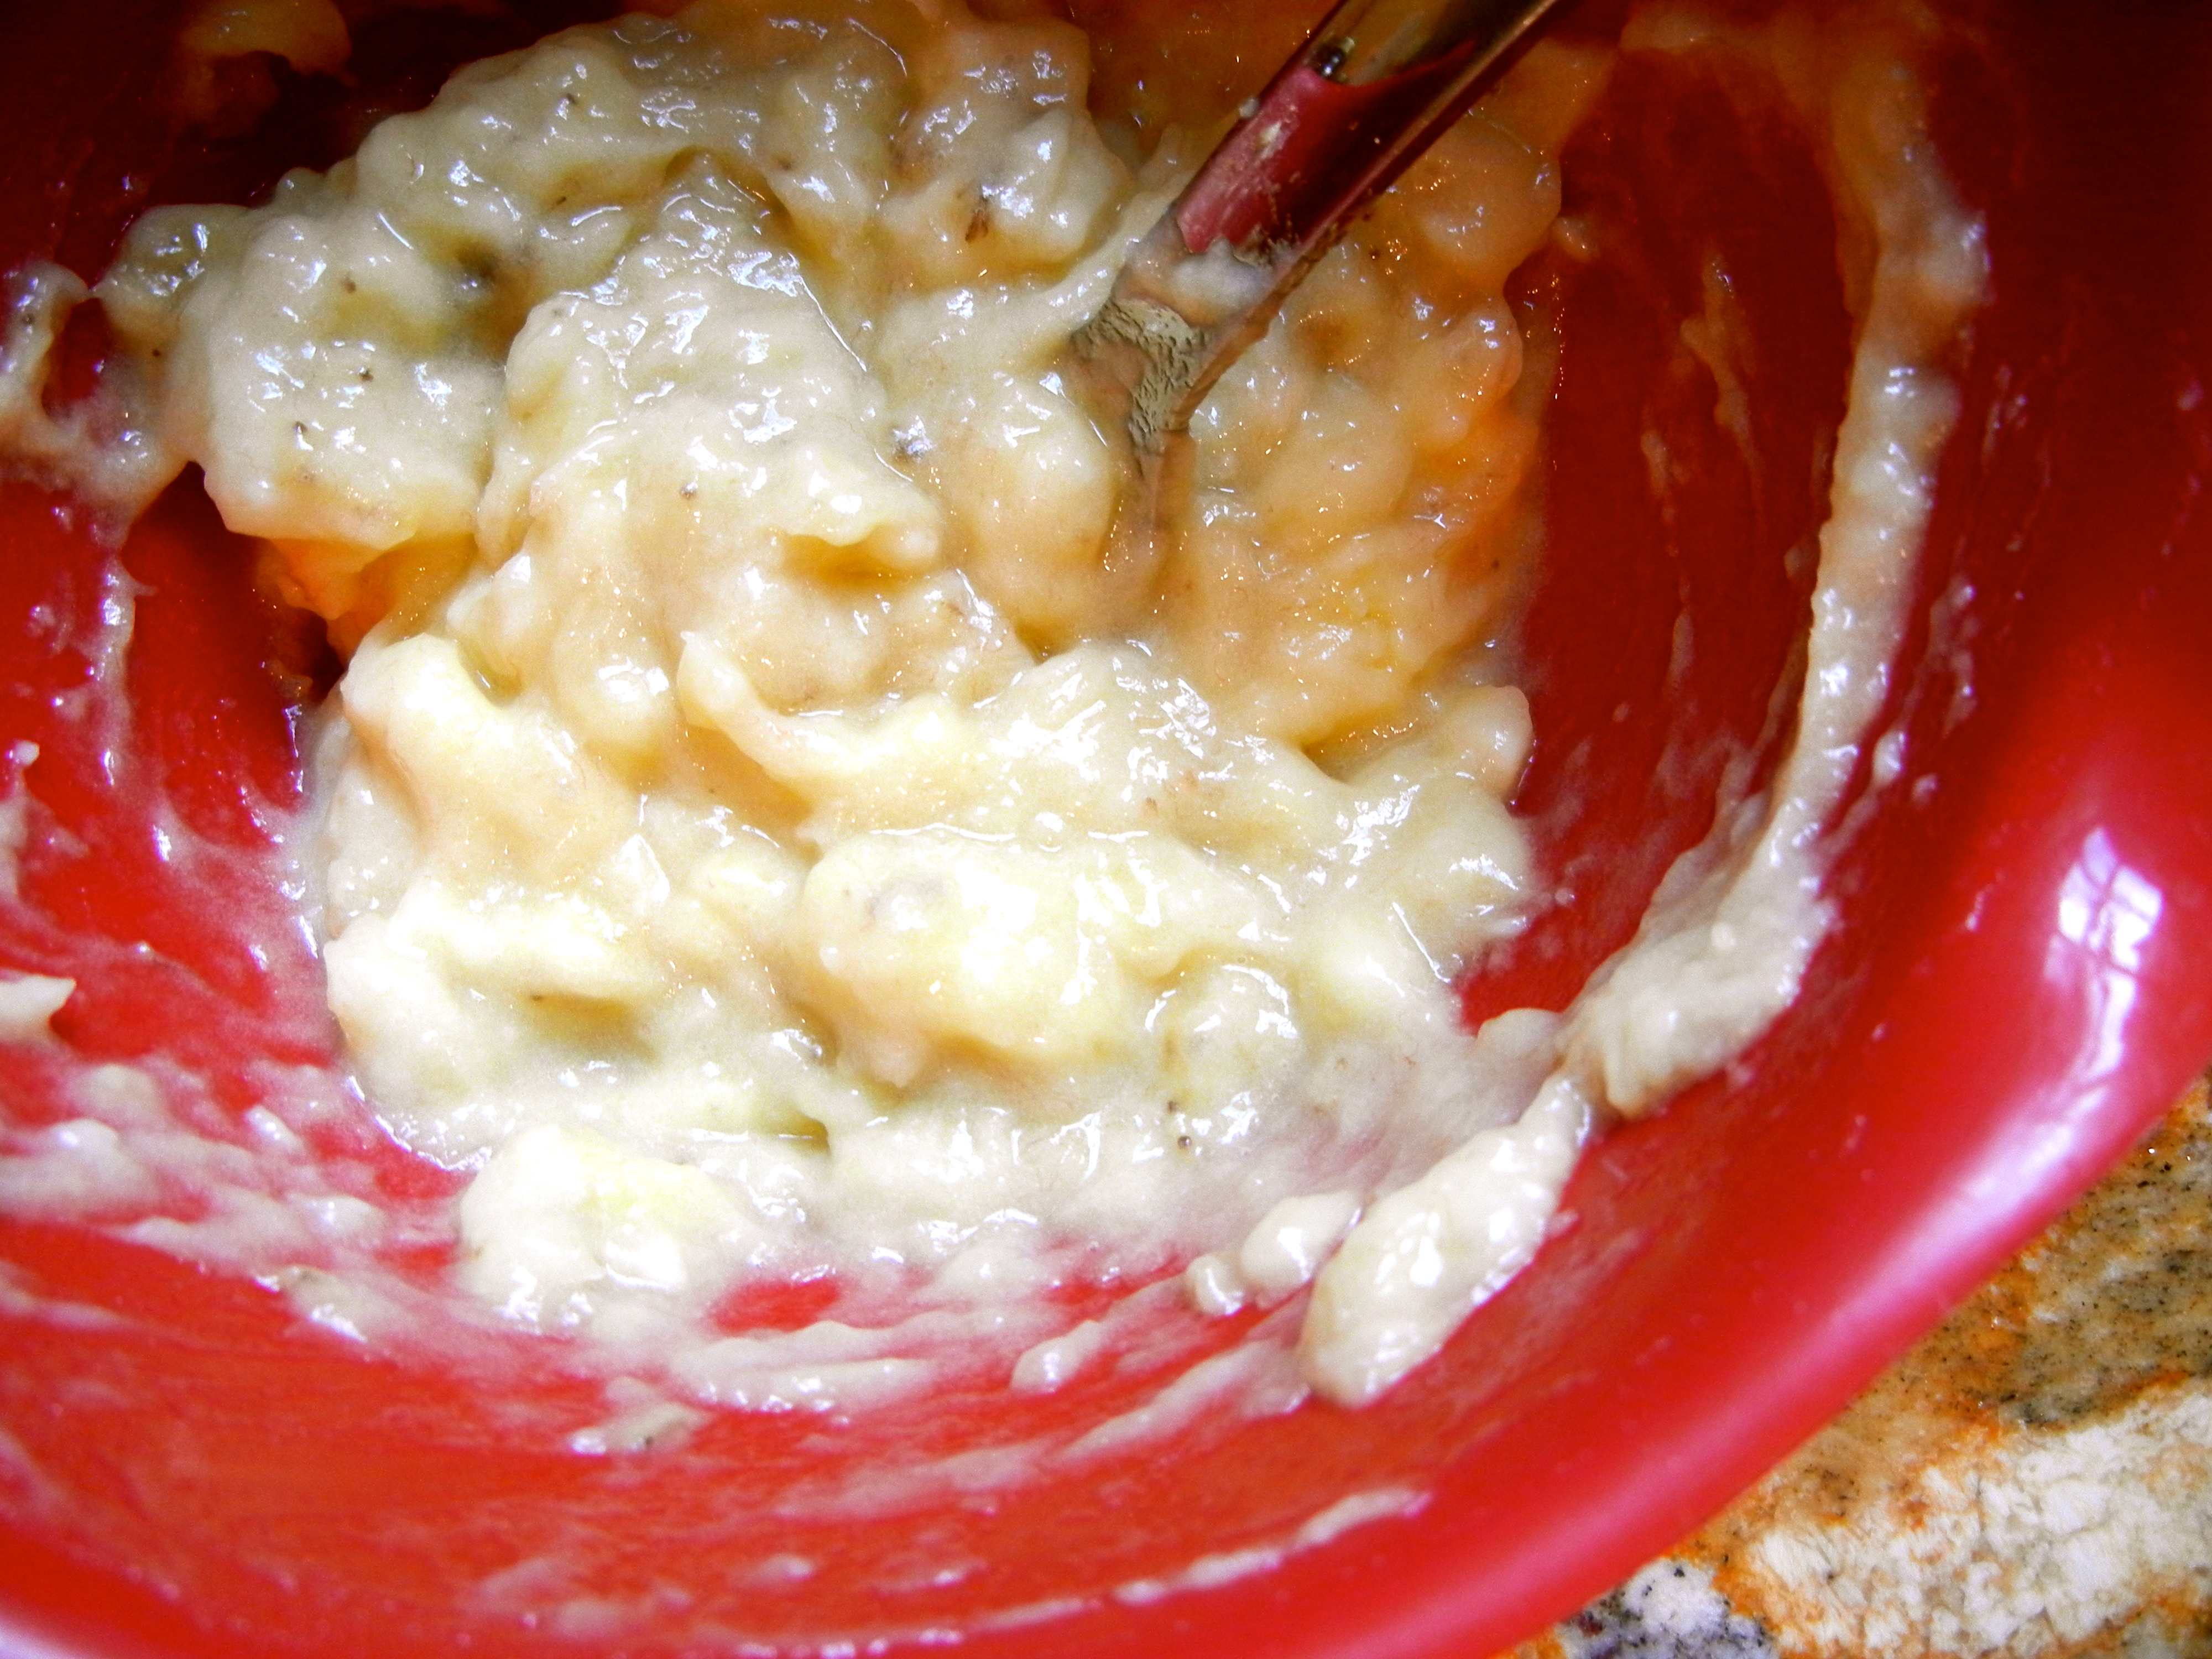
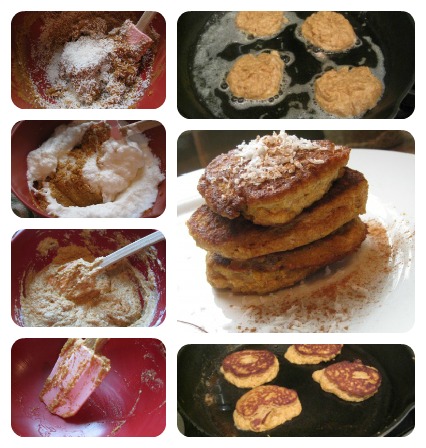
2. Smash the bananas. These are nice and spotted!

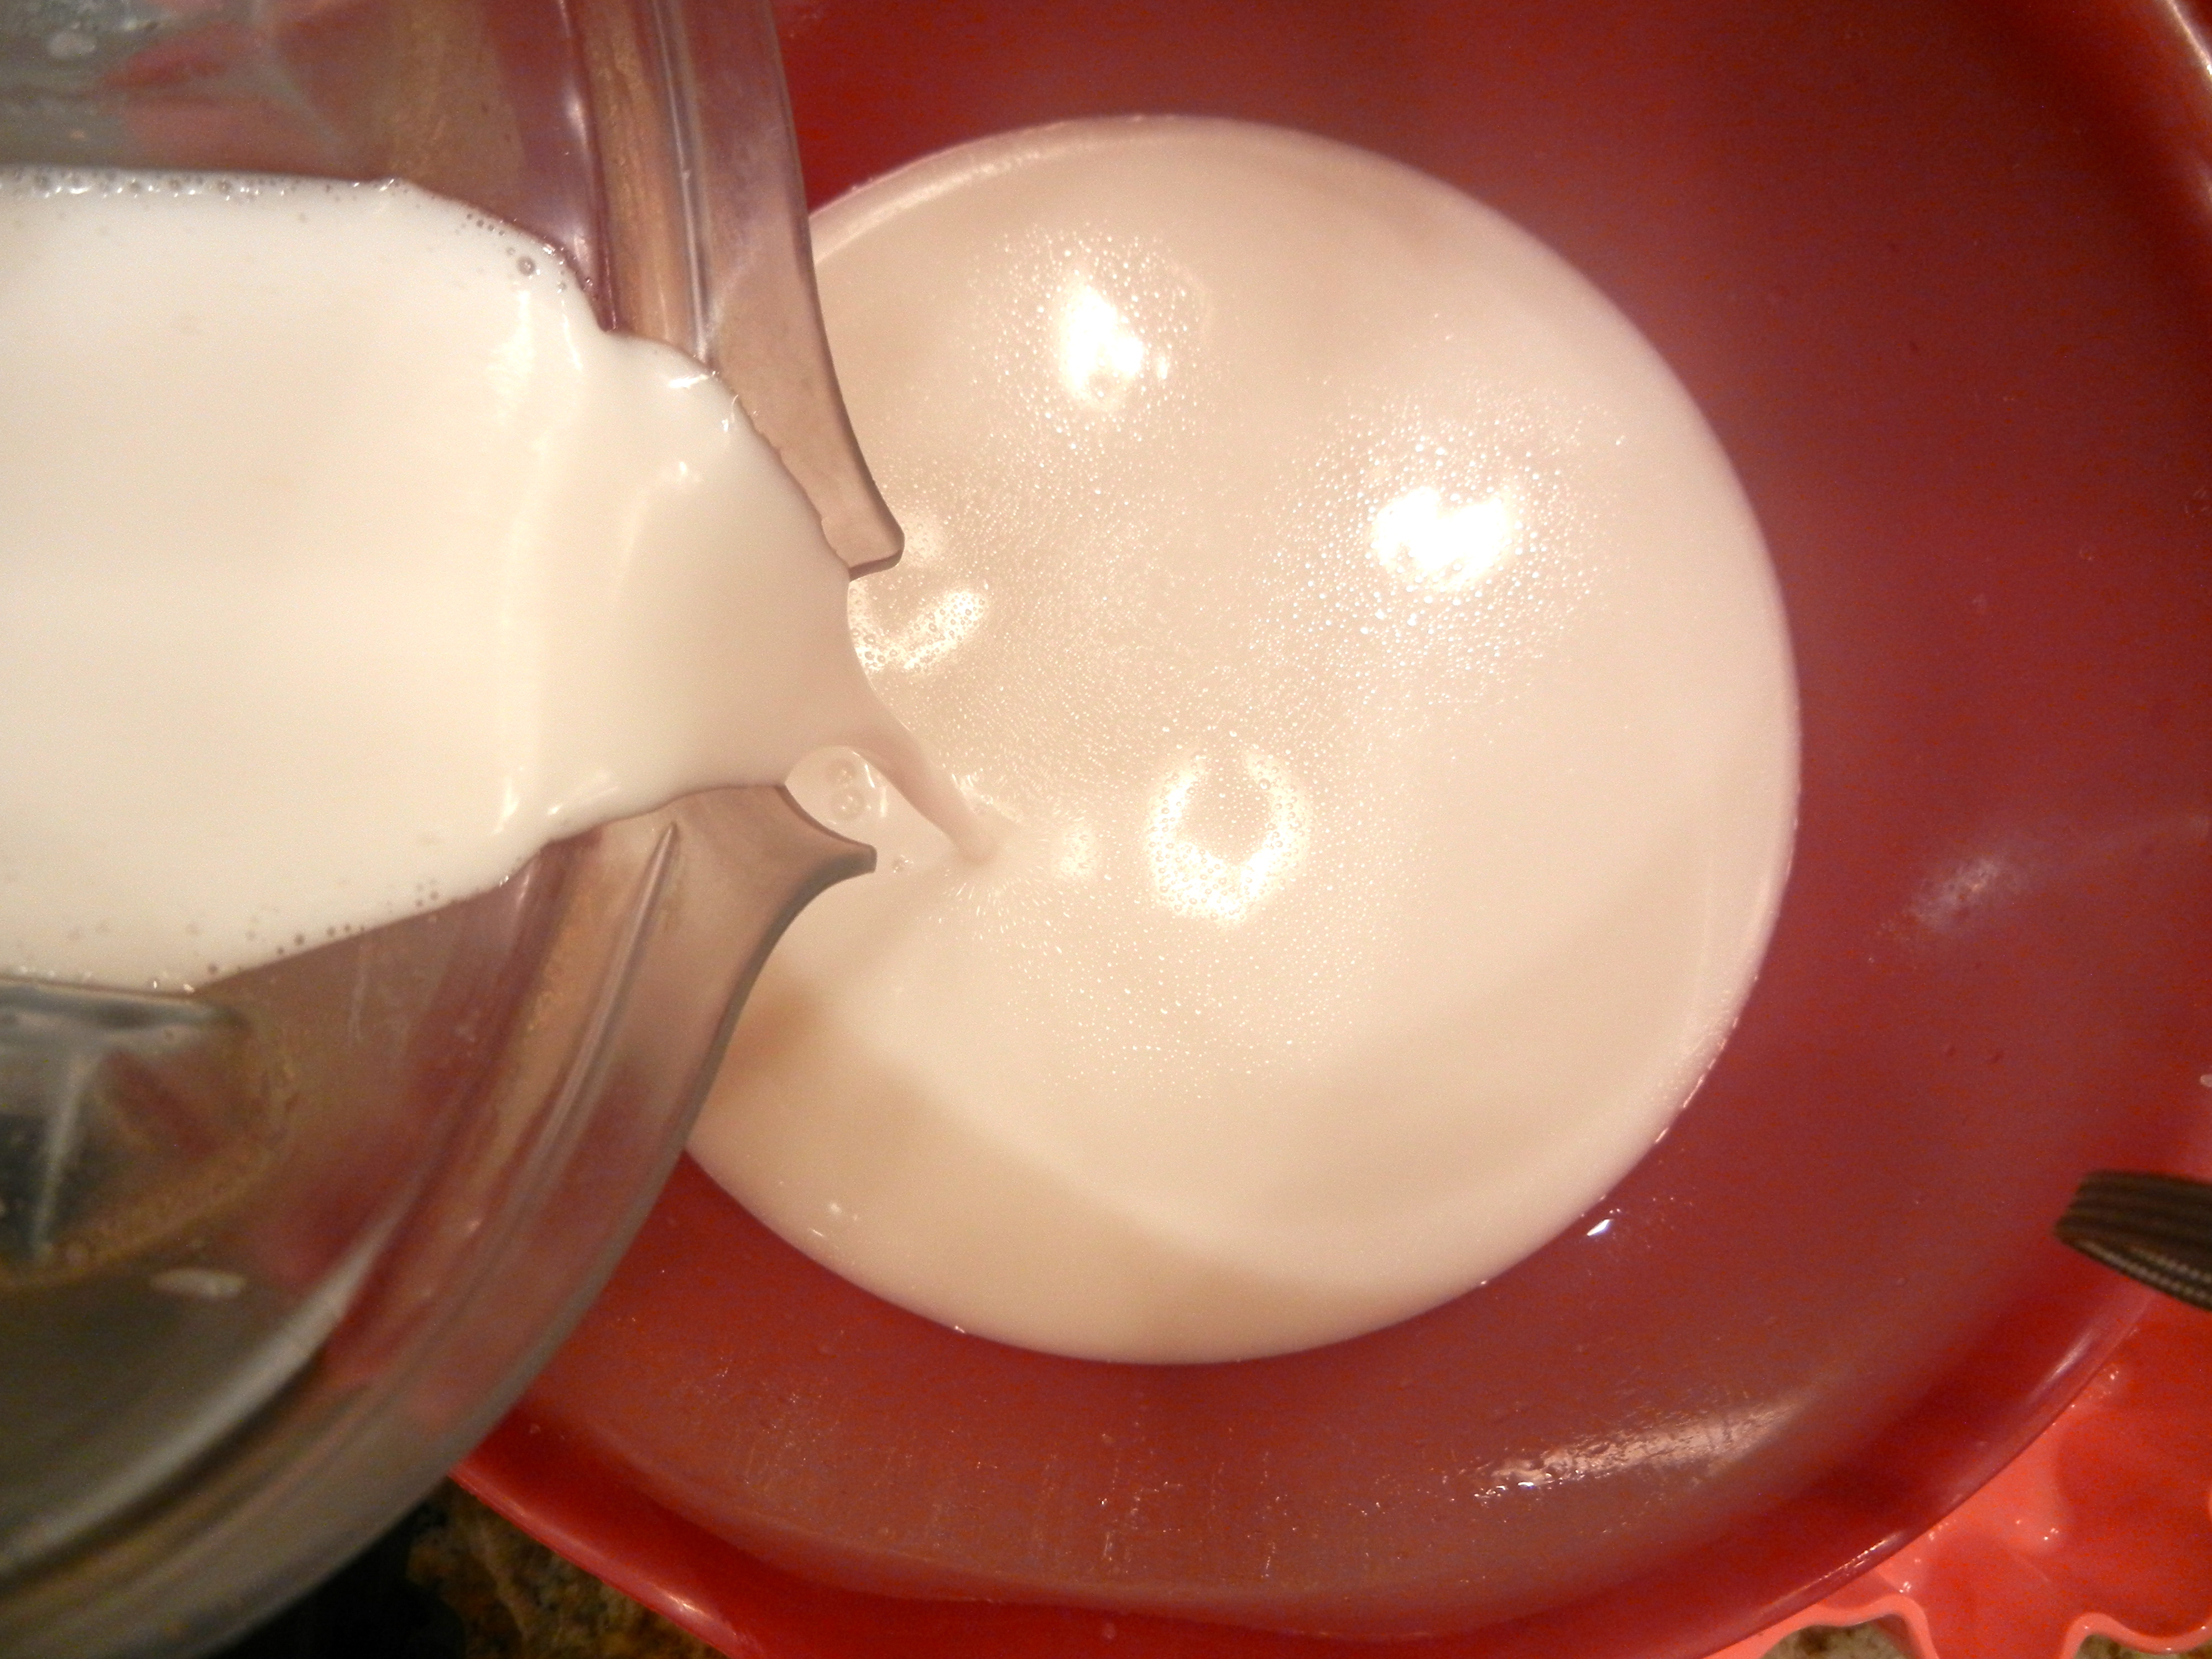
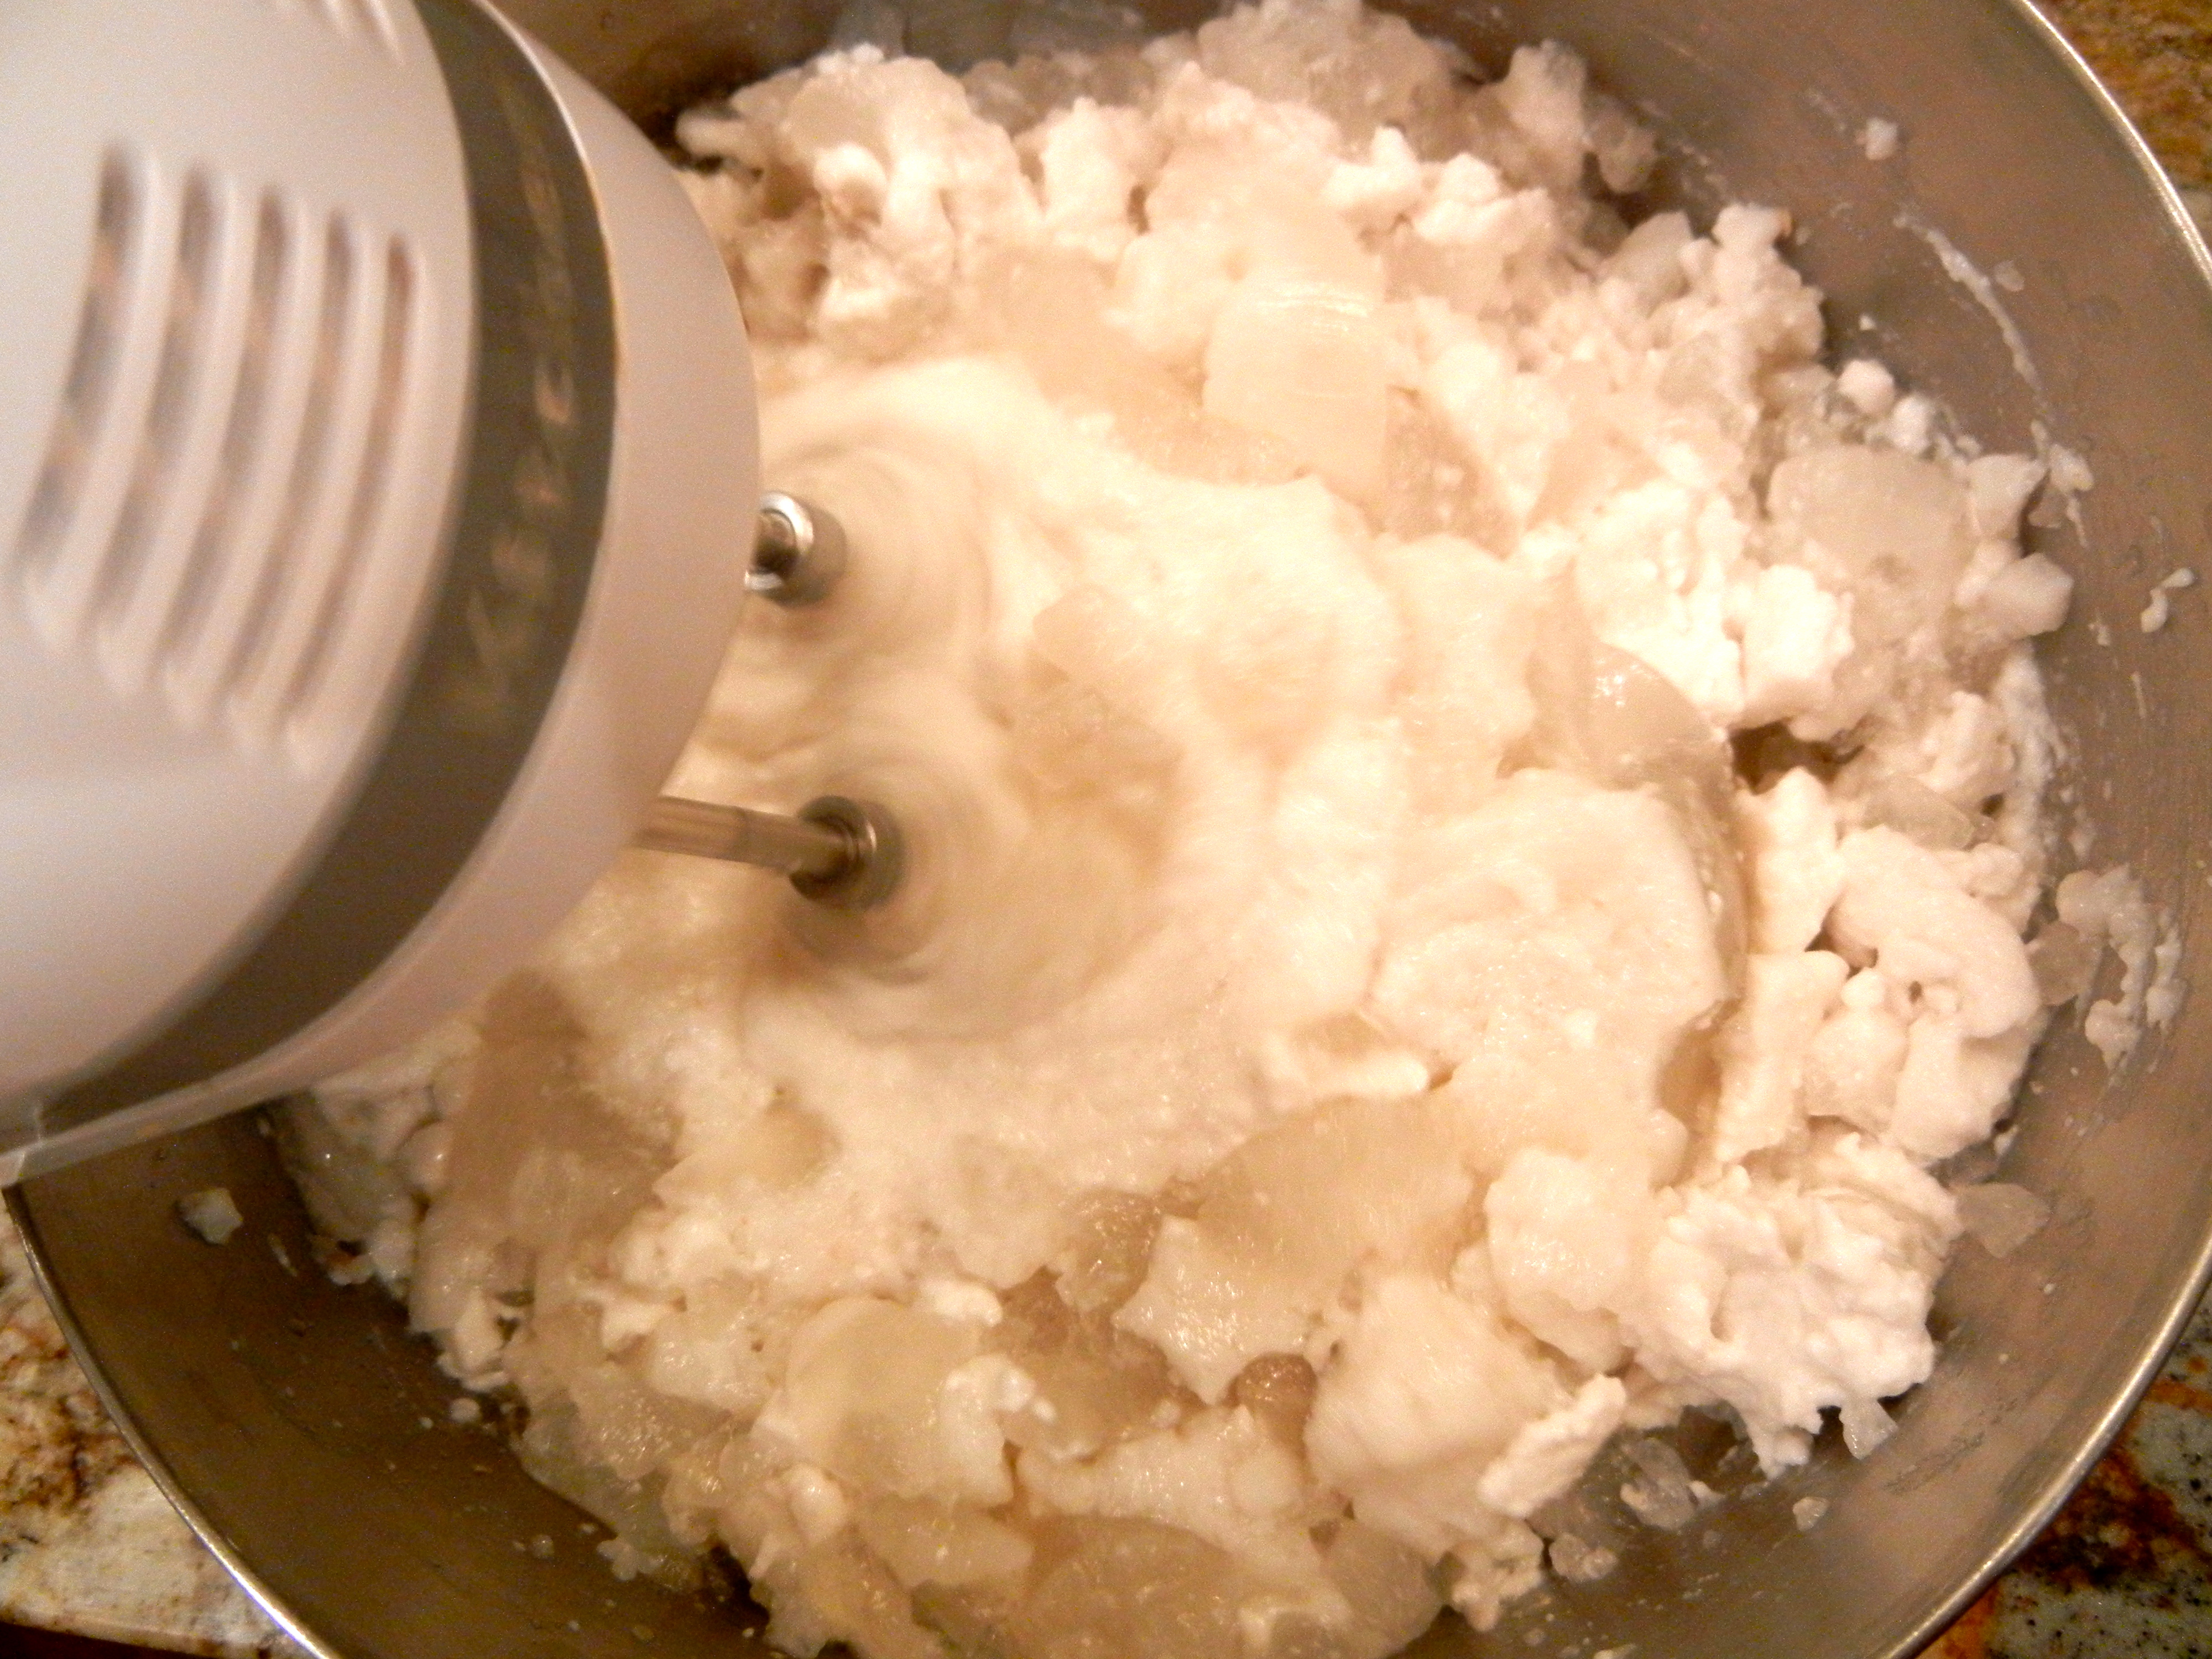
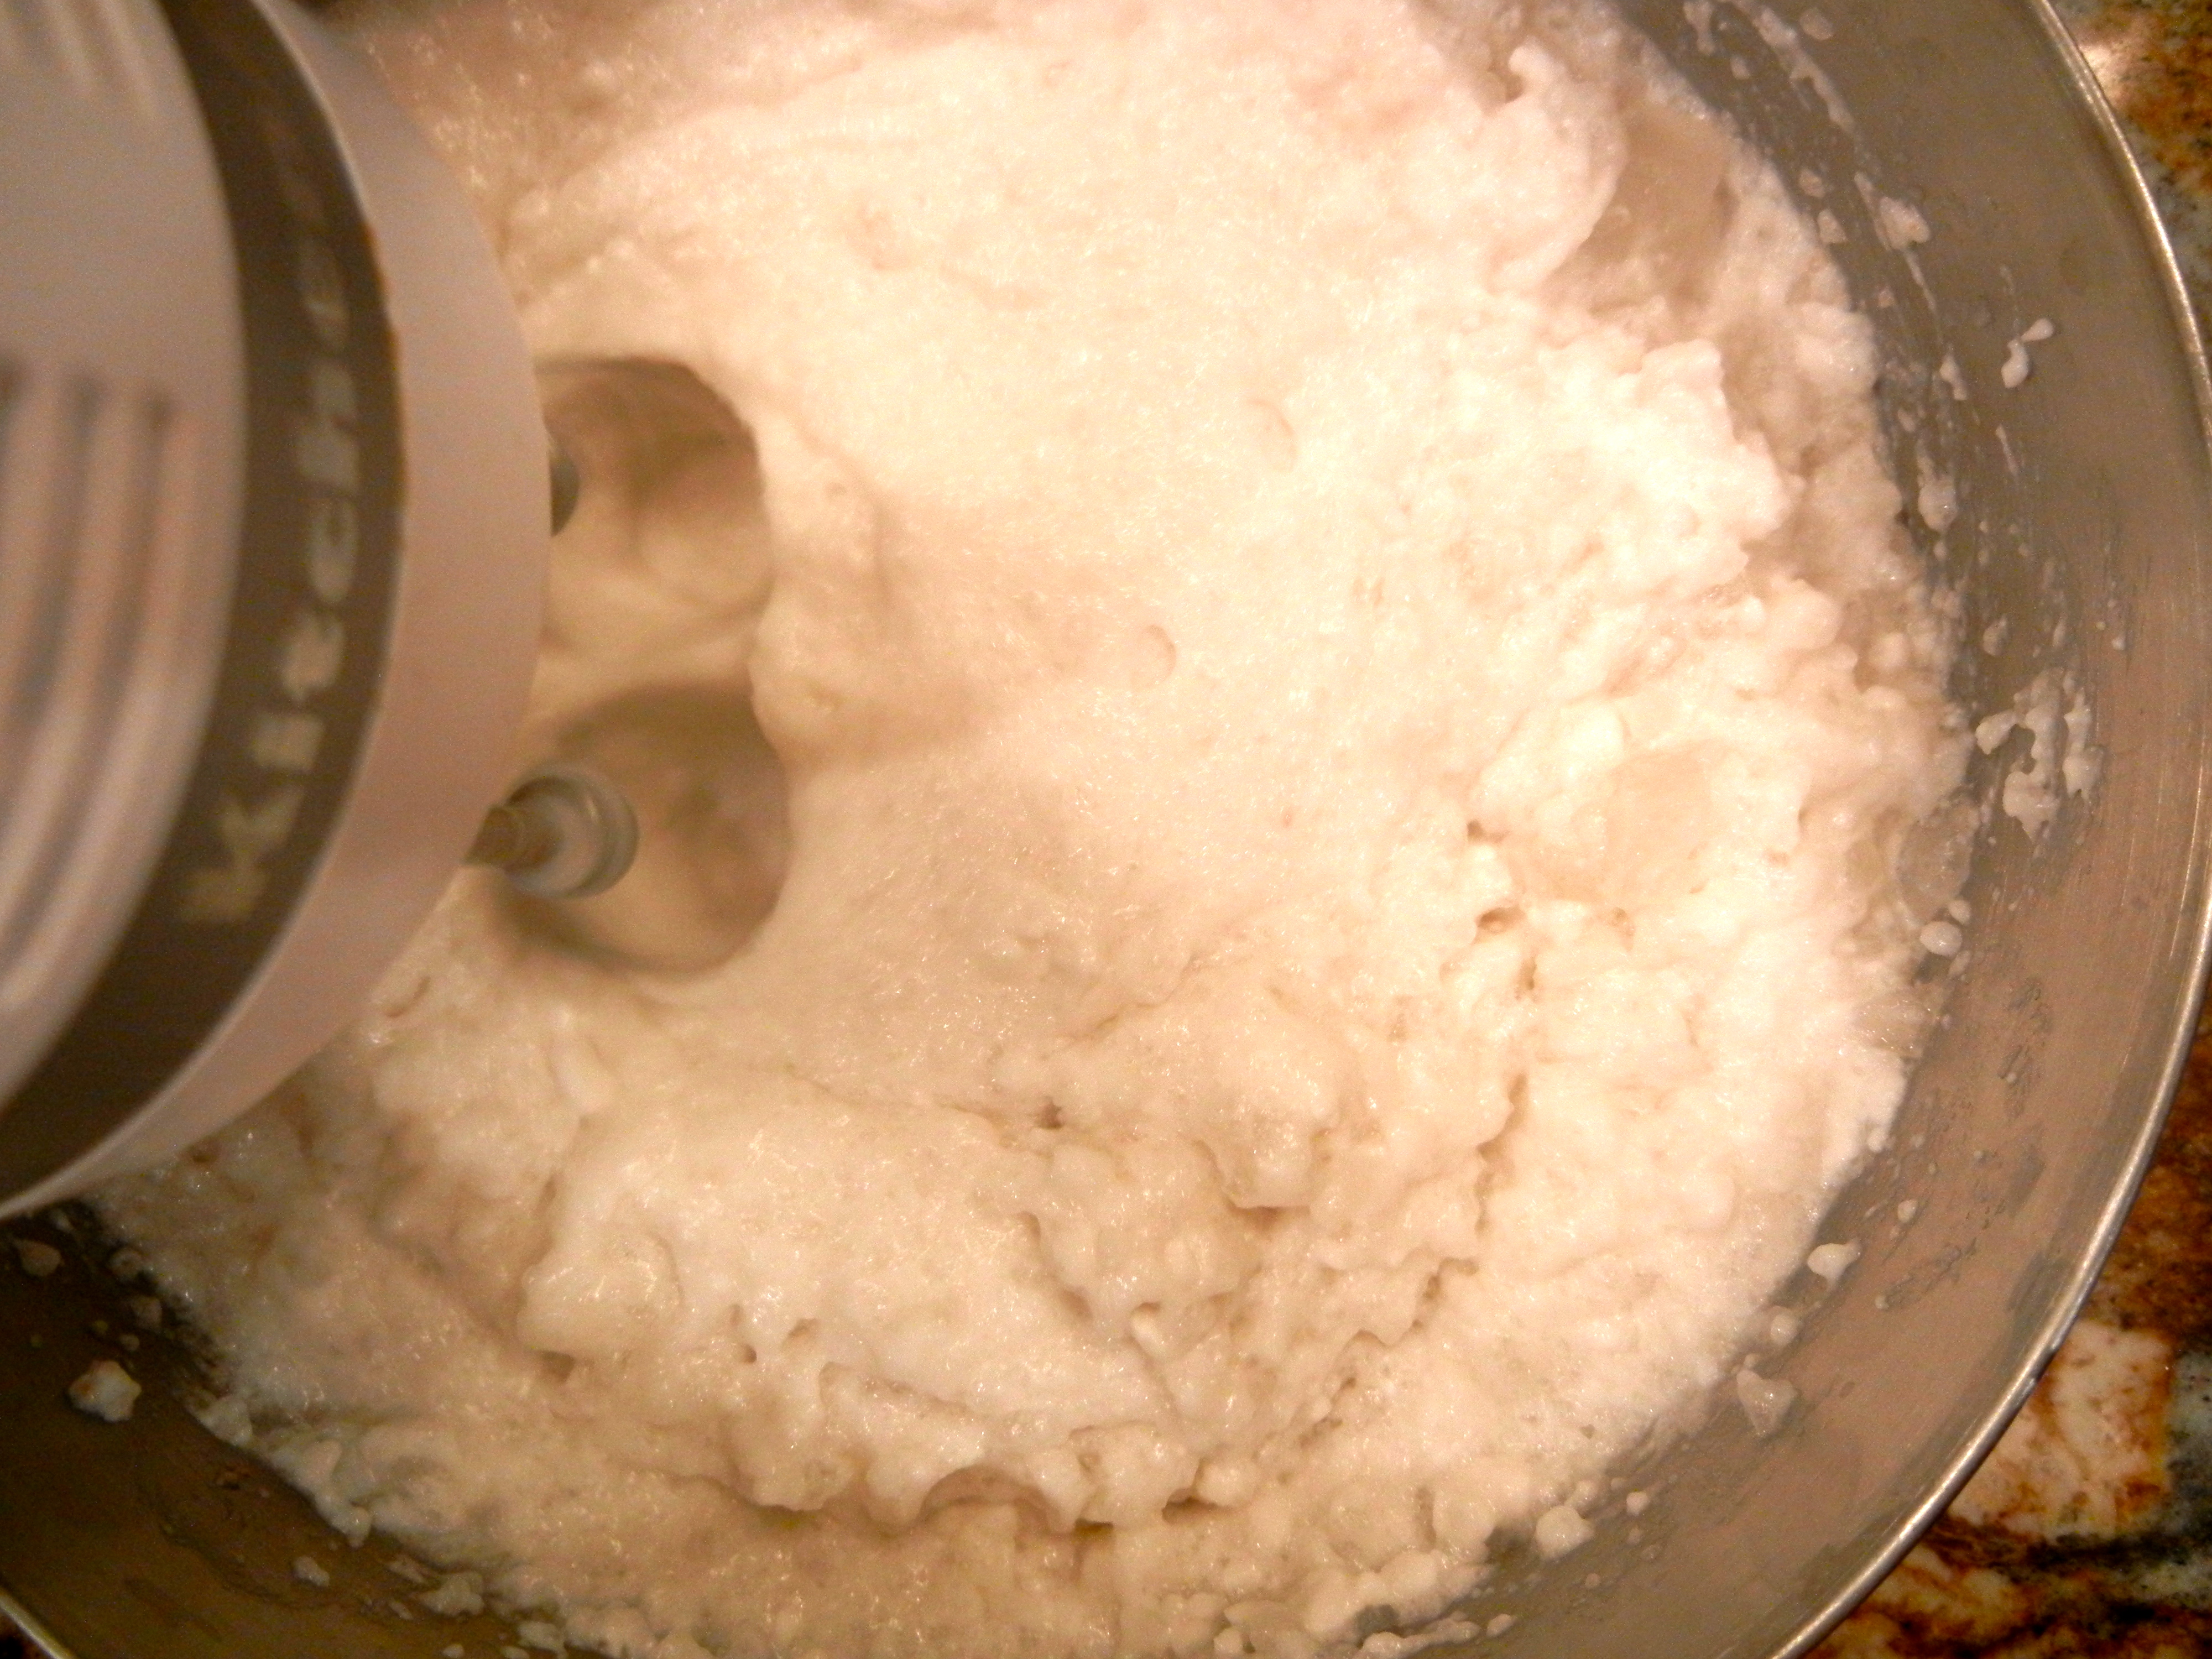
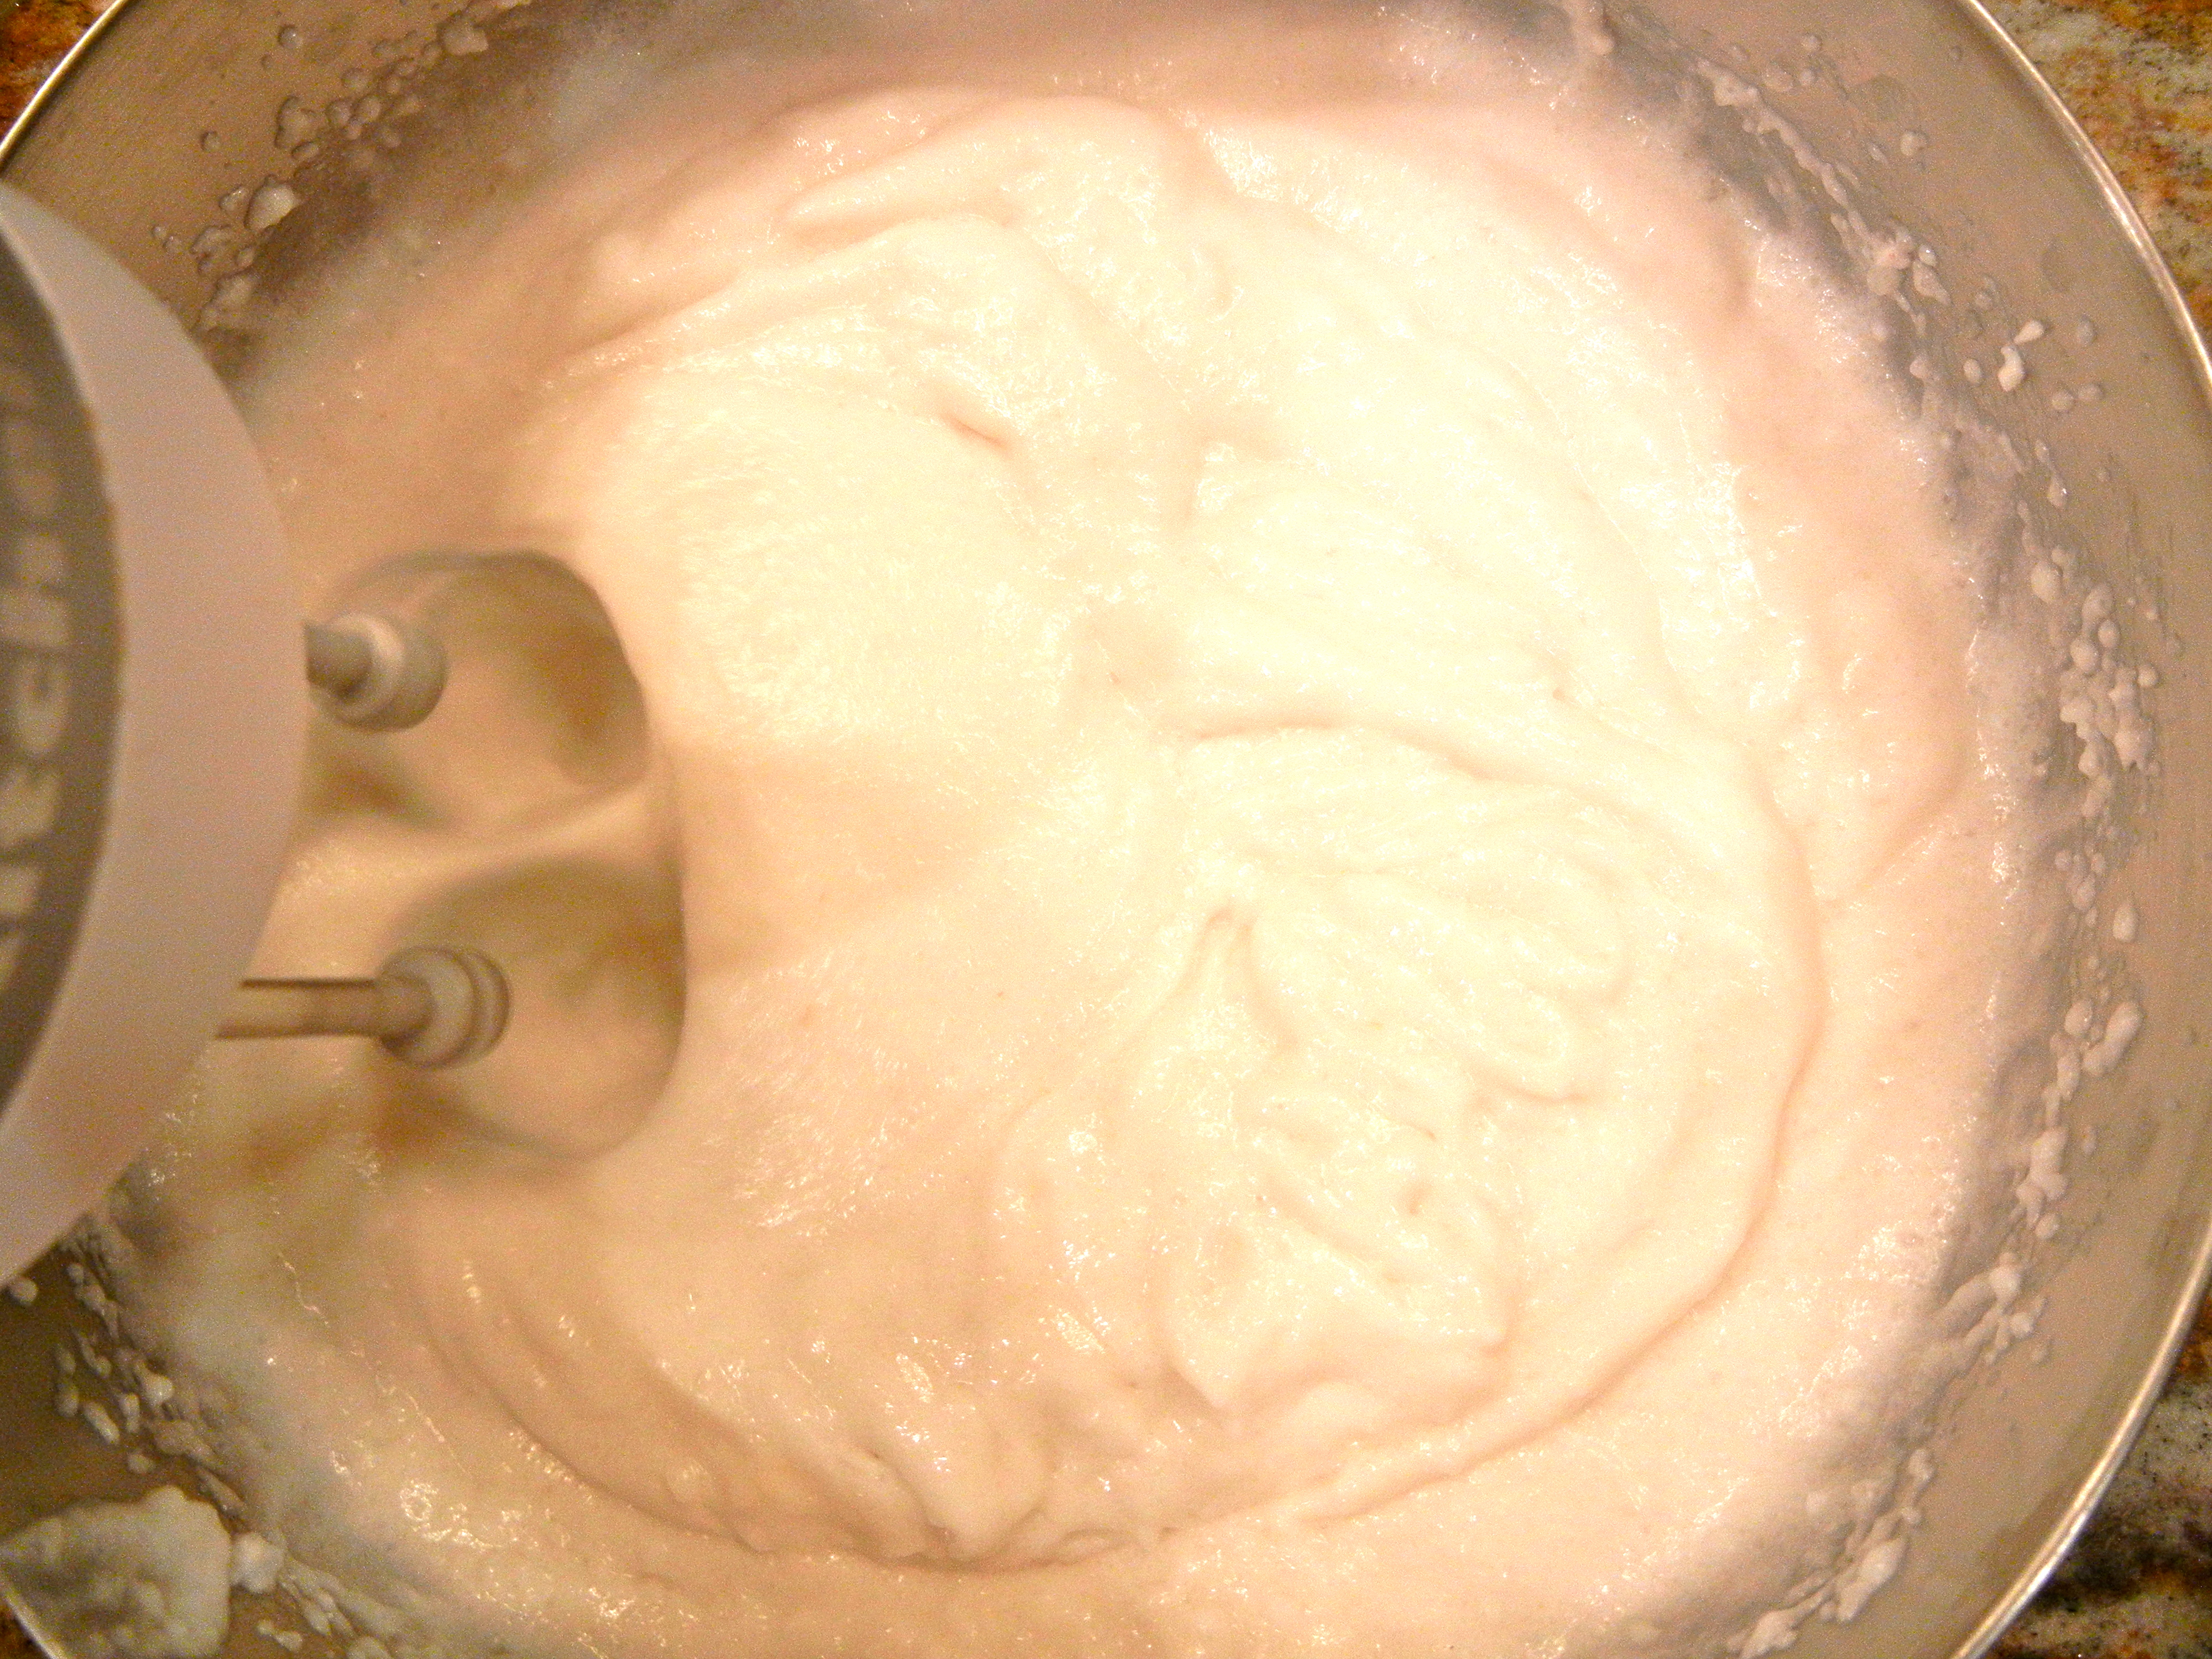
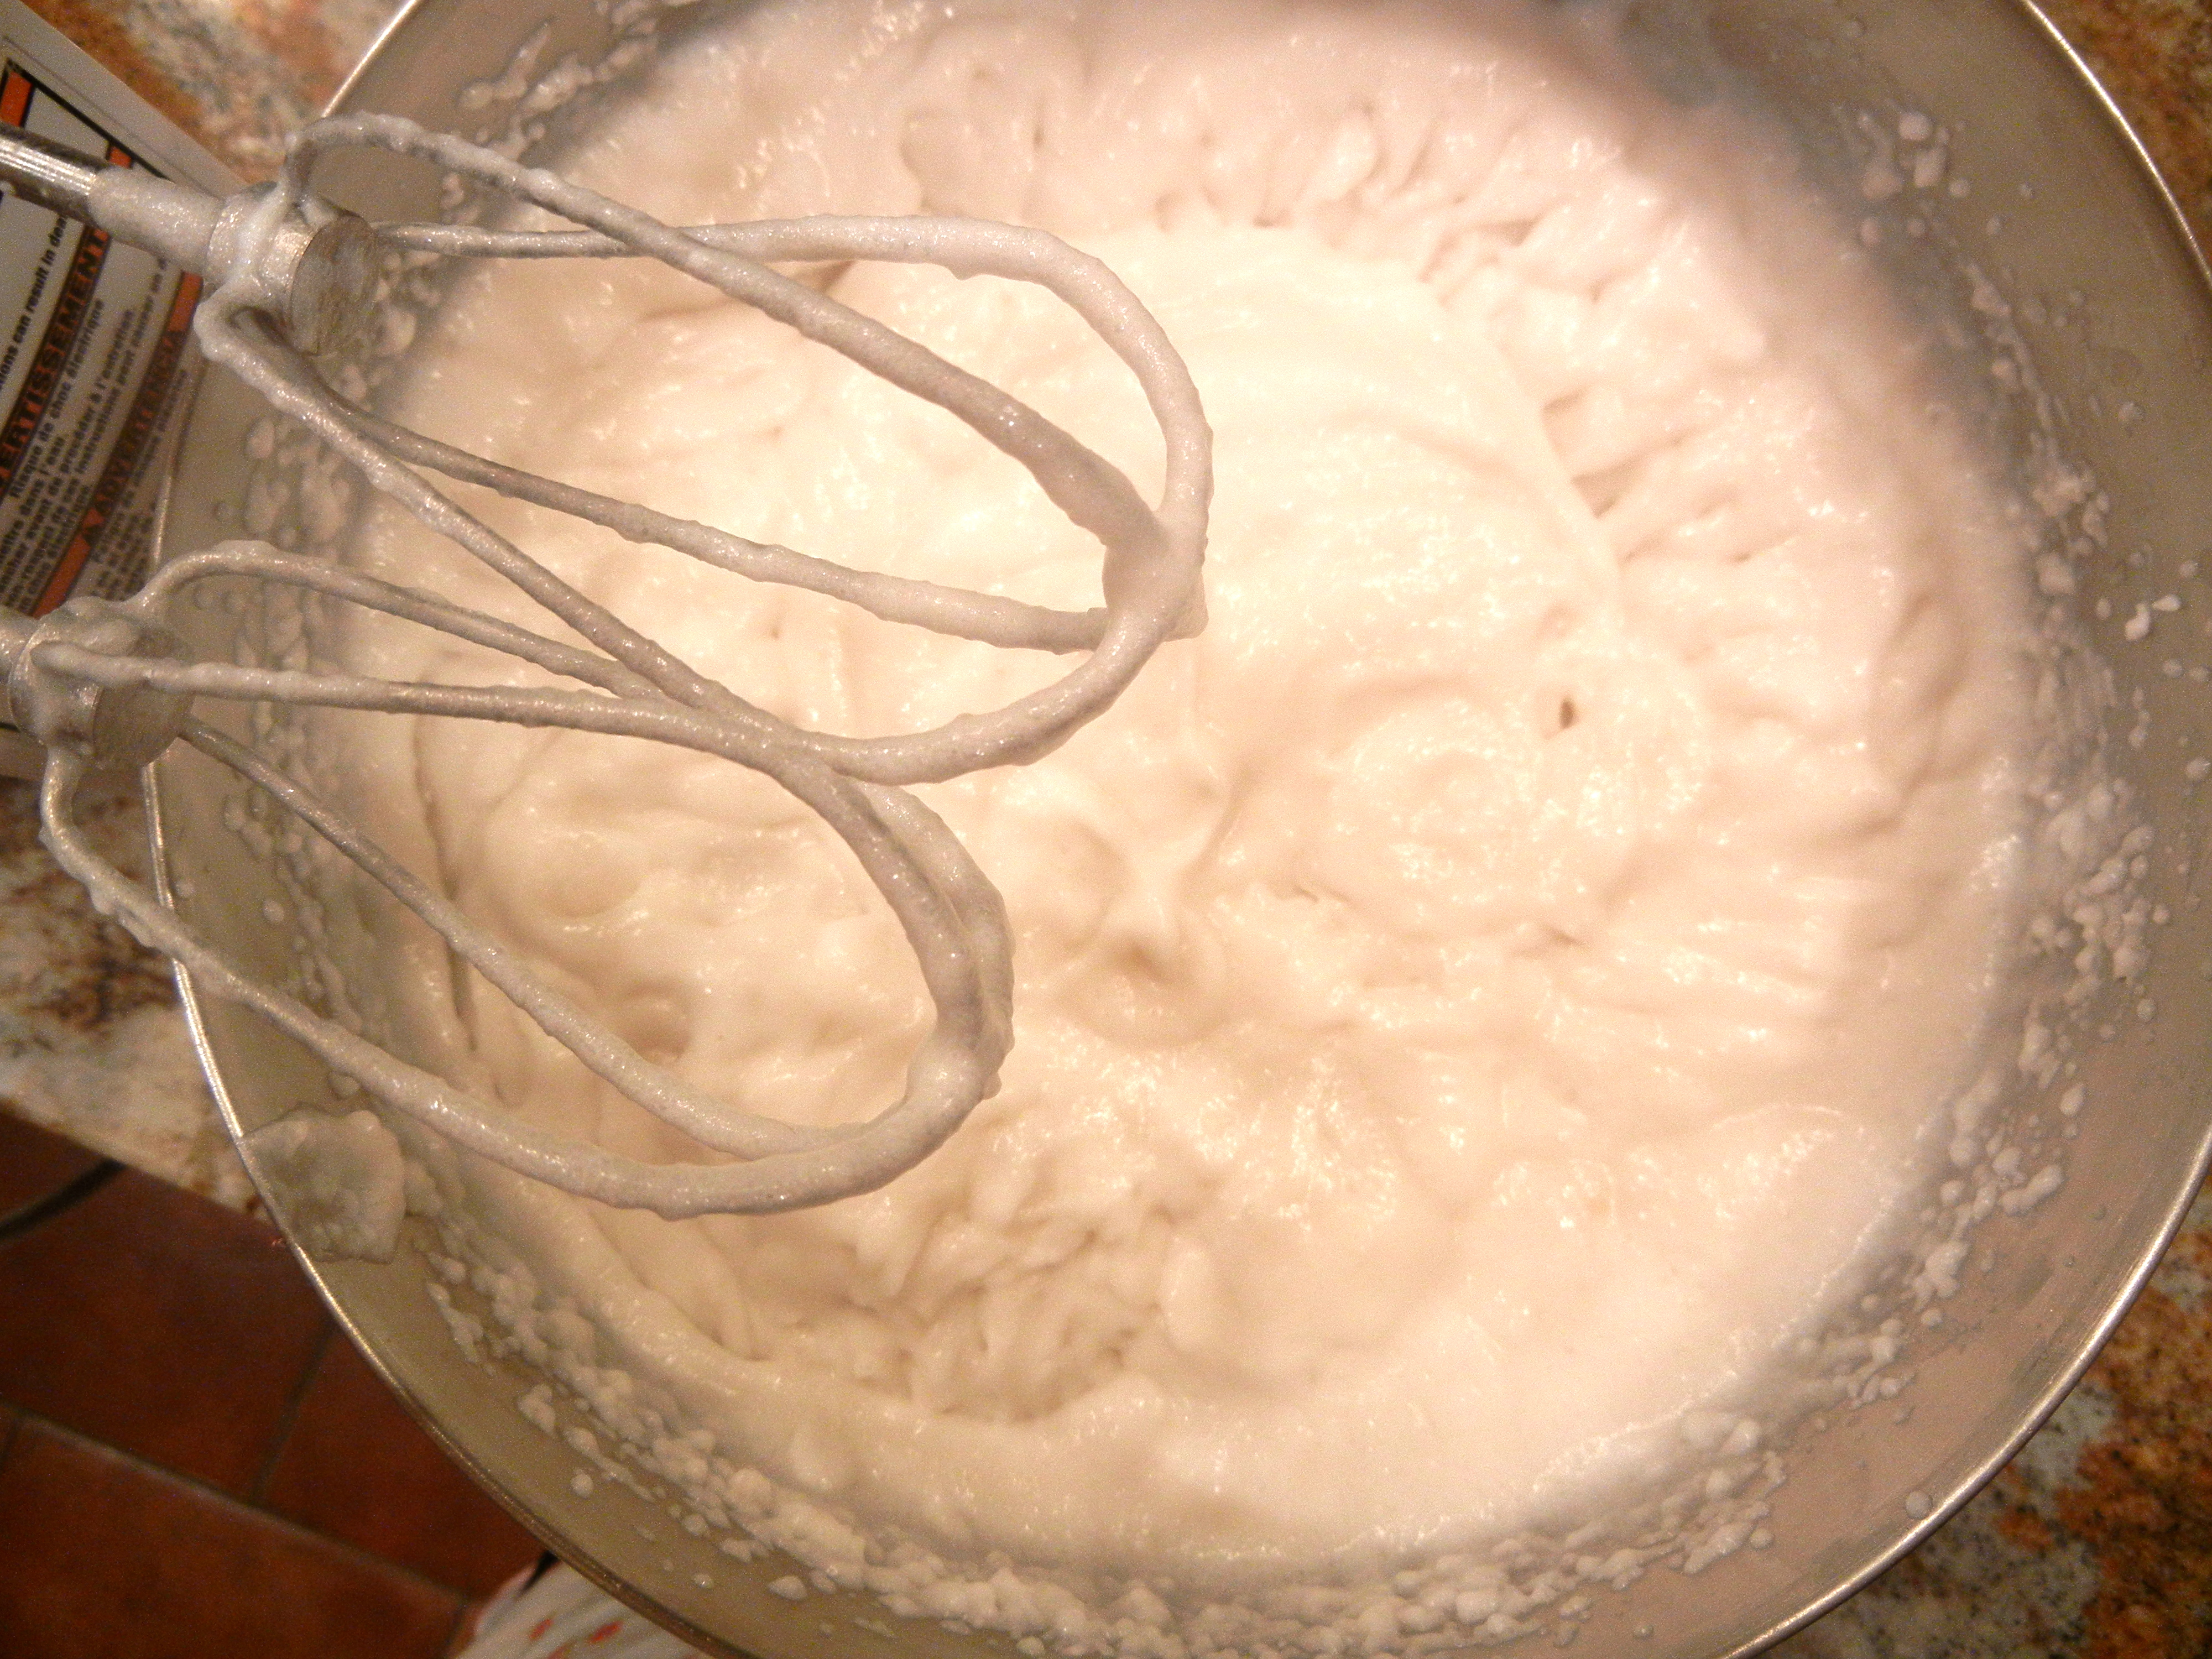
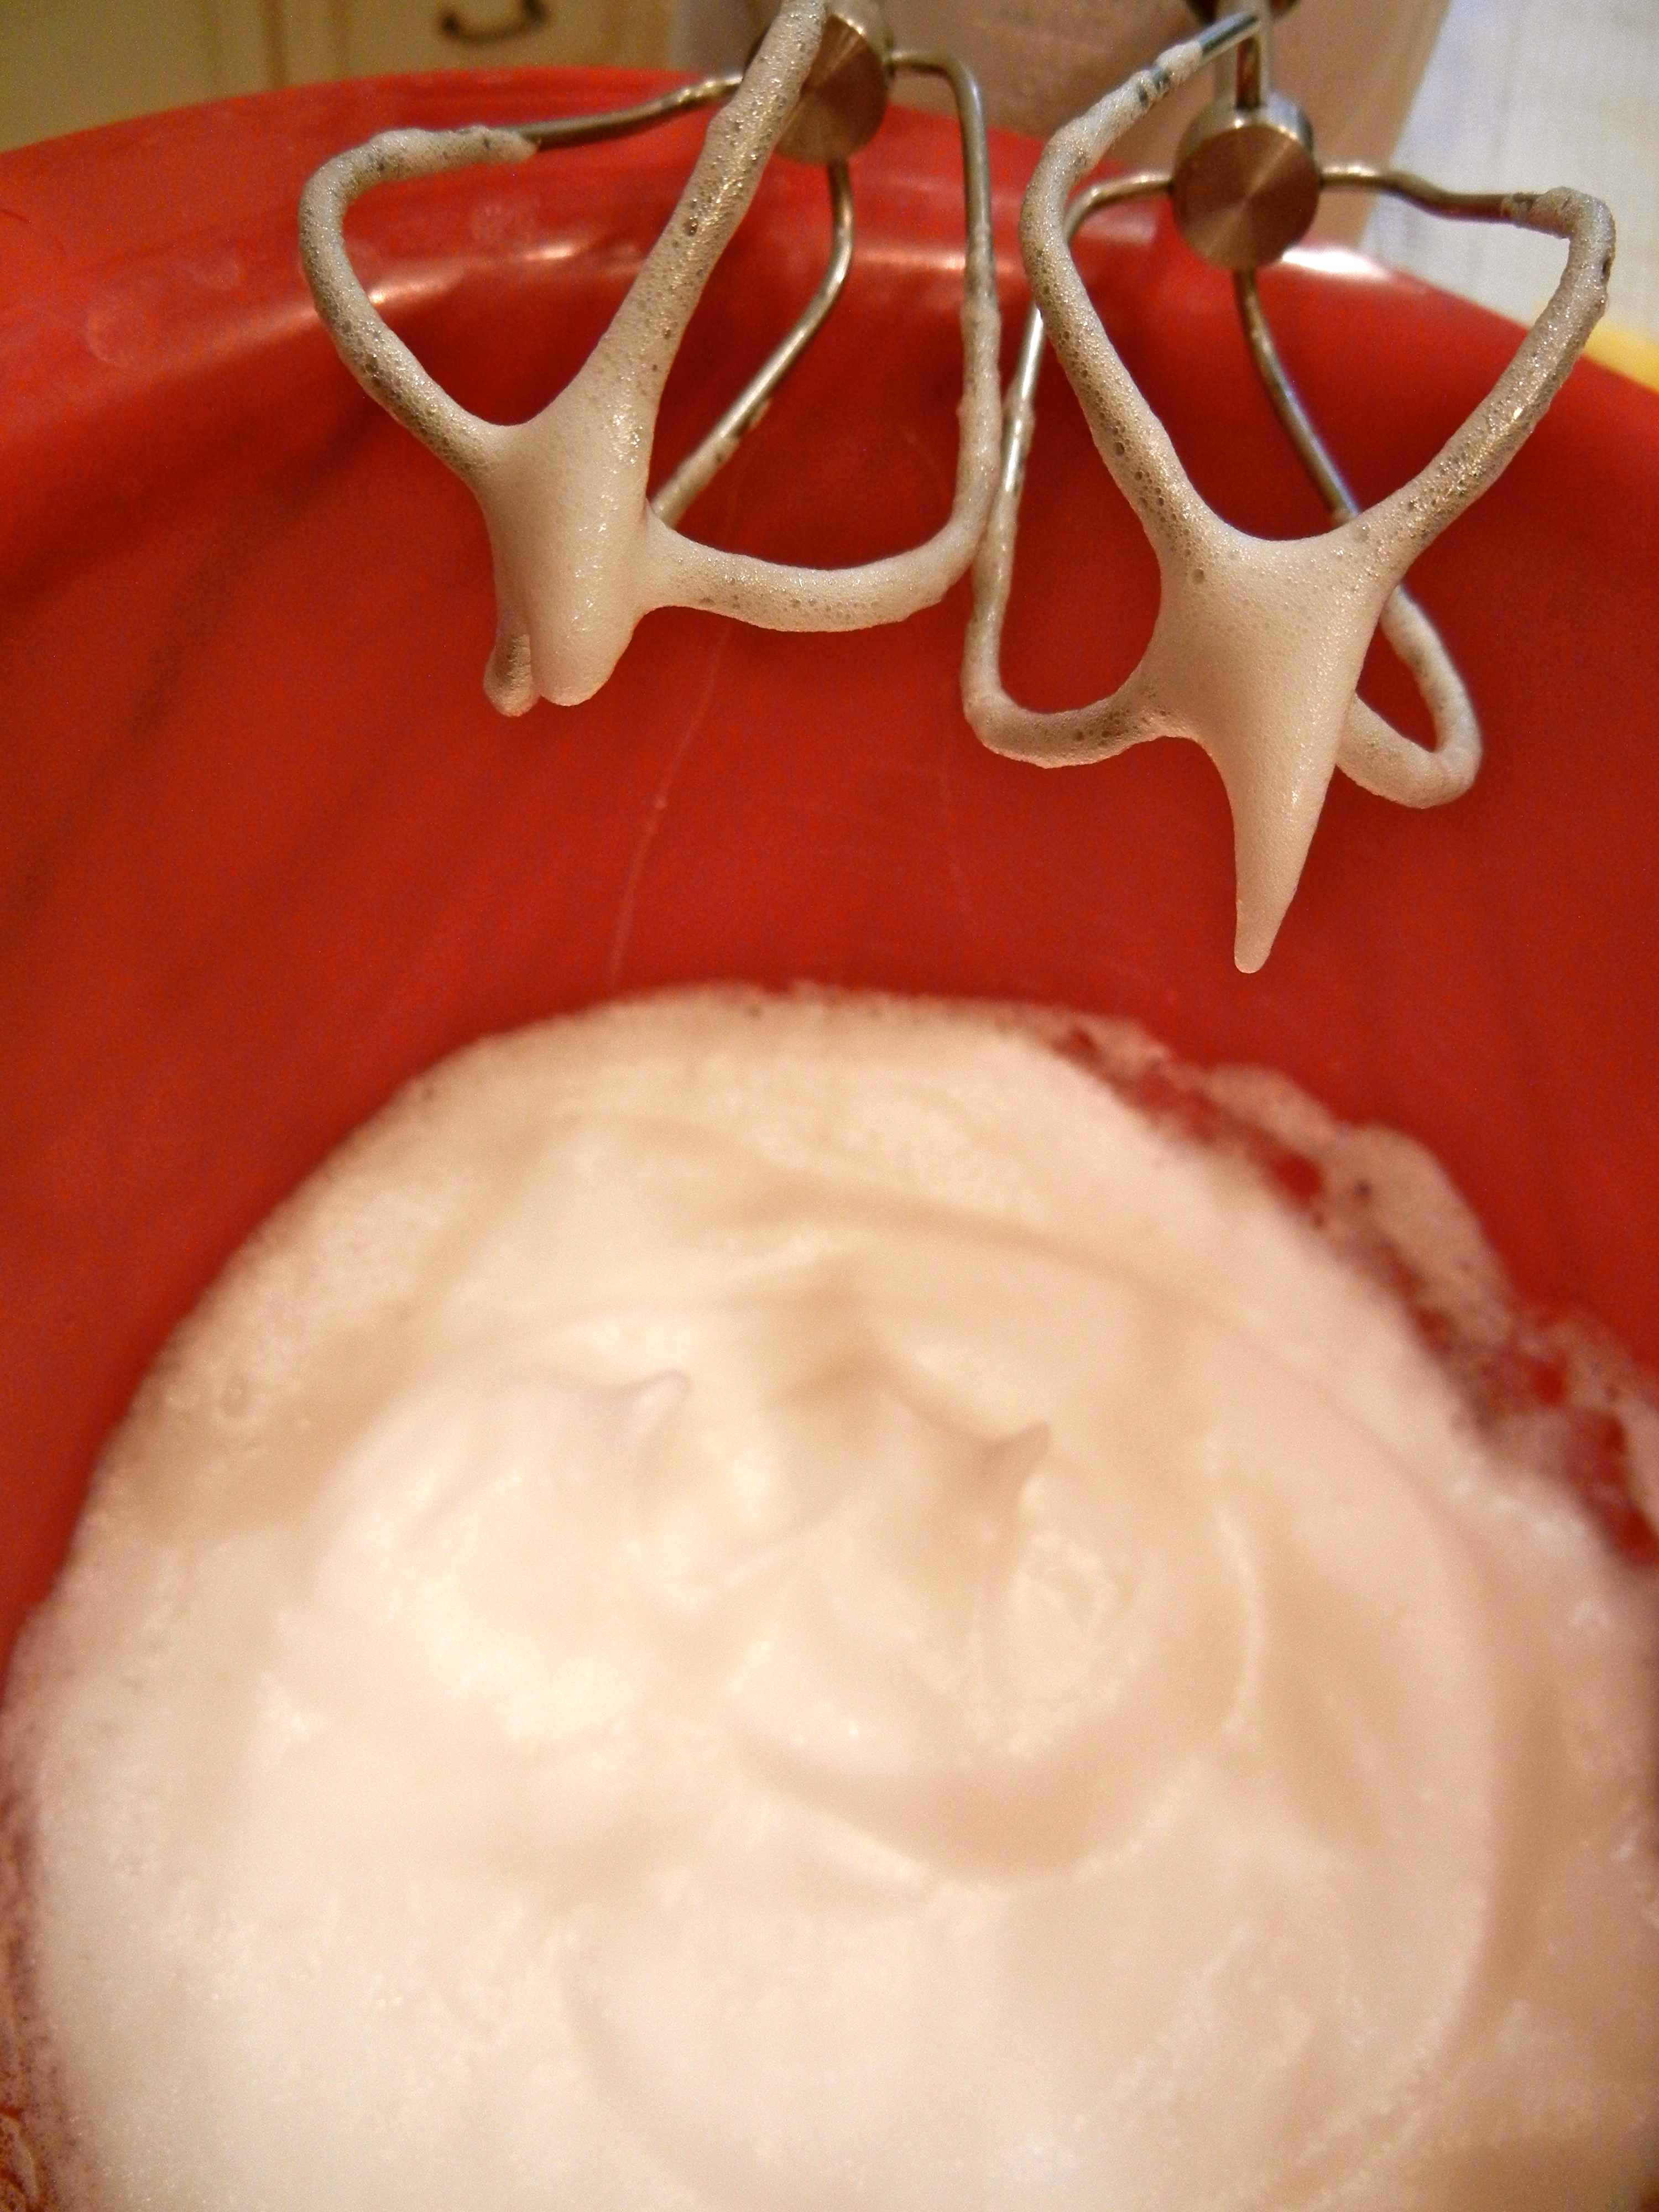
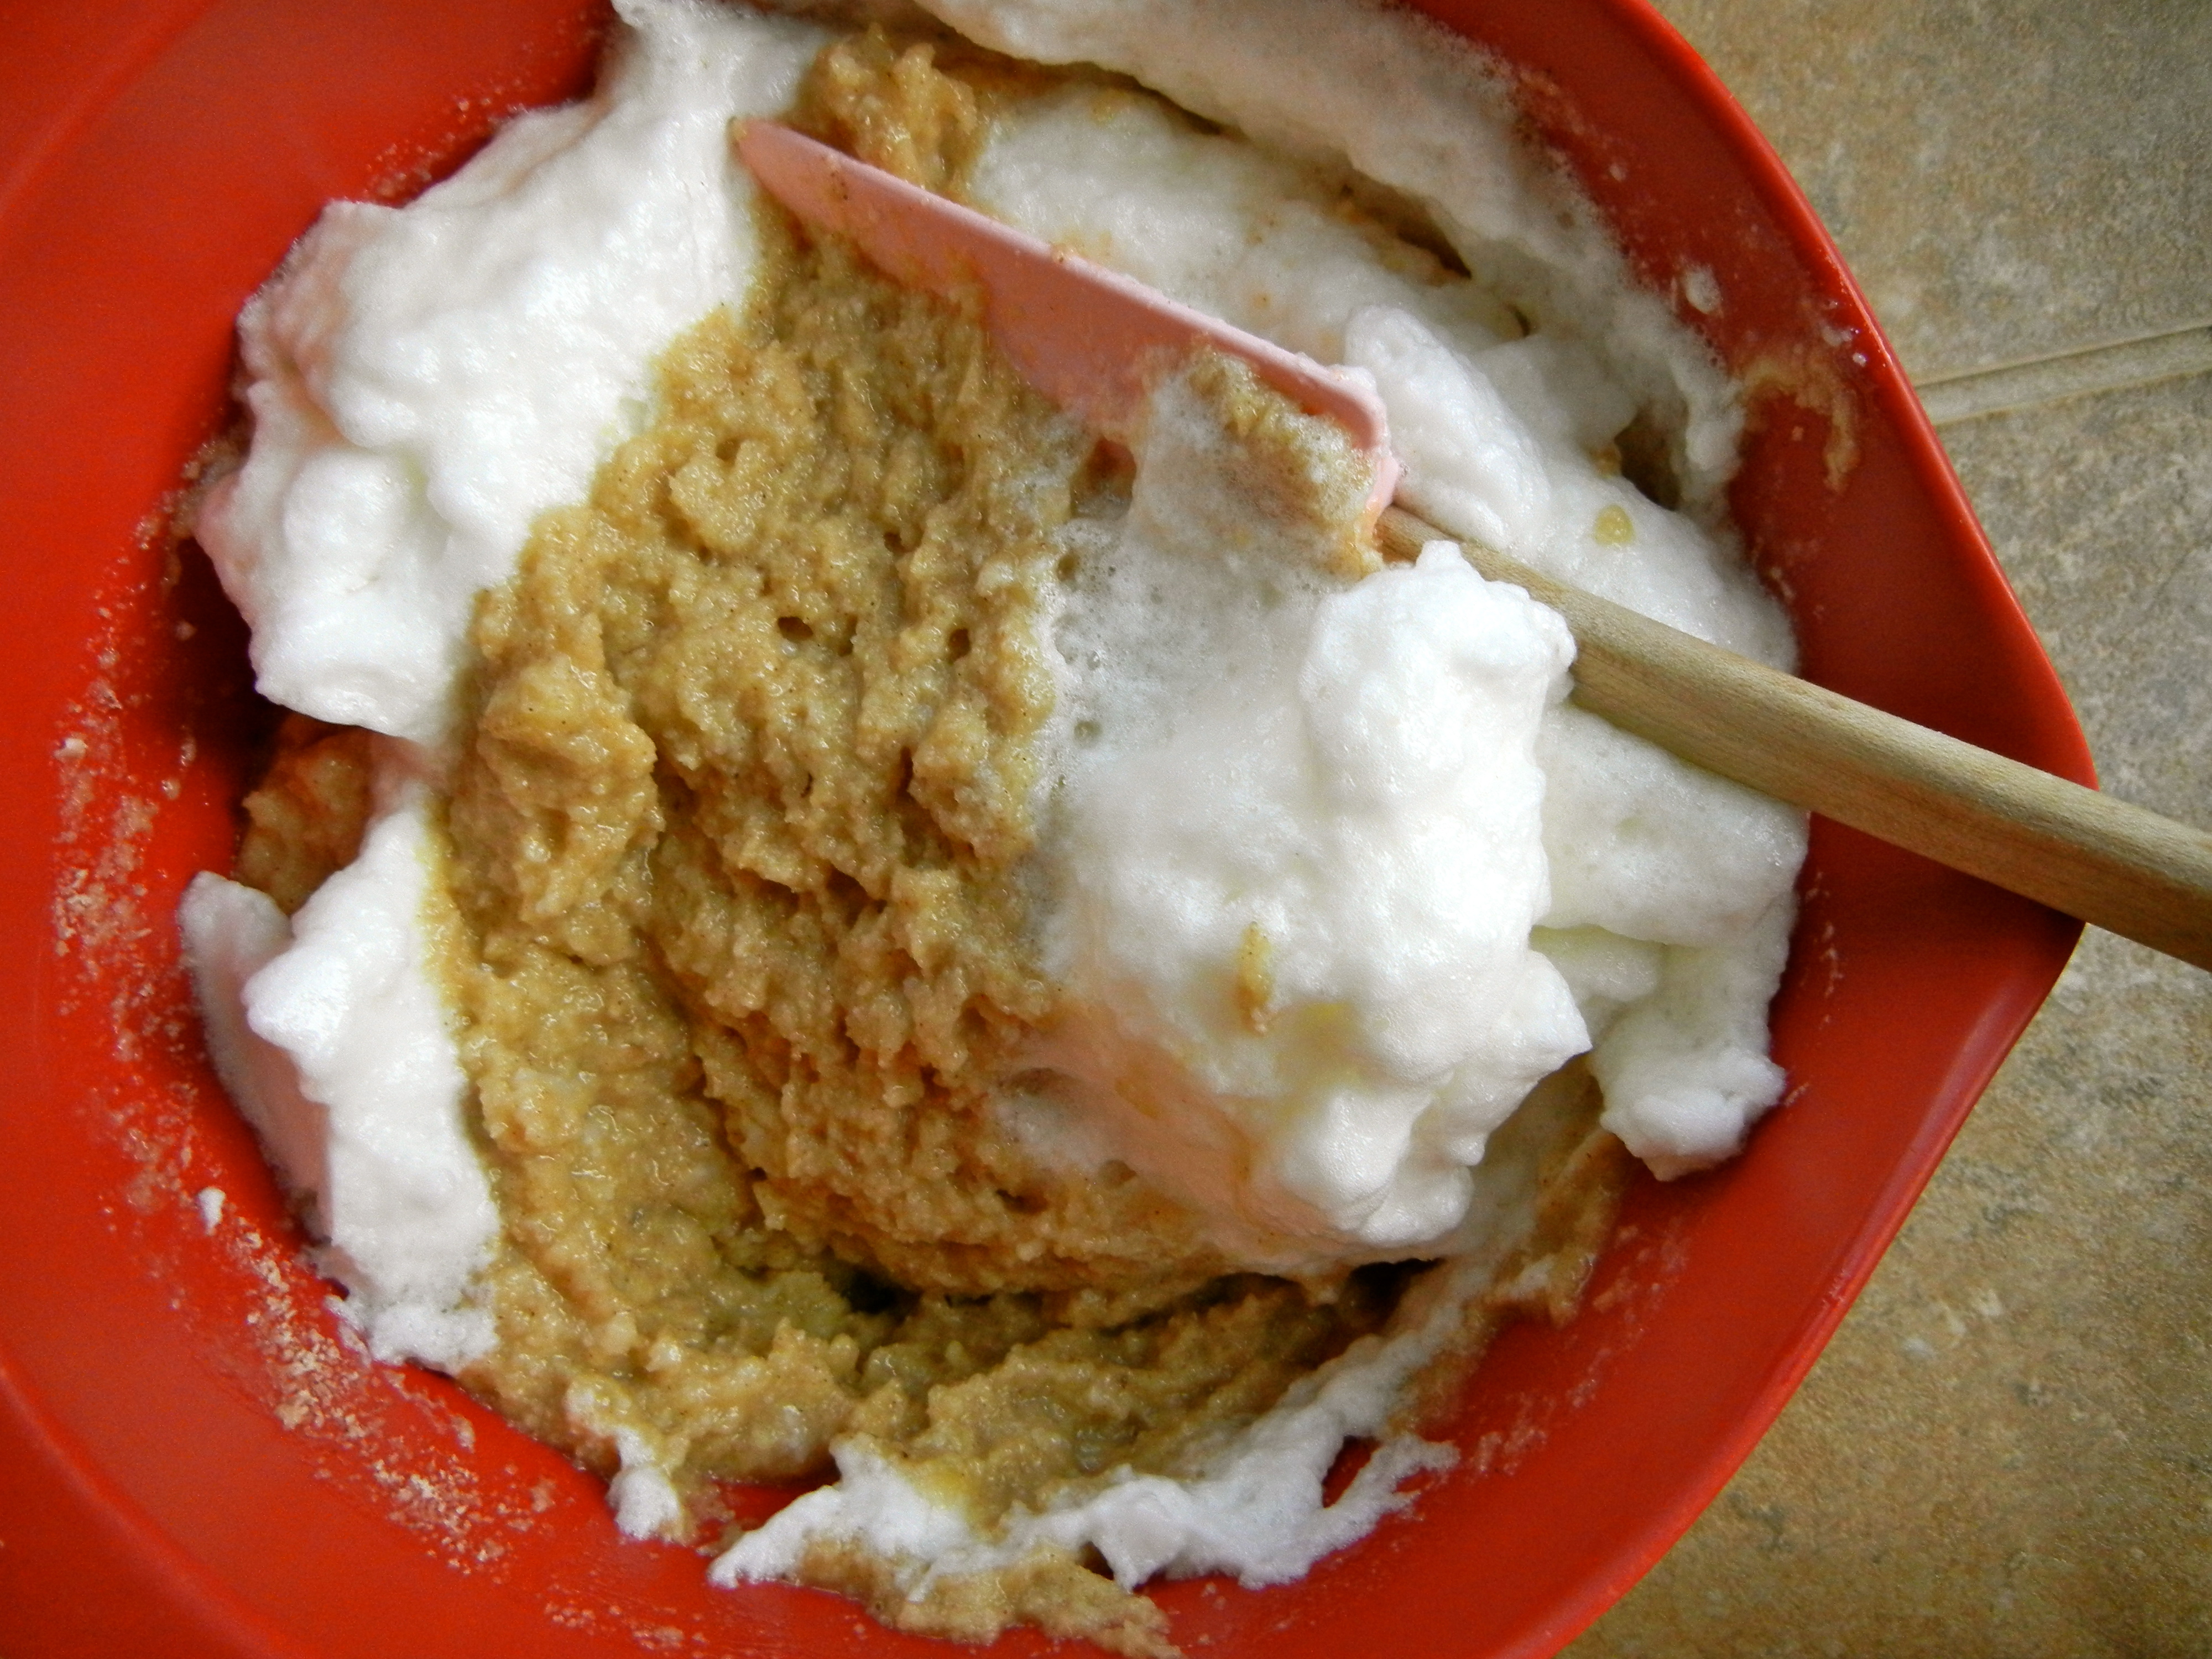
3. (In the banana bowl) mix in the honey, butter, vanilla, eggs, and *stevia until combined.
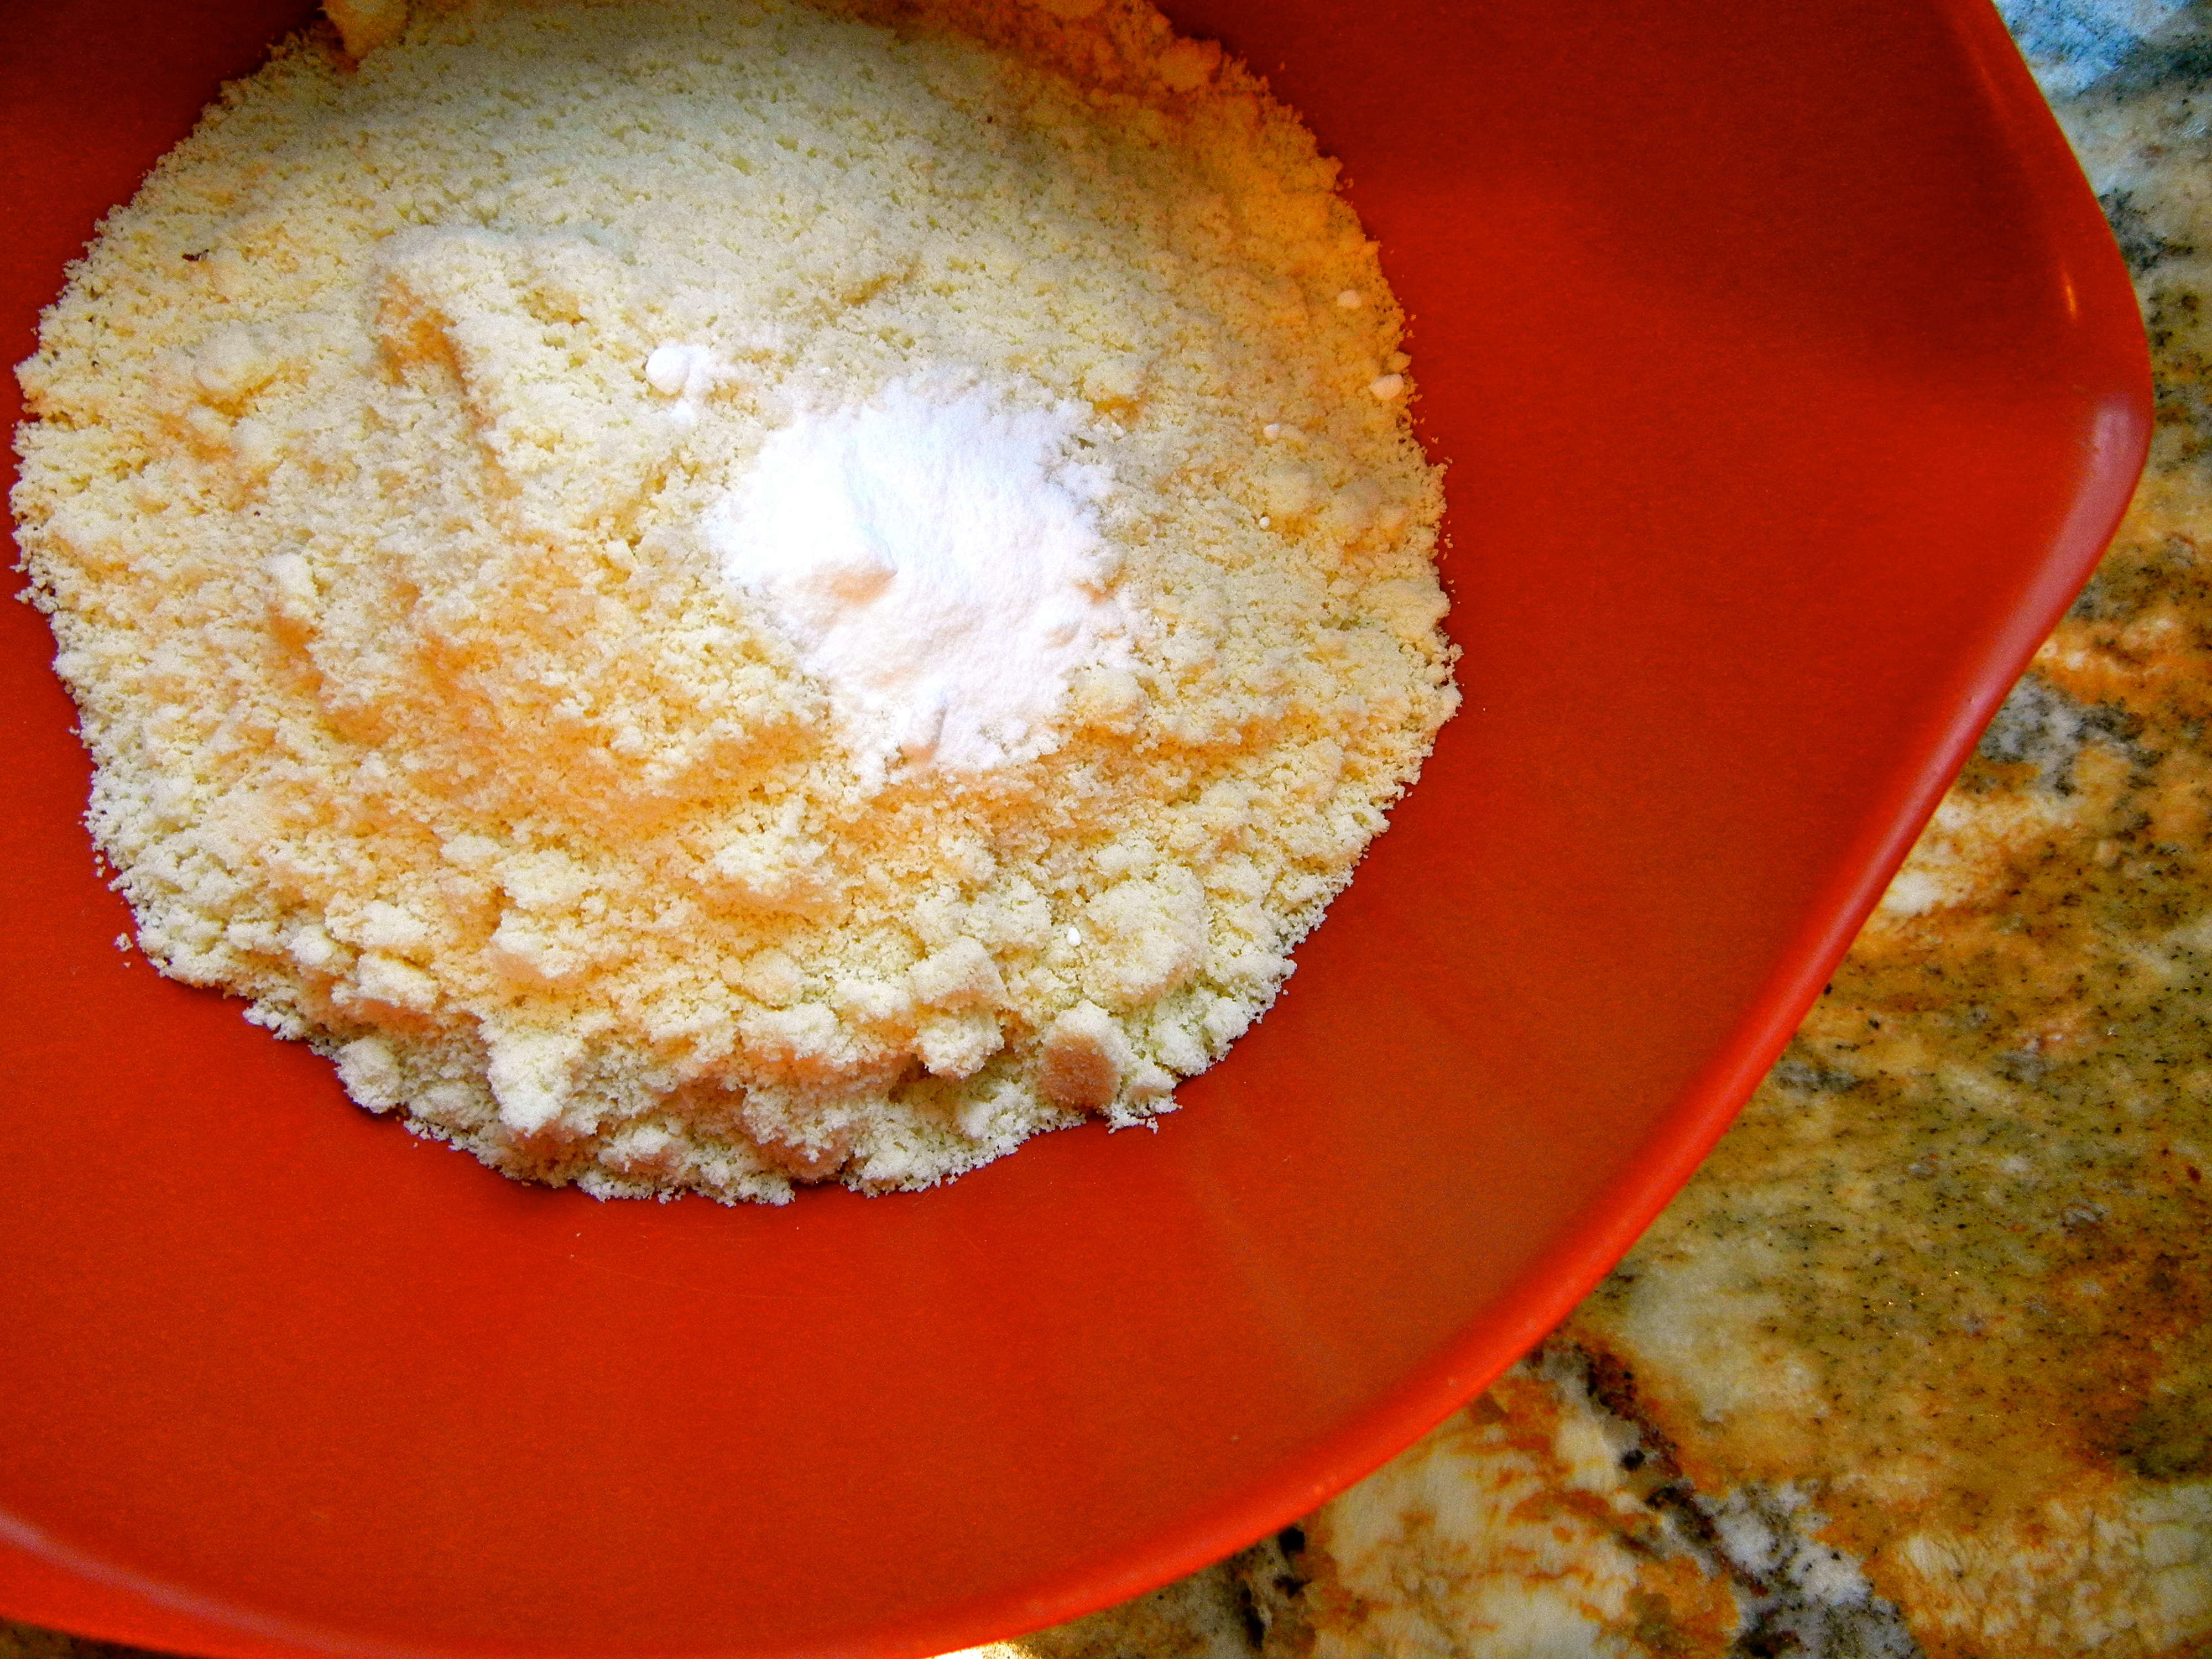
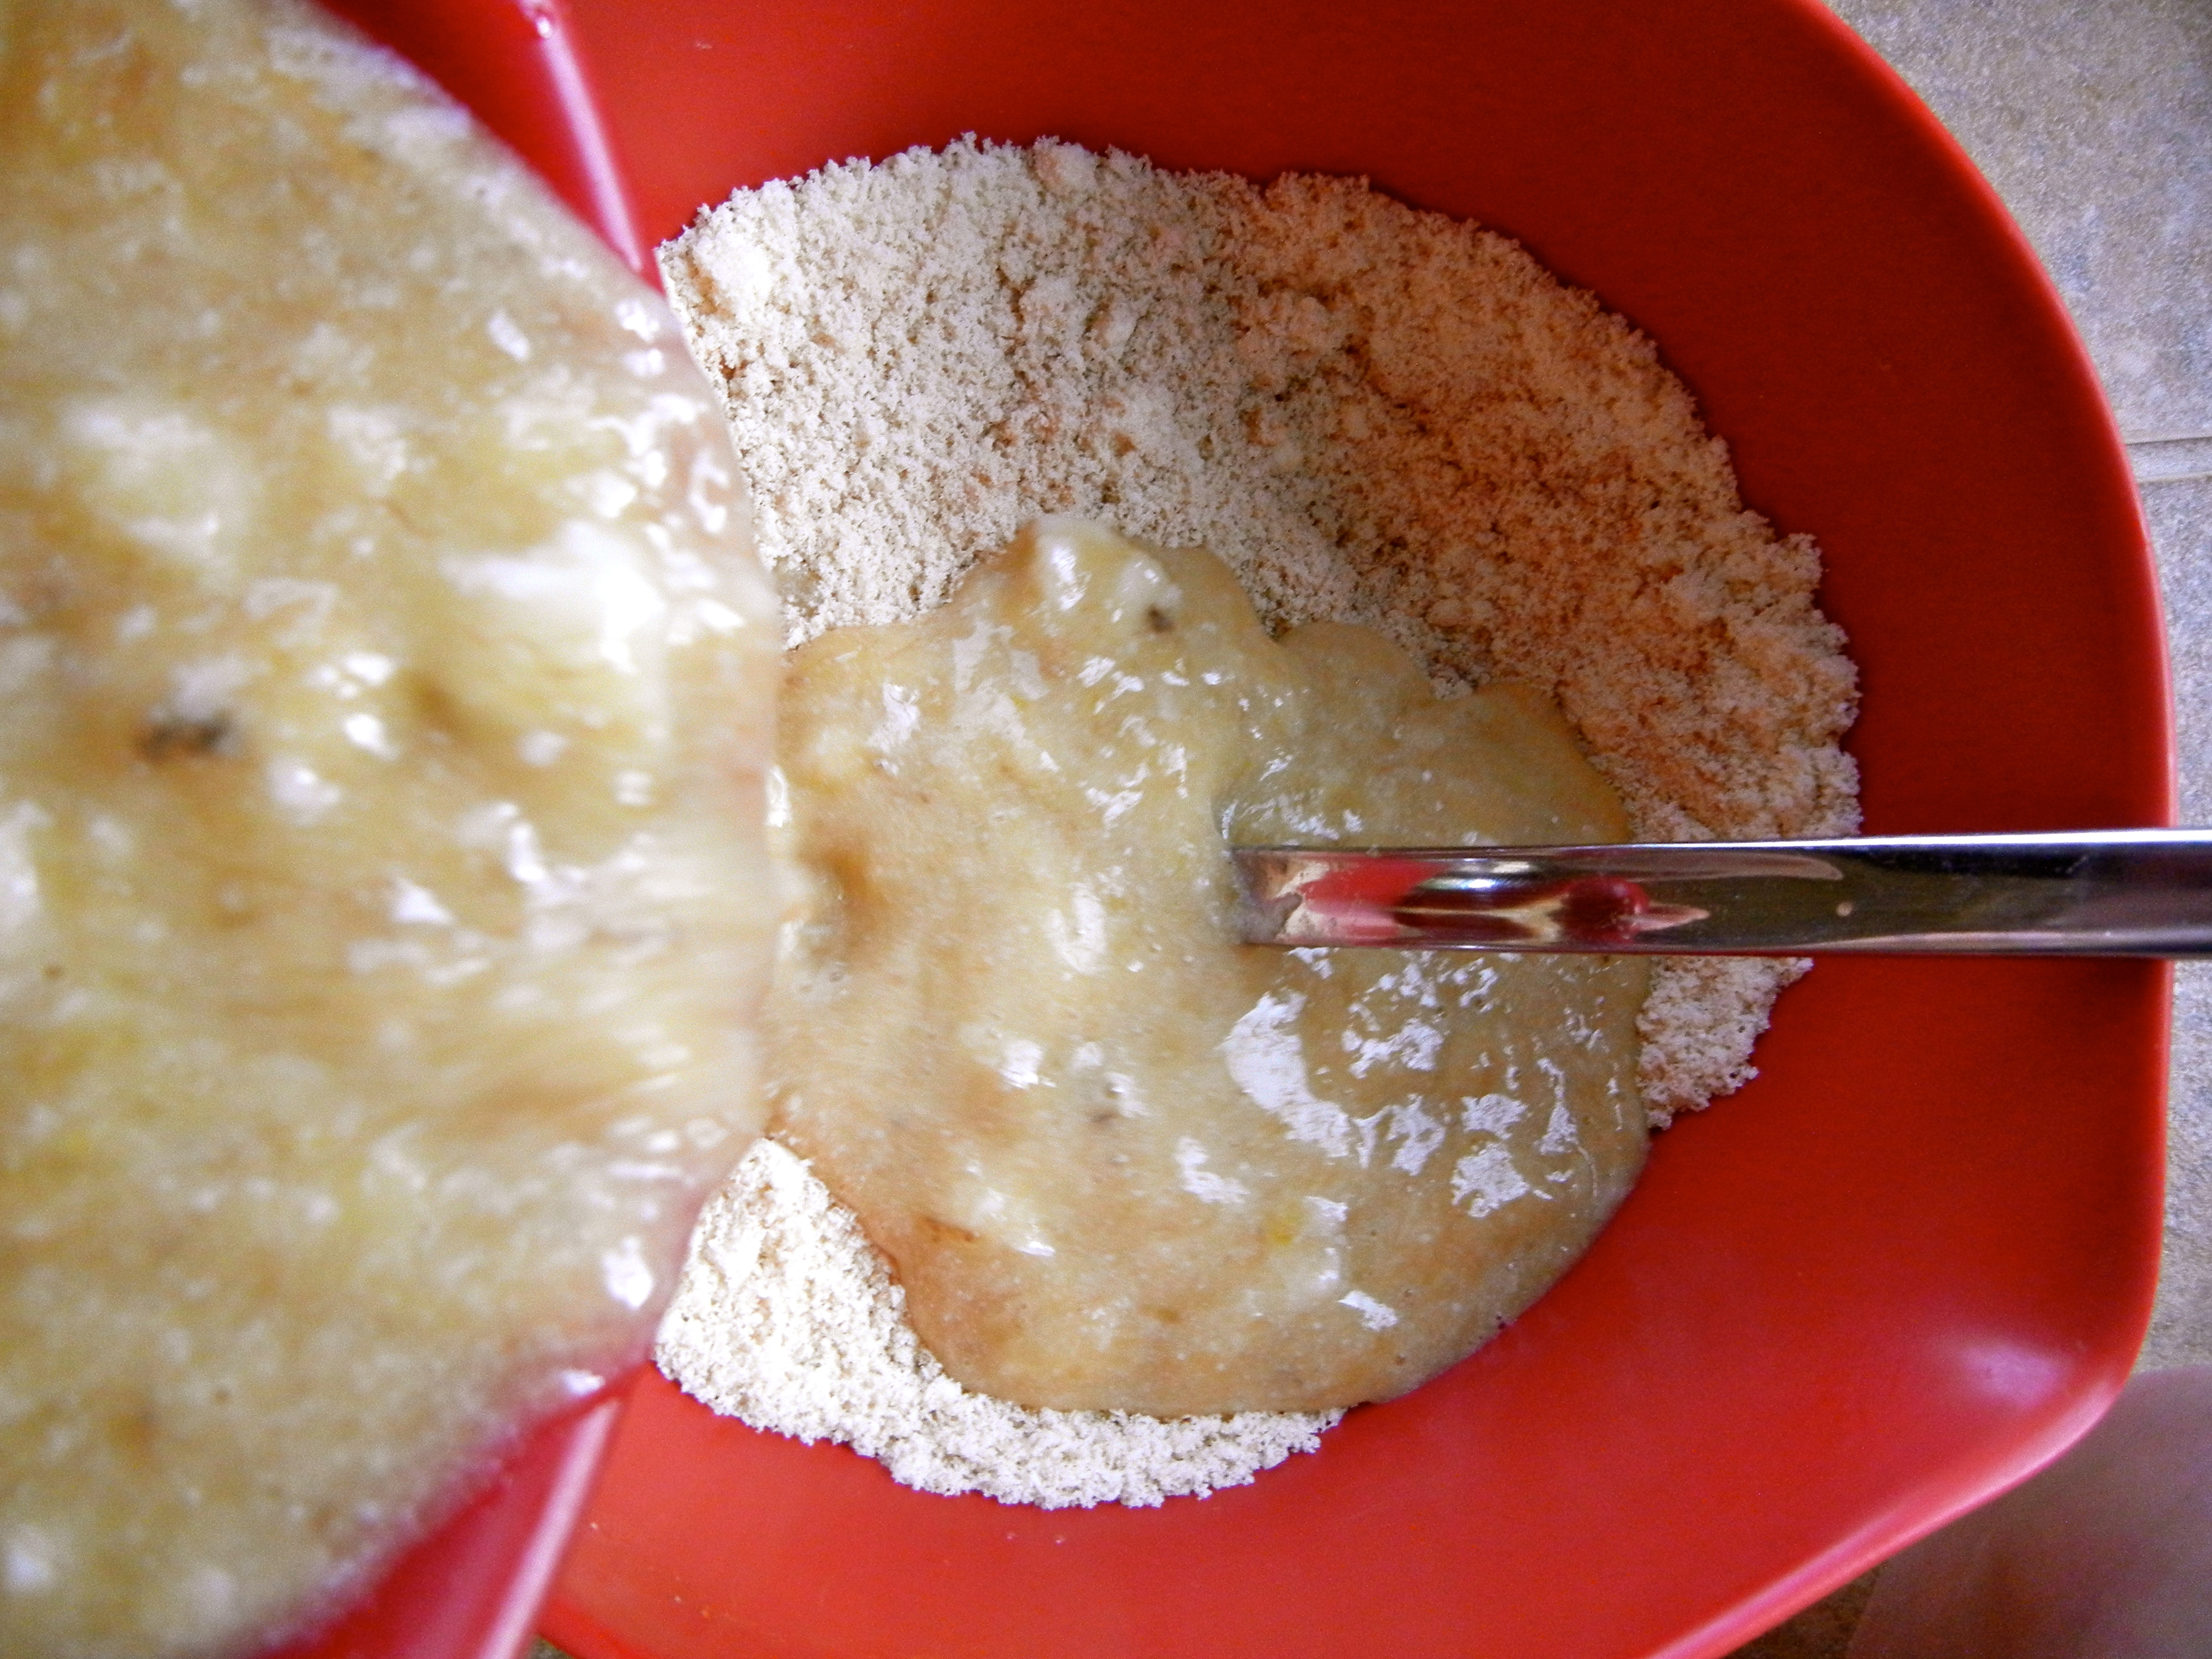
4. In a sperate bowl mix the coconut flour, baking soda, sea salt, and cinnamon. **If you are using a more dense coconut flour like Bobs Red Mill Organic Coconut Flour, it will turn out much fluffier if you sift it first. (WFN seems to be already sifted and fluffy). Use 1 cup of sifted coconut flour. This step is added so you remember to sift the flour.
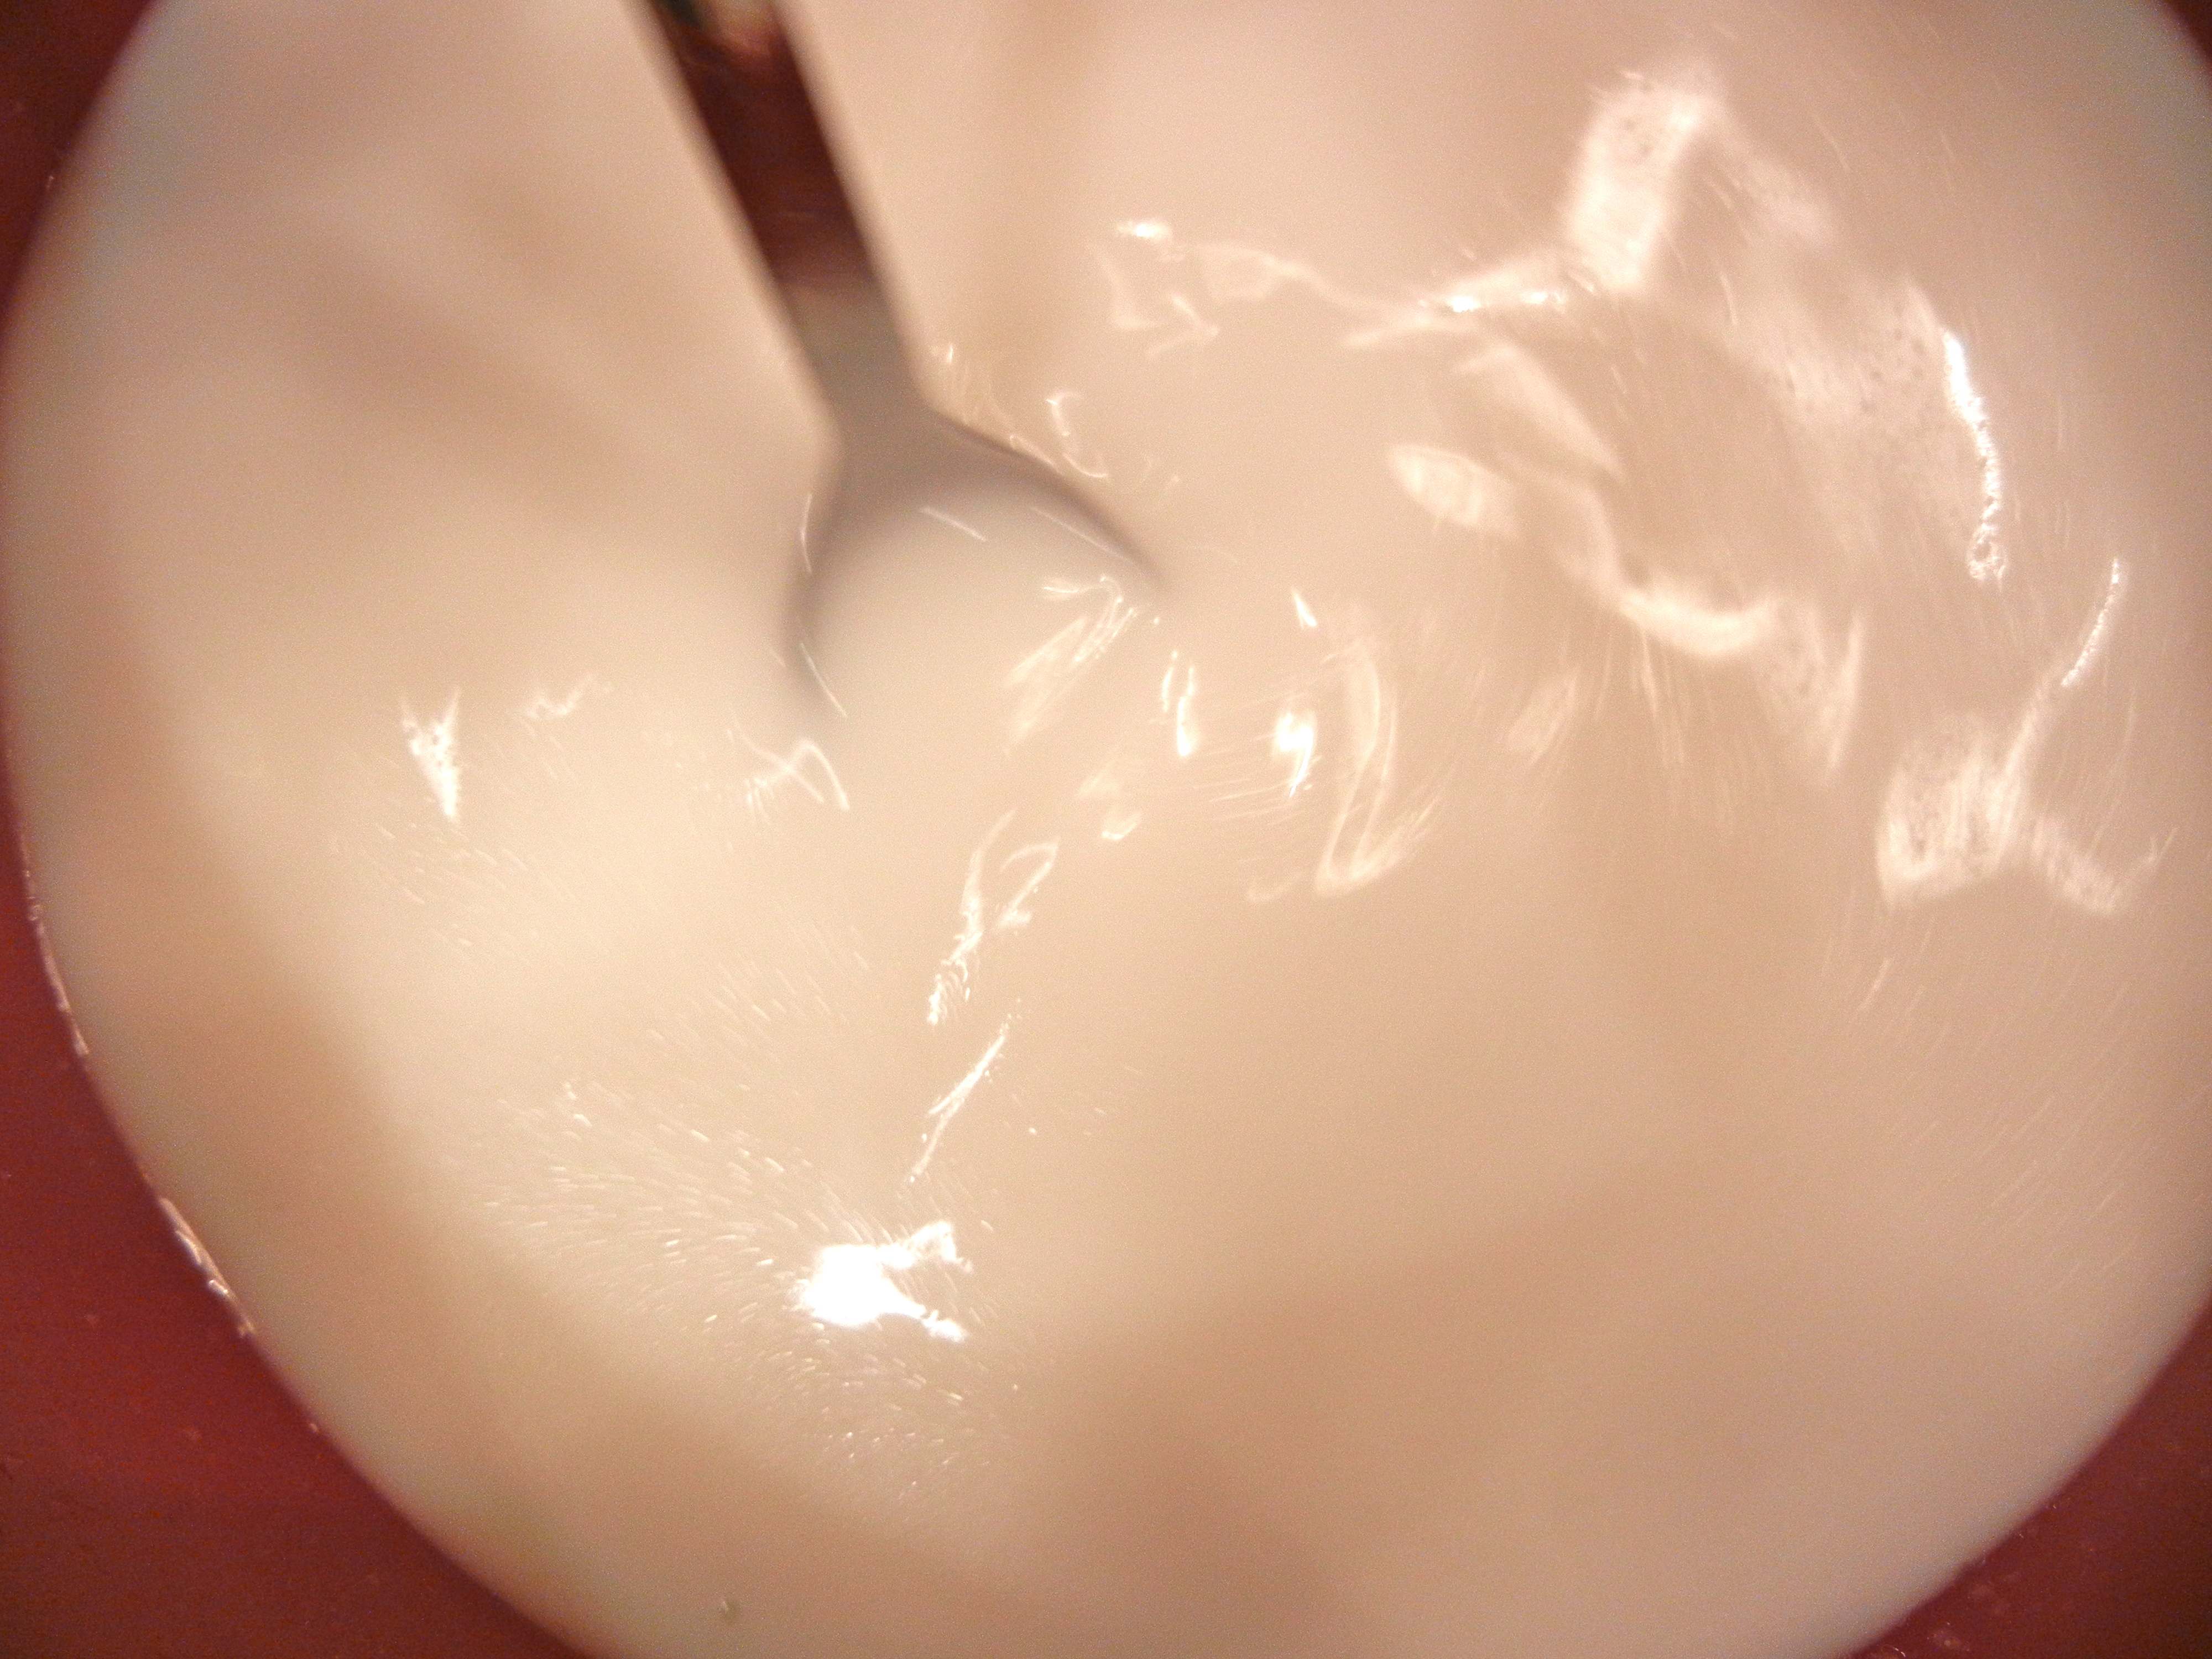
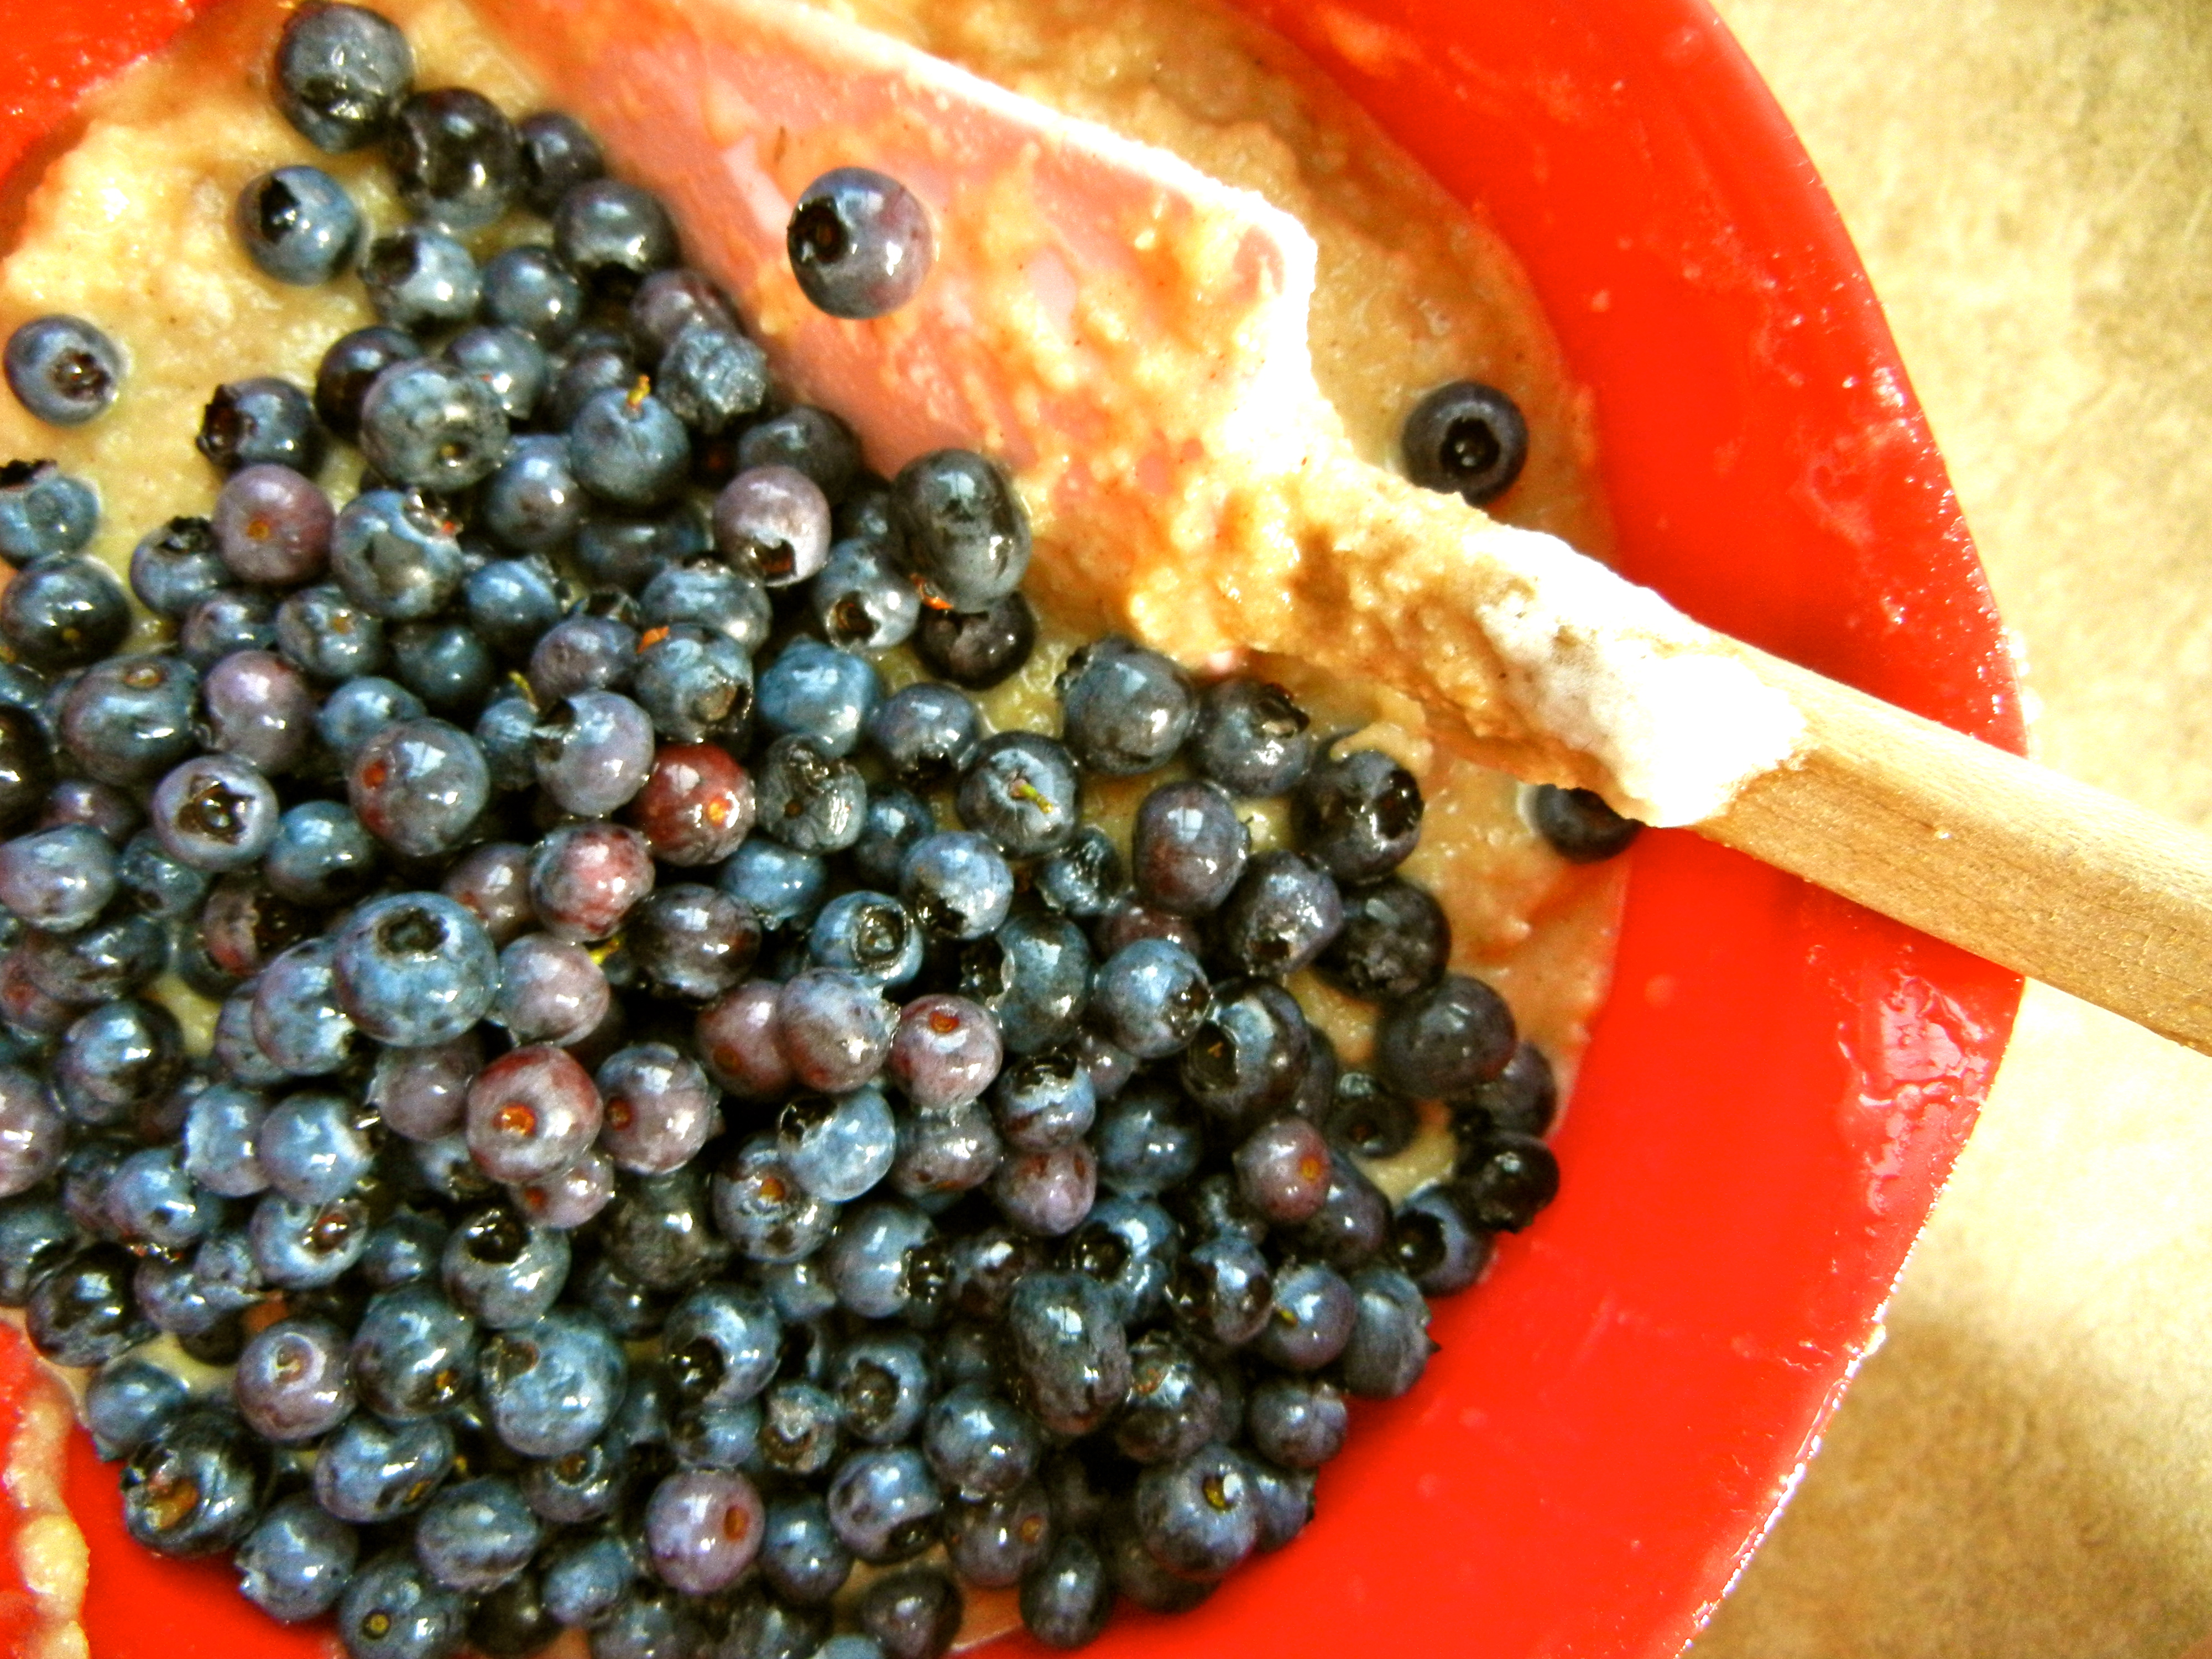
5. Add the dry ingredients to the wet and stir until just combined.
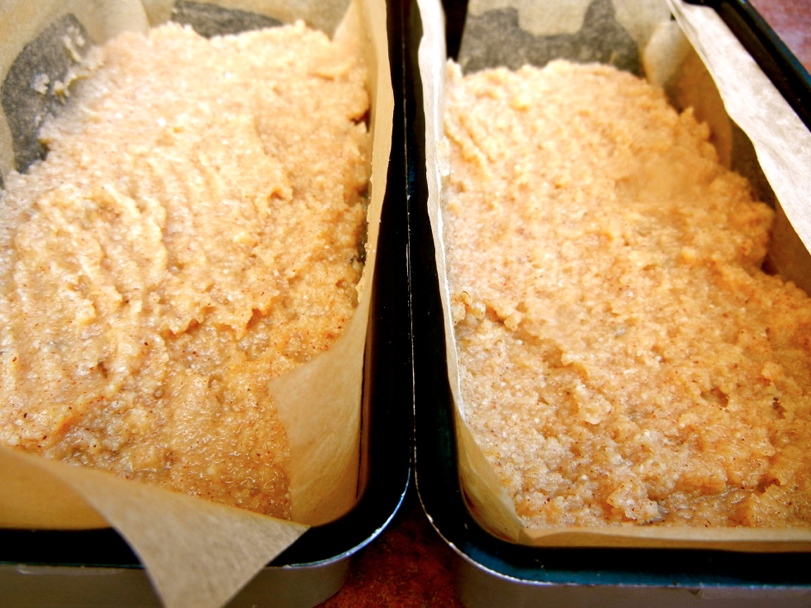
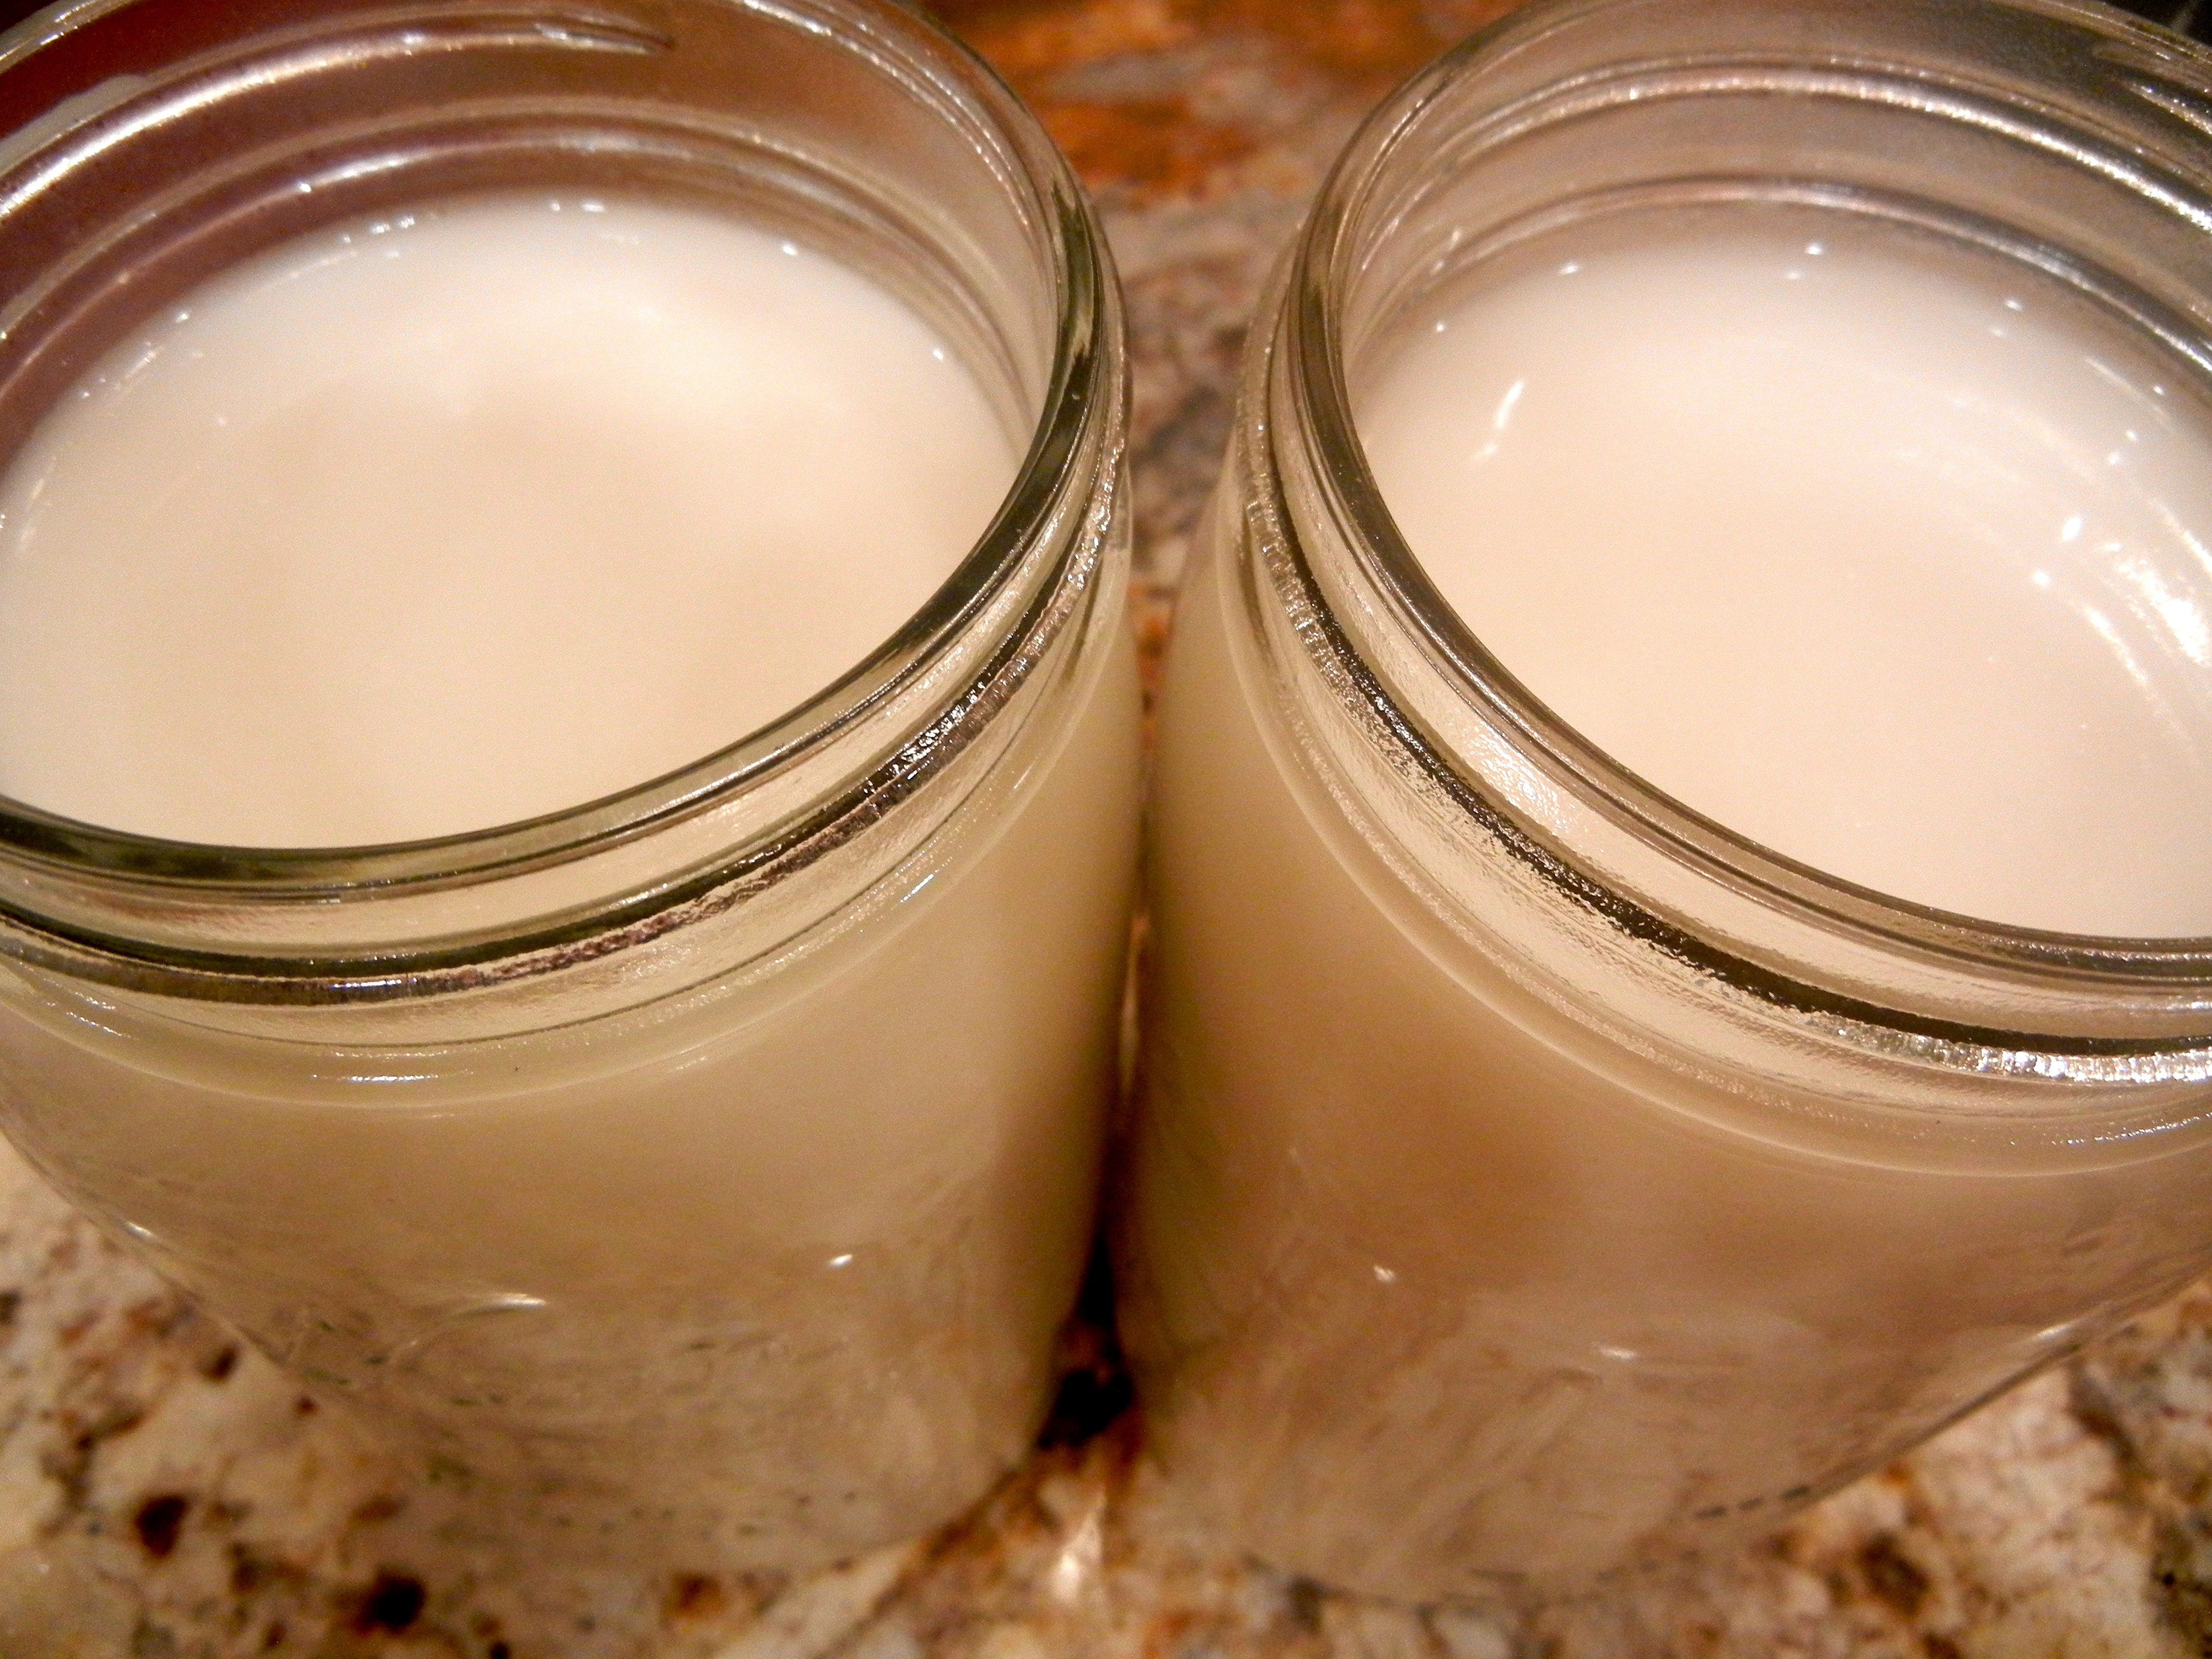
6. Spoon the batter into your lined bread pans.
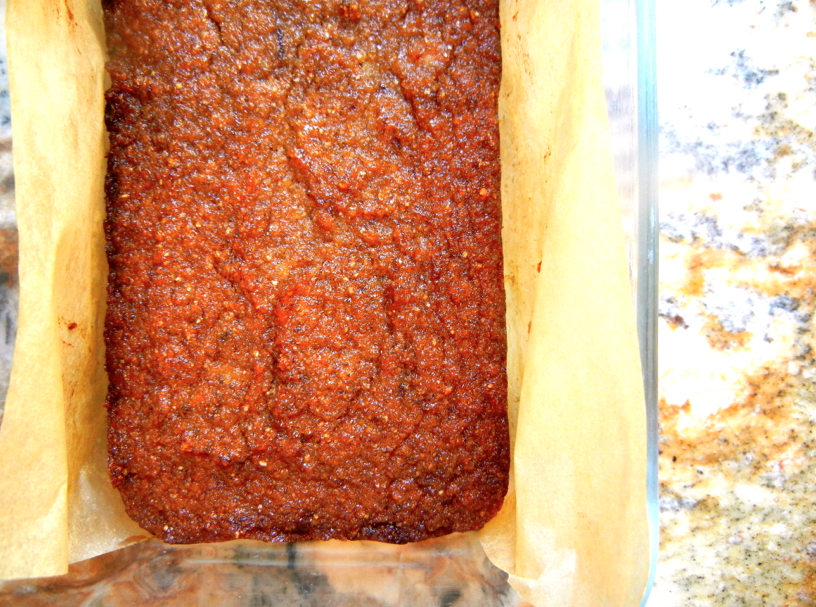
7. Bake for 1 hour and 15 minutes. The top and edges should be a golden brown color. Remove form oven and let it cool for 15 minutes in the pan. Store in a nontoxic container in the fridge.
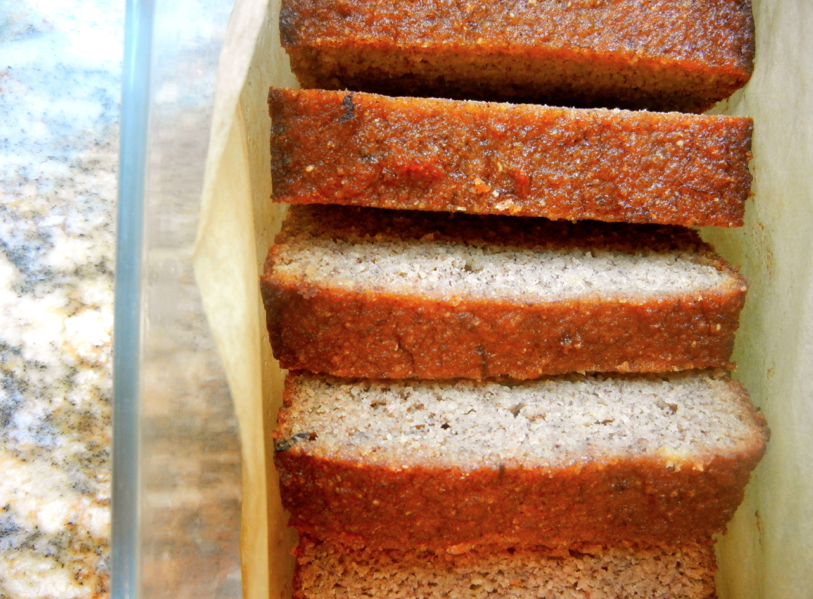
8. Slice an serve.
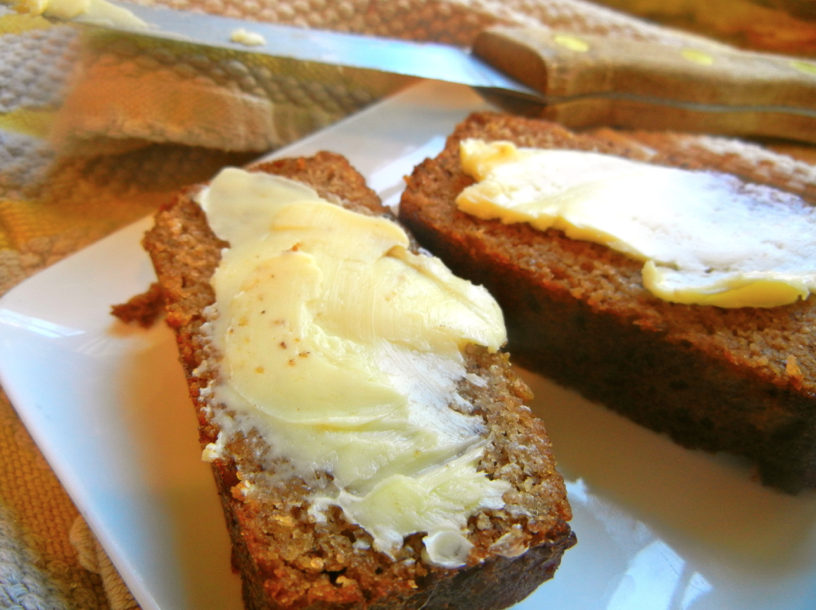
9. Spread on some extra butter or have “a little butter with you bread” like my mom likes to say 🙂 Eat!