07.14.2012

GAPS Chocolate Pudding

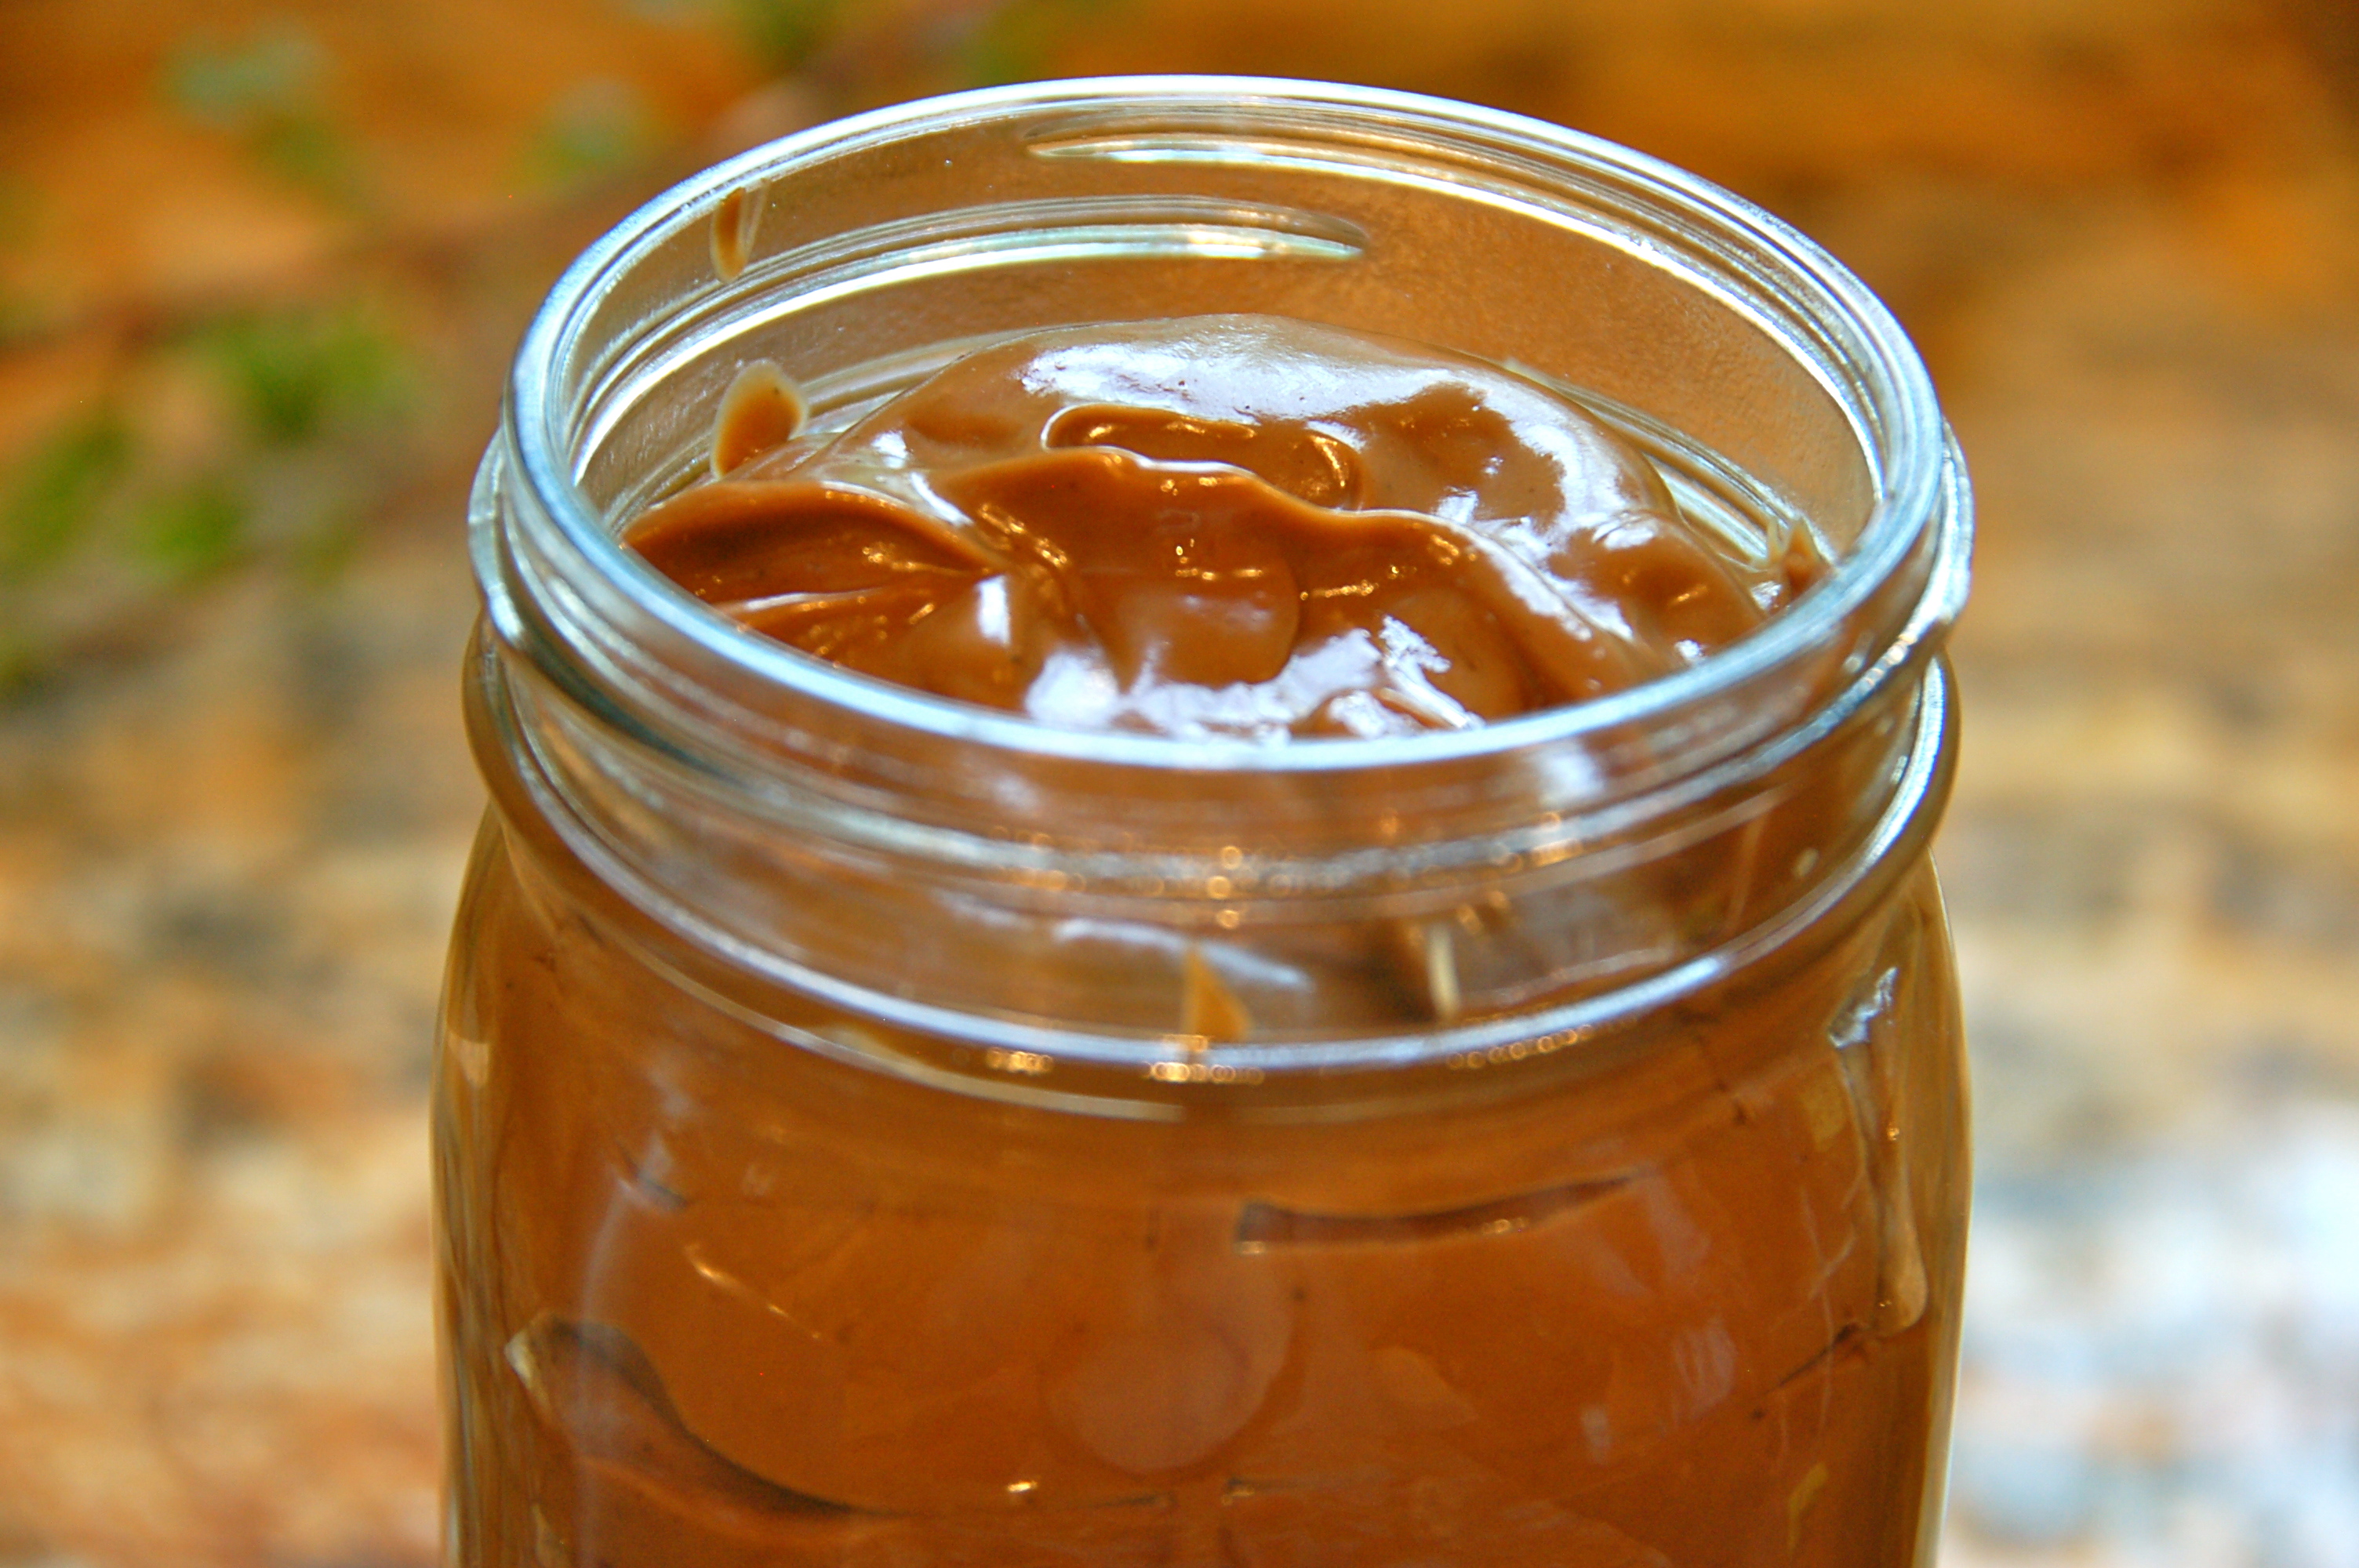
The (secret ingredient) healthy pudding!

Sorry for leaving you guys hanging when I mentioned the chocolate pudding in the Frozen Avocado post. Today I will show you how to make it!

pudd

 Shhh. The secret ingredient is avocados. Don’t tell anyone who wouldn’t like it if they knew!

A GAPS treat

When my older sister came home from college this summer, my mom and I put her on the GAPS diet. She is doing pretty well on it, but the food can get boring. She tries adding new things into her diet, but reactions are still frequent for her. This is a sign she might be introducing foods too fast. To help with the variety of food that she can tolerate, I decided to add something very tasty into her diet. It wasn’t long after I made this pudding that she would constantly ask for it! Thats how good it is!

It tastes  so “normal”

I also served this pudding in little cups at my graduation party. No one knew that these were healthy. Better yet, one of my friends who tried this hates avocado’s and she LOVED the pudding. I never told her that it had avocados in it ;). Sometimes it is better not to say anything about the ingredients in food around here!

This is GAPS friendly, assuming that you can have chocolate. If you cannot have chocolate, carob would work (powder or squares, just taste as you go) or even just some cinnamon (it might look a little wired because it is avocados, and they are green. But who really cares if it tastes good! Right?)

I hope you like this recipe as much as my family does. It has become a staple in my house! This chocolate pudding is rich though, so don’t over do it. It is sure easy to, because it tastes so delicious!!


INGREDIENTS:

3 cups smashed (fresh of frozen) avocados 

1/2 cup raw coconut oil (melted)

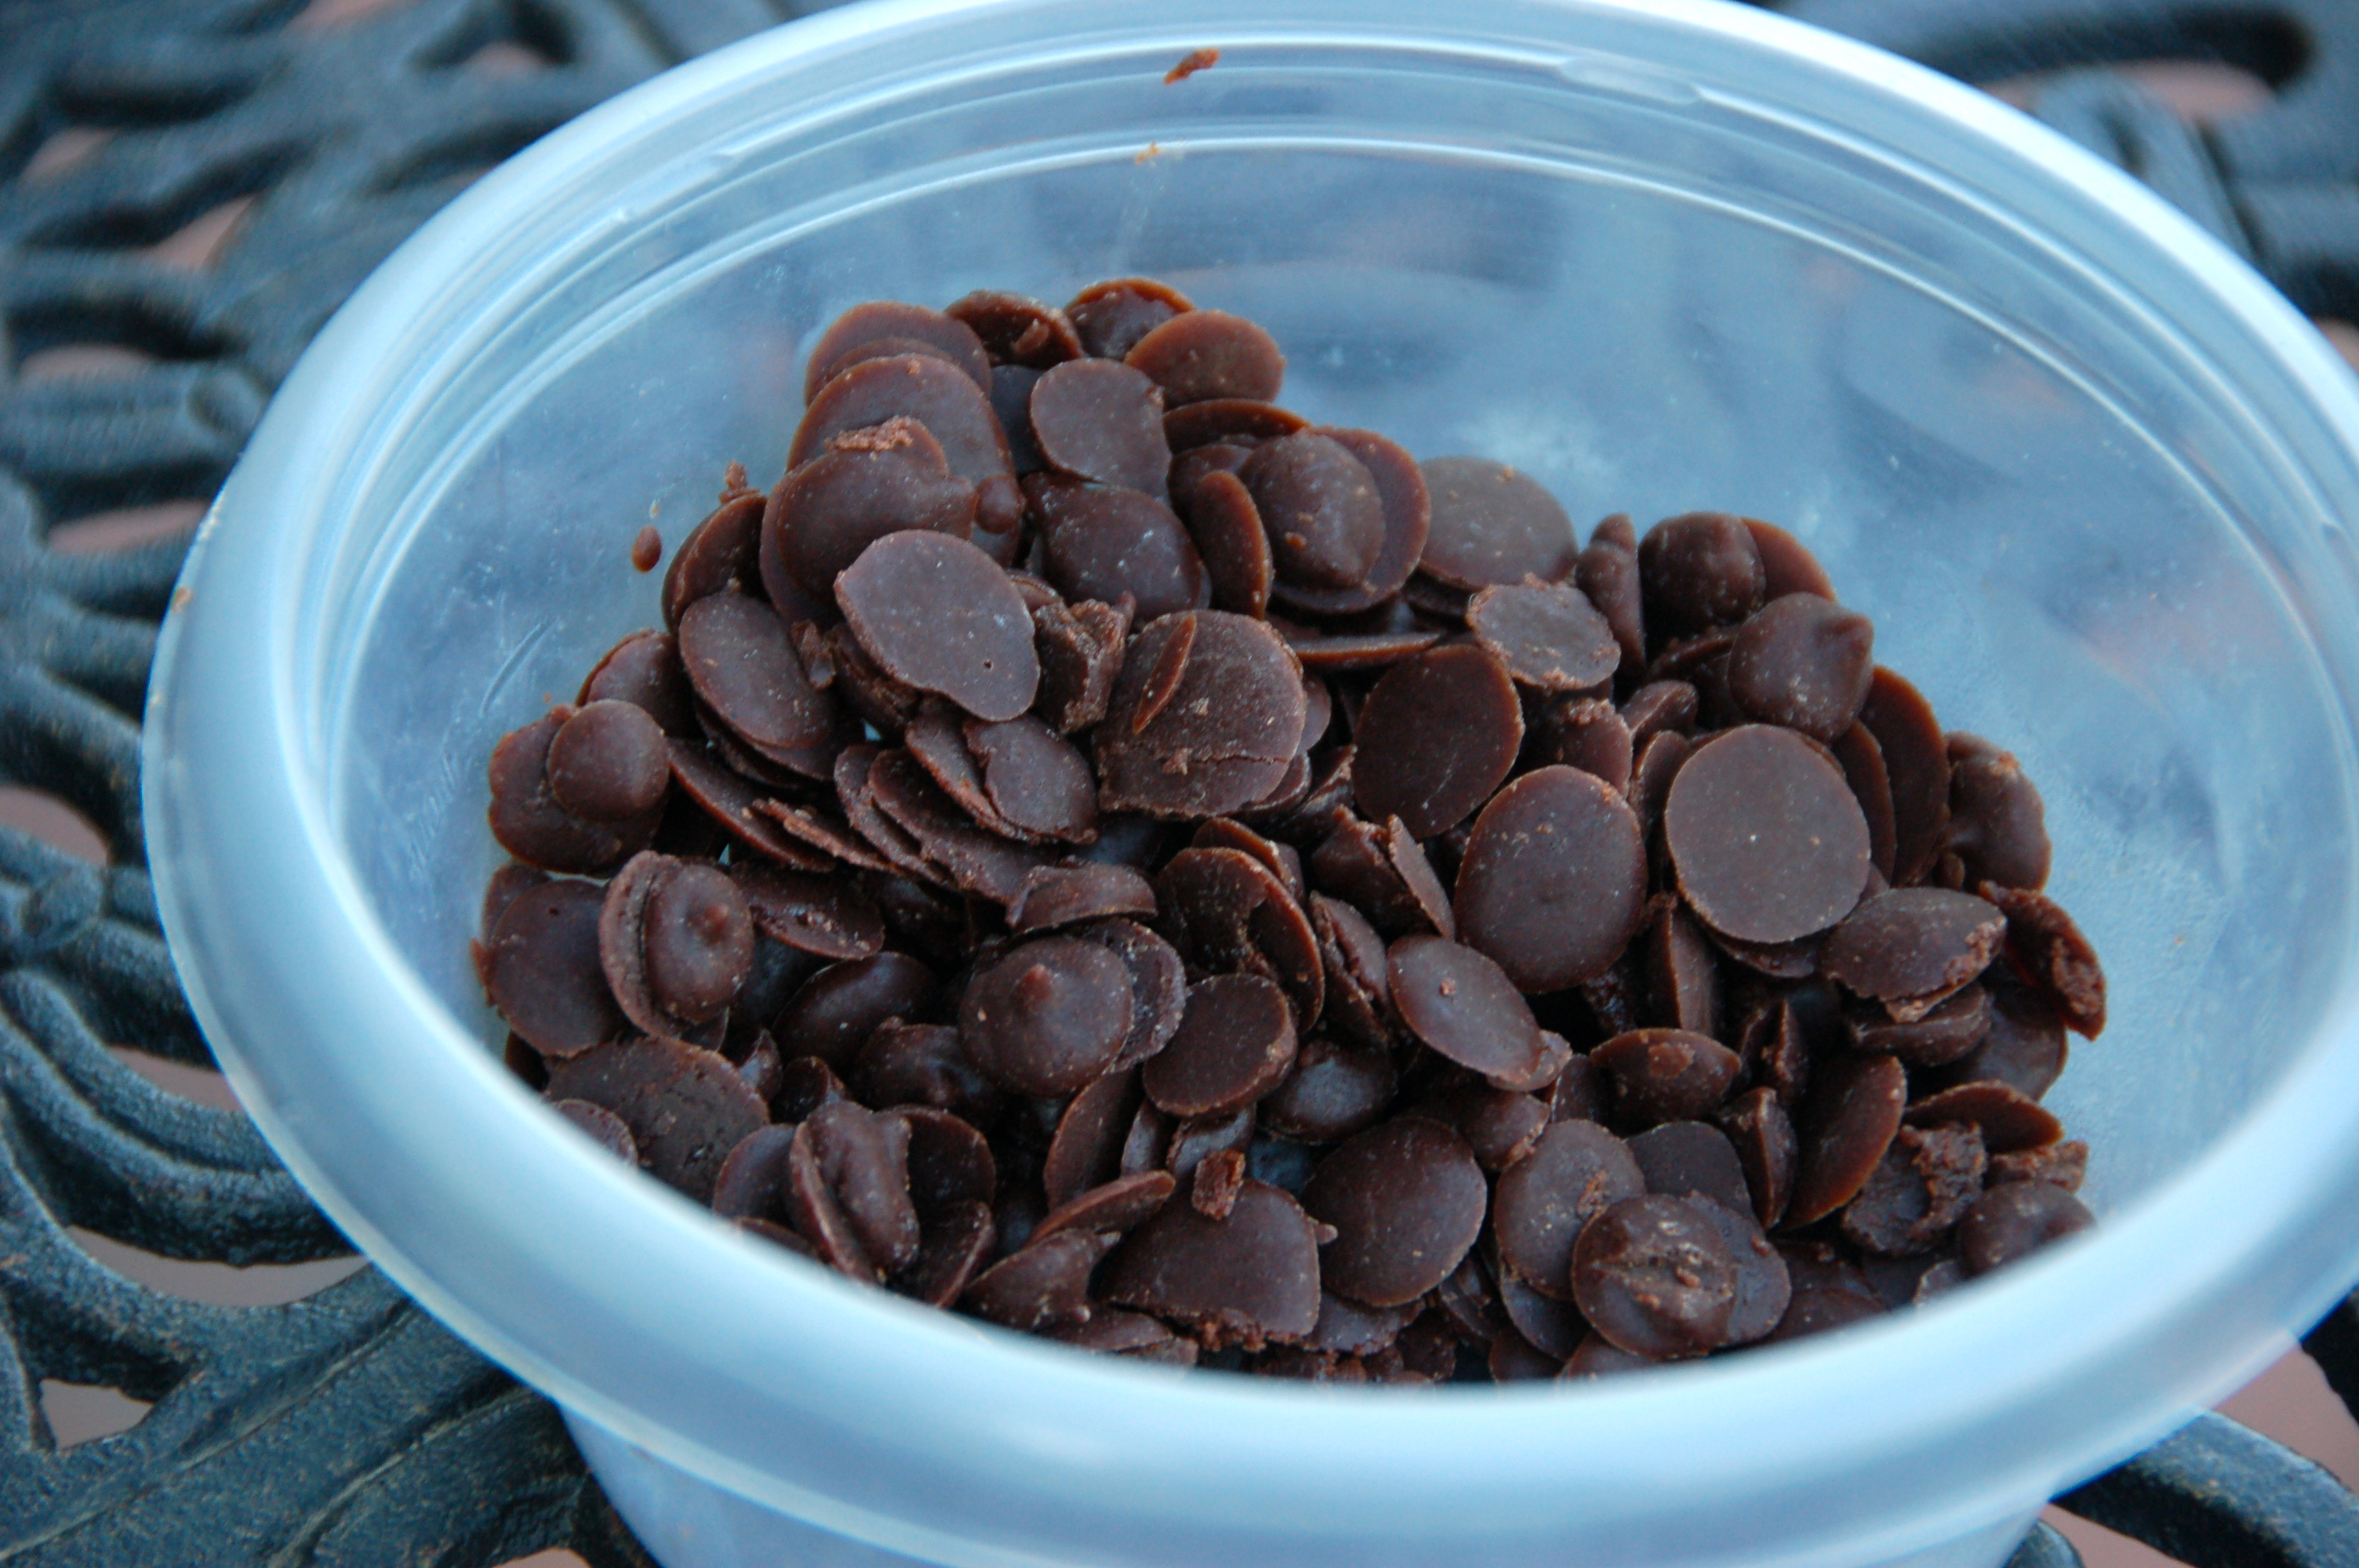
4 (1 oz) squares of bakers unsweetned chocolate or 3/4 cup cocoa powder

3/4 cup raw honey

2 Tbsp vanilla or 1 vanilla bean (learn how to scrape out seeds here)

1/2 tsp sea salt


*This recipe makes about 6 cups of chocolate pudding. It lasts for 1-2 weeks in your fridge. It might even last longer, but mine has not lasted that long without being eaten! You can always make half a batch if you want.

DIRECTIONS:

1. Peal and smash avocados

DSC_0052

2. Put smashed  avocado’s in a big bowl.

DSC_0057

DSC_0059


DSC_0077

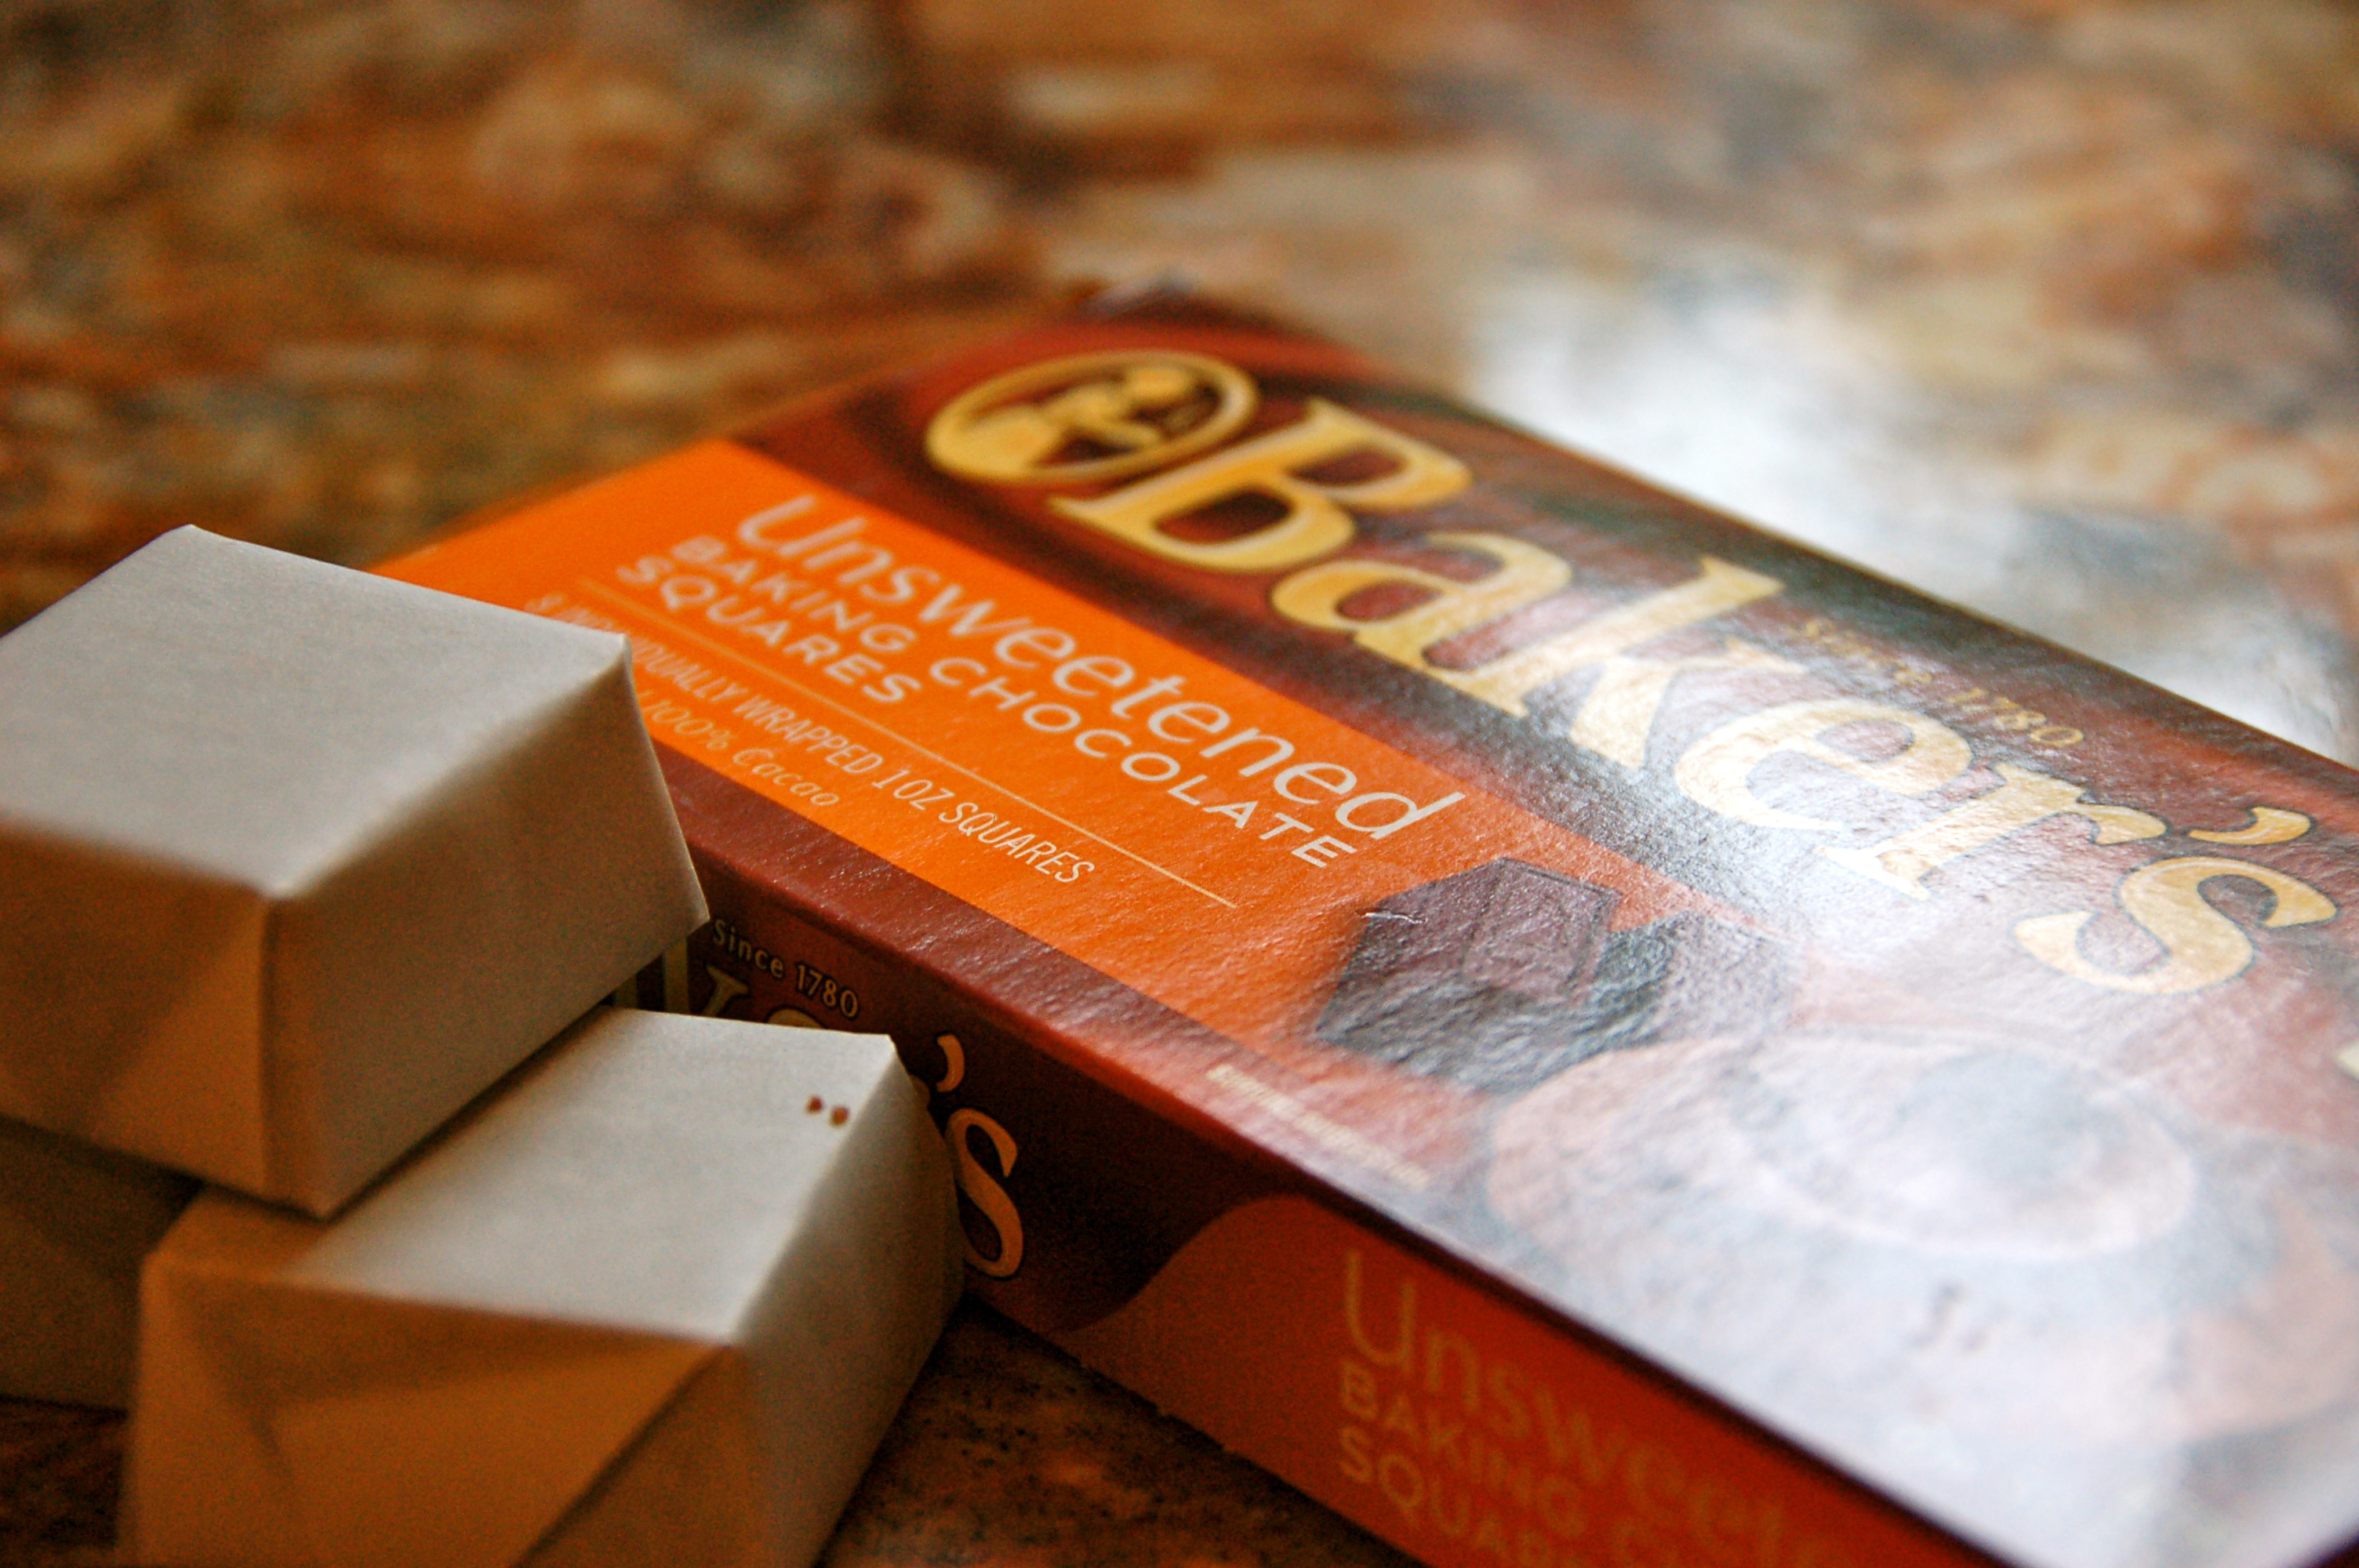
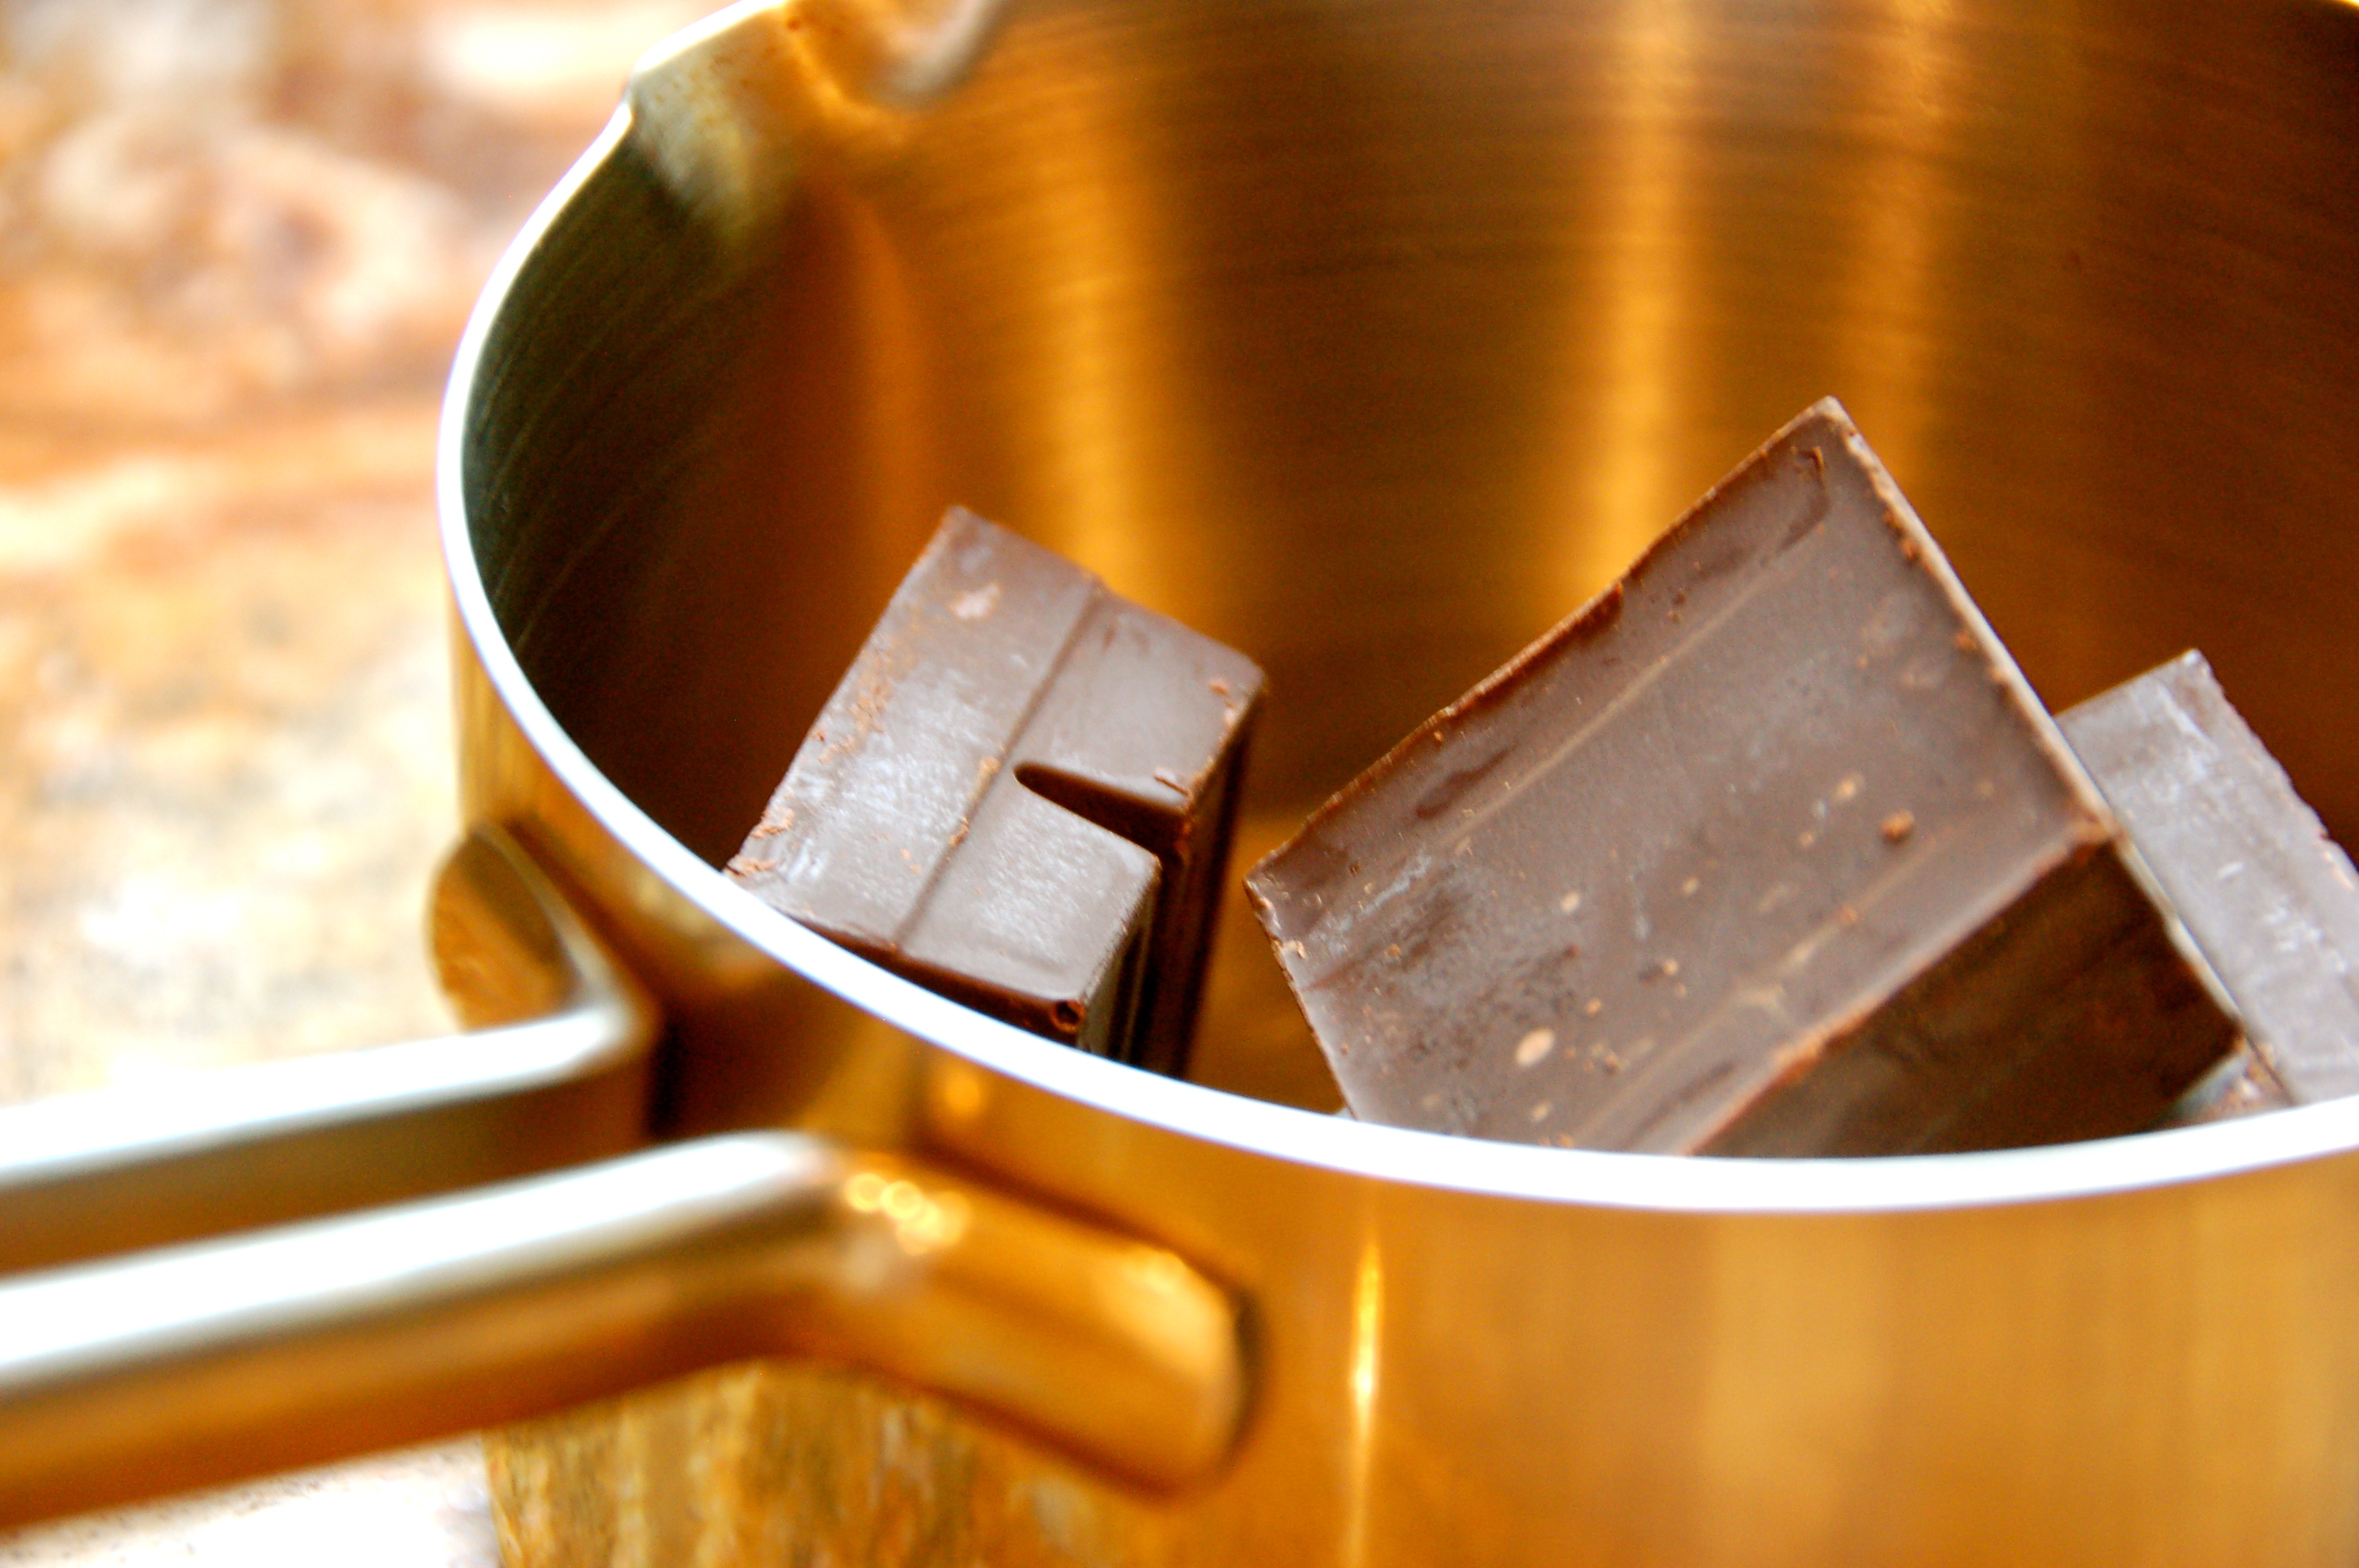
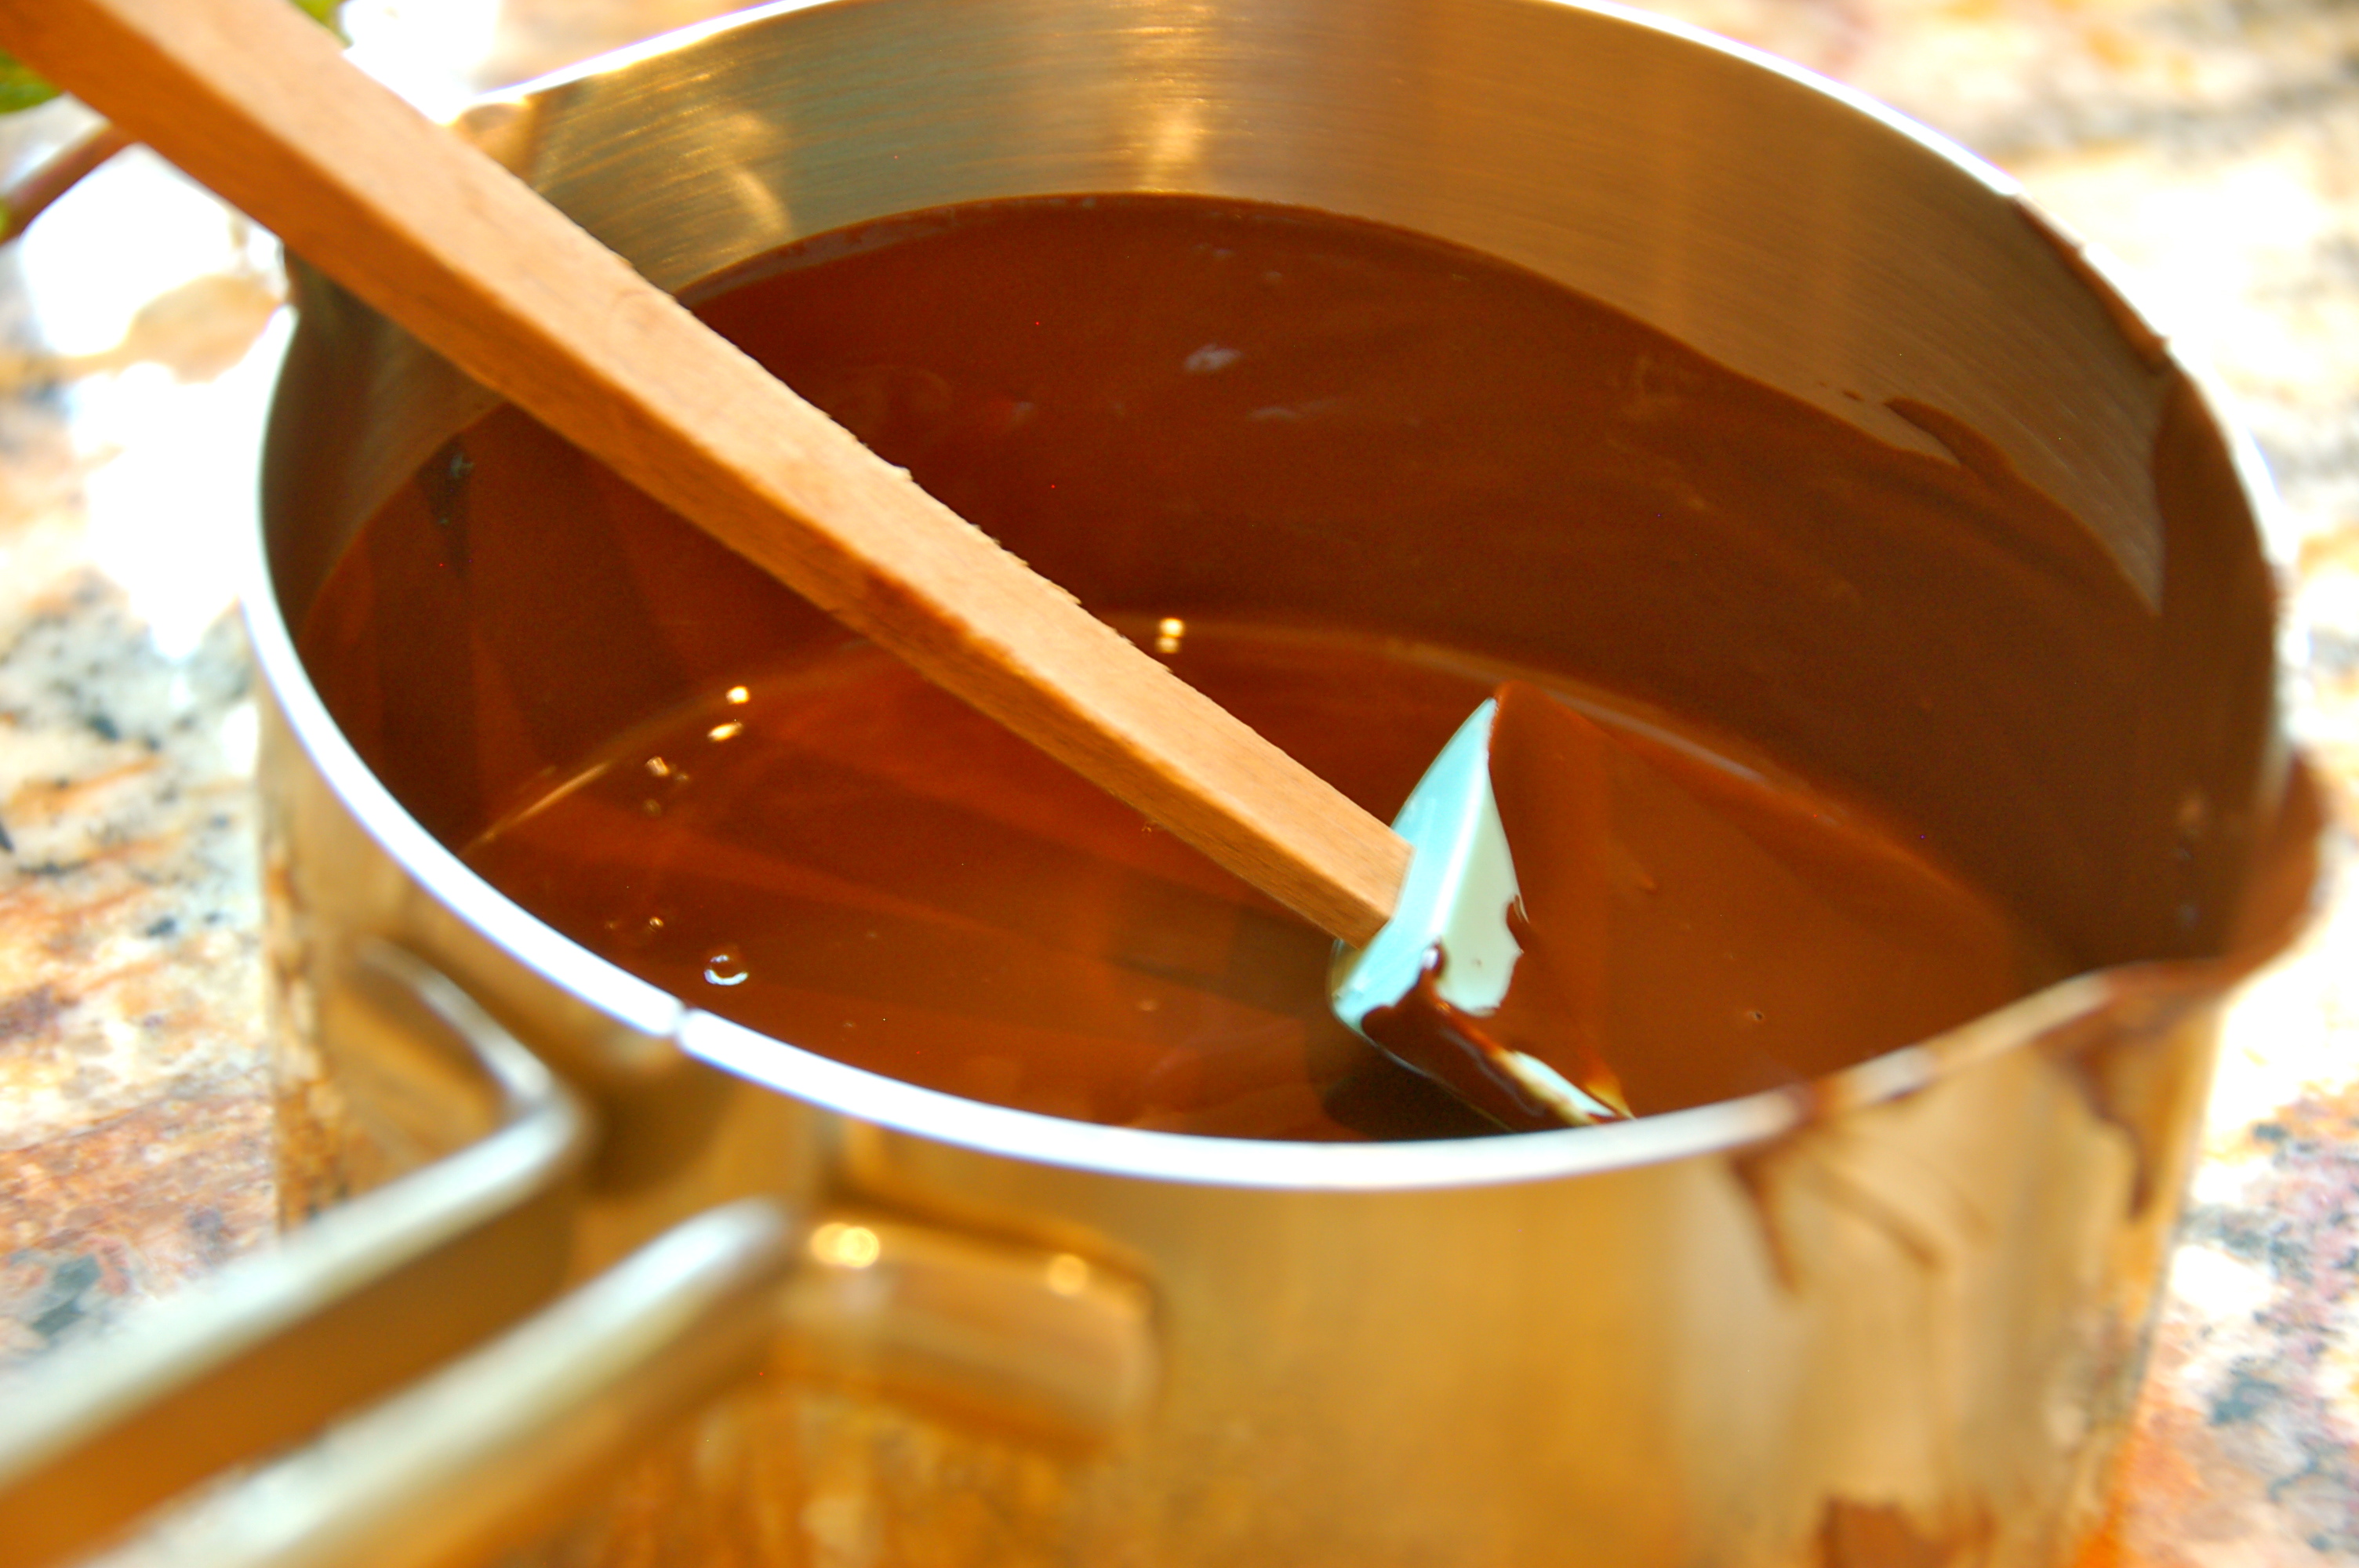
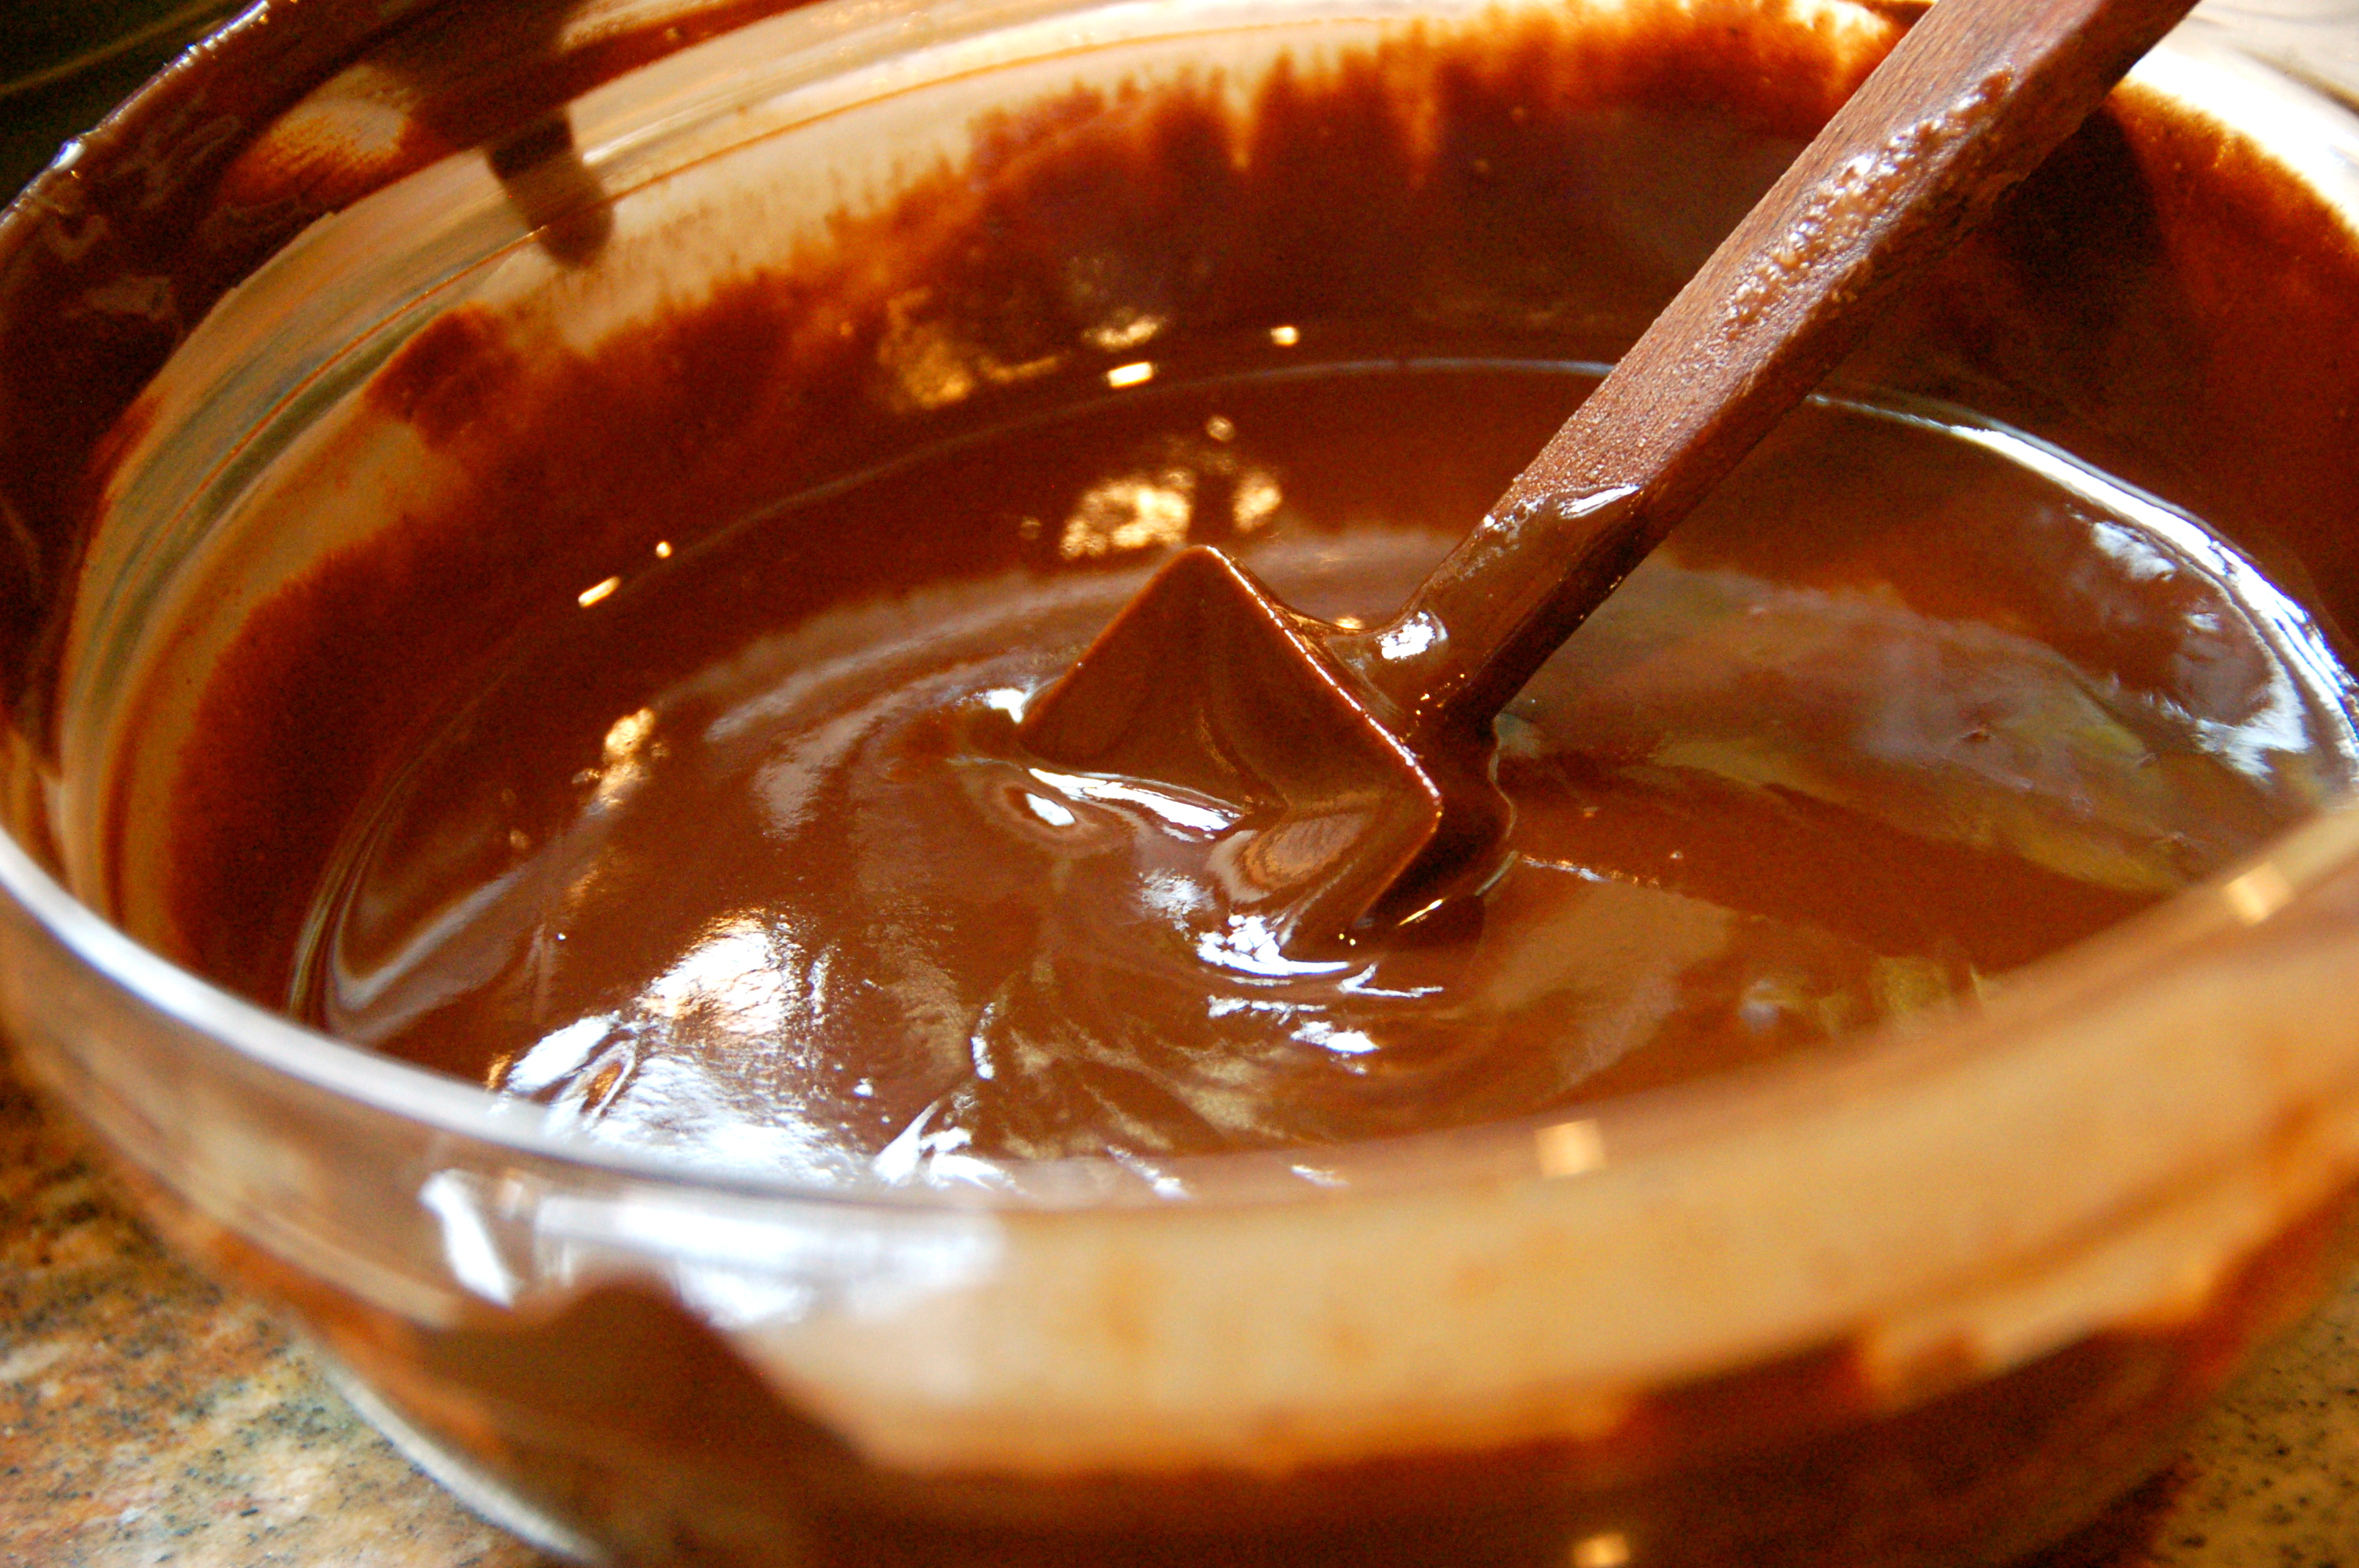
3. ** If you are using the bakers unsweetned chocolate…Unwrap and melt the chocolate in a double boiler (or a heat proof bowl over boiling water). If you cut up the pieces of chocolate, it will melt faster and easier.

DSC_0063

DSC_0069

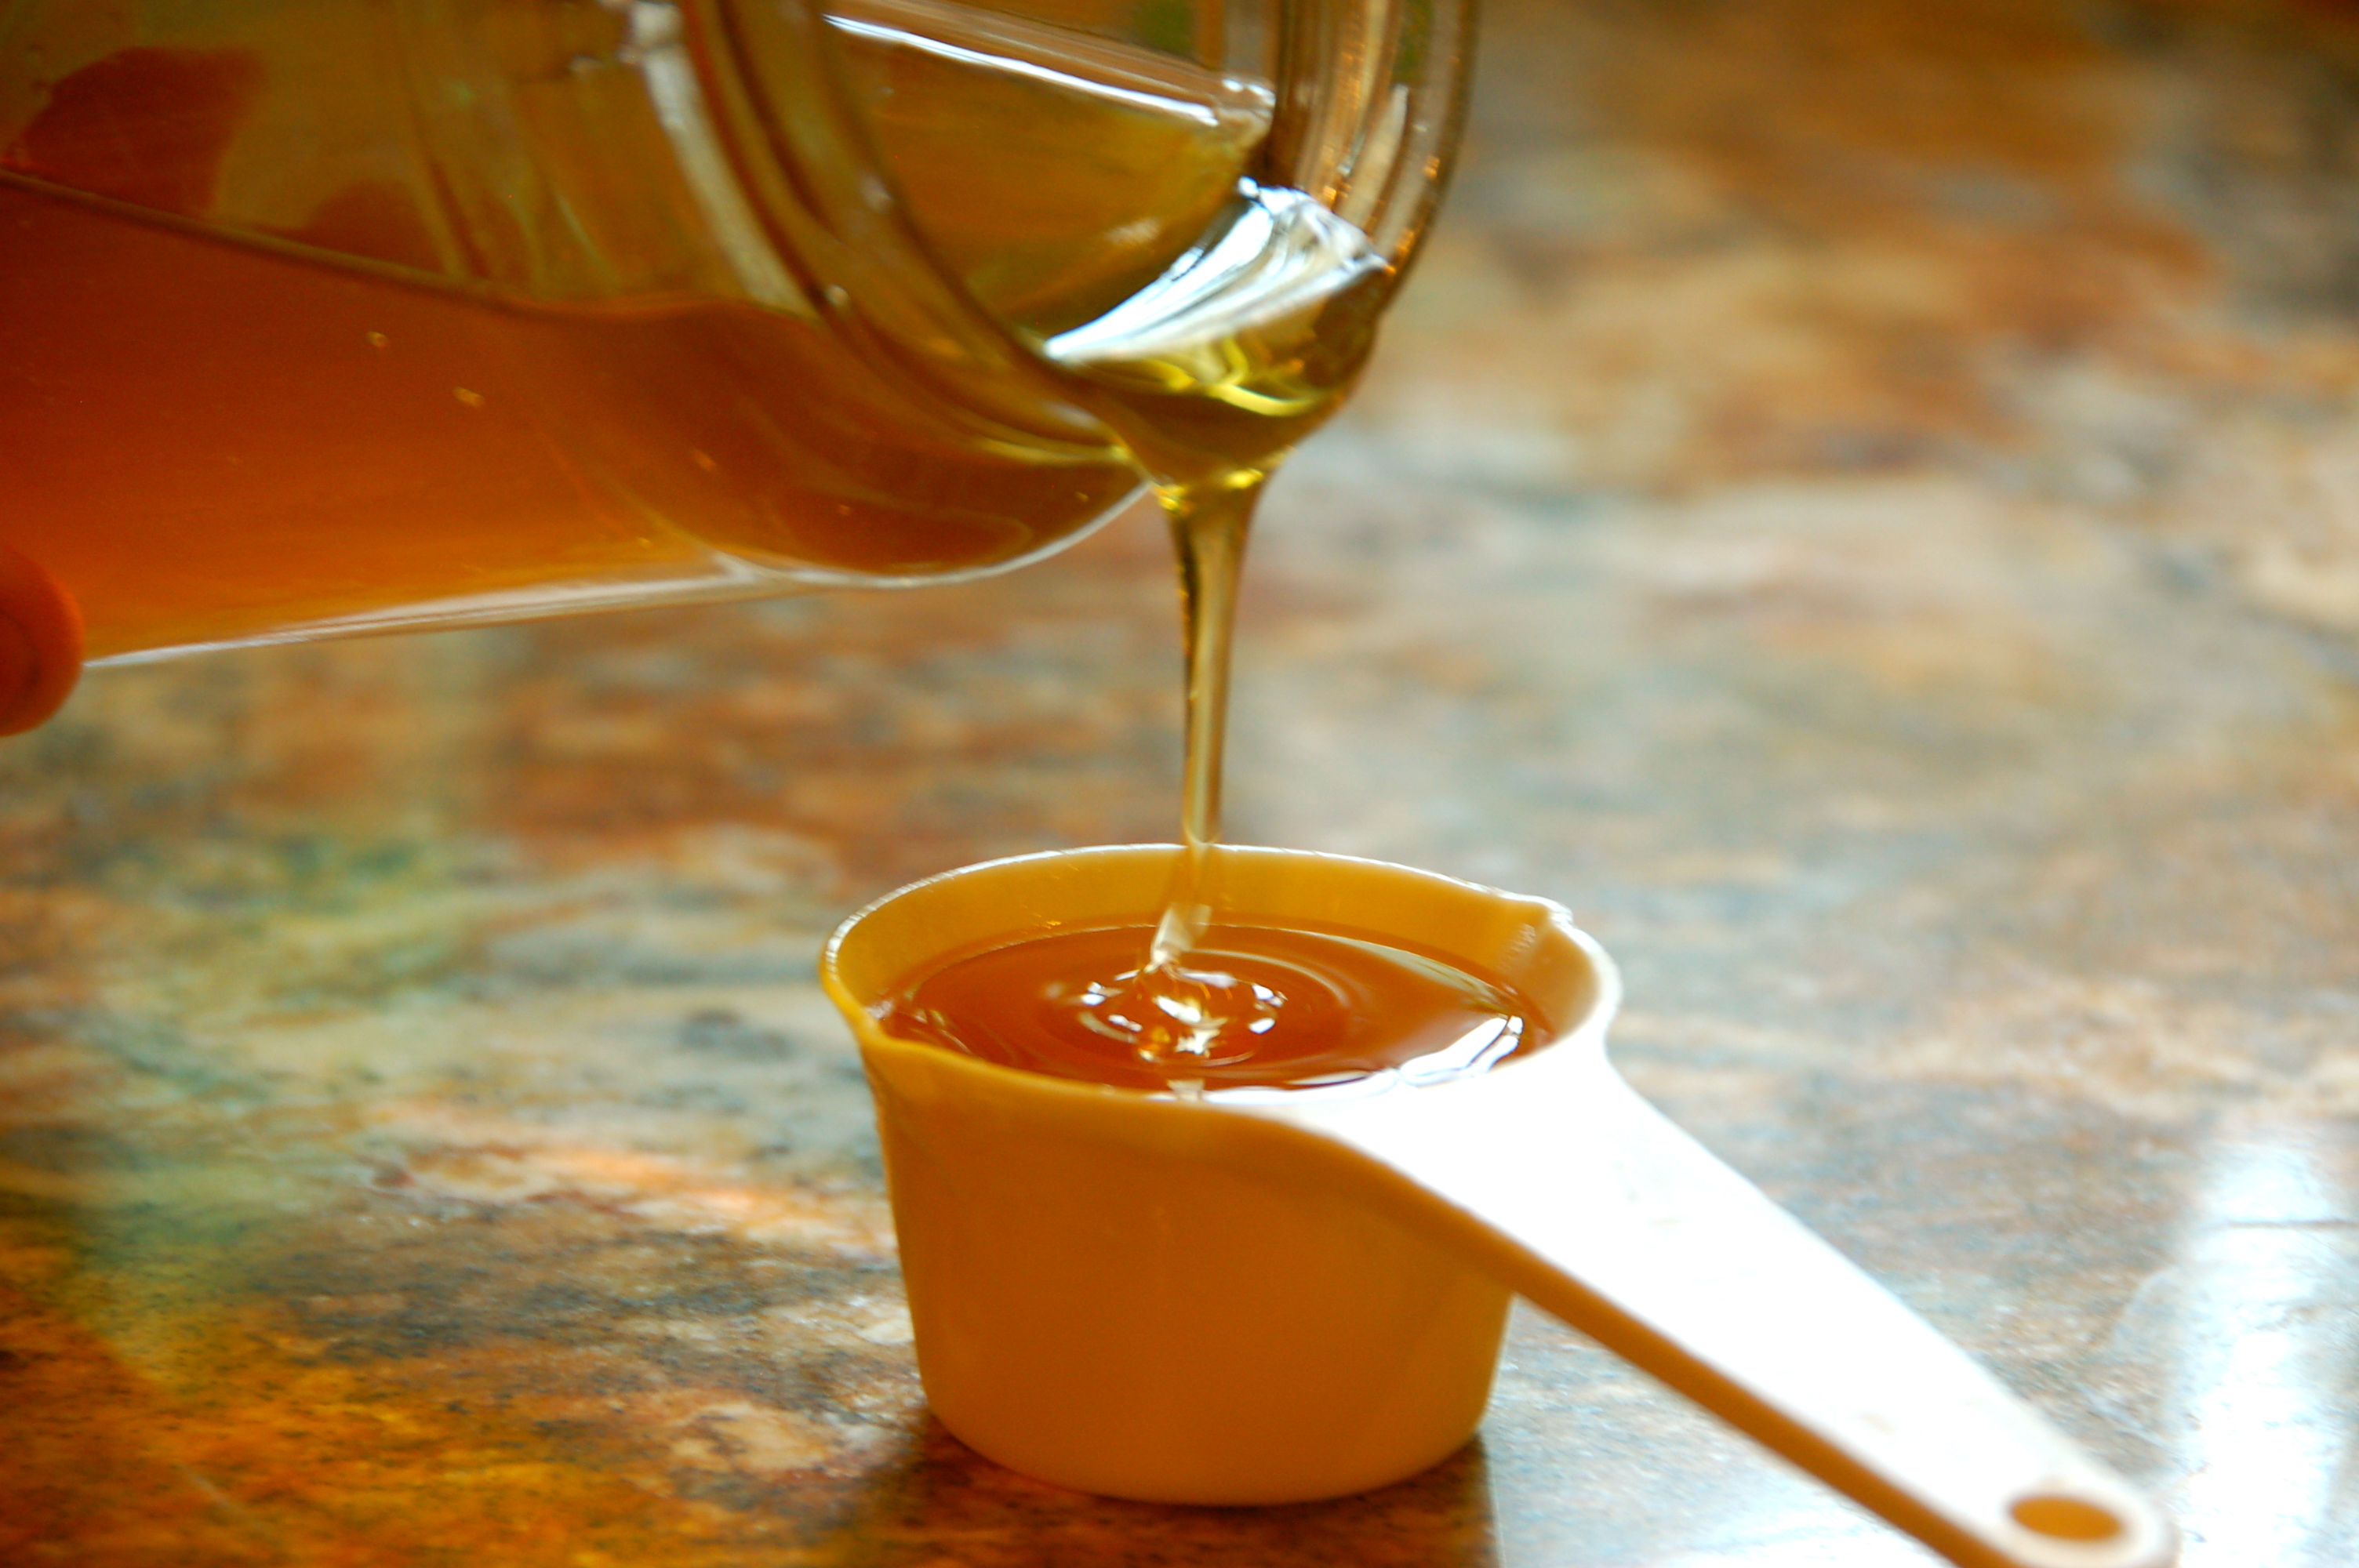
4. Add the coconut oil (melted), honey, salt, melted chocolate or cocoa powder, and vanilla to the bowl. Roughly stir to incorporate all ingredients.

DSC_0070

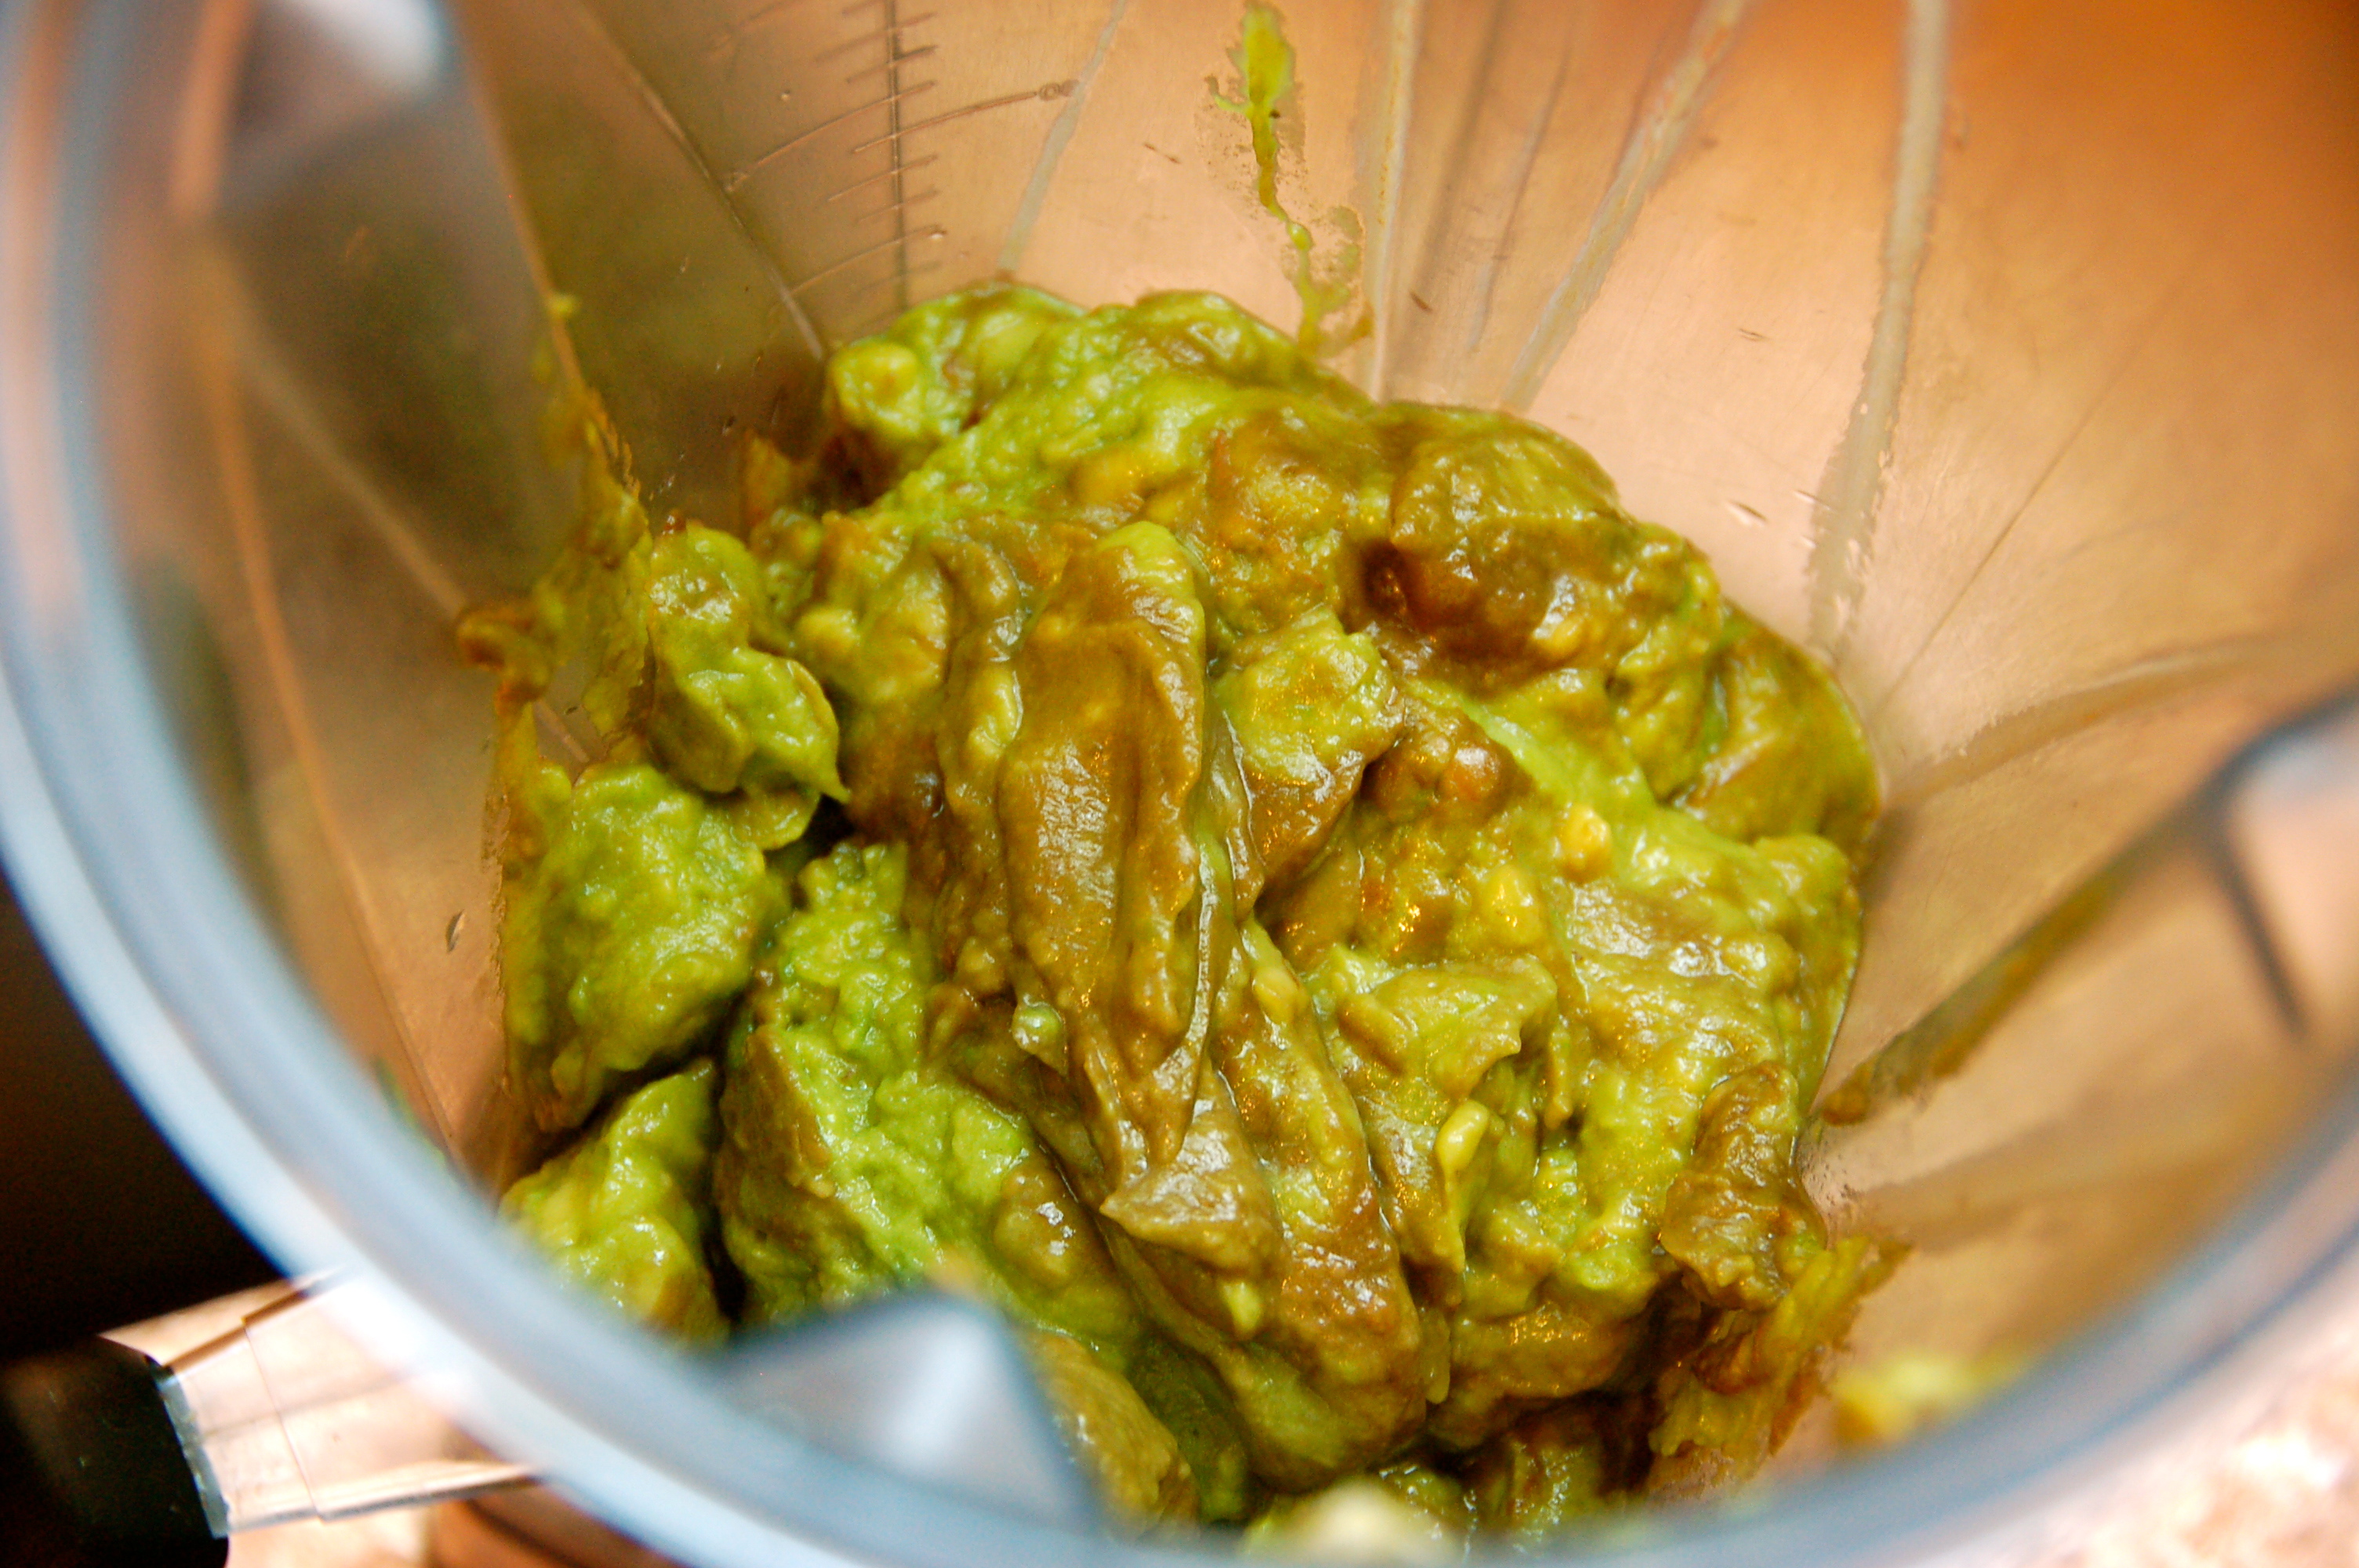
5. Put half the mix into the the blender <– I use this one or Cuisinart. (I have learned that the Vitamix blender makes the pudding the best texture. Sometimes the Cuisinart or a regular blender will leave the pudding a little less silky, but still GREAT!)

6. Blend all together. I actually had to blend in 2 batches because it seems to put less stress on the blender and it runs smoother.

7. Scrape out the blended pudding into a container or a ball jar (I like to use a small spatula).

8. Blend the other half of the pudding. If you have a Vitamix, it is helpful to use the black plunger to keep the blade running, because this pudding is thick! If you don’t, you might have to stop the blender or Cuisinart to stir it a few times.

9. Scrape the other half of the pudding out of the blender.

DSC_0081

10. Serve just as is! Refrigerate leftovers (I always make a big batch of GAPS foods because it is easier to make a big batch of one recipe, than remaking it over and over again. I like to save time).

* It will be hard when you take it out of the fridge (the coconut oil turns hard when cold). If you like a softer texture, just keep it on the counter for 15 min and stir before you eat. Cold tastes just as good though.

11. Yum!

gogo3

~Stay Gutsy, Caroline


disclosure 3
07.08.2012

GAPS chocolate drops

Finally a GAPS chocolate chip. Though I like to call them chocolate drops 🙂

honey c

Remember in the GAPS chocolate vanilla cookies there were those yummy chocolate drops..and the were GAPS friendly? Well, hopefully I didn’t keep you waiting too long….but it was totally worth it! Honestly I usually just make recipes up and a lot of times I forget to write them down, so I have to remake them and write down the measurements. I am getting better at this, but I had to recreate this recipe for you. Don’t worry it turned out the same. Actually my sister says they are better than before!

GAPS chocolate drops!

I cannot eat chocolate yet, but my family can and I wanted to make sure we had GAPS friendly chocolate chips around so they would not have to “cheat” on store-bought dark chocolate that has sugar in it. (If you don’t know by now, even though I cannot eat everything I make, I love to cook GAPS/traditional food for my family. They are my testers and i am very thankful for their taste buds!)

Is your chocolate craving really magnesium?

This chocolate can also be used as a spread for whatever you want: banana’s, crepes, pancakes, or even stir a little in some coconut milk! When I made these GAPS chocolate drops I wanted to give the body what it is really asking for when you want chocolate. Your body is really craving magnesium! So why don’t you satisfy your chocolate cravings and your body cravings at the same time?

I don’t like the name magnesium chocolate, but you can sure call it that if you want to. I don’t have cocoa butter , but I always have coconut oil around, and I am sure many of you are also that way. I have to warn you these do melt fast, so when you put these in recipes stir them in at the last-minute or place directly on top of pancakes/cookies so they don’t melt and turn he batter brown! I will give you step by step interactions to make it an easy little task!

Have fun!


INGREDIENTS:

3 oz Baker’s Unsweetened Chocolate

2 tsp vanilla extract or 1 vanilla bean

1/8 tsp sea salt or 4 ml (4 full squirts) Mega-Mag Liquid

1/2 – 3/4 cup raw honey (depends on how sweet you like it –just taste test it!)

1/2 cup Raw Coconut Oil


DIRECTIONS:

1. Melt your chocolate in a double boiler (or make your own and put a heat proof bowl over boiling water)

2. Let your chocolate cool a little (you don’t want to kill the good raw enzymes of the coconut oil and honey!)


mmmm

3. Stir in your coconut oil, honey, vanilla, magnesium/salt

DSC_0132

4. Your mixture will be very liquidy. You want the constancy just right. It needs to resemble peanut butter/Nutella. Either put it in the fridge for 1-3 hours (keep checking it because you don’t want it to turn solid!) Or you could leave it in a dark cool cabinet for many hours until it solidifies a little. (This is what I do because I like to forget about it and do something while I am waiting)

5. To Prepare your cookie sheet, line it with Unbleached Parchment Paper. Freeze your cookie sheet to keep it cold (this helps hold the shape of the chocolate point)

DSC_0113

6. Once your chocolate mix resembles Nutella/peanut butter constancy, spoon it into a plastic bag ( I roll my plastic bag over a cup to make it easier to spoon into). See how the chocolate consistent changed from step 4 to step 6?


DSC_0114


DSC_0115

7. Cut off a very little corner off the tip of the plastic bag and pipe little chocolate chips. Since the consistency is stable you will be able to create the little point at the top! If it is too liquidy then they will end up like flat drops (The picture below was my first batch–I was a little impatient and did not let it set enough so they are flat–woops!) You have to work quickly or pipe small batches at once so they don’t melt on the tray too!

8. Return the cookie sheet to the freezer until hard (this is a very short time)

DSC_0104-1024x680

9. Scrape off the chocolate chips into a container and put directly in the freezer.

10. Repeat until chocolate mix is gone!

12. Store the GAPS chocolate drops in the freezer until you use them.

DSC_0090

DSC_0089


13. ENJOY!

savew

~Stay Gutsy, Caroline Lunger


disclosure 3
03.02.2012

Fermented Veggies

Probiotic Power!

Hello everyone. Sorry, I started my blog and then I got sick…bummer 🙁 . When I get sick I don’t feel well for a few weeks and I do as little as possible, so I am sorry. My secret kick-the-cold supplement is this bad boy along with a nice sized dish of these veggies! Yum.

Though now that I am feeling somewhat better I want to continue with posts about my GAPS journey. I do want to get my personal story about how I started GAPS sometime soon, but for now I want to share all my fermented vegetable creations! Some of then are pretty neat and I have a few tricks that I want to share with you, so your krauts turn out to be a success!


fermentt

Dill brussel-sprouts sauerkraut. 

I like to “spice up” my fermented veggies. It can get boring eating the same o’l fermented cabbage each day so I have been experimenting a lot. My favorite add-ins are…

  • brussels sprouts & dill
  • caraway seeds
  • fennel & red cabbage
  • garlic & cabbage
  • mixed veggie melody


For now I will stick to my go-to recipe, and you can switch it up how you like. It’s amazing how good fermented veggies are for you and making them at home is a lot less expensive (especially if you are eating them every day). If I can’t make my fermented veggies and run out for some reason here is a list of the store bought ones I like.

Books:

Recipes:

INGREDIENTS:

SUPPLIES:


1.) I Use Vegetable Starter Culture to jumpstart my ferments with good bacteria. I also use EcoBloom to help “feed” the starter. (optional)

2.) I follow the culture starter directions. I cup of 90 degree filtered water. I find that it helps to use a candy thermometer to be exact.

3.) I put in 1 scoop of the Ecobloom.

4.) I use 1 packet of the culture starter for many jars of kraut. I like to get as much use out of 1 packet so i sometimes use this starter water for 12 jars of kraut. Or after the veggies have been fermented i will take a spoonful or too and add it as a starter to the next batch. Just like you would with a yogurt starter.

5.) This is my new trick to get the jars from molding. I first put them in the dishwasher and let dry completely. Then i swish a little ACV in them to kill all the extra bad bacteria sitting around. It has worked for me so far. I also notice that when you add seeds, ginger, or garlic, onion (natures disinfectants)  the jars don’t develop mold like the kraut with just salt.

6.) Chop cabbage in quarters and de-core it. Take out that little white triangle on the bottom

7.) Chop cabbage into chunks to fit into the Cuisinart, or cut thin with your knife to get shreds.

8.) When i put my chunks into the Cuisinart I try to put them in a way so they will shred out to be think long pieces. I peel away the big chunks I cut and roll then up and stick them into the shredder. I use the thinnest shredding setting (1) on the Cuisinart blade.

9.) Shred away! I usually have to do a few emptying outs when I do a few heads of cabbage.

10.) The Cuisinart is very handy for making a lot of fermented veggies. It already takes a long time to shop for the veggies, wash then, and then cut them..using a Cuisinart or mandolin really helps cut down the time..and you get thinner shreds.

11.) Here is my 5 lb crock. I go back and forth fermenting in the crock or in jars.  right now I prefer the taste of the jarred kraut, but I just need to learn how to ferment properly in my crock. any suggestions? I still use it as place to dump all my cabbage in though.

12.) Dump all the cabbage in to a big bowl or crock.

13.) Chop the fresh dill..I also have used dried and it tastes just as good

14.) Dump into the crock.

15.) Chop Brussels sprouts into shreds or put into Cuisinart.

16.)  My general measurements are 2 TBS of sea salt for 1 medium head of cabbage. It is just right for me but play around with the salt to match your preference.

17.) I don’t have a pounder yet so I just squeeze it. I have learned that it helps to let it sit for 20 min or longer after you put in the salt and before you start squeezing. the salt helps release juices. I clean my dishes while i wait 🙂

18.) Squeeze! Looks like the juices are starting to break down.

19.) The more juice the better, and the more you break down the cell walls of the cabbage the quicker it will ferment too. Once the cabbage is translucent and flimsy you know it is done.

20) Pack into jars, leave about 1 nice from the top to let the cabbage have room to expand as it ferments. I always put a cabbage leaf on top, to keep out the potential mold from getting in the good stuff. Once it is fermented, you just peel of the top and dig in!

21.) Important step! press down on the cabbage until there is juice that submerges everything! you need this juice to keep mold from growing and to keep the kraut moist.  You can always add more water onto if necessary. 

22.) this is what it looks like all ready for the lid.

23.) screw the lid on just until you feel it stop. don’t force a tight seal, it should be light.

24.) I store mine on cardboard, because frequently one or two explode. I also store it away in the mud room because its dark (I also drape a towel over the veggies too) and not everyone likes the smell in my family 🙂

25.) Here are all the fermented veggies I made. from the left top: Kimchi, spicy kimchi,  caraway seed kraut. from the bottom left: sauerkraut, dill Brussels sprout kraut, dulse kraut, beet/carrot/red cabbage.

I LOVE to get creative with my fermented veggies. I also just made fermented cauliflower, green beans, carrots, asparagus, red fennel kraut (also my favorite), celery seed kraut, green onion kraut, garlic kale kraut, ginger, and fennel seed. I will post more recipes..which ones would you like to see?

If you want a quick easy way to get fermented veggies in your diet and can’t find any at your store, try my favorites!

Wise Choice market

rejuvenate foods

Bubbies!- love their pickles 🙂

sue sure


~stay gutsy, caroline

disclosure 3
01.24.2012

GAPS pancakes

Pancake Time!

This morning I made pancakes for my mom! She too is on GAPS but she can have almond flour, squash, and the whole egg..lucky her! I love to cook and she doesn’t have much tim,e so I got started. (I had a little fun making the picture as well!)

pancake

Step by step:

I always like to look at recipes with step by step pictures, I think it helps a lot and is more fun! This recipe was revised from the Internal Bliss cookbook. I changed up a few things: almond flour instead of almond butter, and pureed pumpkin instead of squash.

Taste like “donuts”!

They were “so good” my mom said and even my younger sister who doesn’t like my food (meaning GAPS food) loved these pancakes. She said they tasted like donuts and was shocked when I told her they had pumpkin in them!

Give these a try if you can have all the ingredients on GAPS or even if you are not on GAPS these are delicious!

egg

INGREDIENTS:

5 eggs

1 cup of almond flour

1 cup pureed pumpkin (use this canned pumpkin or puree your own)

1/2 tsp Sea salt

1 Tbsp cinnamon

1/4 cup dried shredded coconut

3 Tbsp Butter/ghee

PicMonkey Collage

DIRECTIONS:

1.) Separate 5 eggs into yolks (small bowl) and whites (medium bowl).

2.) Measure out 1 cup of almond flour and 1 cup of pumpkin ( I cheated and used this can, but normally we puree our own-learn how to here) into a big bowl.

3.) Add in 1/2 tsp of celtic sea salt and 1 Tbsp of cinnamon into the big bowl.

4.) Start to beat the eggs until they look like this, nice and stiff!

5.) Add in egg yolks and 1/4 cup of dried coconut (optional) into pumpkin/almond flour mix (big bowl).

6.) Fold in the egg whites-fold until incorporated fully.

7.) Get your cast iron pan buttered, this is big pan and I used about 3 Tbsp, you need a lot so they don’t stick. Be generous with the butter (otherwise they will stick)! Keep your pan at medium heat.

8.) Pour in a spoonful, don’t make them huge because they can be messy to flip, sometimes I make really small ones for fun!

9.) Flip when they start to turn brown on the bottom (this happens after about 1 min of bubbles forming around pancakes). I flip mine and then flip them back again because they always seem to ooze out more batter the first time I flip. They cook quick so watch out! **

10.) Serve and eat! I sprinkled them with dried unsweetened coconut and cinnamon- you can also top with coconut whipped cream! YUMMY! they make the kitchen smell wonderful too.

I always make the whole recipe and it ends up making a good amount, about 20, but it will vary on the size.

Notes

** after each batch of pancakes put an extra 1 tsp of butter on the pan to keep the pancakes from re sticking and they taste better too

These were the extras, perfect for a snack anytime of the day. You can also use them like bread and spread some almond butter and whole fruit jelly on them, or some coconut butter, or a drizzle of vanilla honey! get creative

You can substitute pureed squash for the pumpkin and use almond butter- (learn how to make it here) instead of almond meal. Lard, coconut oil, or any other kind of fat can be substituted for the frying part. You can also add in dried or fresh fruit, more spices, lemon poppyseed, or even make it savory with some crushed bacon bits and chives, again..get Creative..this is just your canvass! ENJOY

leftovers 🙂


~stay gutsy, caroline

disclosure 3