Hi! I have been loving fall here in Boulder Colorado. The smell in the air is crisp and the nights are cooler so sweet potato fries really warm you to the bones (exactly what I need right now after a long walk).
Since I’m a nanny during the week, that means I’m in charge of the kids meals. I get to cook with awesome organic farm fresh foods for the family I am nannying. Sweet potatoes, pumpkins, apples.. yum!
In my last post I mentioned I was a live in nanny, but after giving it a try I felt it was not ideal for me. I am still a nanny in the same area but I have more personal space after work which is nice. The little ones I nanny are awesome eaters and love to help me make things from scratch. They love to peel sweet potatoes, separate the pumpkin seeds, and freeze fruits. It’s a good match because it helps the process go quicker, gets them involved and trying new things.
Baked sweet potato fries are a favorite (and a great filling warming food after a long day!). True story… In 6th grade I ate a sweet potato every day after school and it was such a good recovery food mentally and physically. That got me thinking, there must be something good for the brain in sweet potatoes. Time to flip through to the biggest best food nutrition dictionary or the online version. I found that
In animal studies, reduced inflammation following sweet potato consumption has been shown in brain tissue and nerve tissue throughout the body.
Baked sweet potato fries are yummy and easy and such an appetizing way to cook a vegetable (in my opinion). Alrighty, enjoy!

Ingredients:
- 1-2 organic sweet potatoes
- 2-3 Tablespoons of coconut or palm oil or grass fed ghee or organic olive oil
- sprinkle of sea salt
- organic cinnamon (sweet) or organic cumin (savory) -both of these spices are great depending on if you want an extra flavor.
Supplies:
- 2 stainless steel baking sheet (non toxic)
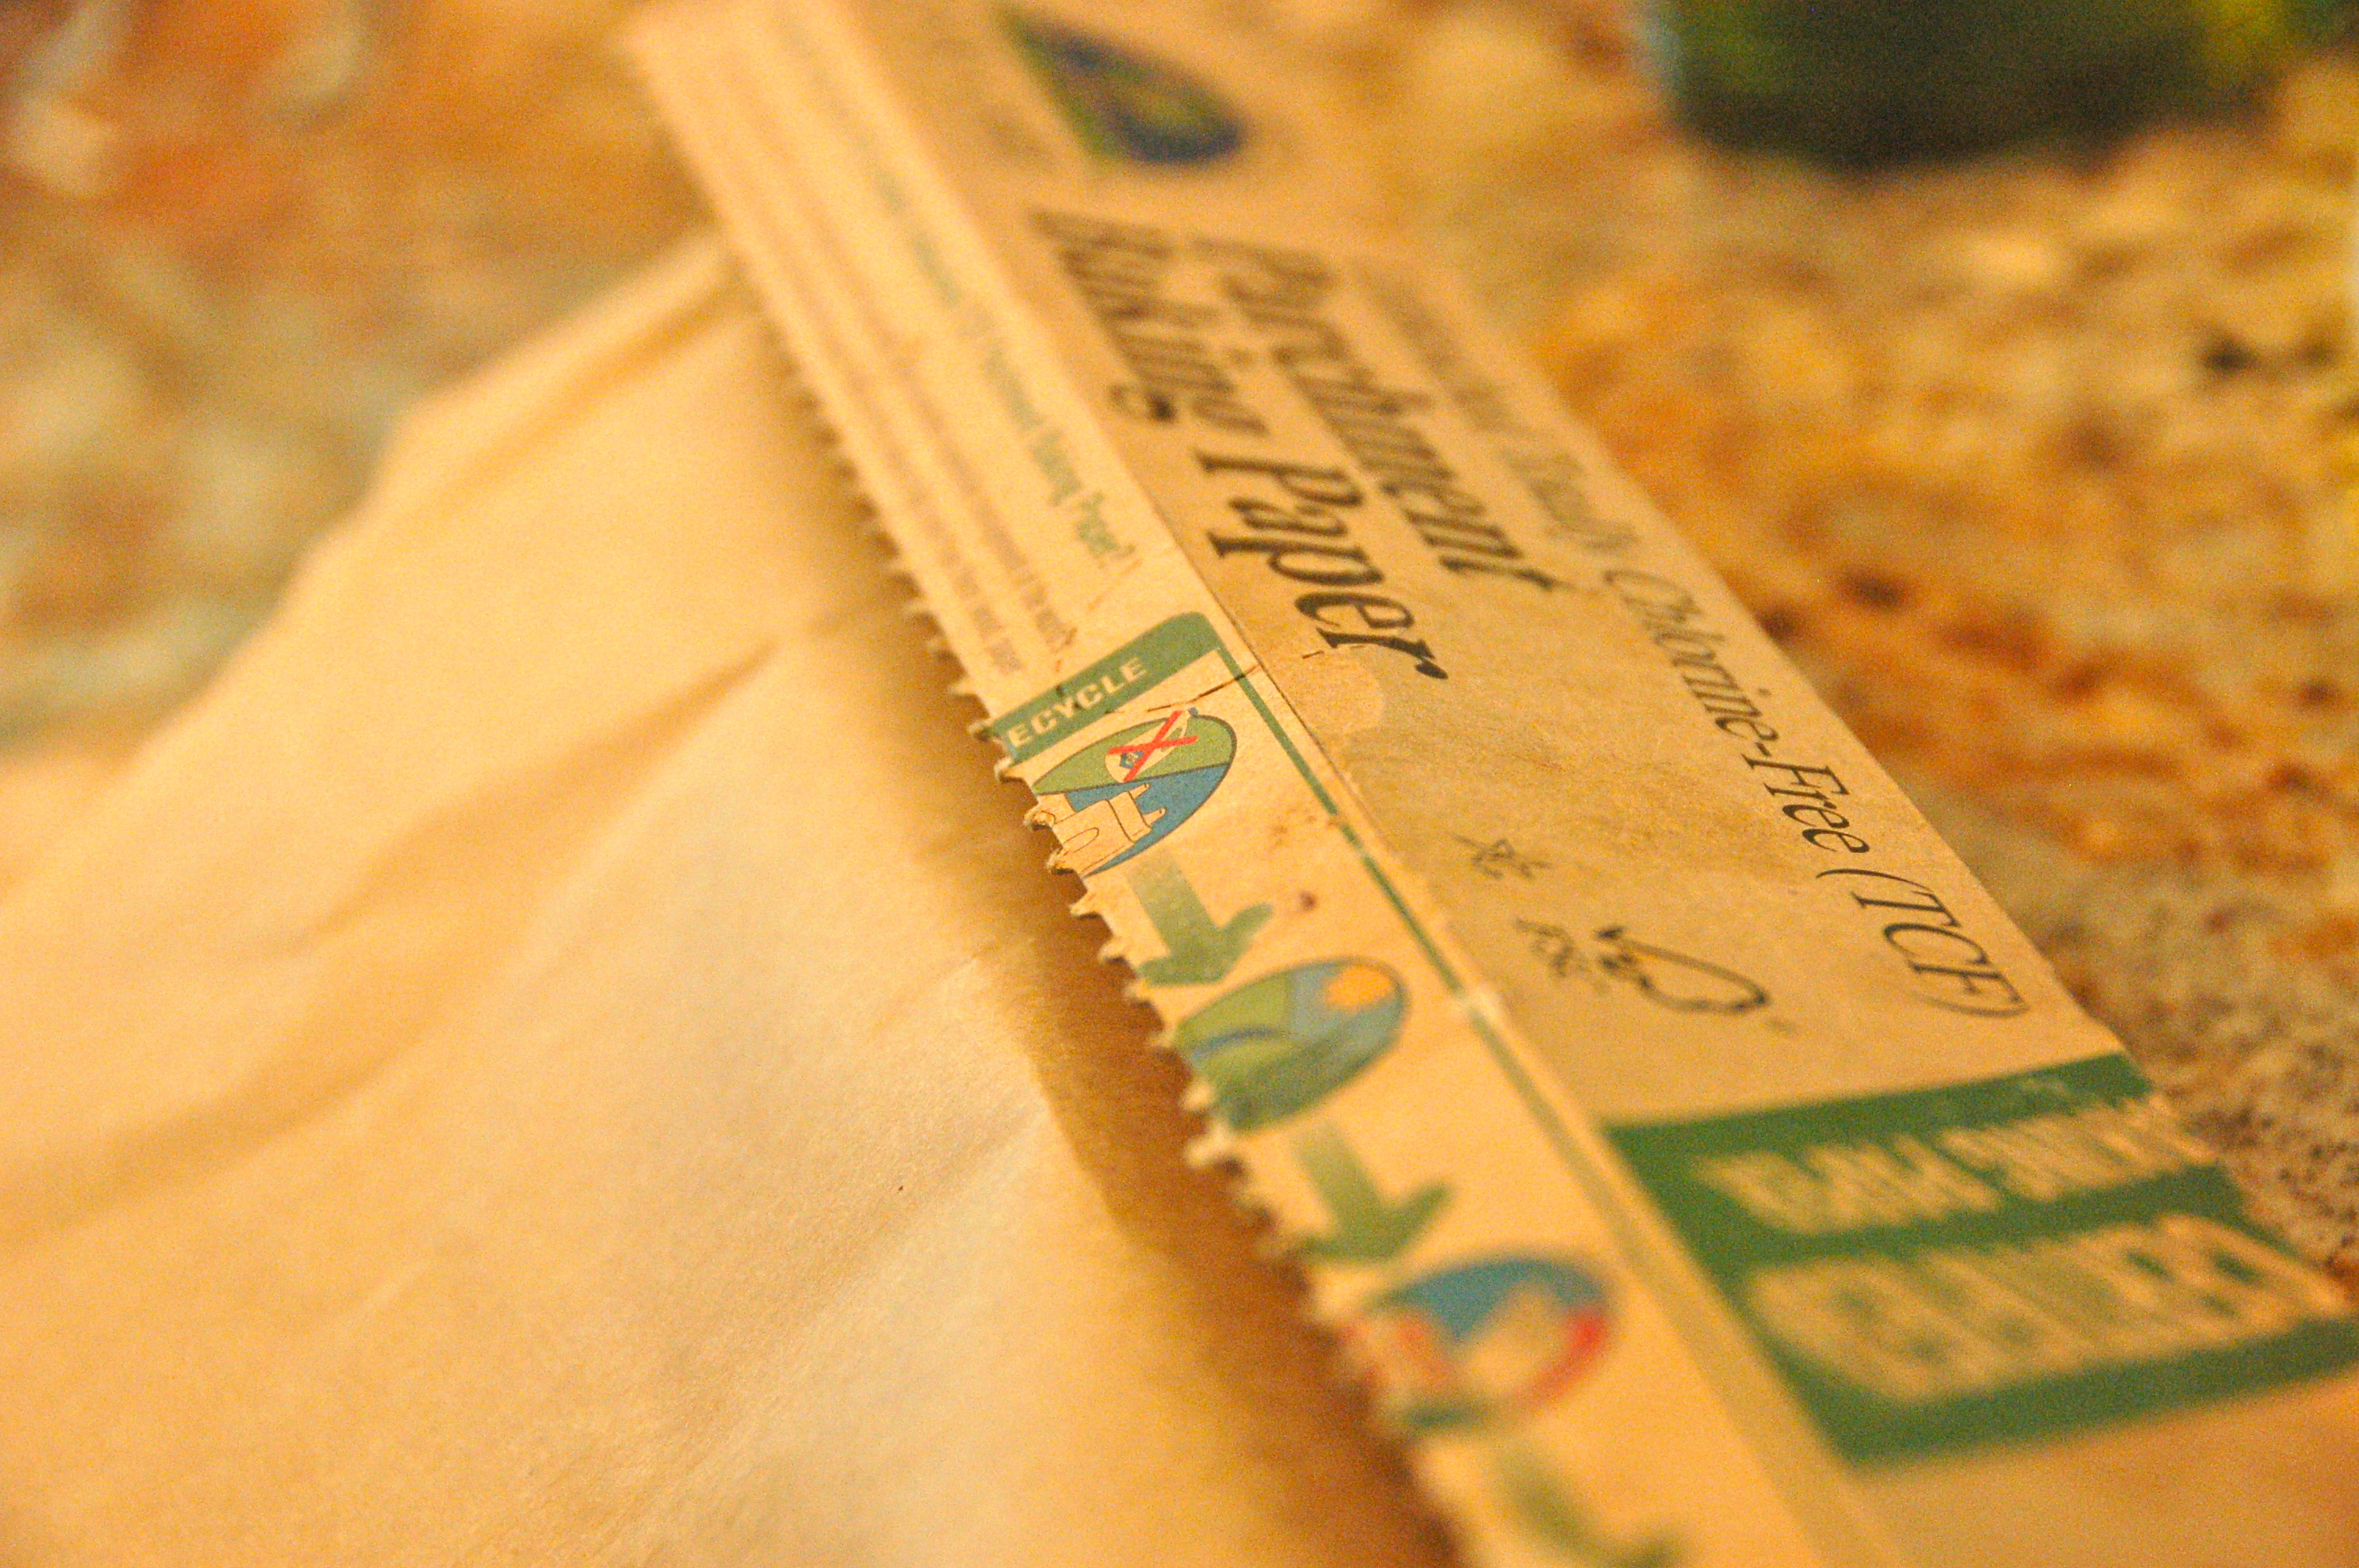
- unbleached parchment paper or non stick baking mat (optional)
- sharp veggie knife
- vegetable peeler (if you like your fries without skin)
- cutting board BPA free
- veggie scrub brush
- big glass bowl or plastic container (my favorite size)
- small butter sauce pan


Directions
- Preheat oven to 400 degrees fahrenheit.
- Use your veggies scrub brush and wash off the potatoes of any dirt under water.
- Chop off the tips of the potato to get a flat base.
- (If you want to keep the skin skip this step.) Peel potatoes with the veggie peeler.
- Cut potatoes into 1/4 in slices.
- Cut the slices into 1/4 in strips
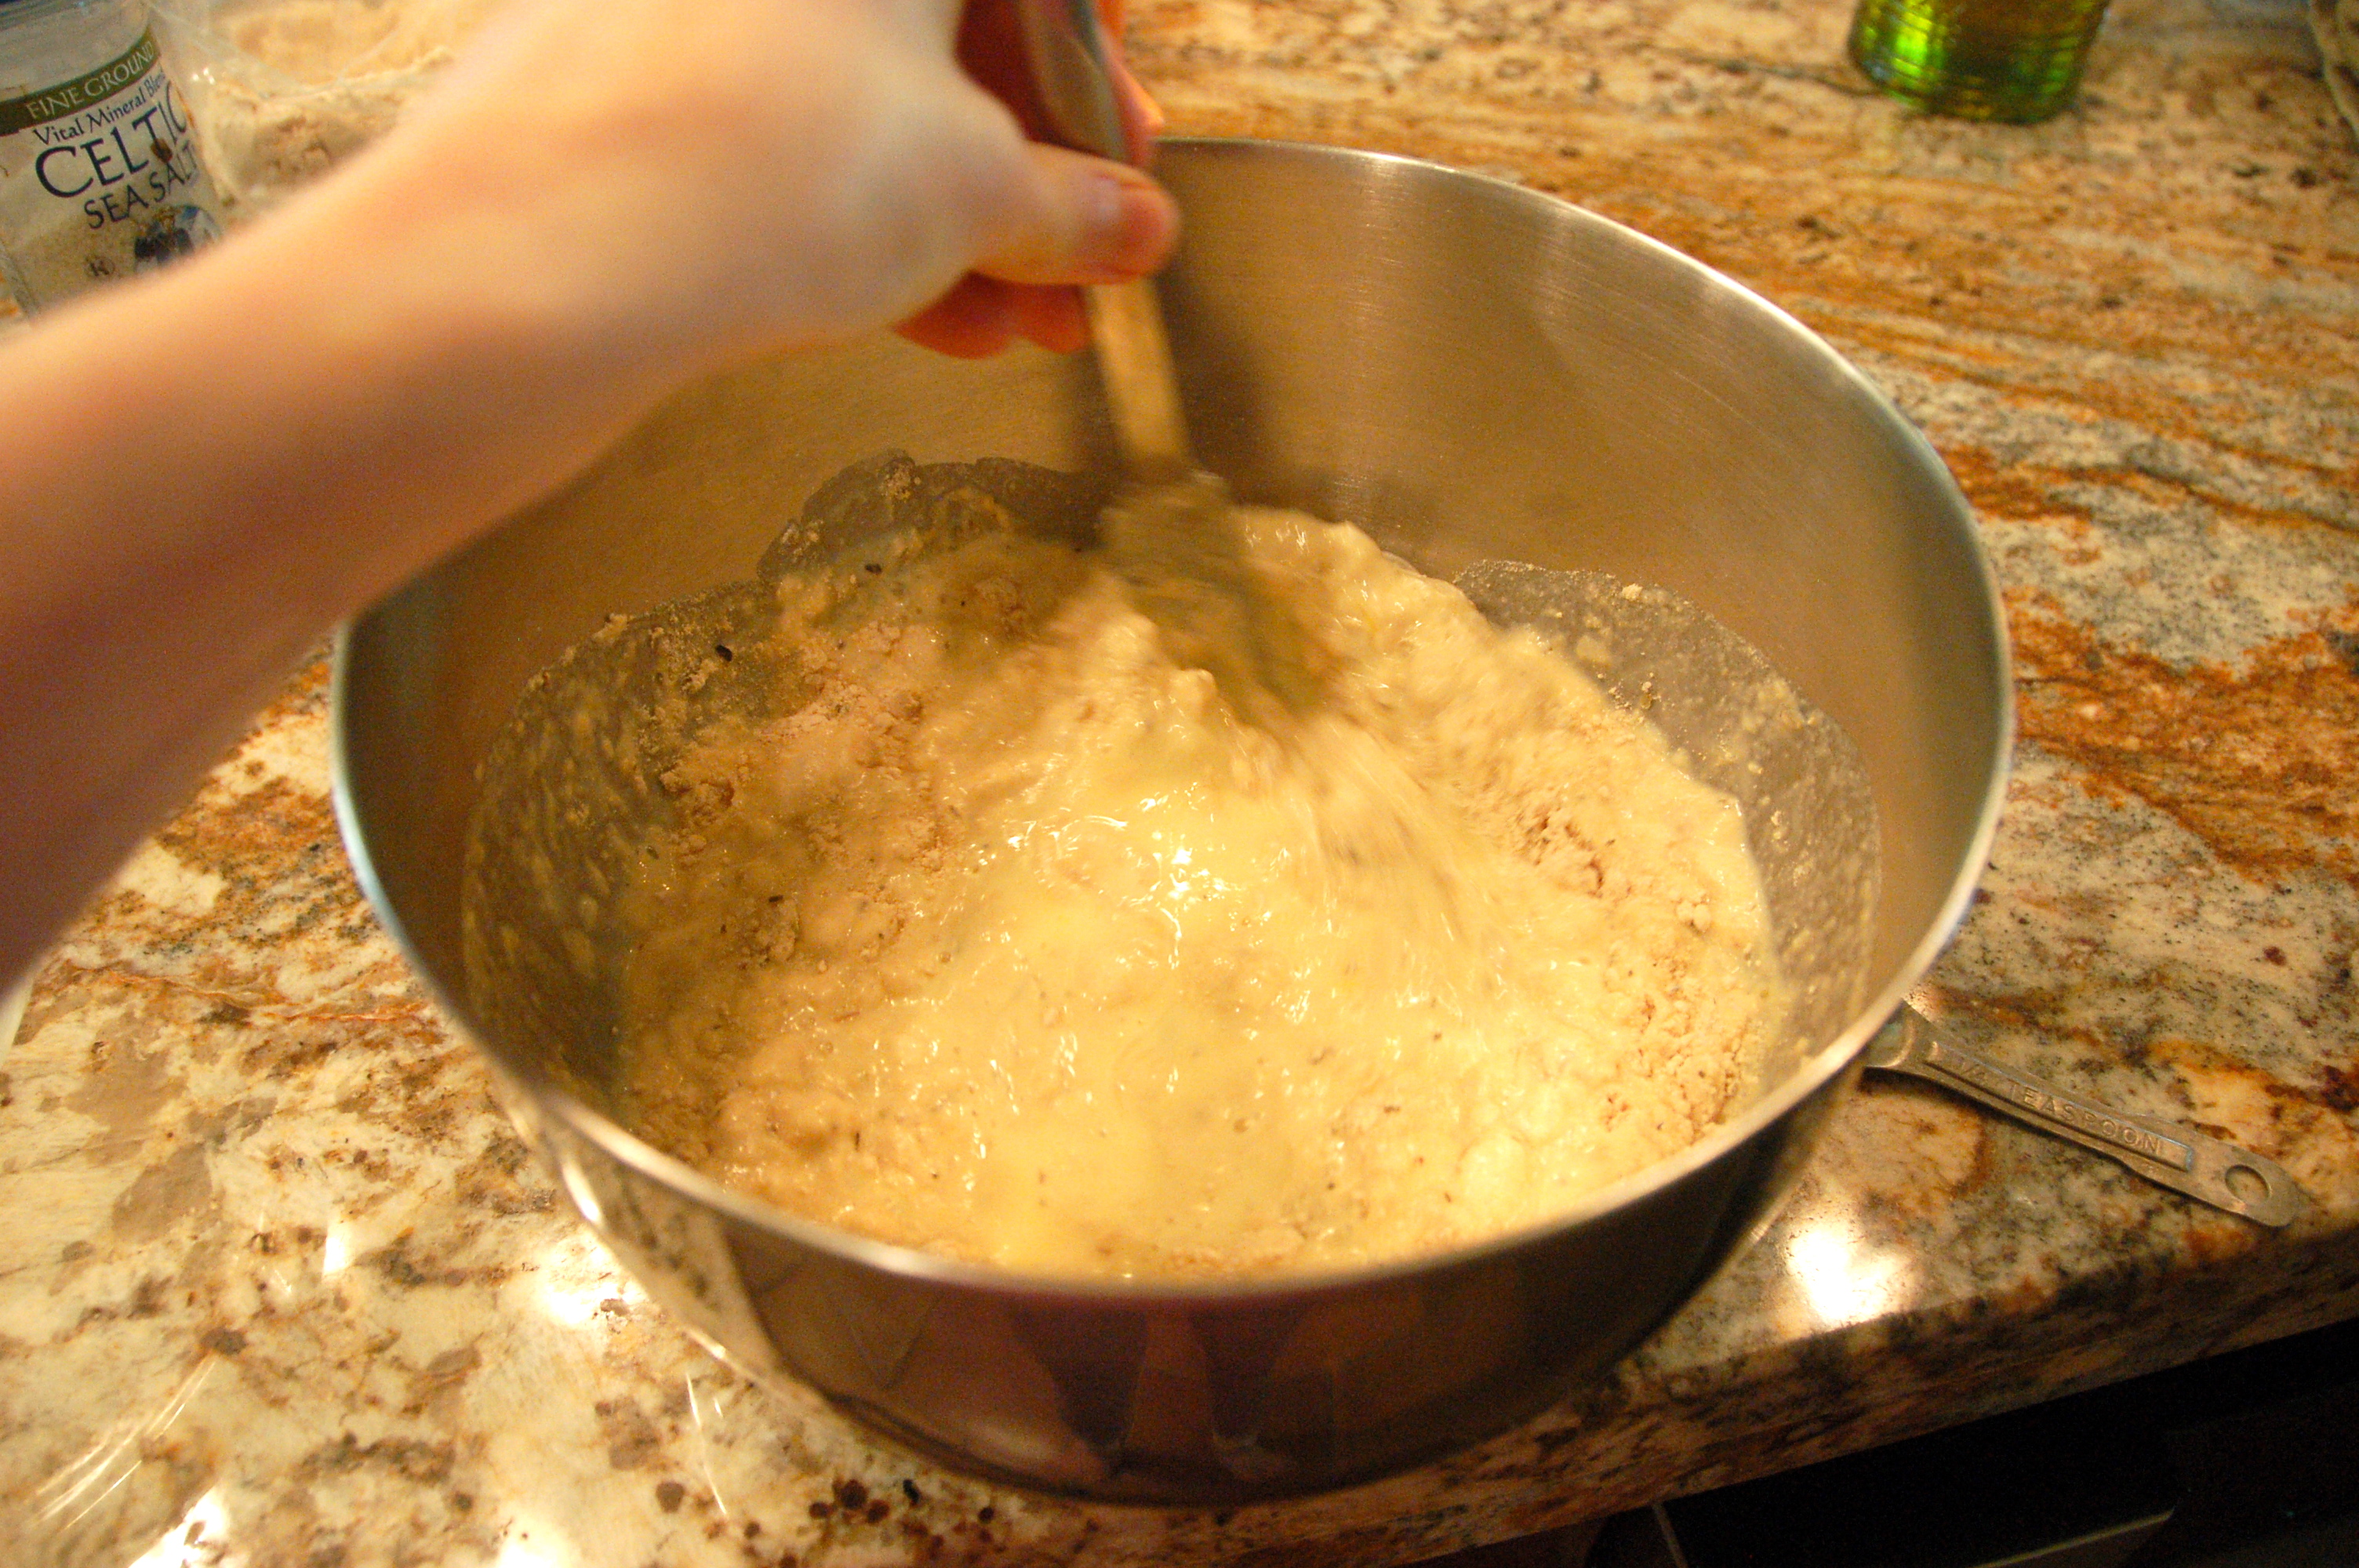
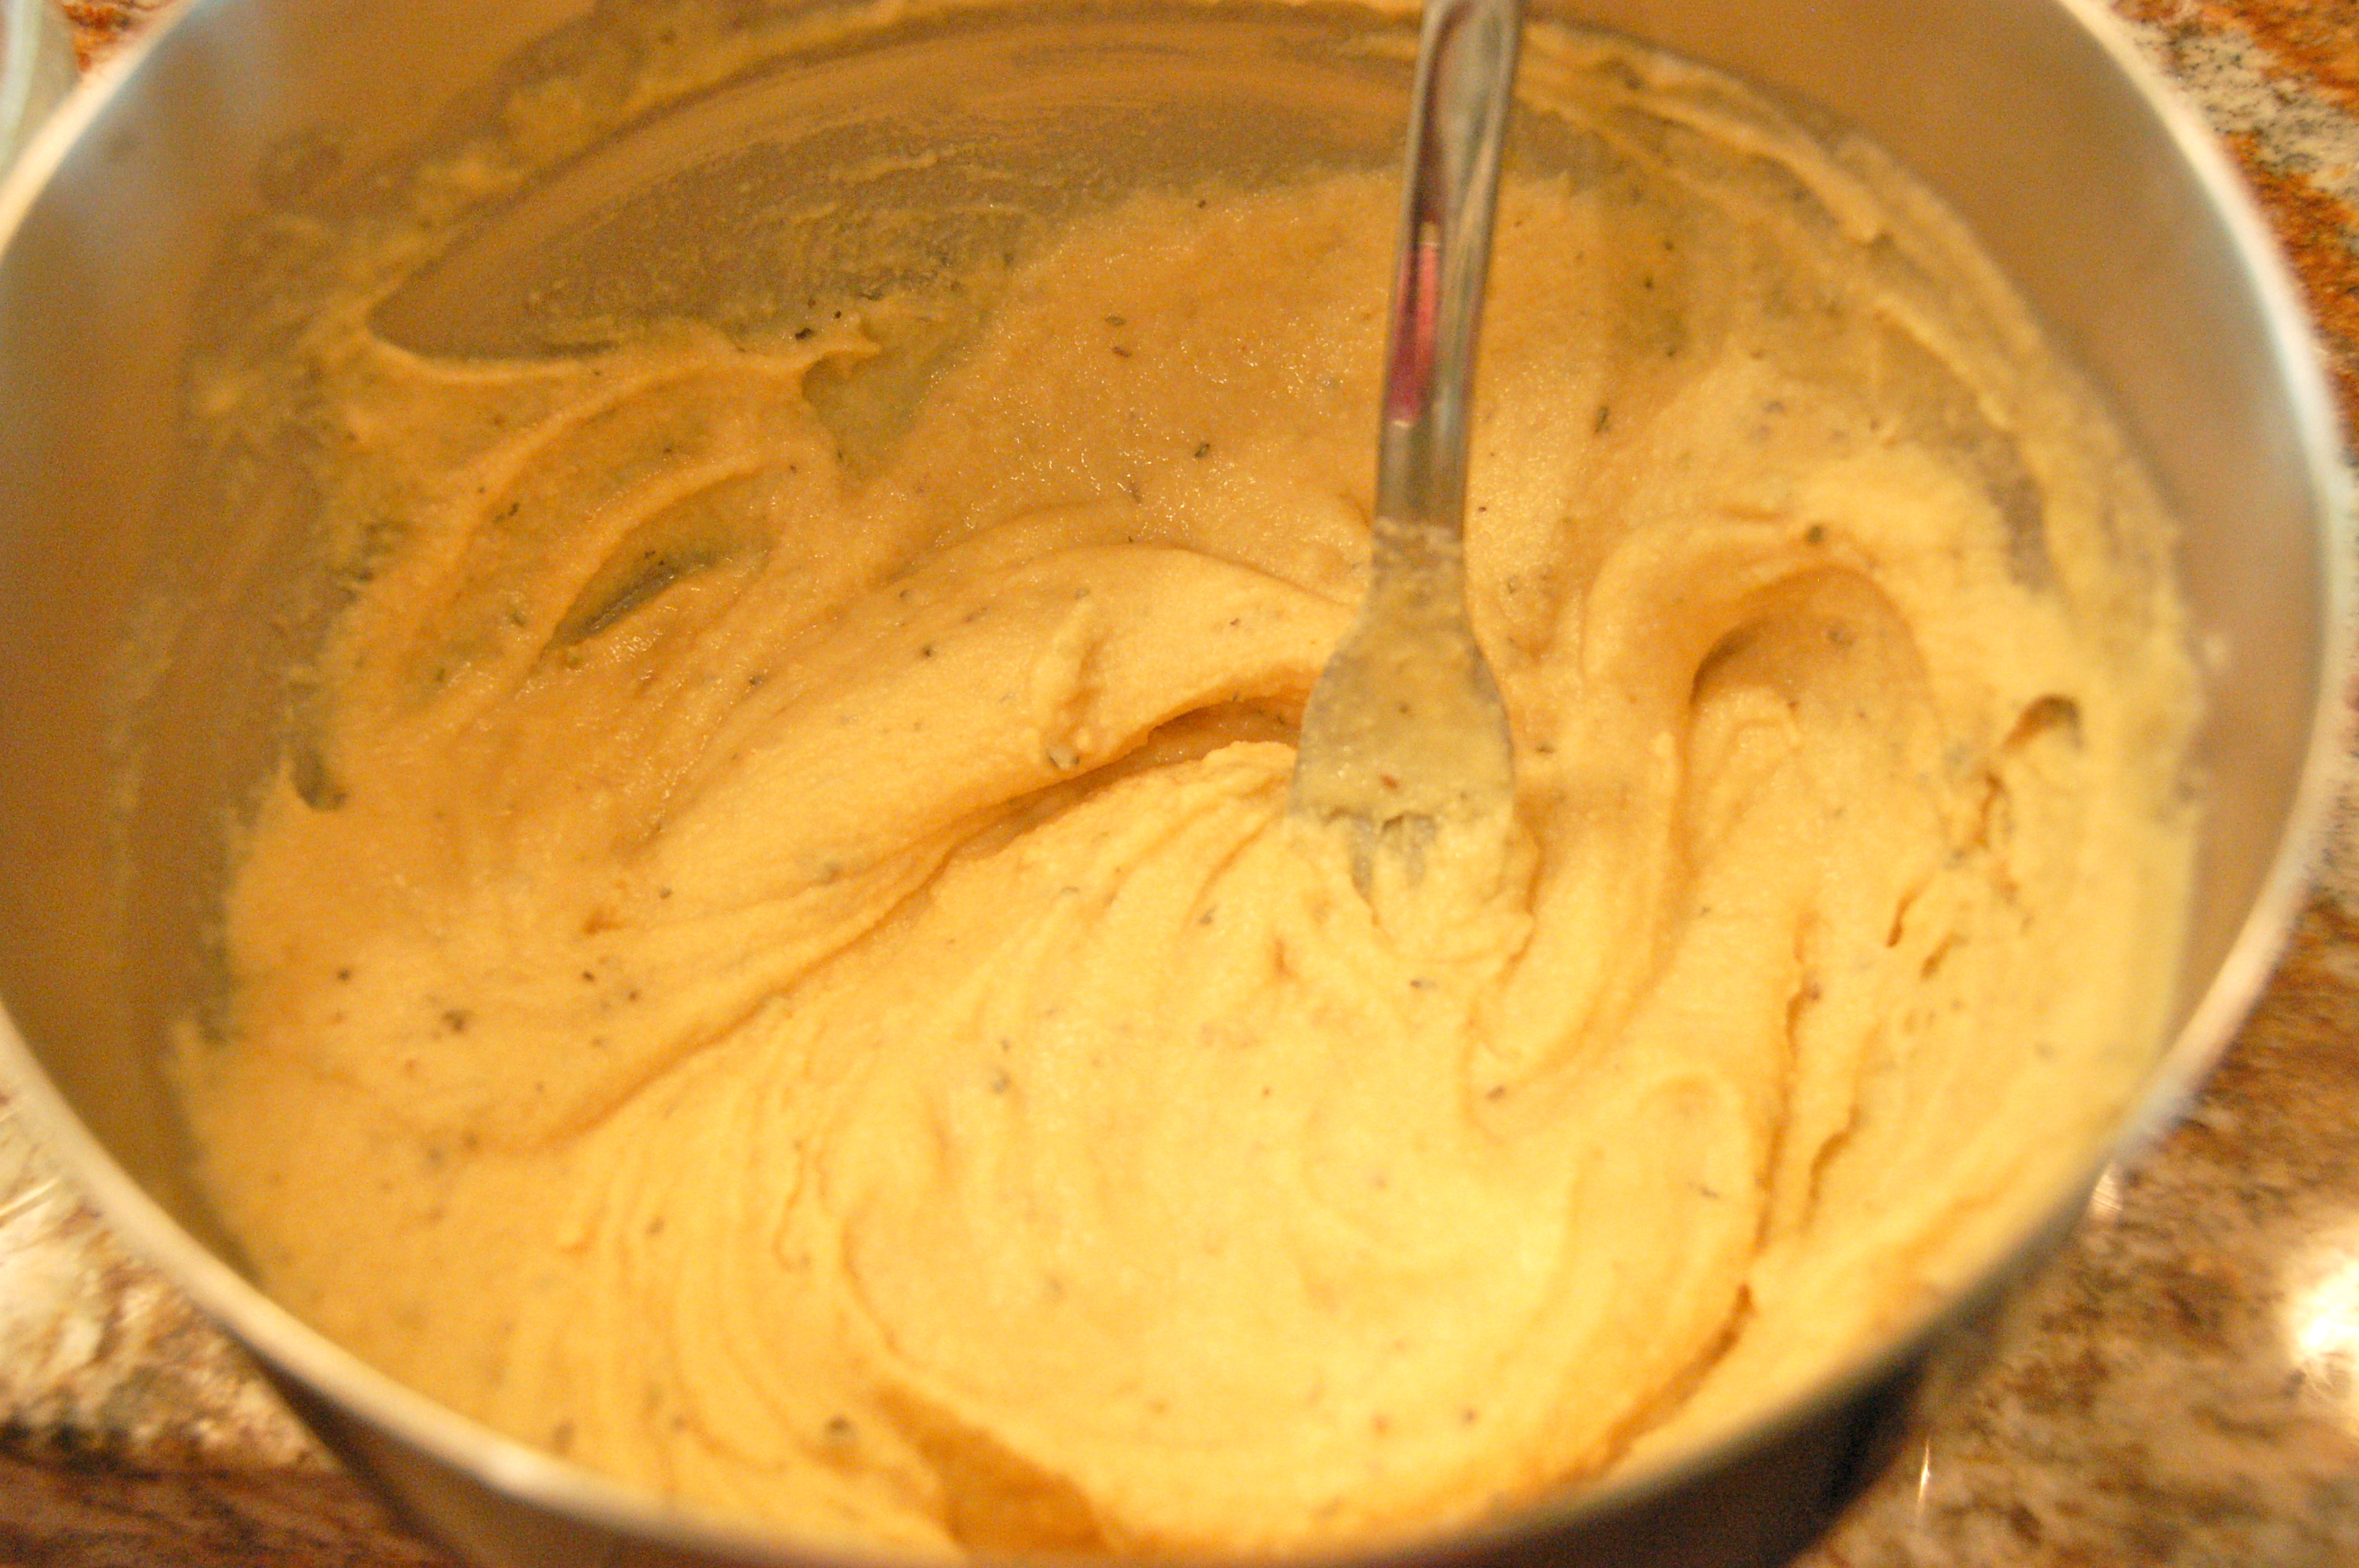
- If oil or butter is solid quickly melt in a small sauce pan.
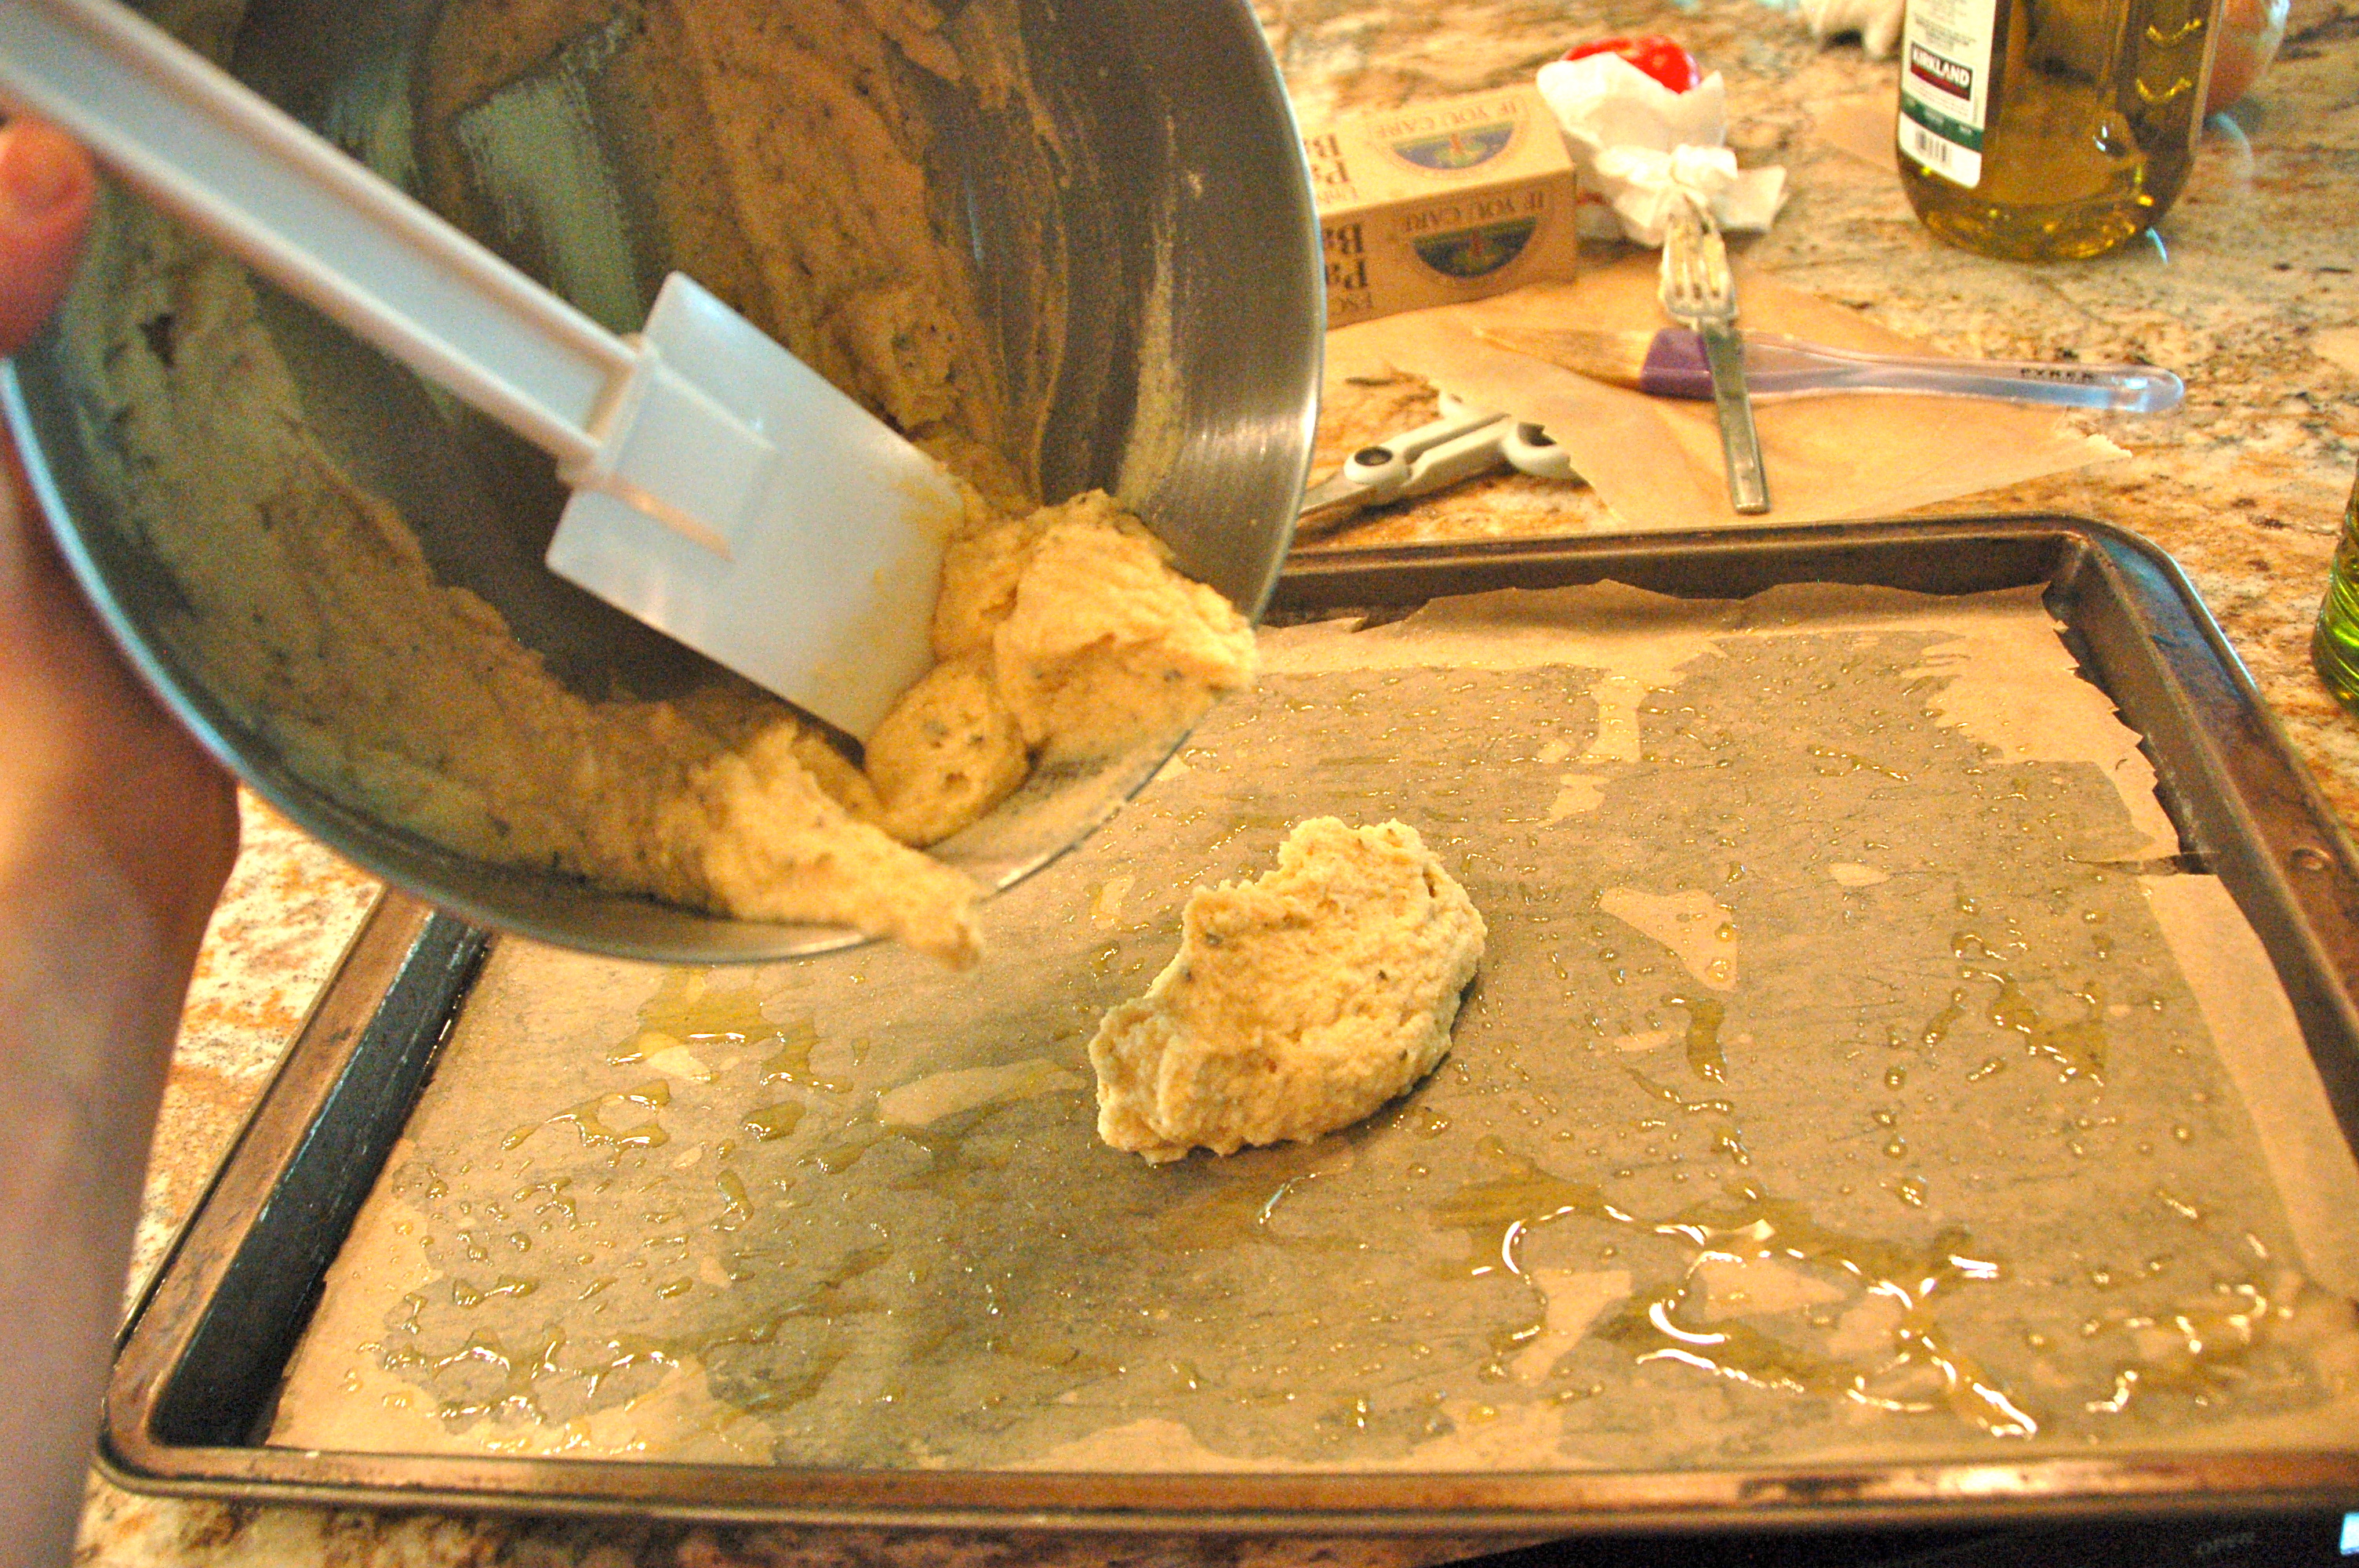
- Toss sweet potato strips and spices and melted oil in a bowl and coat the fries generously.
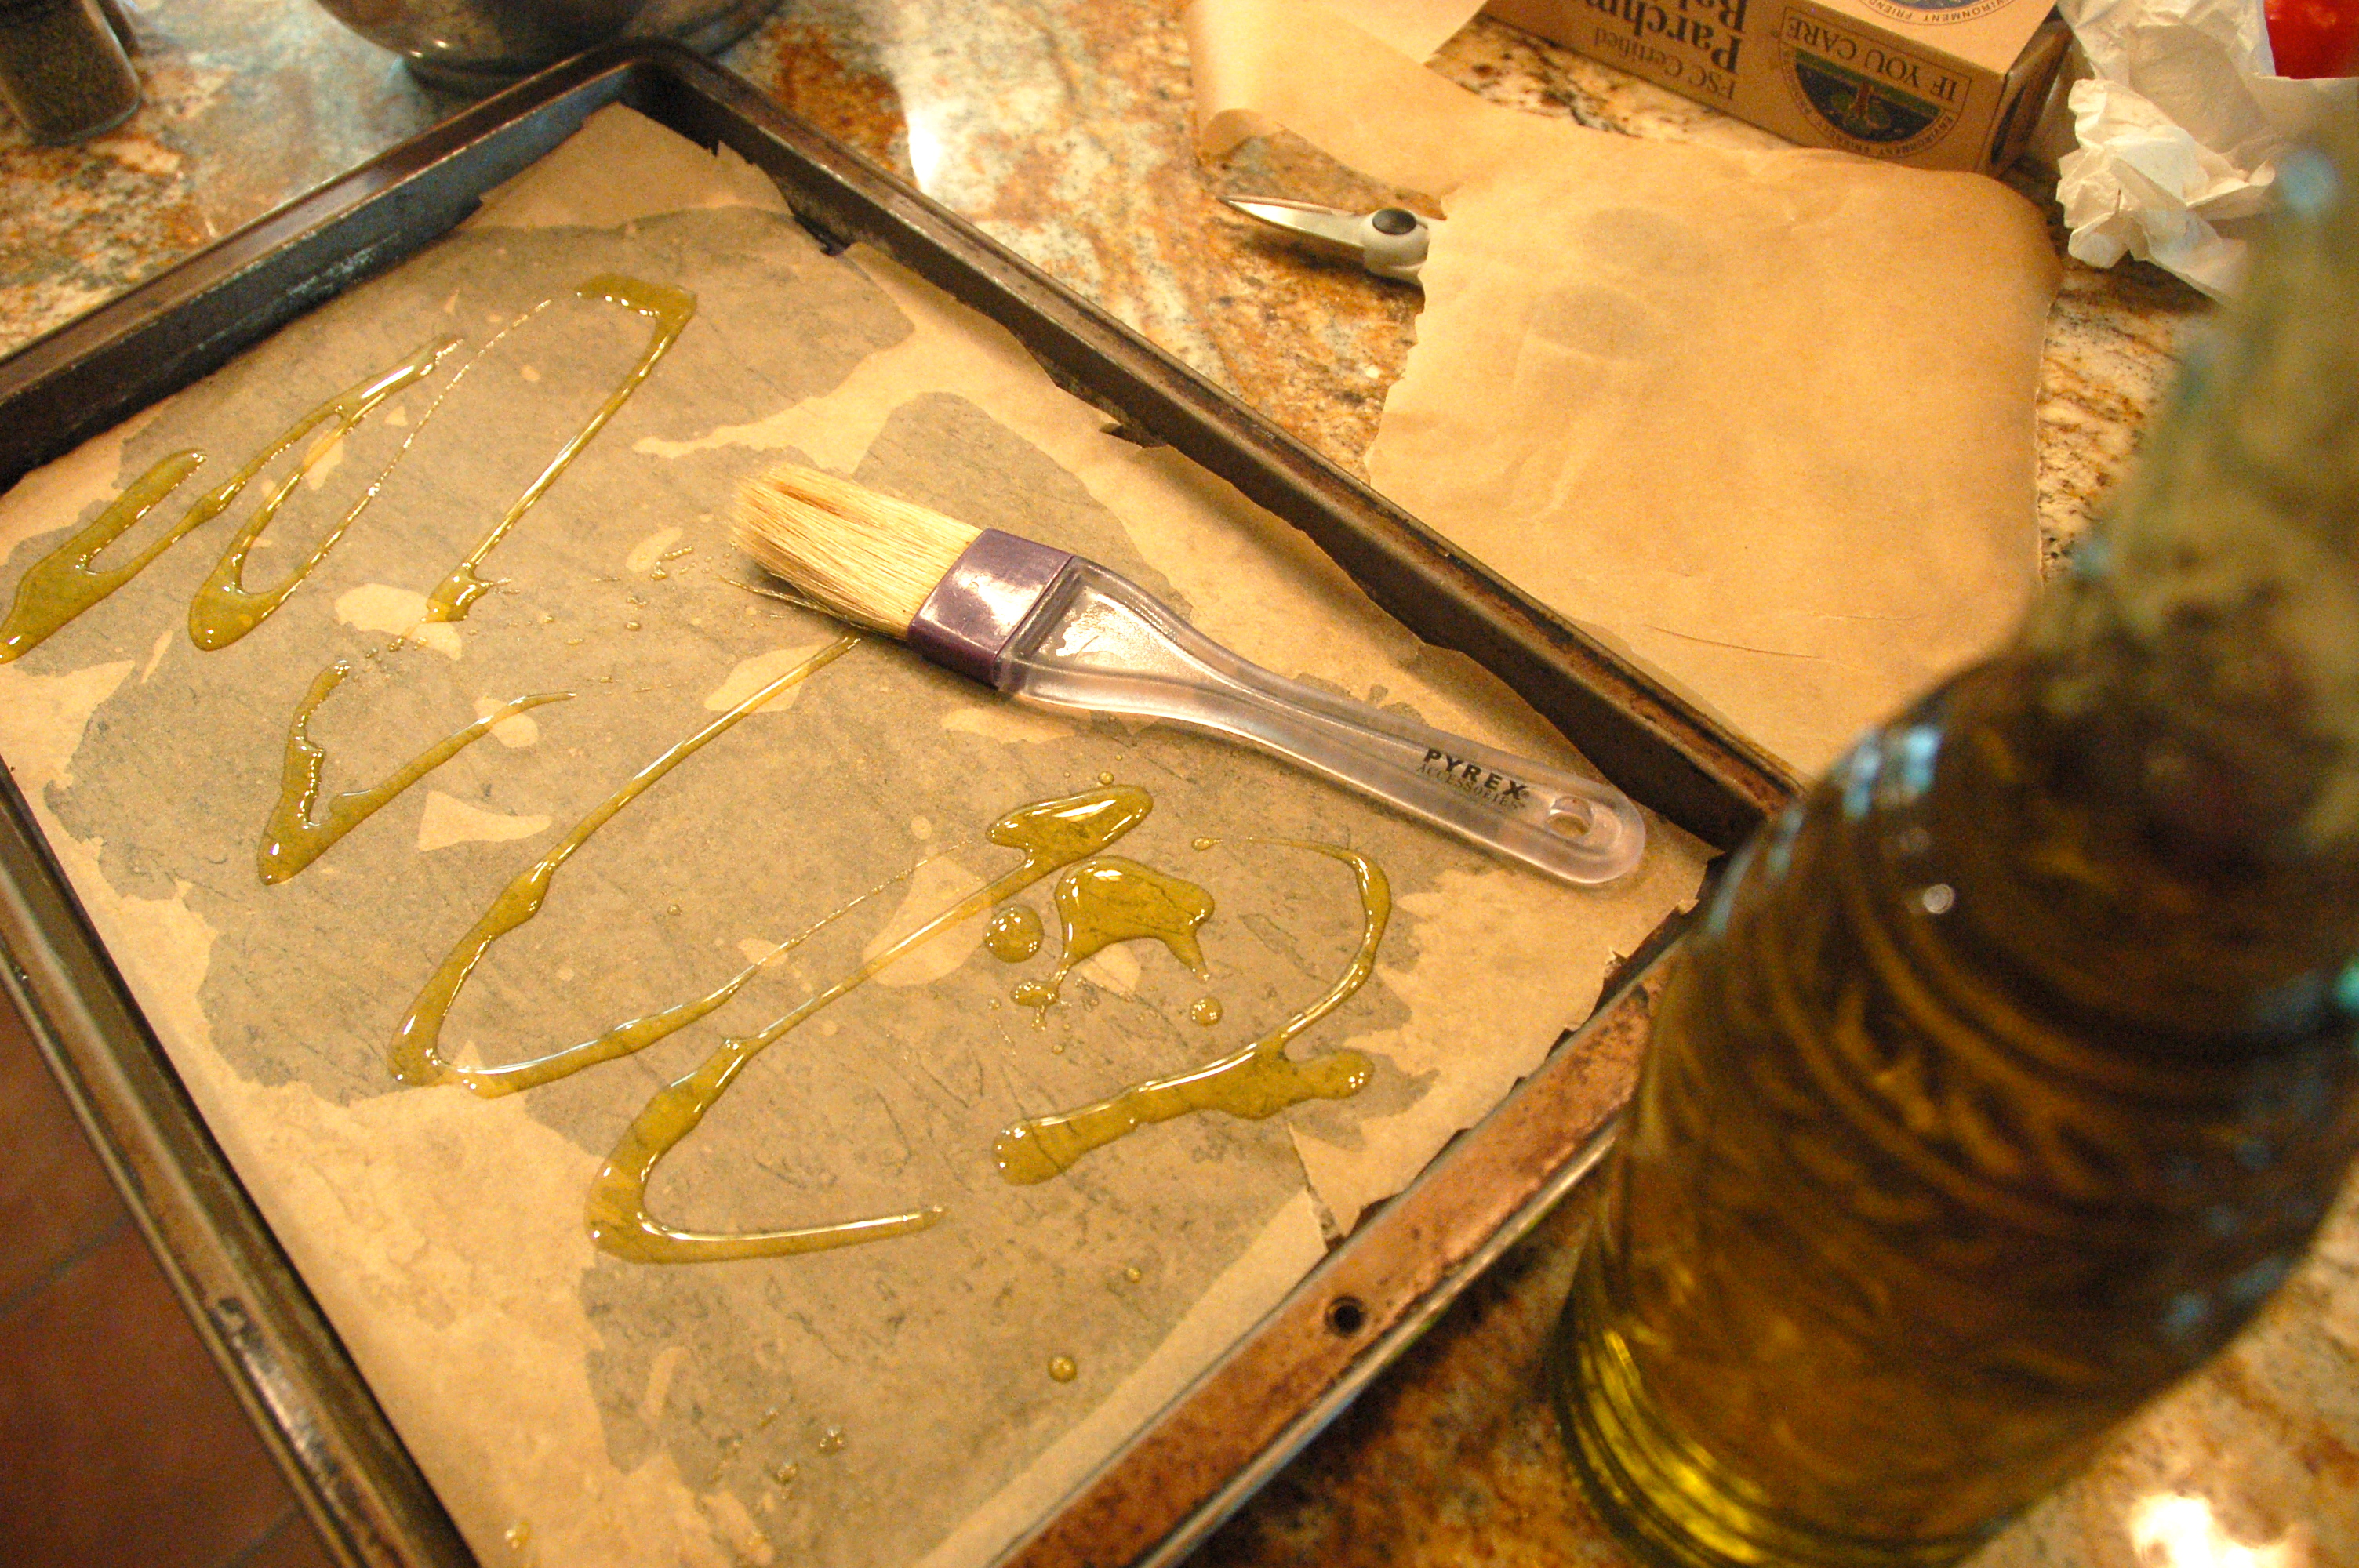
- (optional) line baking sheet with parchment paper.
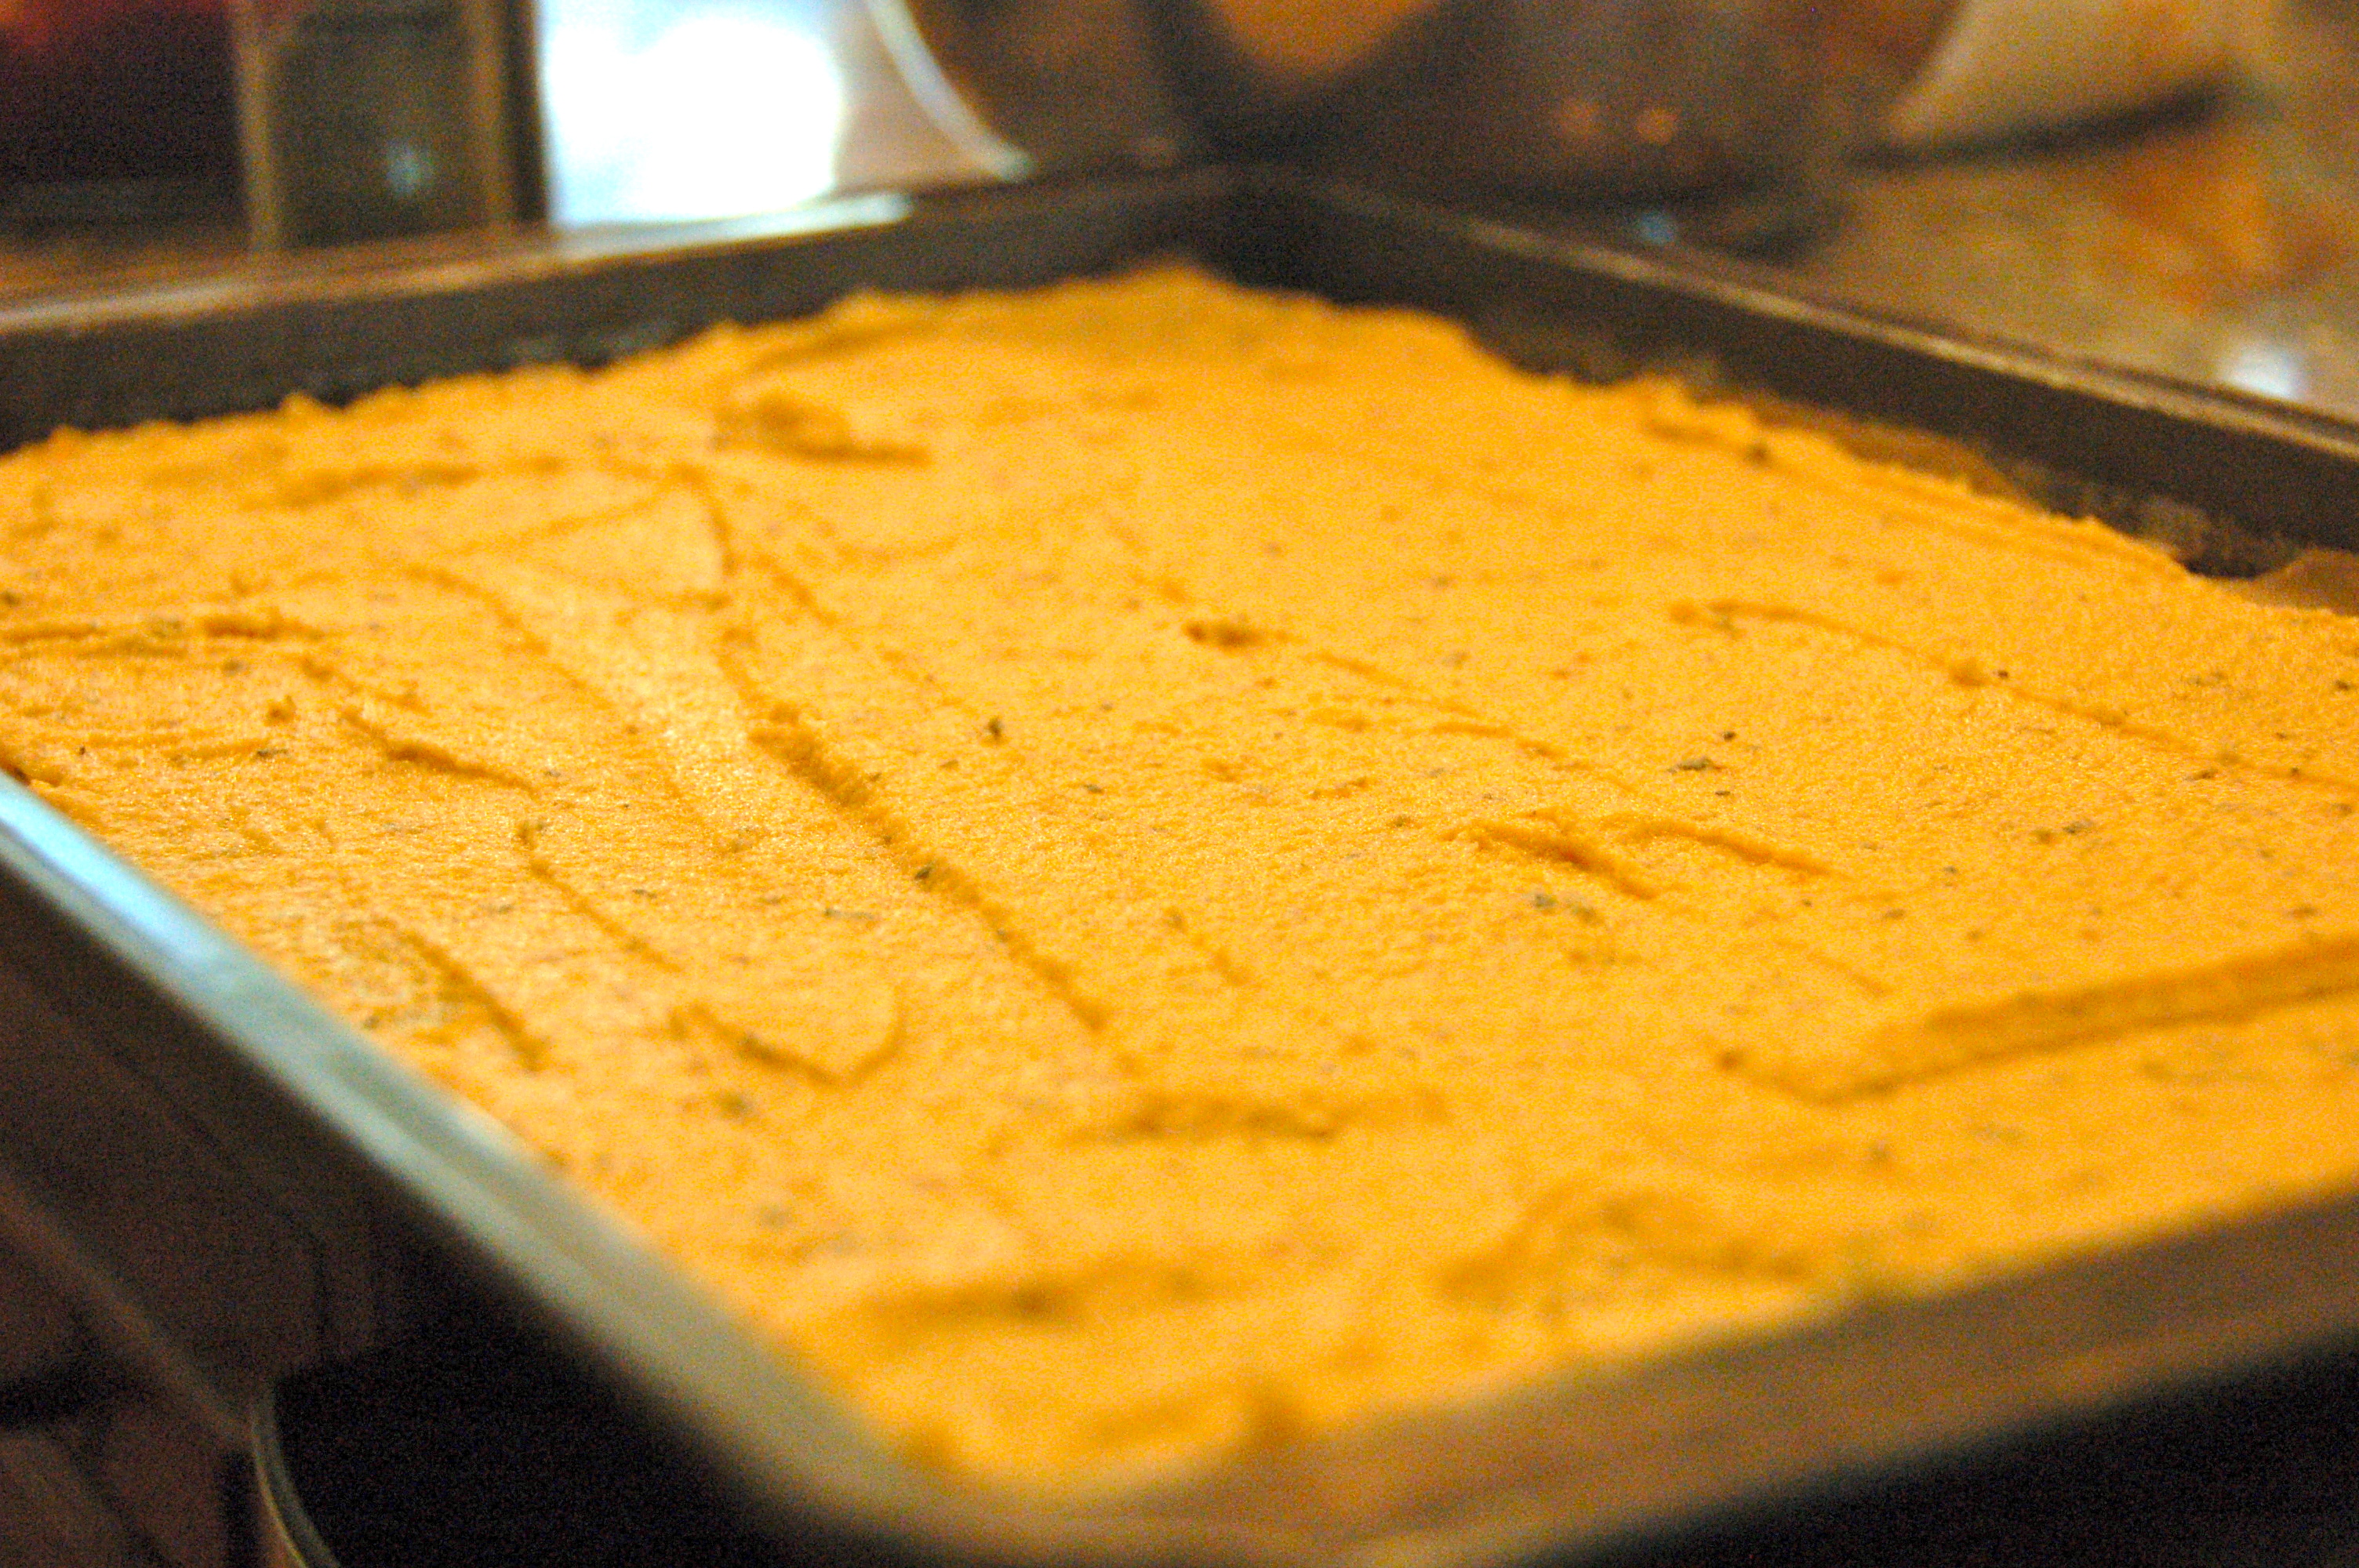
- Place potato slices on a single layer on a cookie sheet.
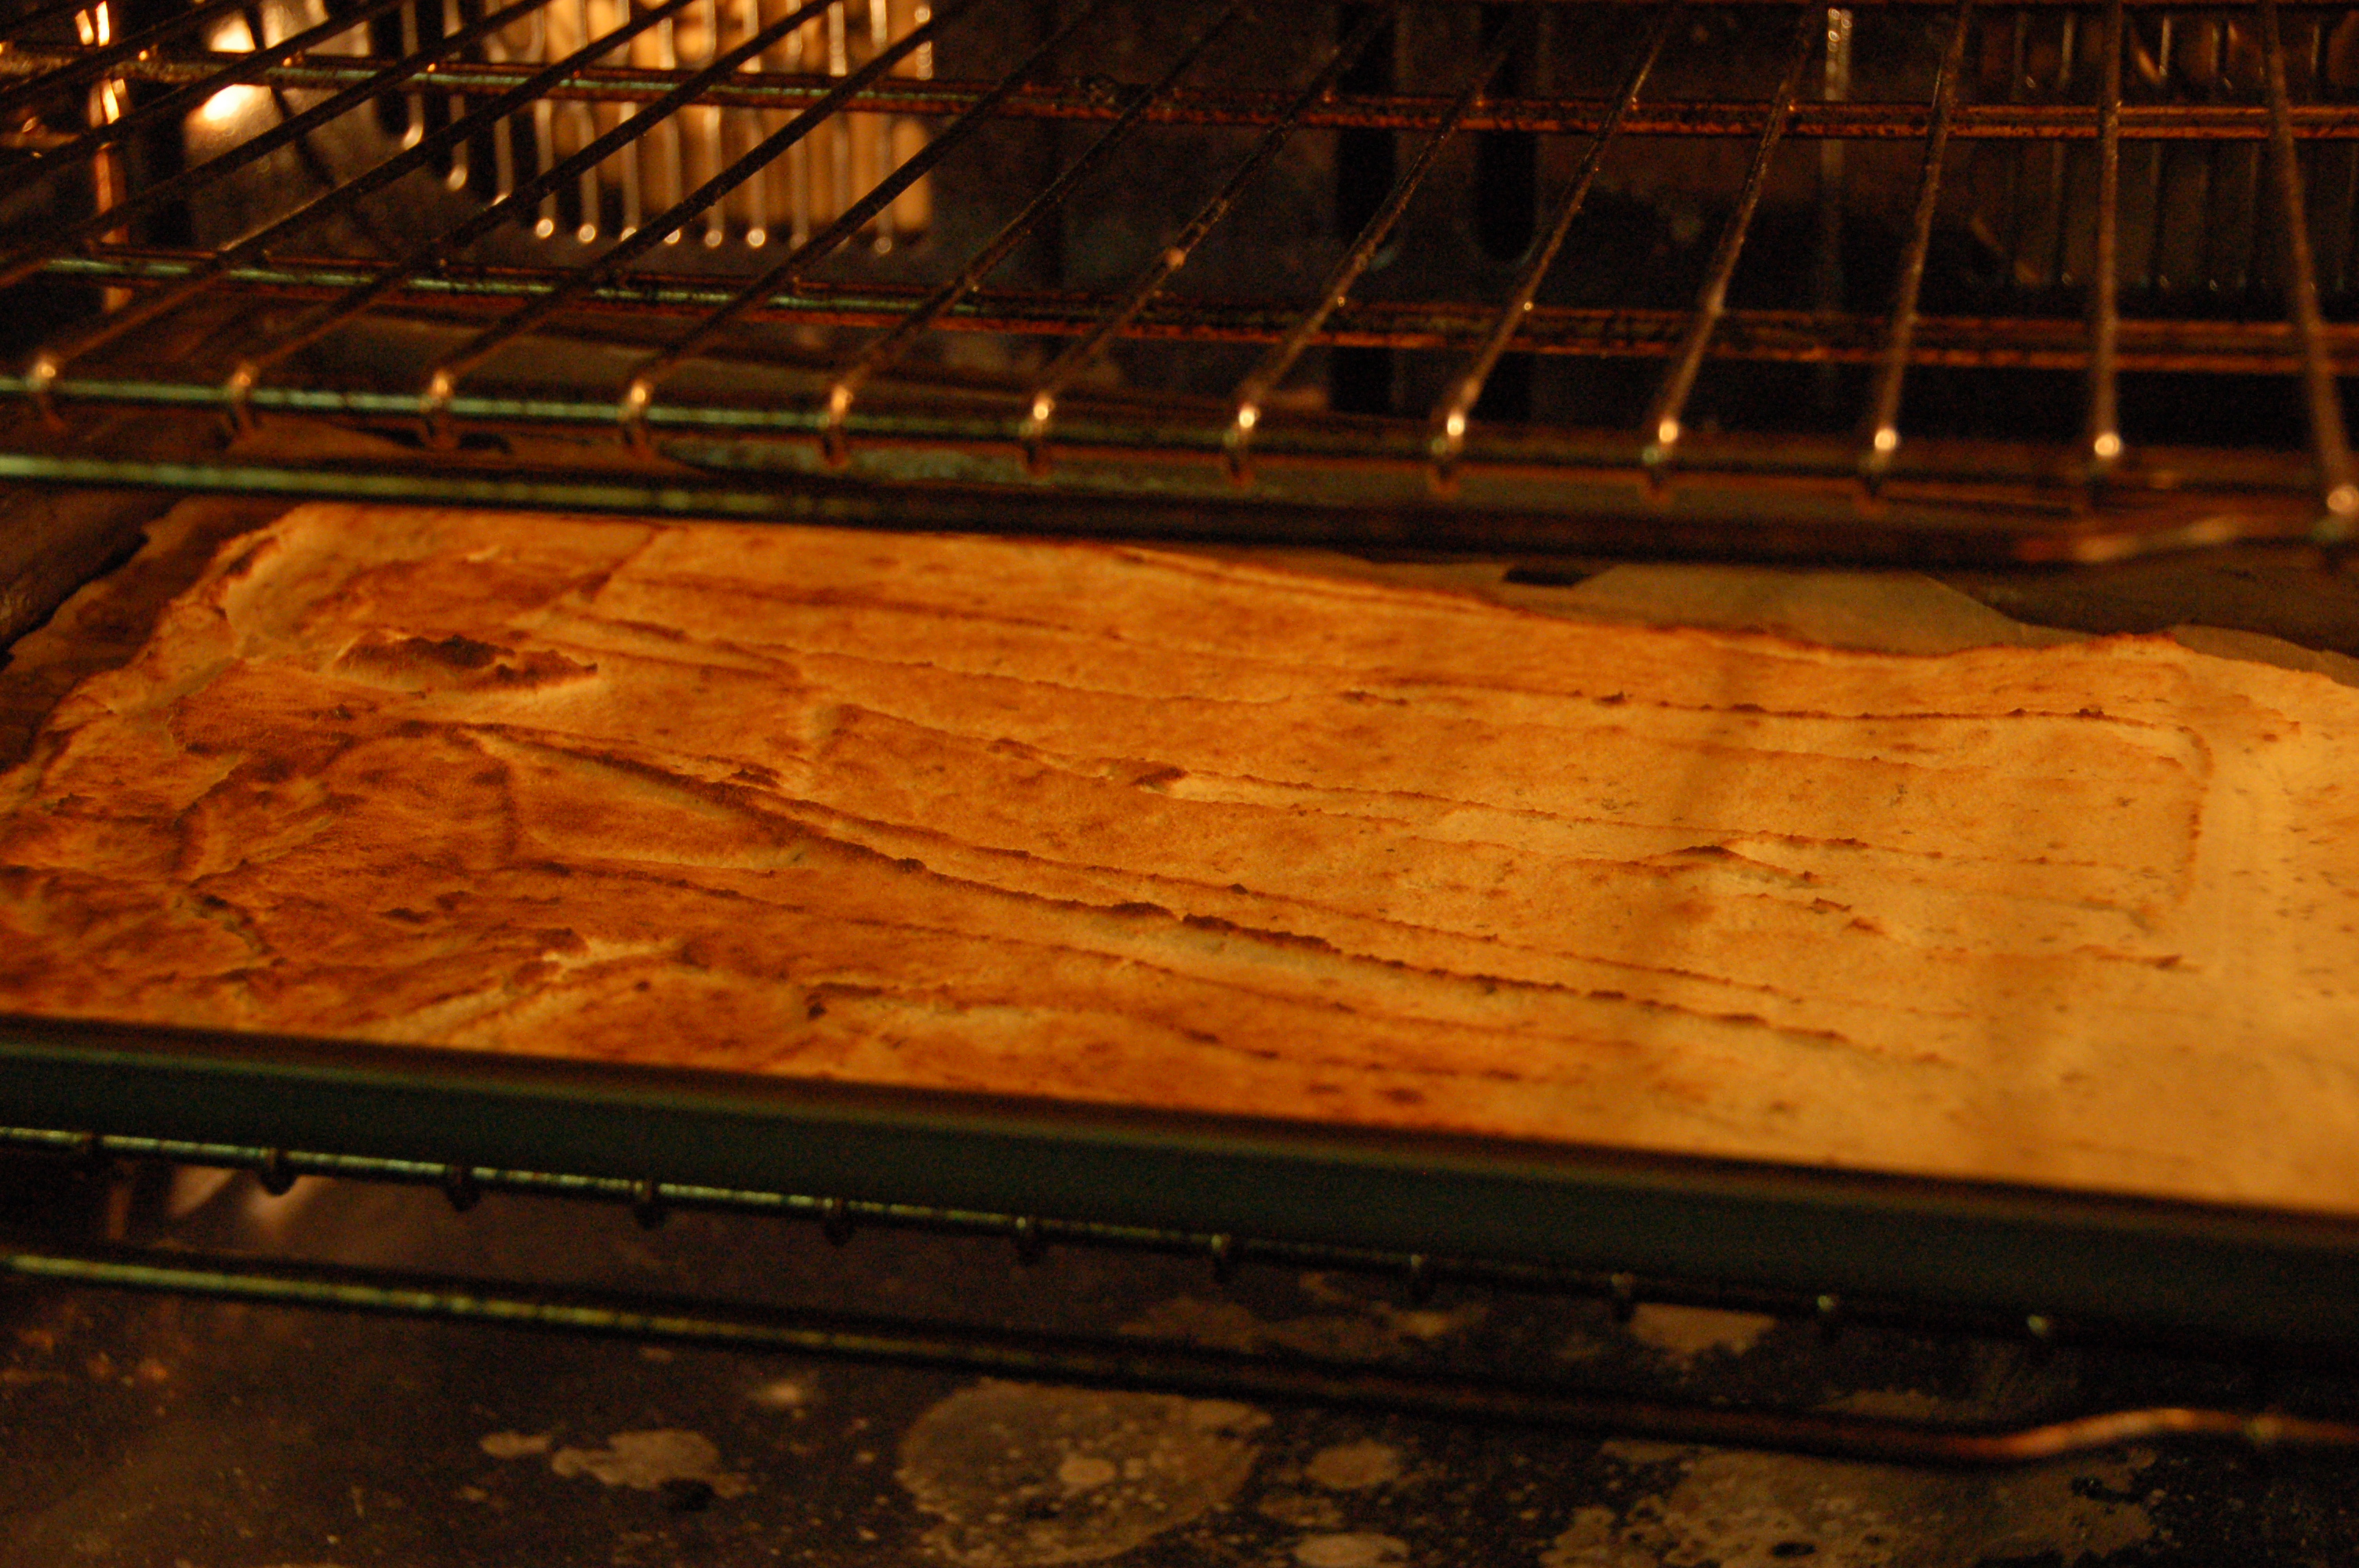
- Place in oven and bake for 15-18 min on 400 degrees.
- Shake the pan or turn the fries 1x during the cooking process so they evenly brown.
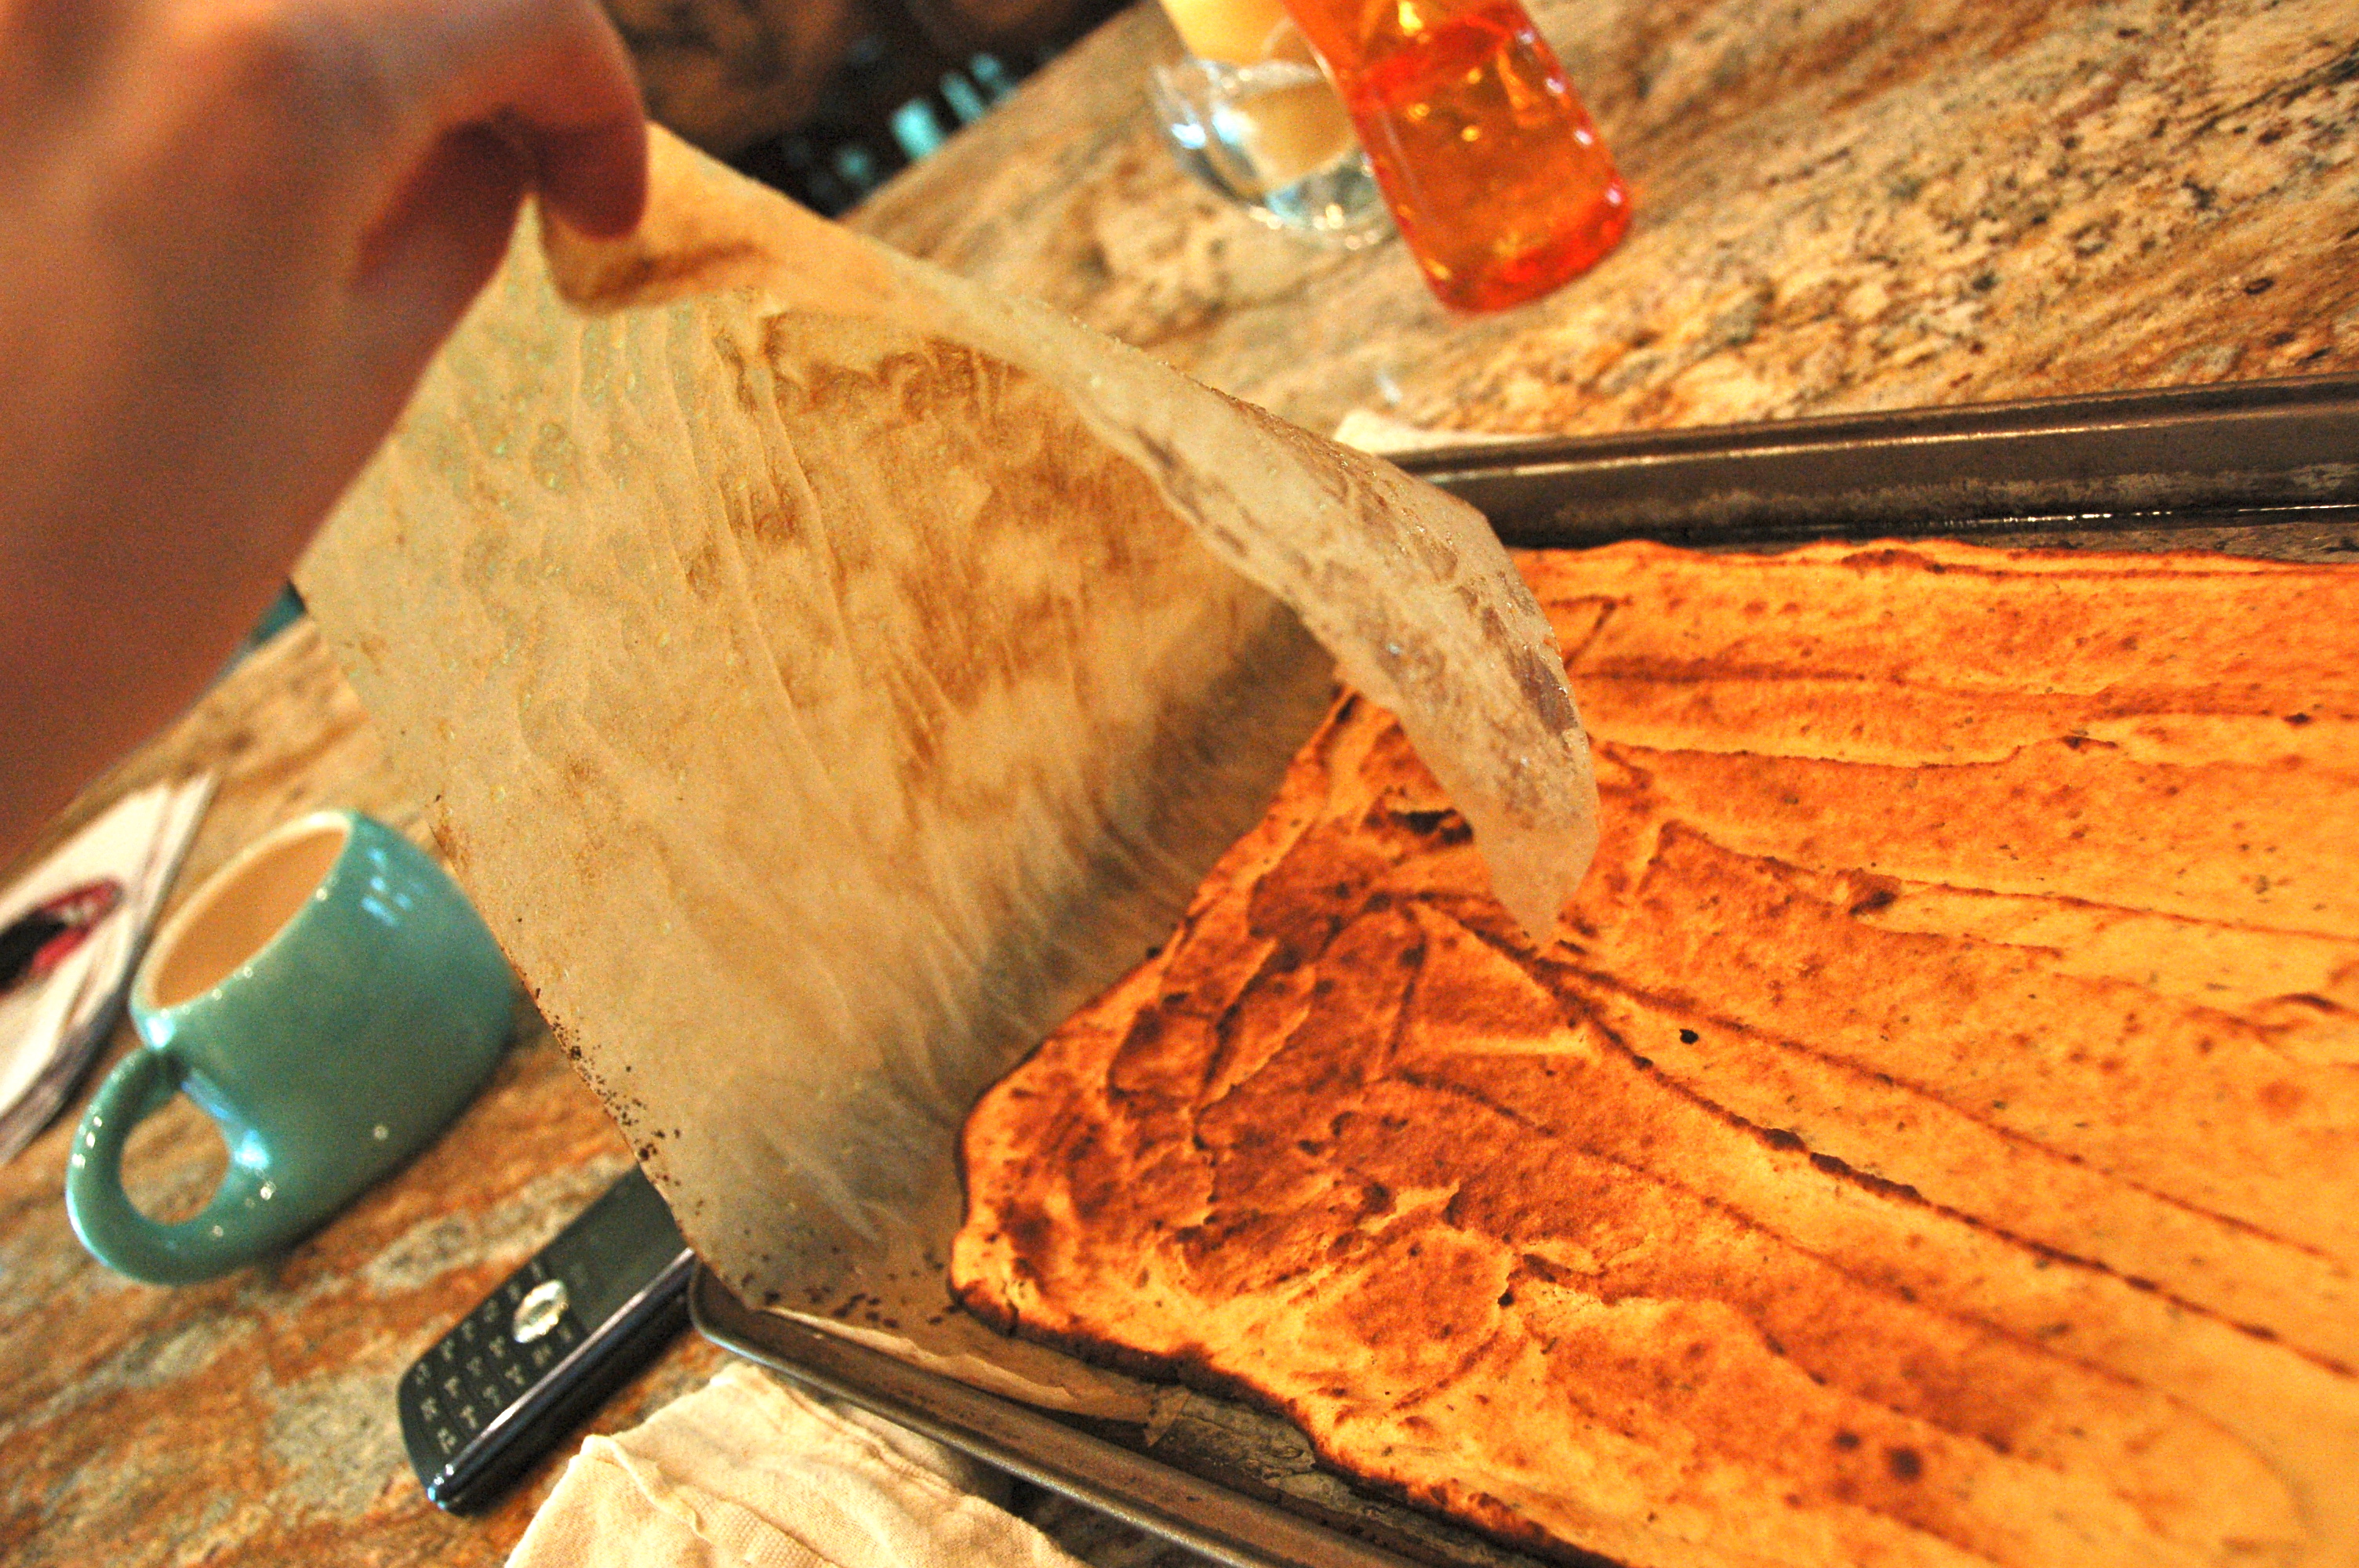
- Let cool a few minutes before serving!
![]()