04.05.2013

Baked Molasses Apples

This is a simple recipe to bake for breakfast or a simple dessert. I kept the ingredient list very open ended because it really matters on your preference of sweetness and how many apple you have on hand.

You can serve it with raw cream or blend it into a nice rich “apple butter puree”.

DSC_0034


Why should you eat Molasses?

The other day my mom was craving molasses, I could not help it- I HAD to know why. I found out some cool facts. Let me share. I found a spoon full goes along way and is a nutritional powerhouse!

-High in manganese “helps support thyroid and keep blood sugar levels even”.

-High in Iron “needed for energy and helps transport oxygen from the lungs to EVERY cell of the body!”

-High in calcium:”need keep those bones strong and helps keep the colon clean by removing toxins”

 source

Baked apple butter puree.

(sorry there is no picture- my family ate it before I got a chance to take it.)

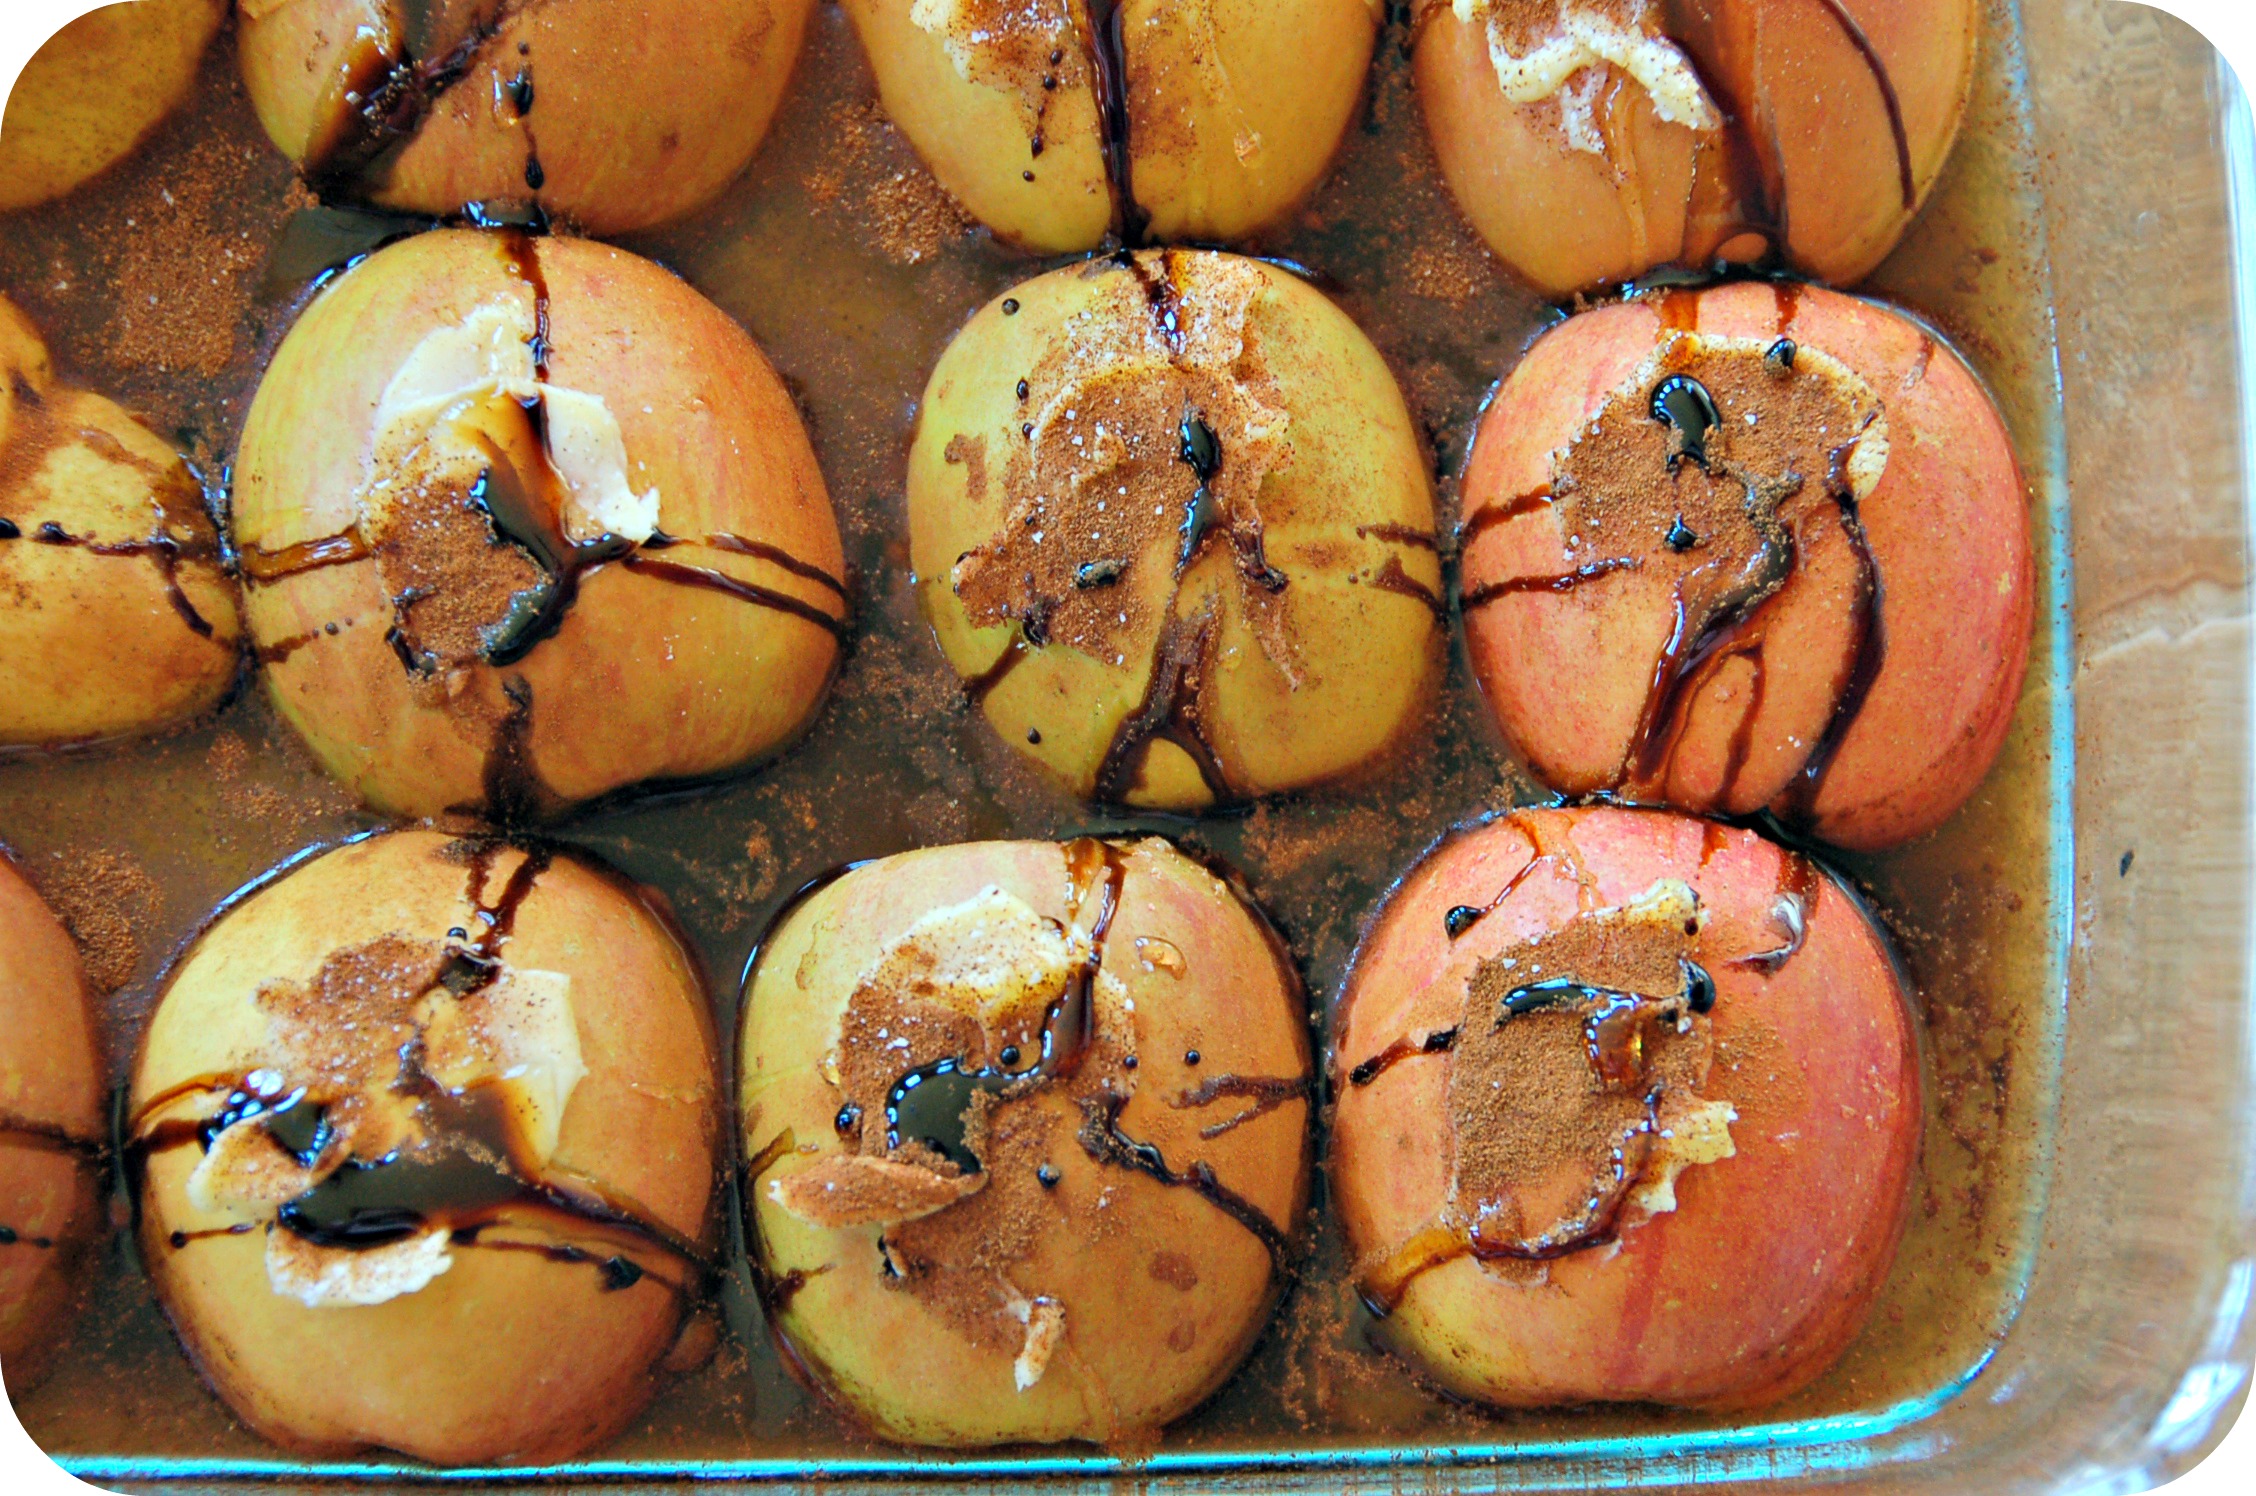
Dont just stop by making these yummy apples (or pears- do you see the 2 hidden pears in the corner?”). I used what was left over from dessert to blend in the blender or  you can use a food processor too.

1. Apples can be warm or cool.

2. Place apples and all juices in the blender.

3.  turn on high until a nice smooth consistency -you can leave a little chunky if you like.

4. Store in ball jars. (lasts for many weeks- the butte helps preserve the sauce very well.)

*some people in my family like the “apple butter puree” better then normal apple sauce (learn how to make it here) because it does not give them a sugar crash, and instead the fat helps them absorb the sugars a lot slower. Plus it is a lot more nutrient dense.

DSC_0042

INGREDIENTS:

organic apples or pears (I used 6 total) -make sure the fruit is organic because apples can be high in pesticides. If you cannot get organic, then peel them first.

organic grass fed butter  or ghee (I used 4 Tbsp)
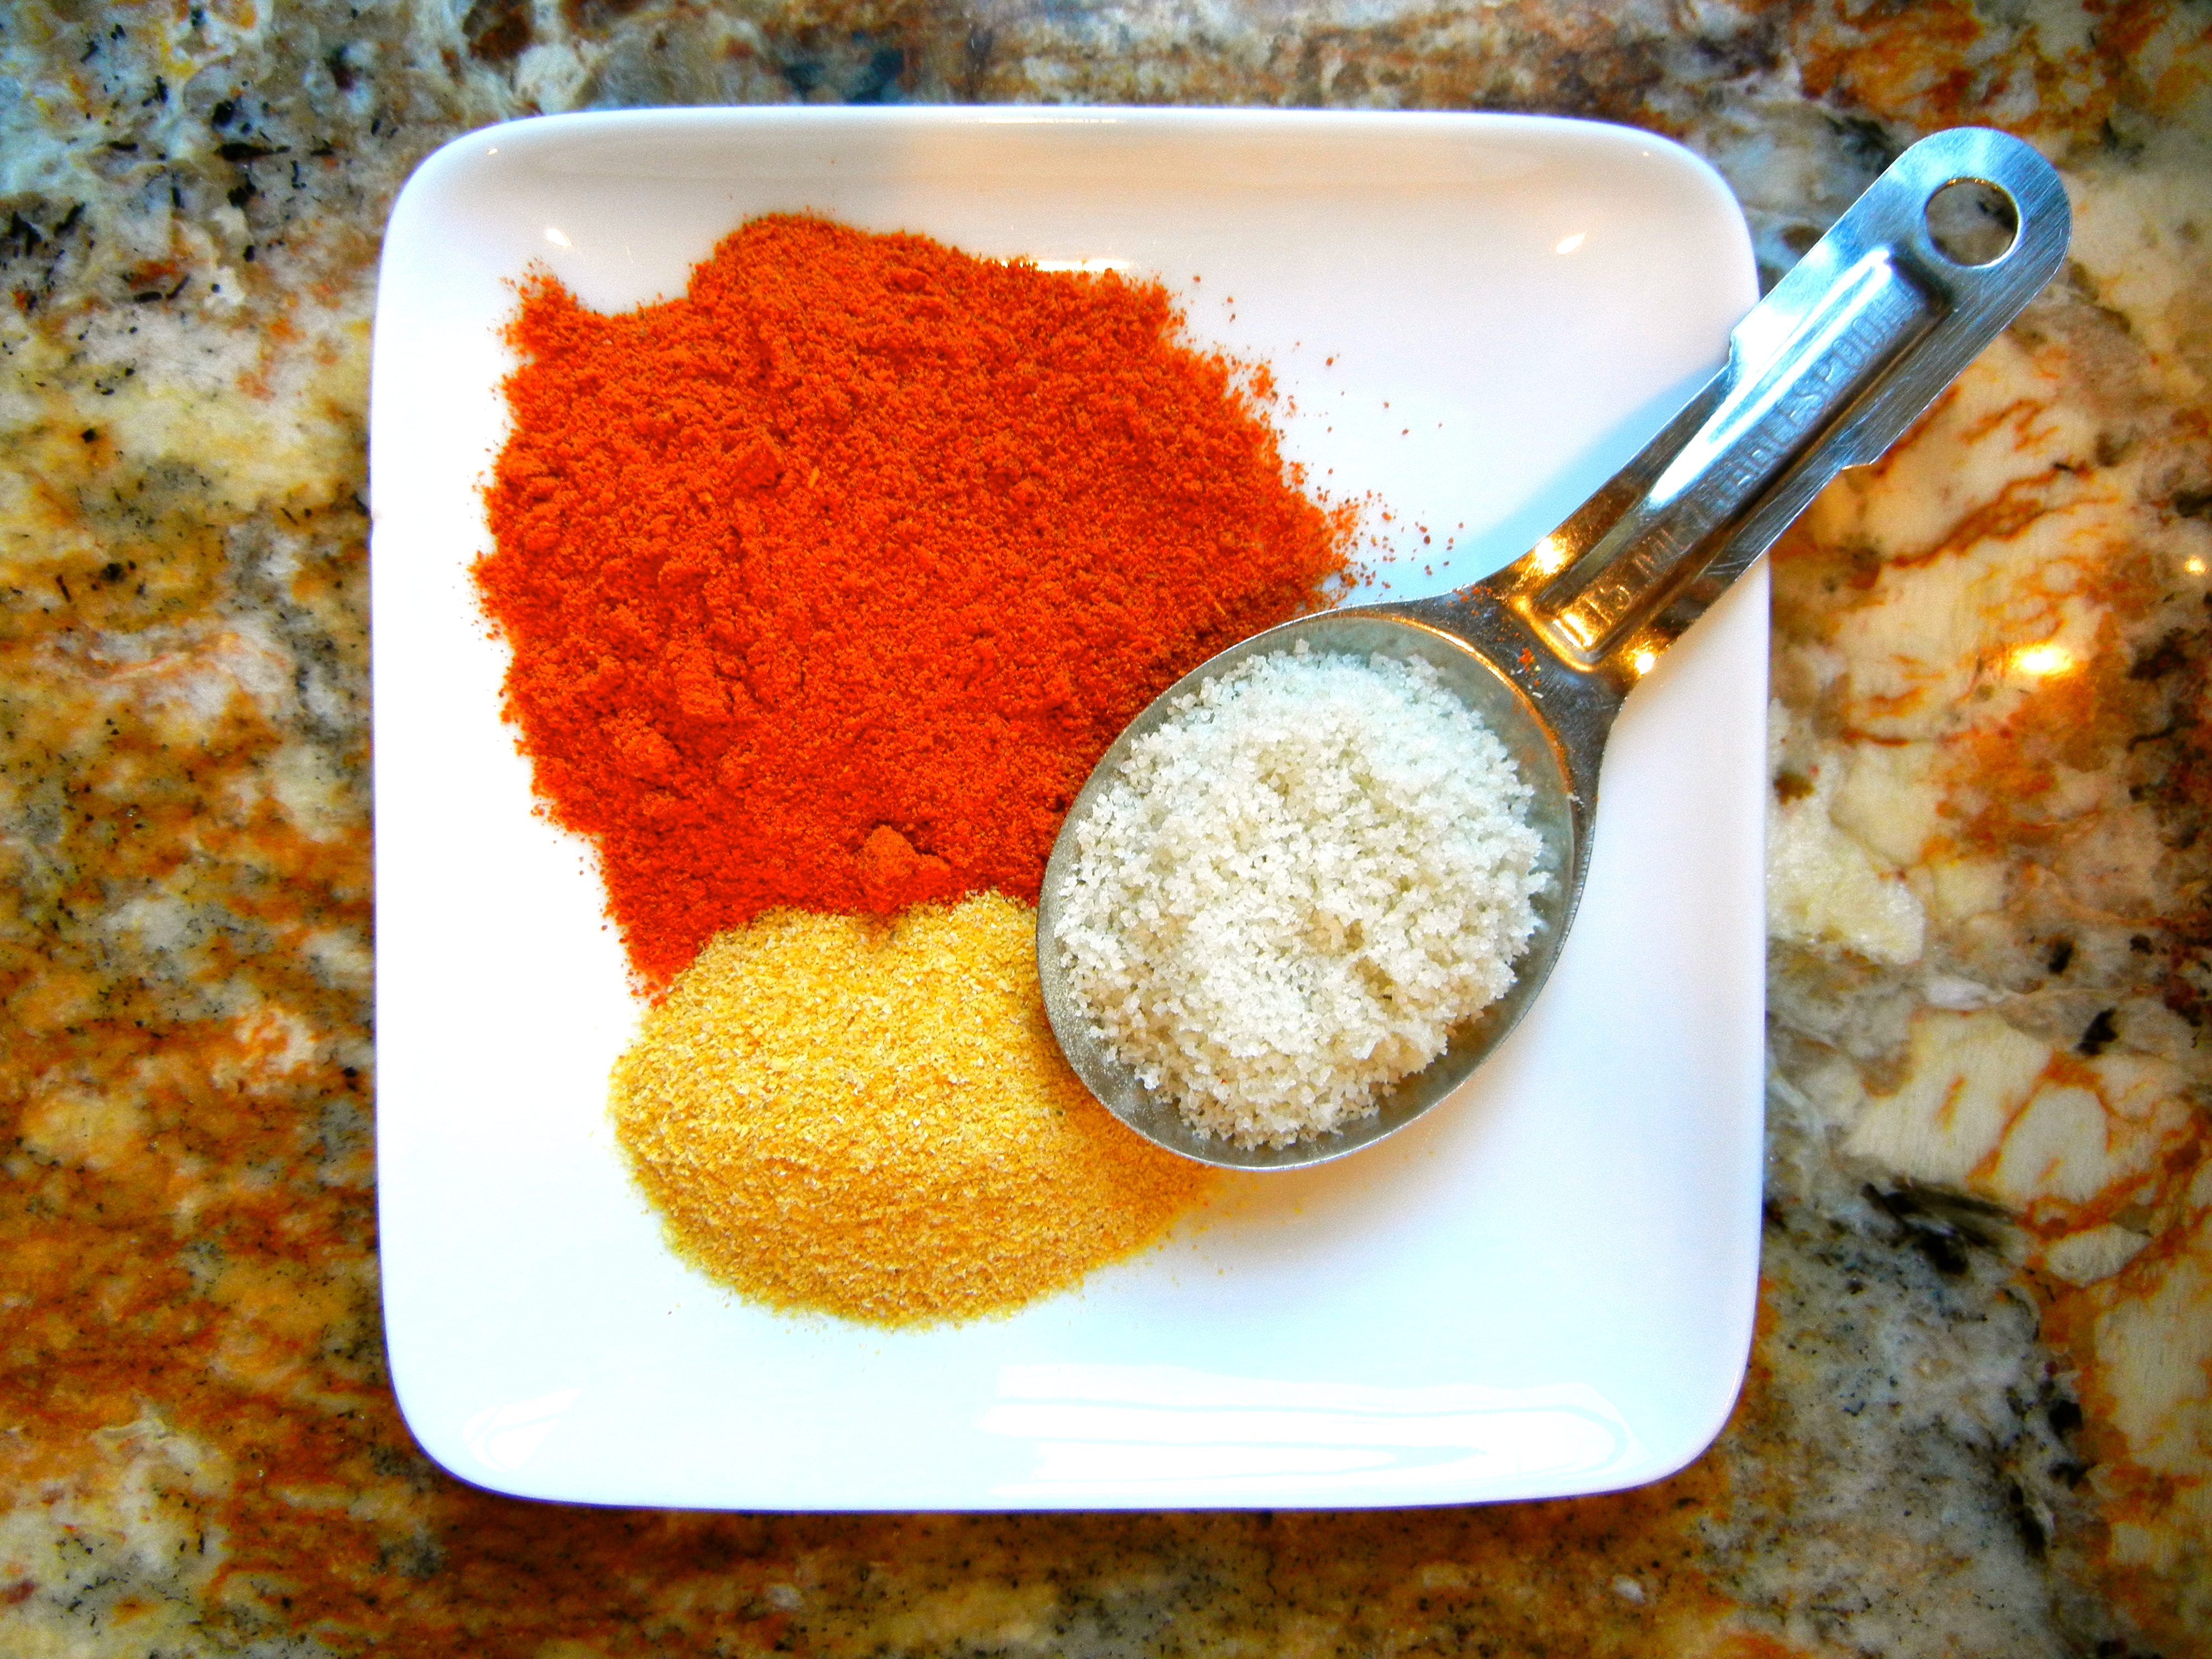
sea salt (1/8 tsp)

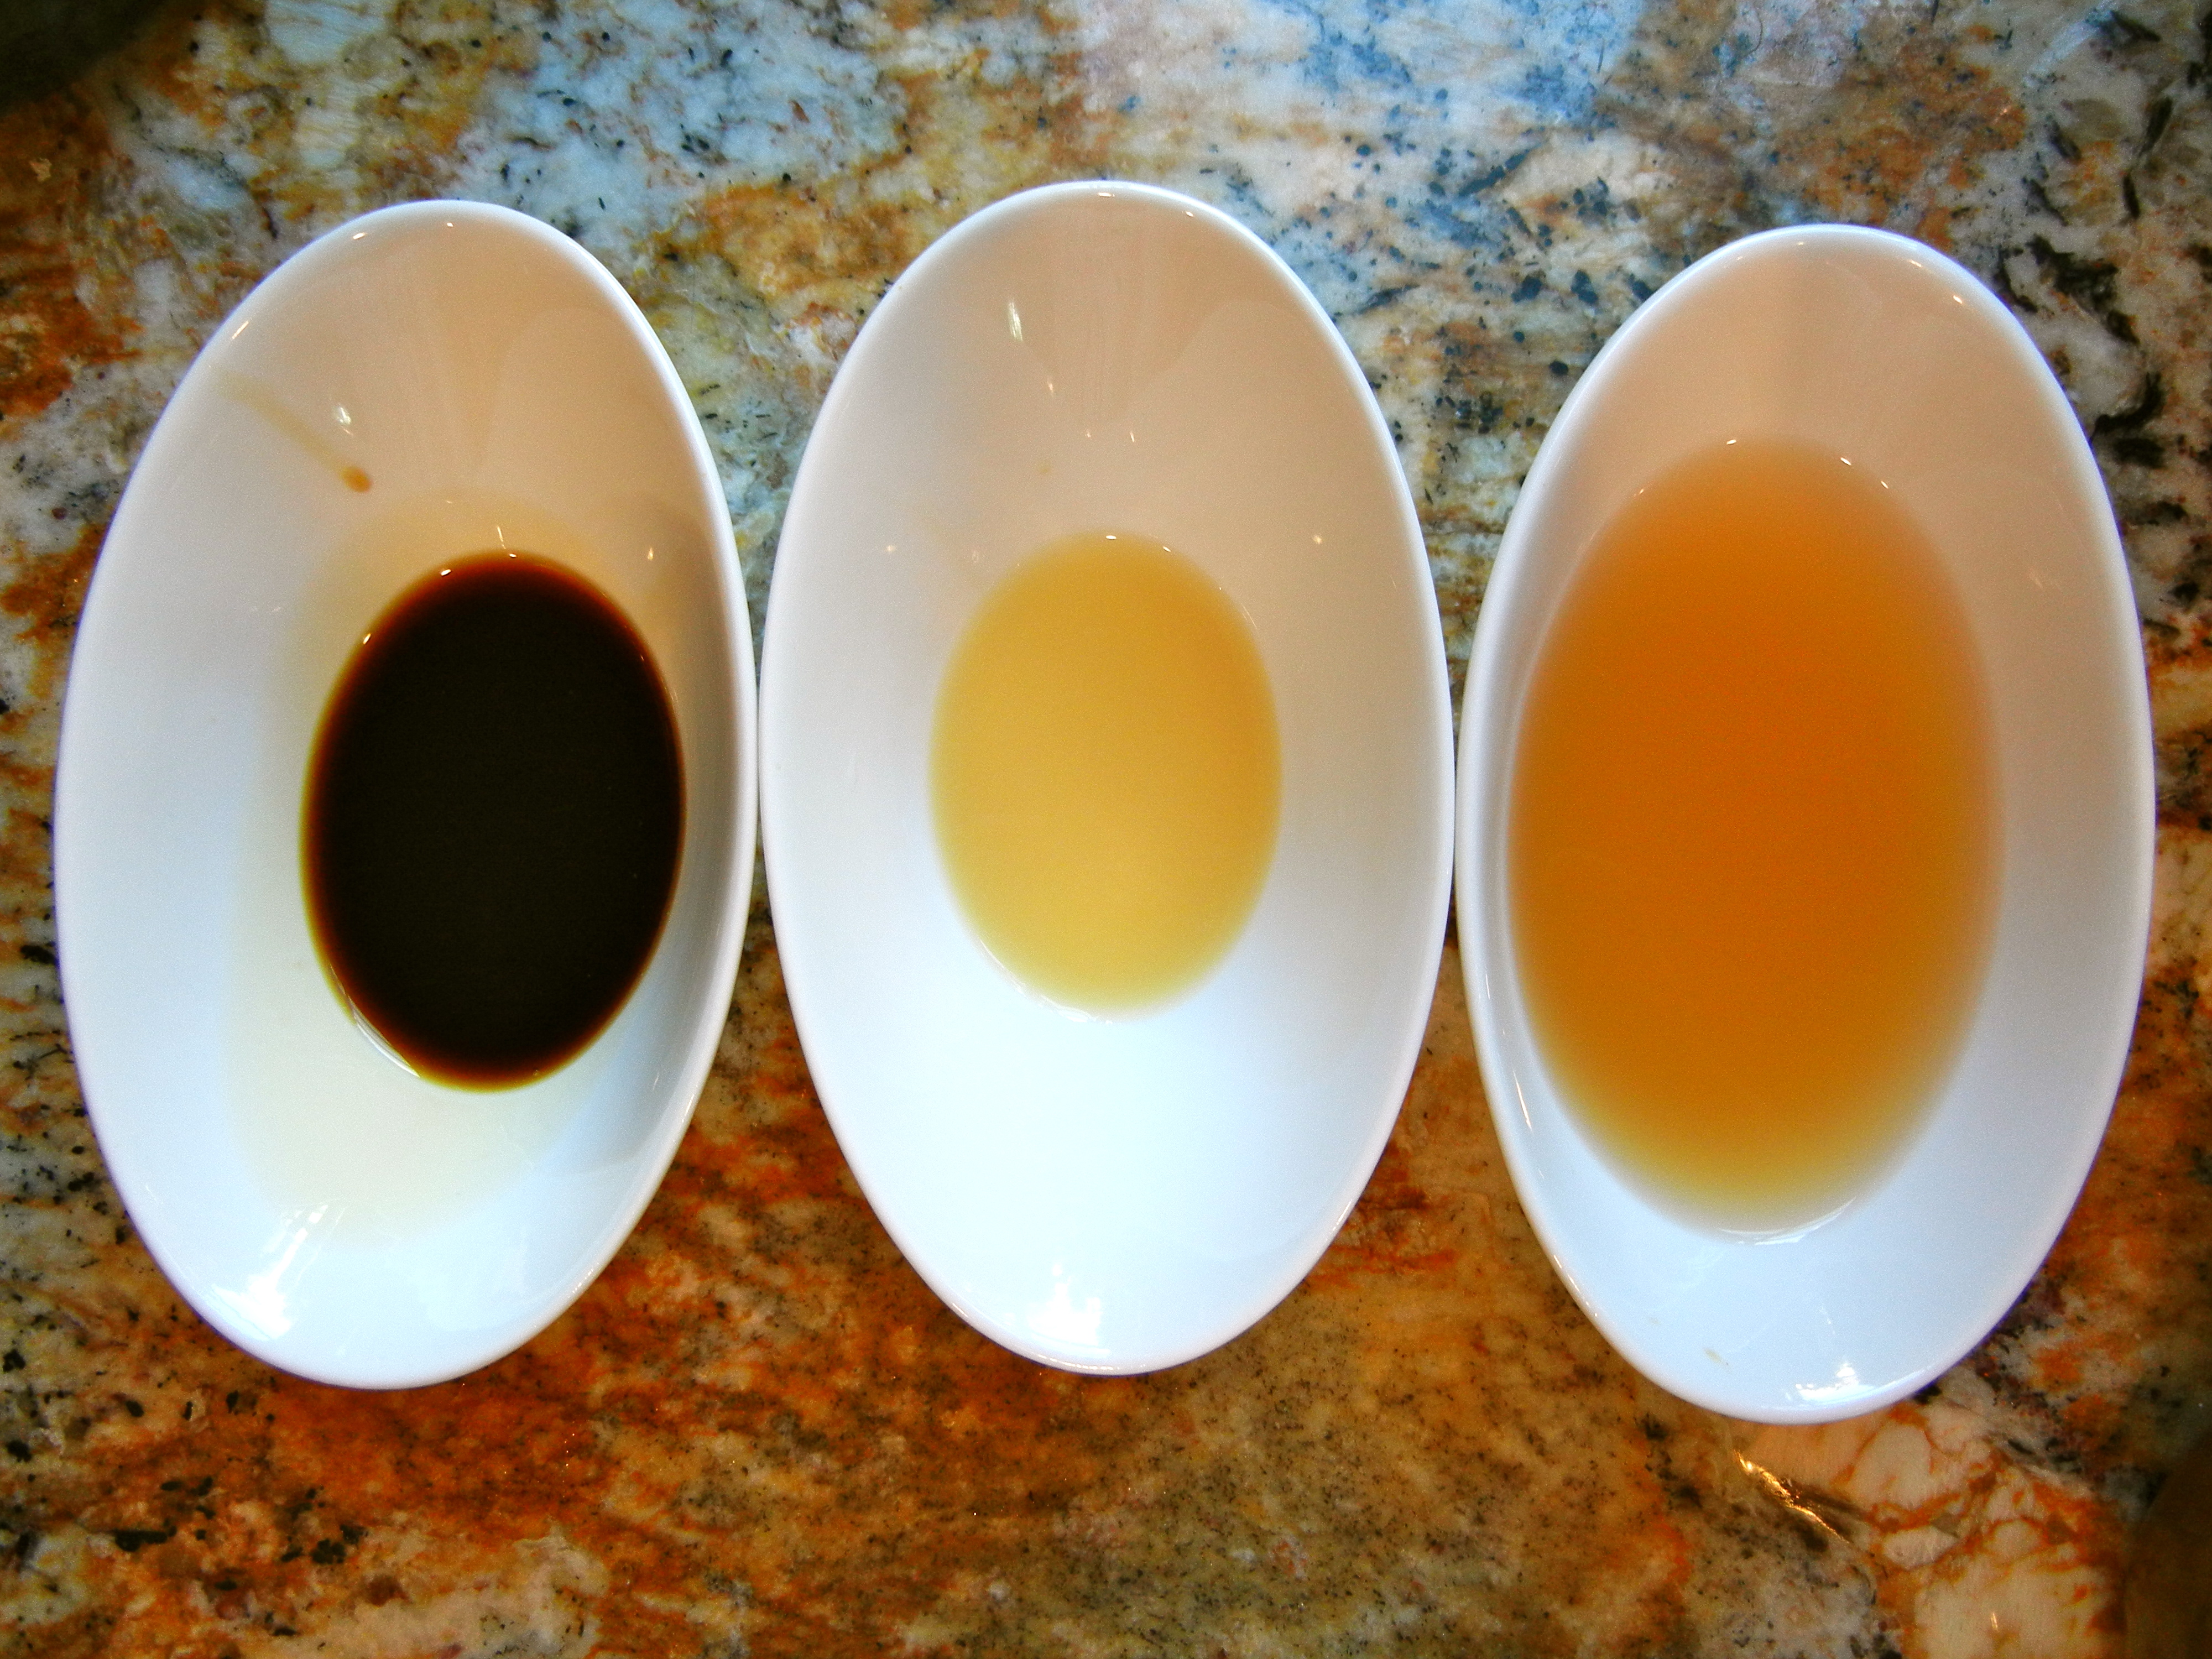
organic honey or organic maple syrup (2 Tbsp) – feel free to use vanilla honey too!

organic molasses(2 Tbsp) <—not GAPS legal

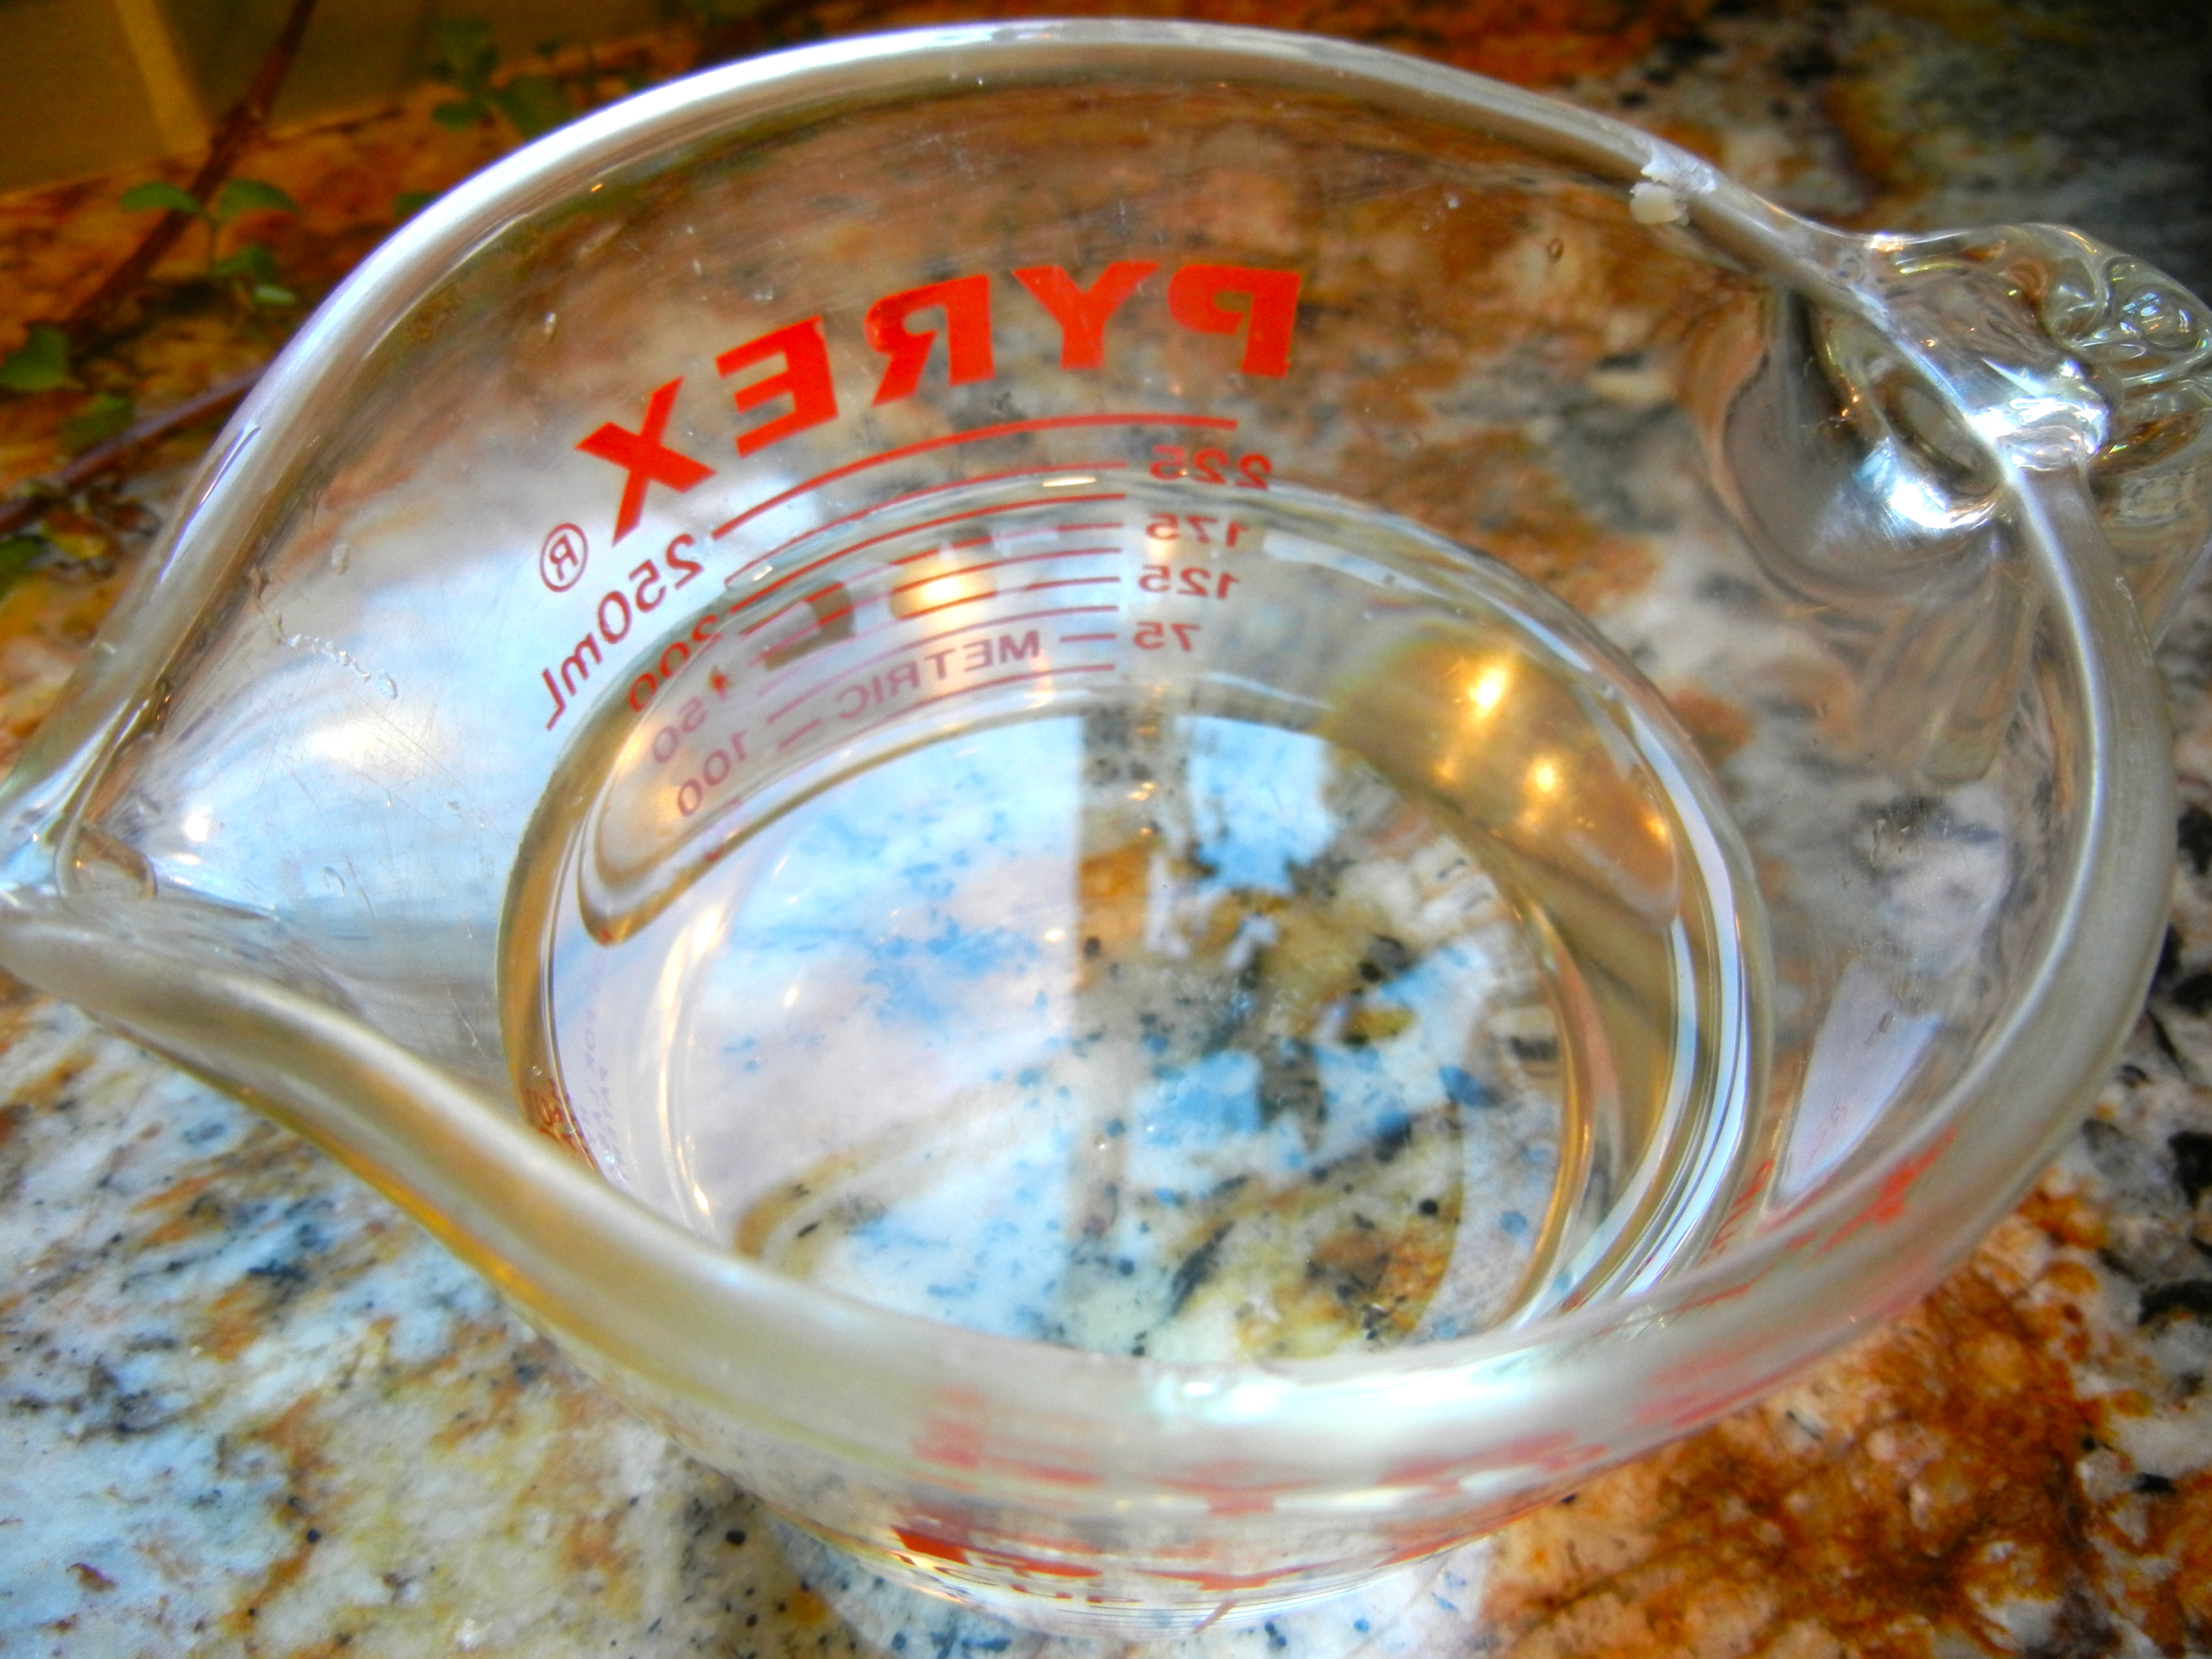
filtered water  (1/4 cup)

organic cinnamon (1-2 Tbsp)


DIRECTIONS:

*preheat oven to 350 degrees

1. Wash the fruit and cut in 1/2. Core the seeds out by making a “v” shaped wedge.

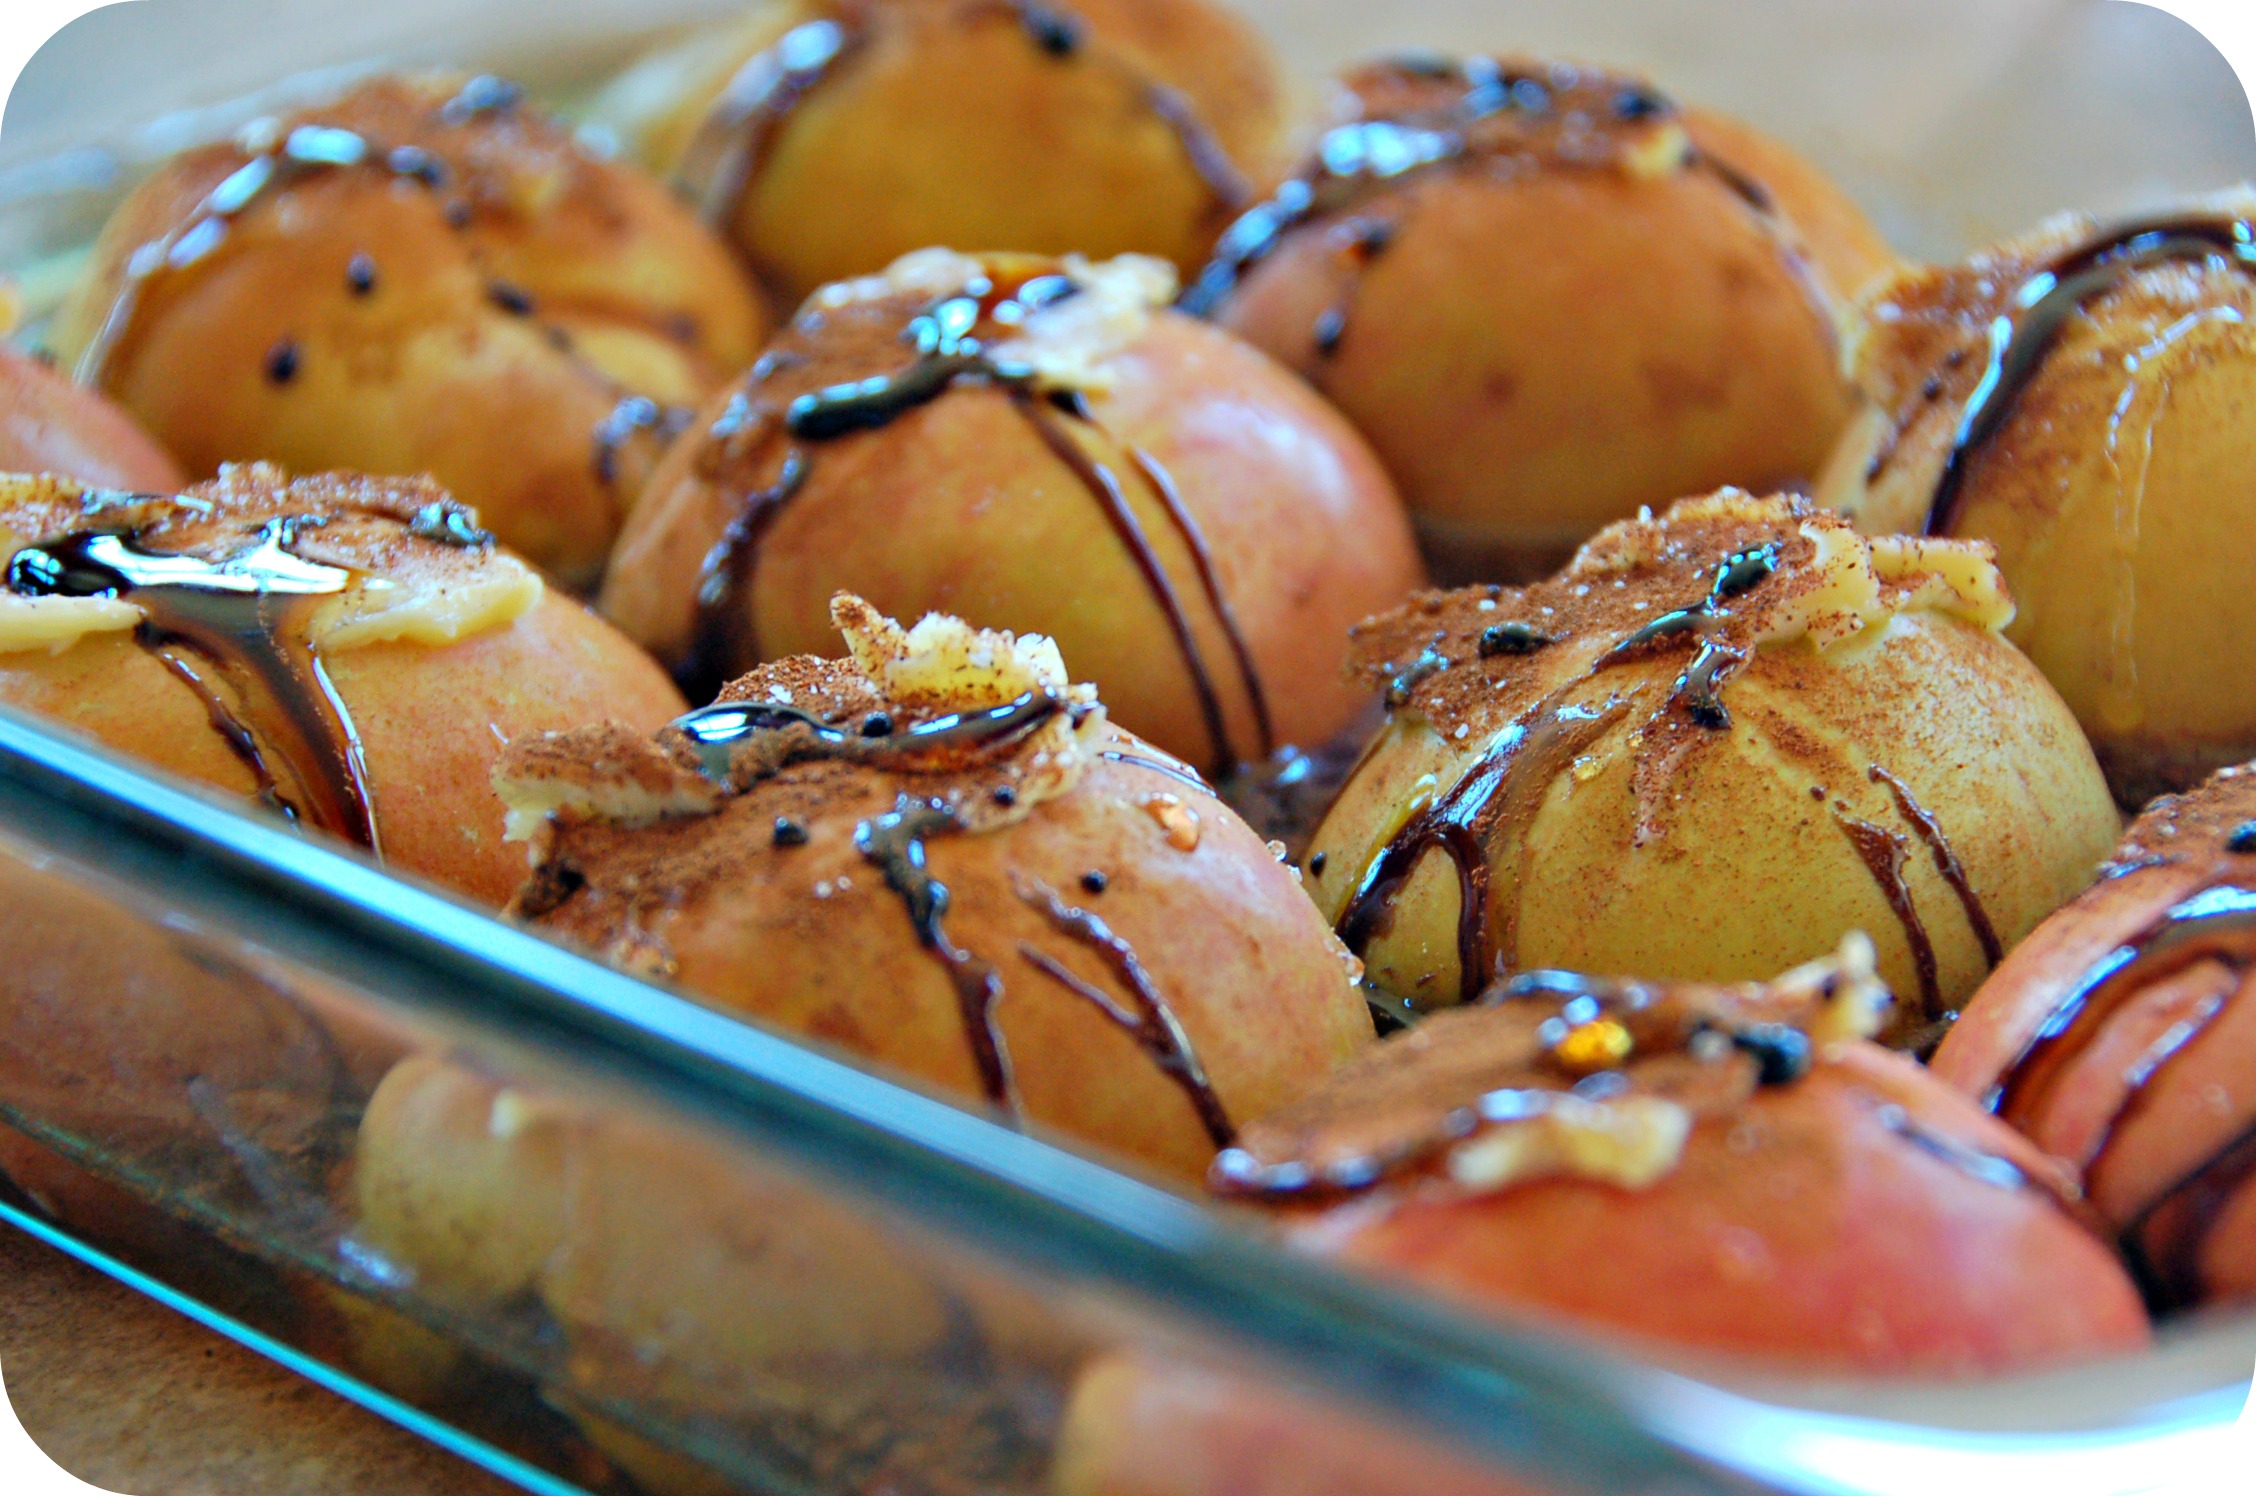
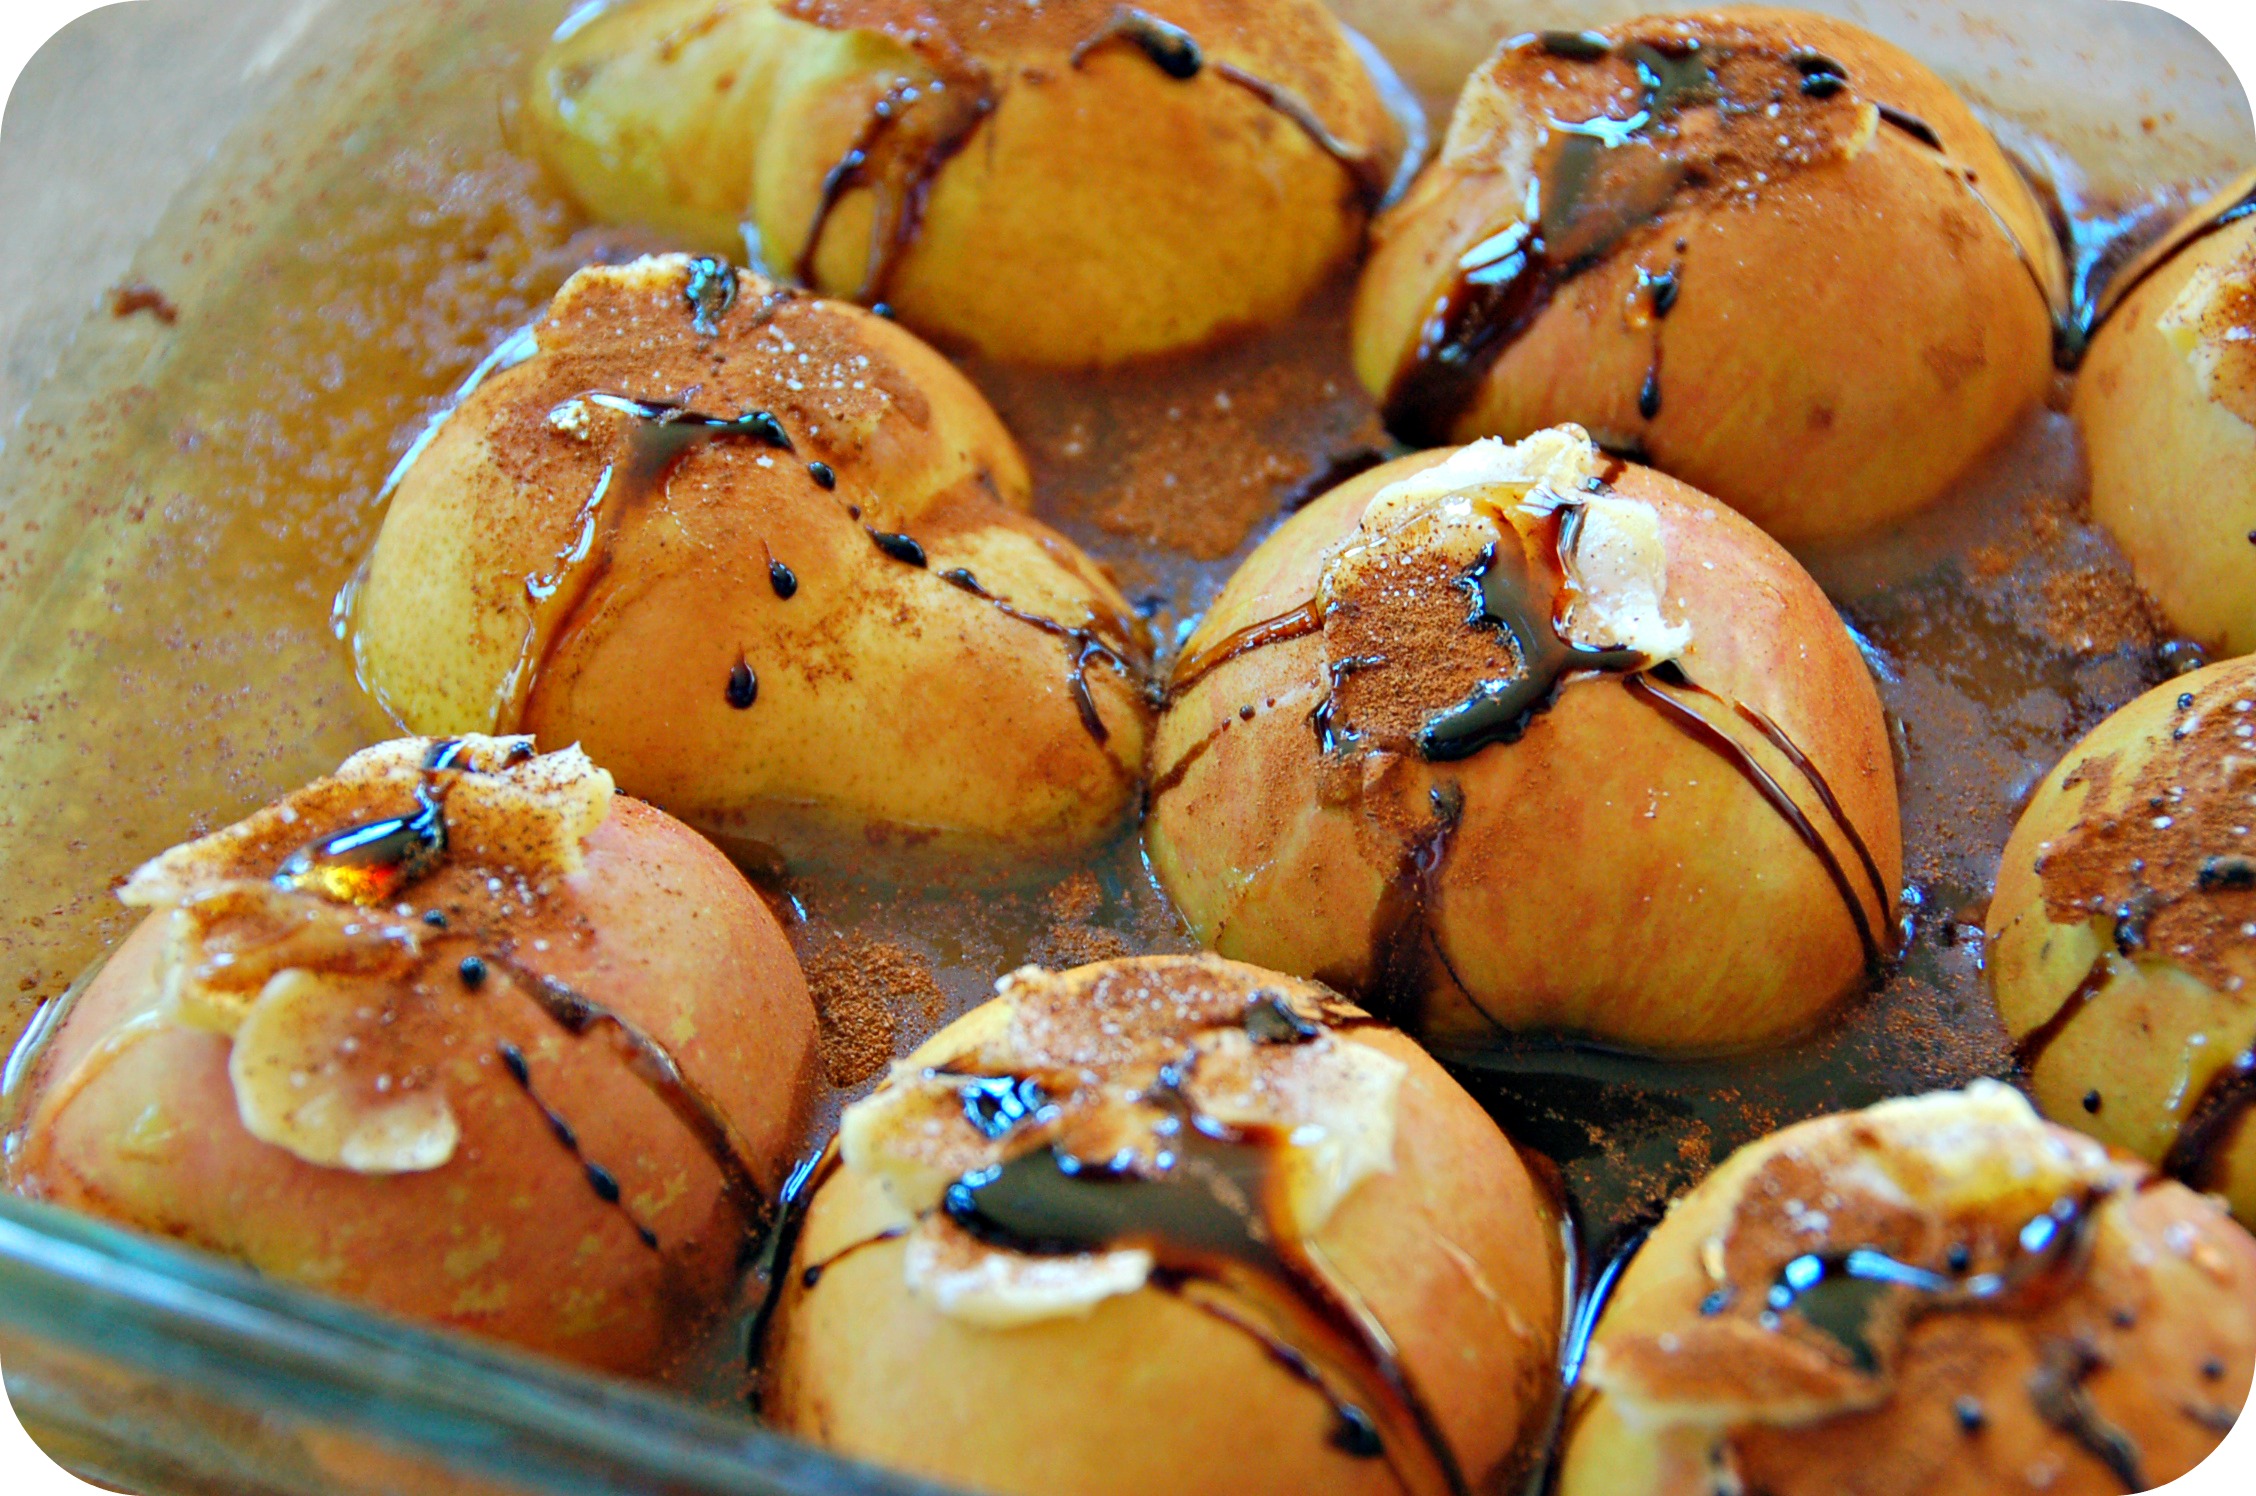
2. Lay the fruit face down in a pyrex oven safe dish.

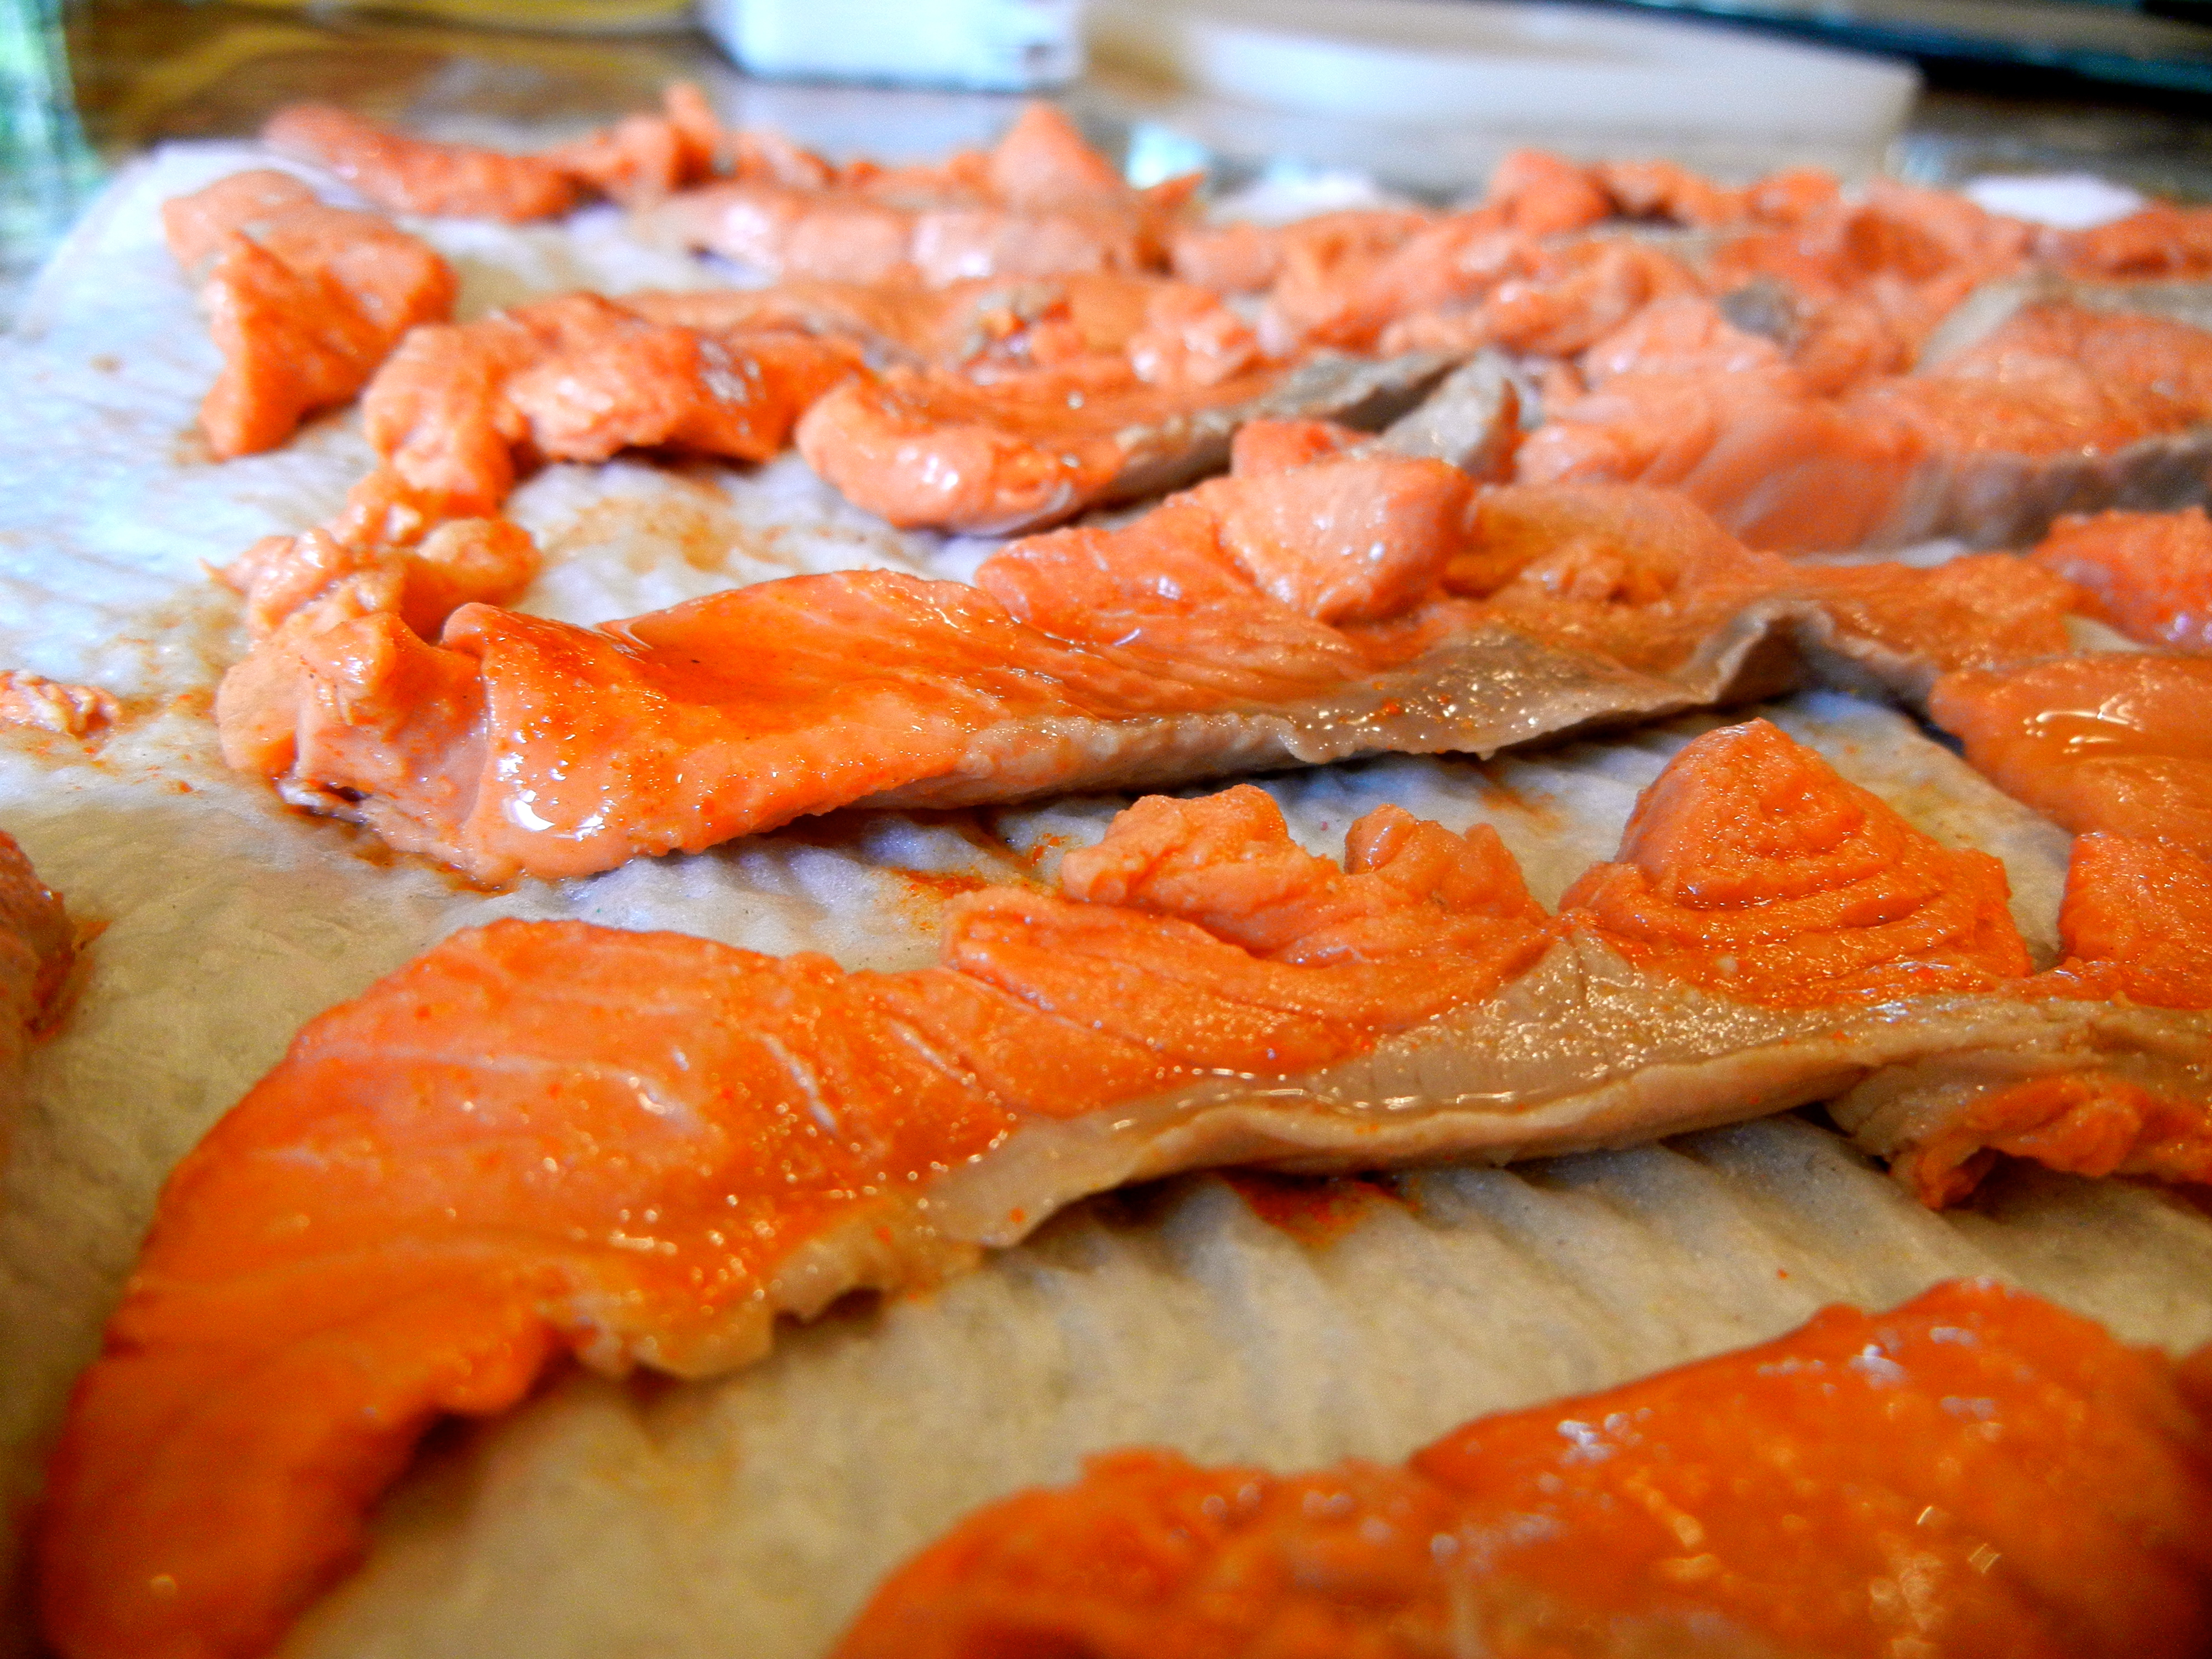
3. Spread the softened butter on each piece of fruit.

4. Drizzle the honey and molasses over.

5. Sprinkle on cinnamon and salt.

6. Pour water in the bottom of the dish (just a little bit to steam the apples)

7. Place in oven for 30 minutes about.

* The apples should come out soft with a nice “syrup” on the bottom that you can spoon over the top. mmm…

DSC_0038

DSC_0036


~Stay Gutsy, Caroline

disclosure 3
04.05.2013

Homemade Honey Peeps

Celebrate Spring with some homemade honey peeps!

honey-peeps-1024x679

Why make homemade honey peeps??

  • Free of yellow food coloring.
  • Made with 100% grass fed gelatin (I use this one —> grass fed gelatin).
  • Reduces allergy symtoms! Yellow coloring is made from powder quercetin.
  • Paleo/GAPS/allergy friendly.
  • Made with honey.
  • Because it is FUN!


Why gelatin?

  • Made from grass fed cows.
  • Help support hair, skin, and nail growth.
  • Helps your body detox!
  • Improves liver function.
  • Helps you digest food.
  • Decreases cellulite.
  • Good clean source of protein

learn more:

Read this post —> Food renegade

This post —> The Heathy Home economist


What is quercetin?


Where to buy? Use this powder or open up these capsules


INGREDIENTS:

Marshmallows: 

.
(get specific amounts in this Wonderful recipe. Special thanks to the Urban Poser!)
.
Sugar coating :
 
Mr. Peep’s eyes:

.

DIRECTIONS:

1. Make the marshmallow base. Use this recipe. I would suggest to cut it in 1/2 because it makes alot!

gelatin


2. Let the marshmallow base sit for a bit after making it. This will allow you to pipe better fuller bodied peeps. Just watch the marshmallow cream to make sure it does not get too hard to work with. You can try piping a few but you will know when it is perfect consistency.


fluff


3. Get a plastic baggie and fold edges over a cup. This makes it easier to scoop the marshmallow cream into the bag (like I did in this recipe with the chocolate). Cut a small hole at the bottom of the bag.

4. Make “sugar” coating.

SUGAR- If you want the traditional coating mix the quercetin and sugar until a nice yellow color.

COCONUT- If you are on GAPS or paleo, use shredded coconut and pulse it in the Cuisinart to make it finer. Blend in the quercetin. Sprinkle mixture (which ever one you choose) onto a cookie sheet.


peeps


5. Pipe your Peeps. I have my own method of doing this. Start with the bottom. It should be the longest section (oval with a fuller front) You can try to make the tail pointed. Then sprinkle in sugar coating. Pipe the head (circle). Sprinkle with sugar. Pipe the beak (circle and swoop up!). Sprinkle with sugar.

If you are using the coconut shreds then I would suggest piping the peeps first without sprinkling the coconut in between. It is too heavy and will flatten the peeps more. Just pipe like I said. Wait until they harden a bit, but are still sticky and then sprinkle.

6. Make “eye” paste. Mix some cocoa powder in a bit of honey and use a toothpick to dab on the eyes. You can also use the vanilla bean seeds if you have any left over. The cocoa powder/honey works and looks better though.


done-1-1024x679


7. Let set out uncovered for a few hours or until they reach the hardness you like. Once they are just how you like them, store in an an air tight container (not in the fridge). Delicious!


done-2-1024x679

 These peeps are gooey. fresh. fluffy. sweet. and made with love.

up peep


~Stay Gutsy, Caroline

,

disclosure 3
09.12.2012

Frog Legs

Did I scare you all with the recipe name? Will you let me explain myself before you leave me!? Pretty please


Lets get gutsy already!

You know what I realized? Most of my recipes are not gutsy at all! I mean snickerdoodlesfruit leathers, and banana bread are great and all, but I think I have to step up the notch here with the “gutsyness”, don’t you agree? Or at least once in a while?!

Oh please!

Don’t judge or over exaggerate over my new gutsy recipes, promise? Ok! Here is my first really tasty treat for you to try! (My family thinks it tastes like chicken. You have probably over-heard this one, but it is true!) Try to stay calm as I introduce the frog legs to you.

Nutrition power house!

If this picture or the thought of frog legs tasting like chicken doesn’t do the trick then I know what might! Did you now that most people are deficient in vitamin A (read about it here!). That’s because people think they can get it in the form of veggies like carrots and kale..wrong! Your body is only efficient at absorbing vitamin A through animal products. Liver is extremely high in vitamin A, but I know some of you cannot choke down the taste.

It’s not that frog legs are easier to look at than beef liver, but they are tastier! Frog legs are super rich in protein, vitamin C, omega-3’s, potassium and vitamin A (in the form your body can use!) Hooray!

Frog Legs


Ingredients:


sauce:

  • 4 cloves of garlic
  • 2 TBS butter


Directions:

  1. Pre-heat oven to 350.
  2. Rinse frog legs under cold water.
  3. Salt and pepper legs each side
  4. Heat 1 T oil and 1 T butter in a cast iron skillet.
  5. Add frog legs in hot oil and fry for 3 minutes on each side (golden brown)
  6. (While legs are cooking) make sauce. Add lemon juice, parsley, butter, garlic to small pan and let simmer for 6 minutes to reduce.
  7. Add sauce on top of frog legs.
  8. Transfer cast iron skillet in oven for 15 minutes (this ensures the legs are cooked through).
  9. Remove from oven.
  10. Serve on top of a bed of spinach and squeeze fresh lemons. Yum!
.
.

~Stay Gutsy, Caroline


disclosure 3
08.14.2012

Salmon Jerky

Salmon Jerky to the rescue!

Hands down, this Salmon Jerky steels the spotlight from the all famous beef jerky. Since salmon is honestly my favorite food, I like to think of all sorts of ways to prepare it! Salmon Jerky is a hard one to resist. It is portable GAPS/SCD/paleo food! What more could you ask for?

salmone

Salmon Jerky inspiration:

Salmon bellies (the small oily fin on the salmon fillet) are my favorite part of the salmon. I love them becsue they are buttery and crisp..mmmm. It literally makes my mouth water just thinking about these little bellies. (I buy them from my local fisherman). I wanted a unique way to take regular salmon and make it crunchy, like the bellies. I brainstormed, though it didn’t take long to be suddenly inspired to make Salmon Jerky! This Salmon Jerky reminds me slightly of the salmon bellies. They are not super oily, but the crispiness is half the fun!

Salmon Jerky nutriton:

The health benefits of salmon are endless. Everyone has heard all about the good omega 3’s and all, but just incase you have not, here is a rundown:

  • High amounts of omega 3 (Helps blood flow,brain function, and clear skin)
  • Vitamin D (Sunshine in food form!)
  • B12 (Promotes good nerve function)
  • Selenium (Helps combat stress and supports thyroid)
  • High in Protein (supports healthy body growth)

Wild vs. Farmed?

Oh one last thing…make sure you salmon is WILD!! This is a must, or else you might as well not even eat that antibiotic pumped, pink dyed, stuffy salmon. Ewww! Do your body and environment a favor and buy the wild stuff. It might be more expensive, but that is because the farmed salmon is ridiculously cheap. July/August is the best time to pick up a nice big fillet of wild salmon and either eat it, freeze it, or jerky-it.

Salmon Jerky is my favorite snack food

Yes you read that right. In my opinion Salmon Jerky is better then fruit, crispy nuts, veggies, butter…in my books it is a top priority food. Now don’t get me wrong, all of those options are good, but wild salmon keeps a special place in my heart..and stomach!

It contains no sugar, no dairy, no wheat, no soy, no gluten, no preservatives. Salmon jerky can accommodate most all diets including the GAPS/paleo/SCD/anti-candida/low carb/ traditional food. It is pretty much a universal healthy snack. You are getting the purest real deal right here!

This is definitely not the kind of stuff you get out of the bag, coated in nasty MSG and loads of salt. You will feel good and energized after eating Salmon Jerky. It is a pure good protein source, with just enough fat to keep you satisfied.

Snack ideas:

Salmon Jerky doesn’t just have to be eaten plain. Feel free to get creative. The texture reminds me of crumbled bacon, so it would make a great flip flop for bacon, crumbled on a salad! Use can also use it to dip into salsa, guacamole, sour cream..etc… Crumble the salmon jerky and put into quiche or egg muffins. They would also be great mixed into a savory salmon dip! Let your salmon imagination swim WILD!

Tips and Tricks

Be sure to use fresh quality salmon, You can either buy it frozen or fresh. (If you buy it frozen make sure it does not contain preservatives in it.) It is helpful to freeze the salmon fillet for 30 min before you slice it, to get nice even cuts. Make sure to use real sea salt too! A sharp knife (i use this one) is a must, to cut the pieces of salmon away from the skin nicely. Make sure to buy a middle piece to get nice even thickness throughout the fish. Ok, I think that is all I need to tel you… I will stop blabbing, so you can learn how to make this AMAZING salmon Jerky!

It also helps to have a dehydrator, because it turns out perfect each time! This is the dehydrator we have.

INGREDIENTS:

Brine:

½ cup raw apple cider vinegar

1 T organic lemon juice

2 T coconut aminos

1 T paprika

½ T onion powder

½ T garlic powder

1 ½ tsp sea salt

1 cup of filtered water


14 oz wild salmon (partly frozen)


DIRECTIONS:

DSCN2585

1. Freeze your beautiful piece of salmon for 30 min until it is slightly firm. (This makes it easier to cut evenly)


DSCN2588

DSCN2592

DSCN2593

2. Use a sharp knife to cut ¼ inch pieces of salmon flesh. Once I cut through to the skin, I scrape the knife against the skin, to “peel” the salmon flesh away from the skin. Do this until all the salmon flesh is removed from the skin.

DSCN2599

 * SAVE the SKIN! Crisp it up the oven at 350 until it is brown and crispy..yum (one of my favorite parts about making salmon jerky!!)

DSCN2603        DSCN2601          DSCN2608

3. In a glass bowl or container, mix all your brine ingredients together.

DSCN2612

4. Add the salmon pieces into the bowl of brine and let sit for 12 hours in the fridge, covered.

DSCN2778

5. Remove from fridge and lay out bleach free paper towels on your counter. (I use 2-3 on top of each other). Carefully take the brined salmon pieces out of the brine and lay onto the paper towels to soak up any dripping liquid.

* The lemon juice and apple cider vinegar almost “cook” the salmon so it turnes into a harder texture, be careful with it because it is more brittle like this. 

DSCN2784

6. Transfer the salmon pieces onto a dehydrator tray. ** (oven directions below)

DSCN2812

7. Dehydrate for 3-4 hours at 145 degrees Fahrenheit. You know when it is done when it turns a darker reddish brown. It should be dry and chewy, not crunchy! When you bend it, it should not snap in half.

DSCN2822

8. Store salmon jerky in a ball jar for many months. Enjoy the health benefits of salmon anywhere, even when it is not in season!

 Yum yum! Enjoy this Super power tasty food!


 **Oven directions:

  1. Preheat oven to 160.
  2. Rub or Spray your oven racks with cooking spray (I recommend lard or coconut oil).
  3. Place salmon pieces directly over the racks.
  4. Dehydrate for 3-4 hours.


~Stay Gutsy, Caroline


disclosure 3
07.18.2012

Cinnamon Coconut Chips (GAPS)

I Love coconut!

If you love coconut and crunch you will love these cinnamon coconut chips! Coconut is a life saver on the GAPS diet. You can make it into flour, sugar, flakes, chips, chips, oil, milk, and cream! Am I missing anything?


Cinnamon coconut chips were born..

Well I came across these big coconut flakes at my coop, and immediately my wheels started turning! They are also known as coconut chips, which is a perfect name for them. At my house, you cannot go wrong with cinnamon. It turned out to be the perfect combination!

Satisfy your craving

The GAPS diet lacks that crunch that you might have had before starting the diet. These coconut chips will really satisfy your crunchy craving. There are endless flavor combinations for these chips. When my sisters tried these, they said they tasted like cinnamon potato chips and without the cinnamon they would take just like potato chips! The coconut flavor turns into a more toasted flavor after it cooks. Yum! They cook VERY fast, so 3 minutes is the maximum! You are better off just standing by your oven with your mitt ready.

Cinnamon Coconut chip nutrition

Cinnamon is high in calcium, manganese, and fiber. While raw coconut is high in protein and minerals! Remember coconuts grow by the sea. This is actually a super food snack, so nibble away! I know that stevia and xylitol are not GAPS legal, but I never did well with honey, so I use stevia. My younger sister (who is not on the GAPS  diet) doesn’t like stevia, so I decided to use xylitol because it is in granule form. Coconut sugar would work as well. Though if you don’t have a big sweet tooth, you may not need any sweetener.

Flavor combos!

Here are some flavor combinations for you to try as well. Each flavor combination is for a recipe that calls for 2 cups of coconut chips.

onion and garlic:

1 tsp onion powder 1 tsp garlic powder 1/4 tsp sea salt

Chili lime:

zest 1/2 organic lime 2 tsp chili powder 1/2 tsp onion powder 1/4 tsp sea salt

Plain:

1/2 tsp sea salt

INGREDIENTS:

2 cups dried unsweetened chips (also known as “flakes”)

2 tsp cinnamon

pinch of Stevia Powder or 1-2 TBS Xylitol (not from corn)

(optional – “sweet and salty” –  1/4 tsp  Celtic Sea Salt)

DIRECTIONS:

1. Preheat oven to 375.

2. Measure out 2 cups of coconut chips into a bowl.

3. Pour cinnamon onto the chips.

I just reused my 1 tsp spoon and guessed what would be about 1/4  tsp 🙂

4. Add salt (optional) and sugar.

Lets get a close up…mmm.

5. Toss together with your hands. 6. Lightly oil your baking pan with coconut oil, whip off excess oil with a paper towel.

7. Spread out onto baking sheet and bake for 2-3 minutes. (Shaking it spreads it out easily). Give it a shake or a rough toss after 1 -1.5 minutes. WATCH the coconut like a watch dog! They will burn within a few seconds if you over do it.

Do you see that the coconut gets nice and golden/toasty looking, especially around the edges?

8. Take out of the oven. Let cool for a few minutes and then put into a bowl.

9. These will keep for a long time…but I don’t think they will last long around your house either 🙂 Enjoy and have fun experimenting with flavors!

~Stay Gutsy, Caroline


disclosure 3