Yum yum yum!
This is such an easy recipe! now I know a lot of you say you don’t have time for this…but really it can’t be easier and it is less expensive. I like homemade coconut milk to drink, to use in recipes, and smoothies.. but if I want the full coconut cream I will go ahead and use this canned coconut milk brand-it is BPA free. I like using both, but i have to say that it is nice to stretch what you are getting with you money- I often combine them which i then use to make coconut milk yogurt and coconut milk ice cream (family’s favorite food right now!).
Another plus is that you get coconut “fluff” as I call it. I use it in place of coconut flour, or at least part. It is lighter and gives you baked goods that nice coconut taste, without being too dense from the actual coconut flour. I will have to post a recipe some time soon because i am experimenting a lot with it right now.
So here is the coconut milk homemade and easy of course 🙂 Doesn’t it look nice and smooth..mmm so light and a little sweet too from the coconut. I have two ways, one take about 15 min total (quick) and the traditional way takes more life 40 min total- but i do other things while i wait for the flavors to infuse the water. I usually forget about it honestly, but it will be ok for a few hours on the counter.
Ingredients:
2 cups Shredded Coconut Unsweetened
4 cups filtered water
vanilla extract (optional)
few drops of stevia/few tsp honey (optional)
few shakes celtic sea salt
Directions: ***(traditional way)*I prefer making the coconut milk this way because my coconut flakes are dehydrated 98 degrees and i try to keep the enzymes so i don’t want to boil it
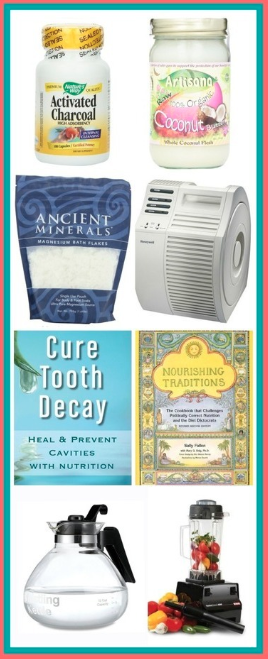
 1. Boil water-let cool slightly (I love my Medelco 12-Cup Glass Stovetop Whistling Kettle
 )
 2. Put your flakes in a glass jar.
 3. Measure your 4 cups of water.
 4. Pour your water over the flakes.
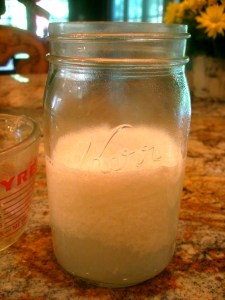 5.Let sit for 30 min in a quart jar.
 6. Pour the coconut water in the blender.
 7. Blend!
  8.Set up the nut milk bag in a bowl.
9. Pour coconut pulp water through nut milk bag ( i use mine for everything juice/nut milks/tea..)  10.Strain through cheesecloth/muslin/or nut milk bag.
 * Strain into a bowl with a spout to make it easier to pour.
 11. Stir in honey/stevia/sea salt and vanilla.
 12. Take pulp (coconut fluff) out of nut milk bag- save in a container/jar in the fridge.
 13. Save the pulp for baking! – lighter than coconut flour i will post a recipe soon on how to use “coconut fluff”.
 12. Drink! stays good in the fridge for up to 1-2 weeks..though mine never lasts that long at my house 🙂
***(quick way)***

1. Pour coconut flakes and water in a pan.
2. Boil water and coconut flakes for 10 min.
3. Let the water cool down a little so it does not burn you.
4. Pour the coconut water in the blender.
5. Blend!
6. Strain through cheesecloth/muslin/or nut milk bag.
7. Stir in honey/stevia/and vanilla.
8. Take out pulp from nut milk bag/cheesecloth save in a container/jar.
9. Drink! Enjoy
.
~Stay Gutsy, Caroline





 We keep our kombucha by the crock pot so it stays warm and ferments faster


